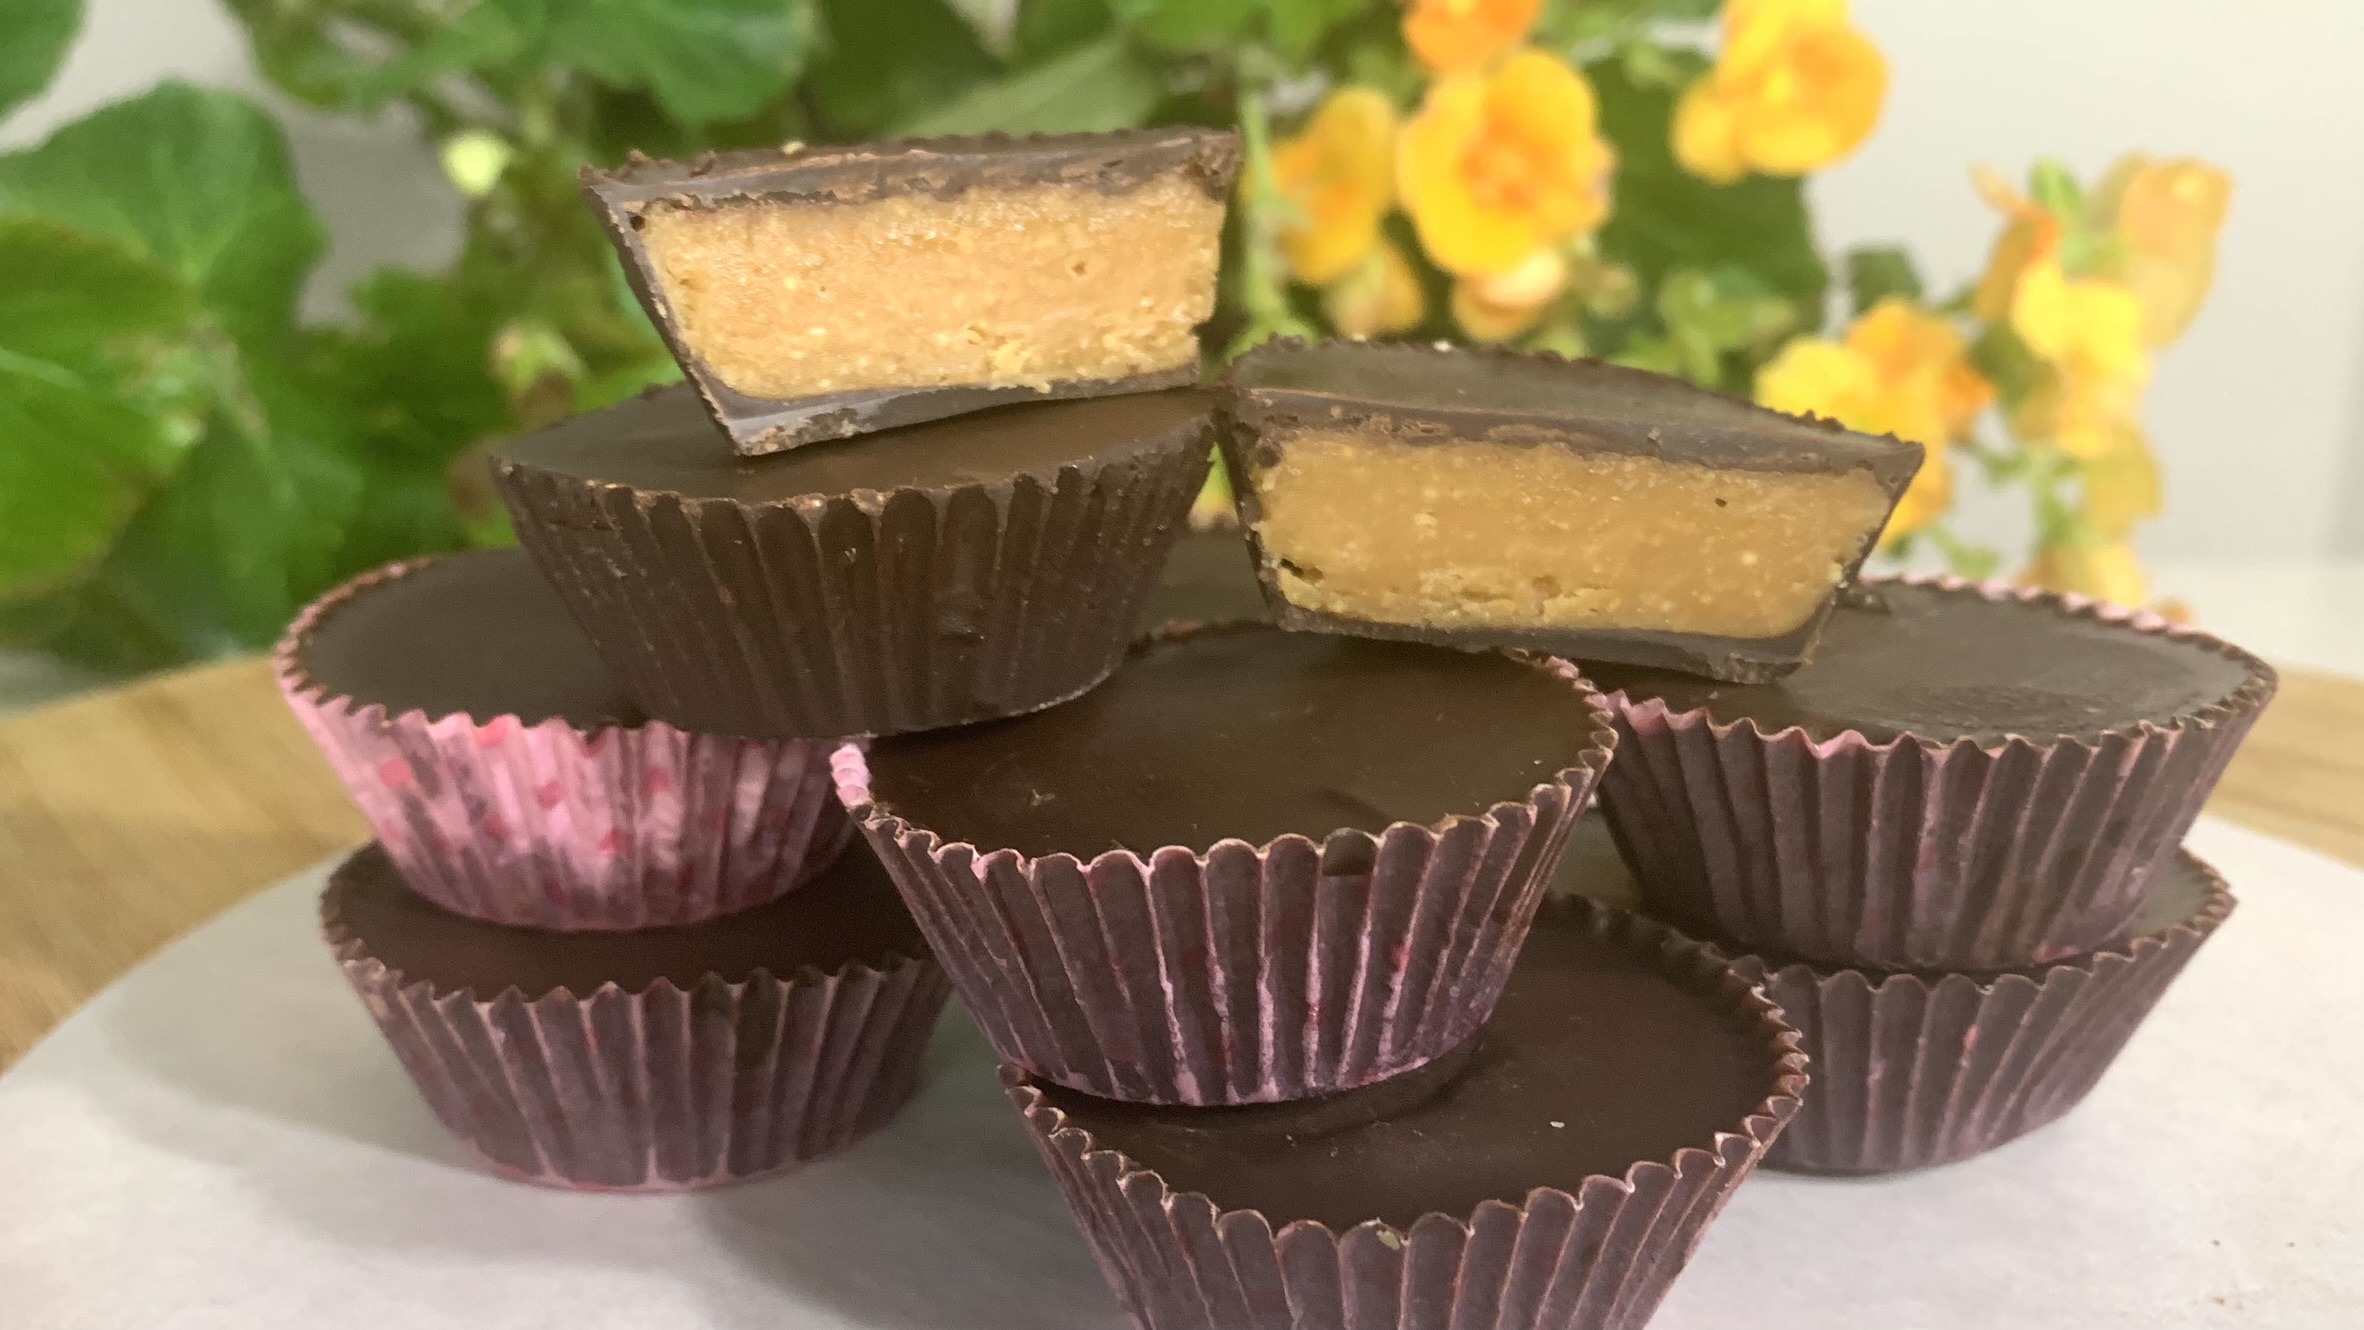
Gluten Free Fudgy Brownies
Gluten Free Fudgy Brownies

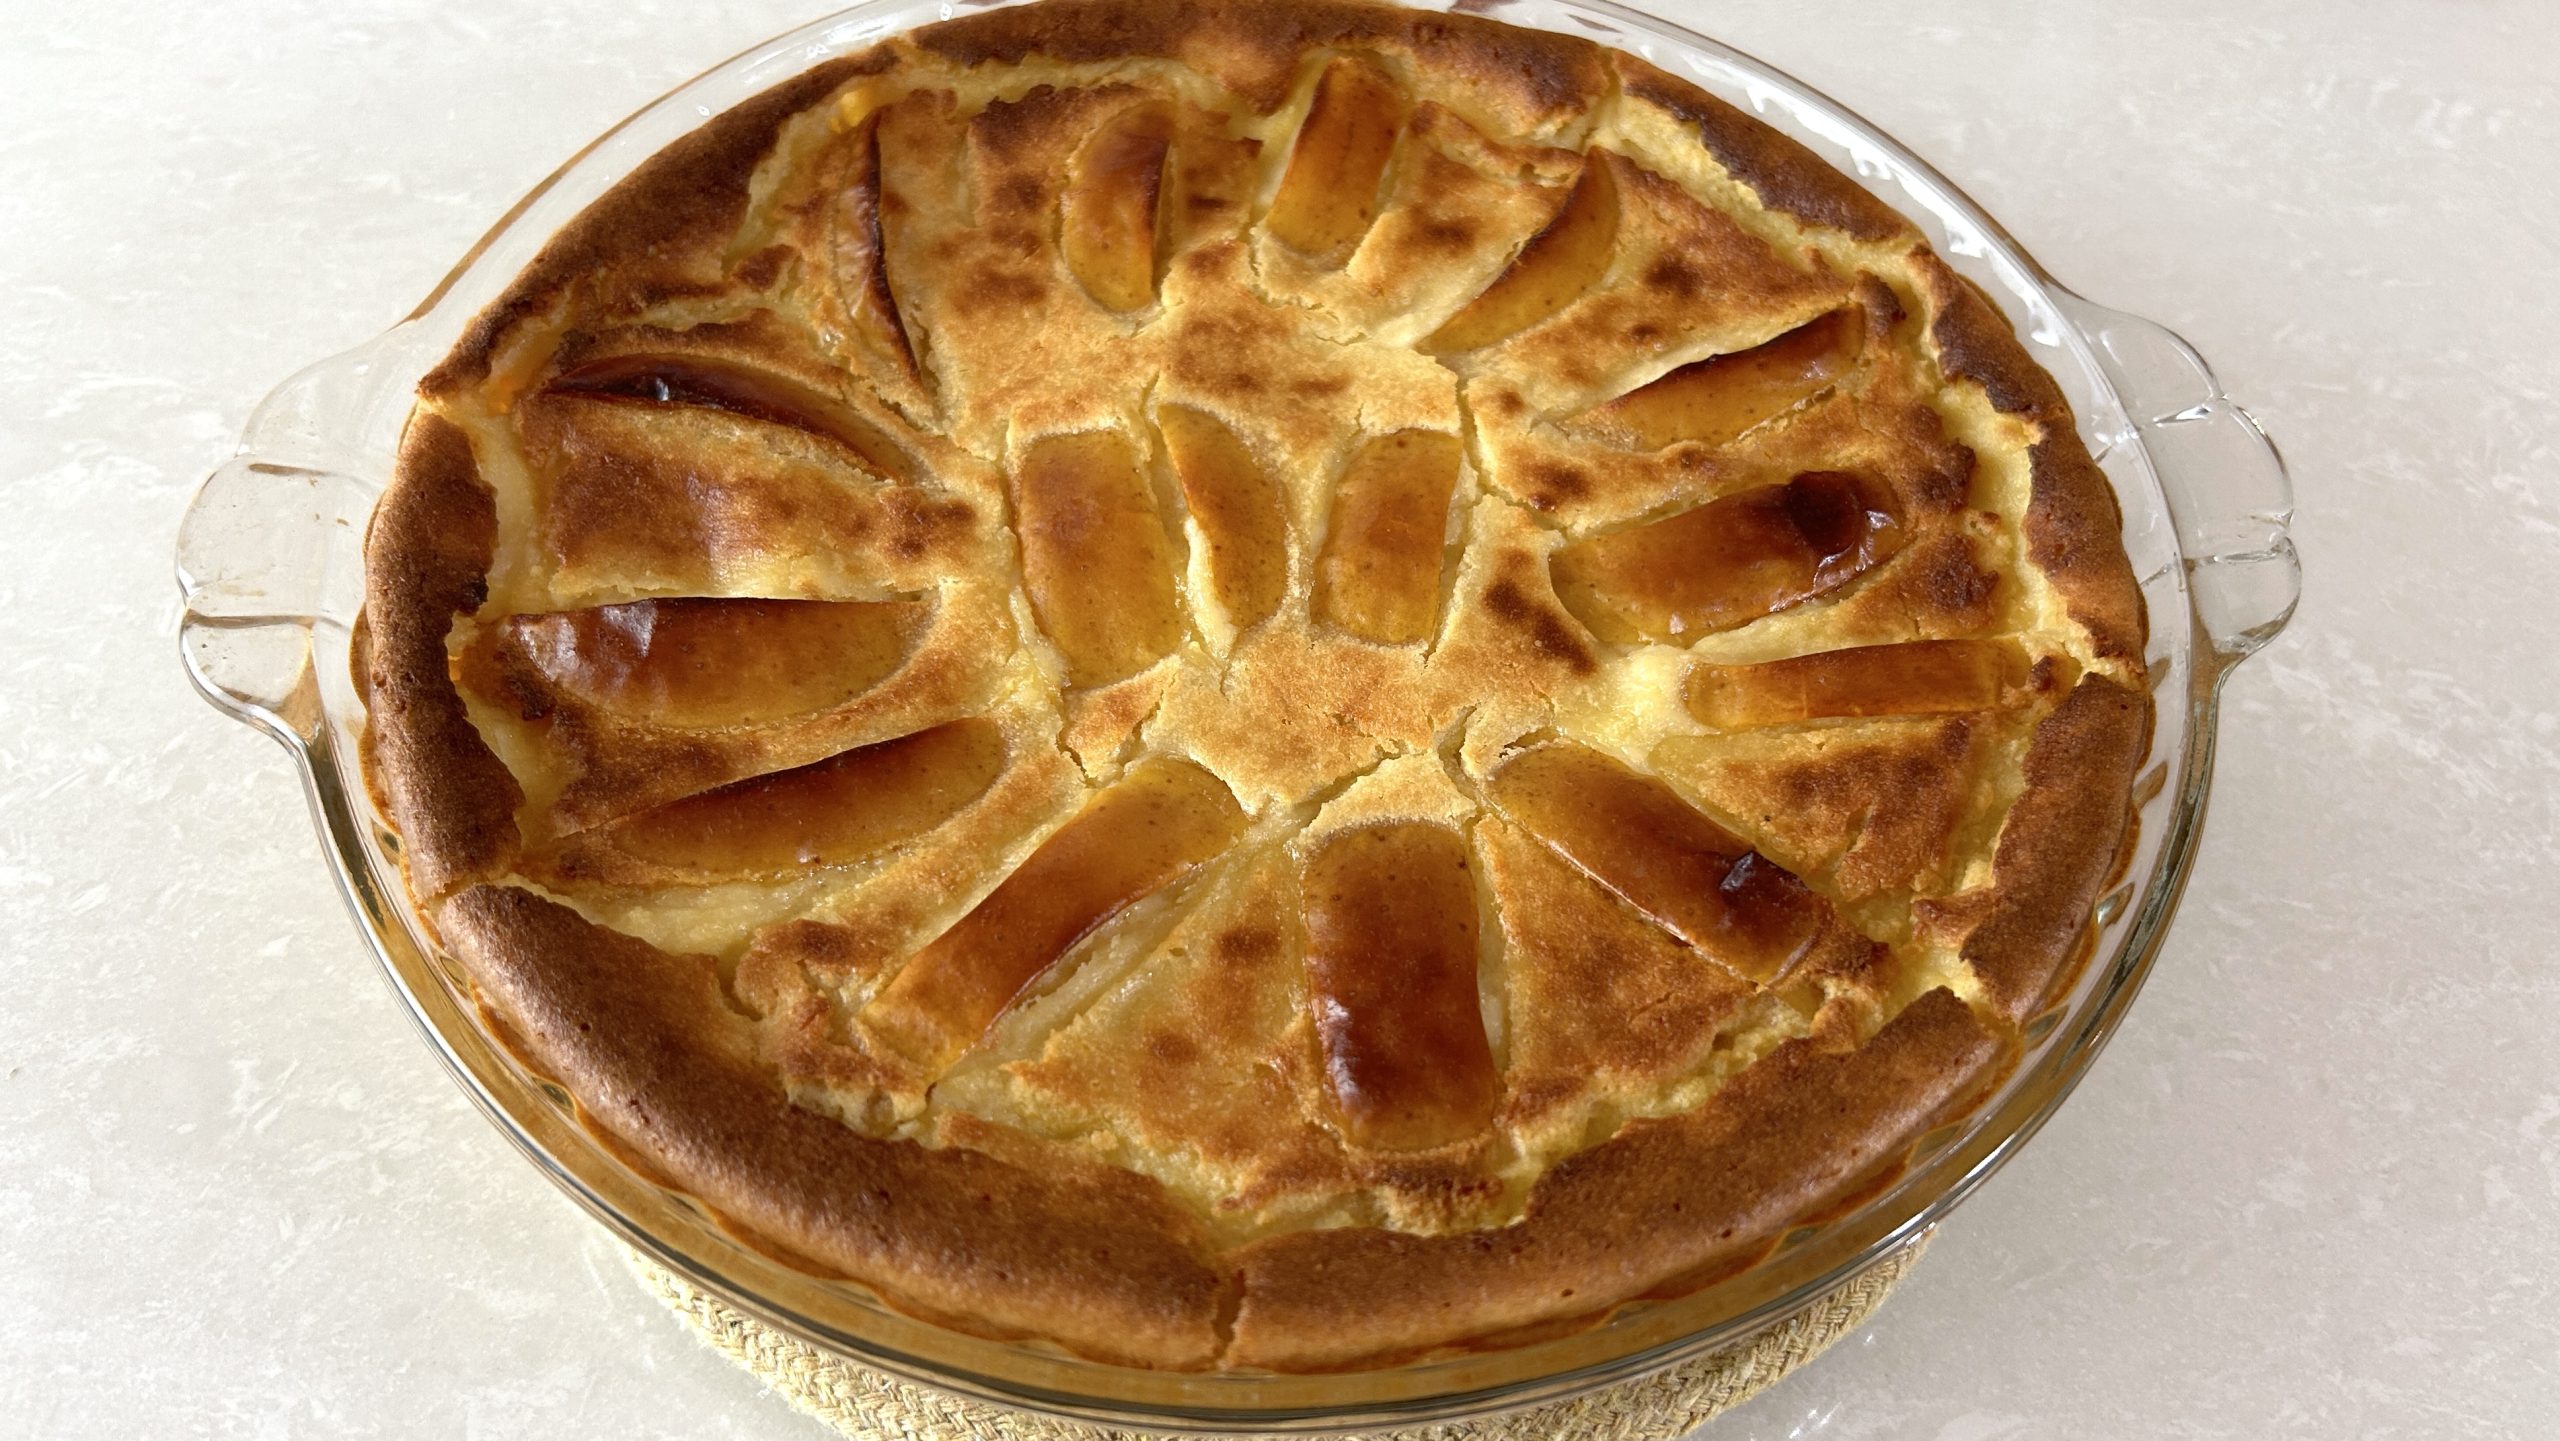
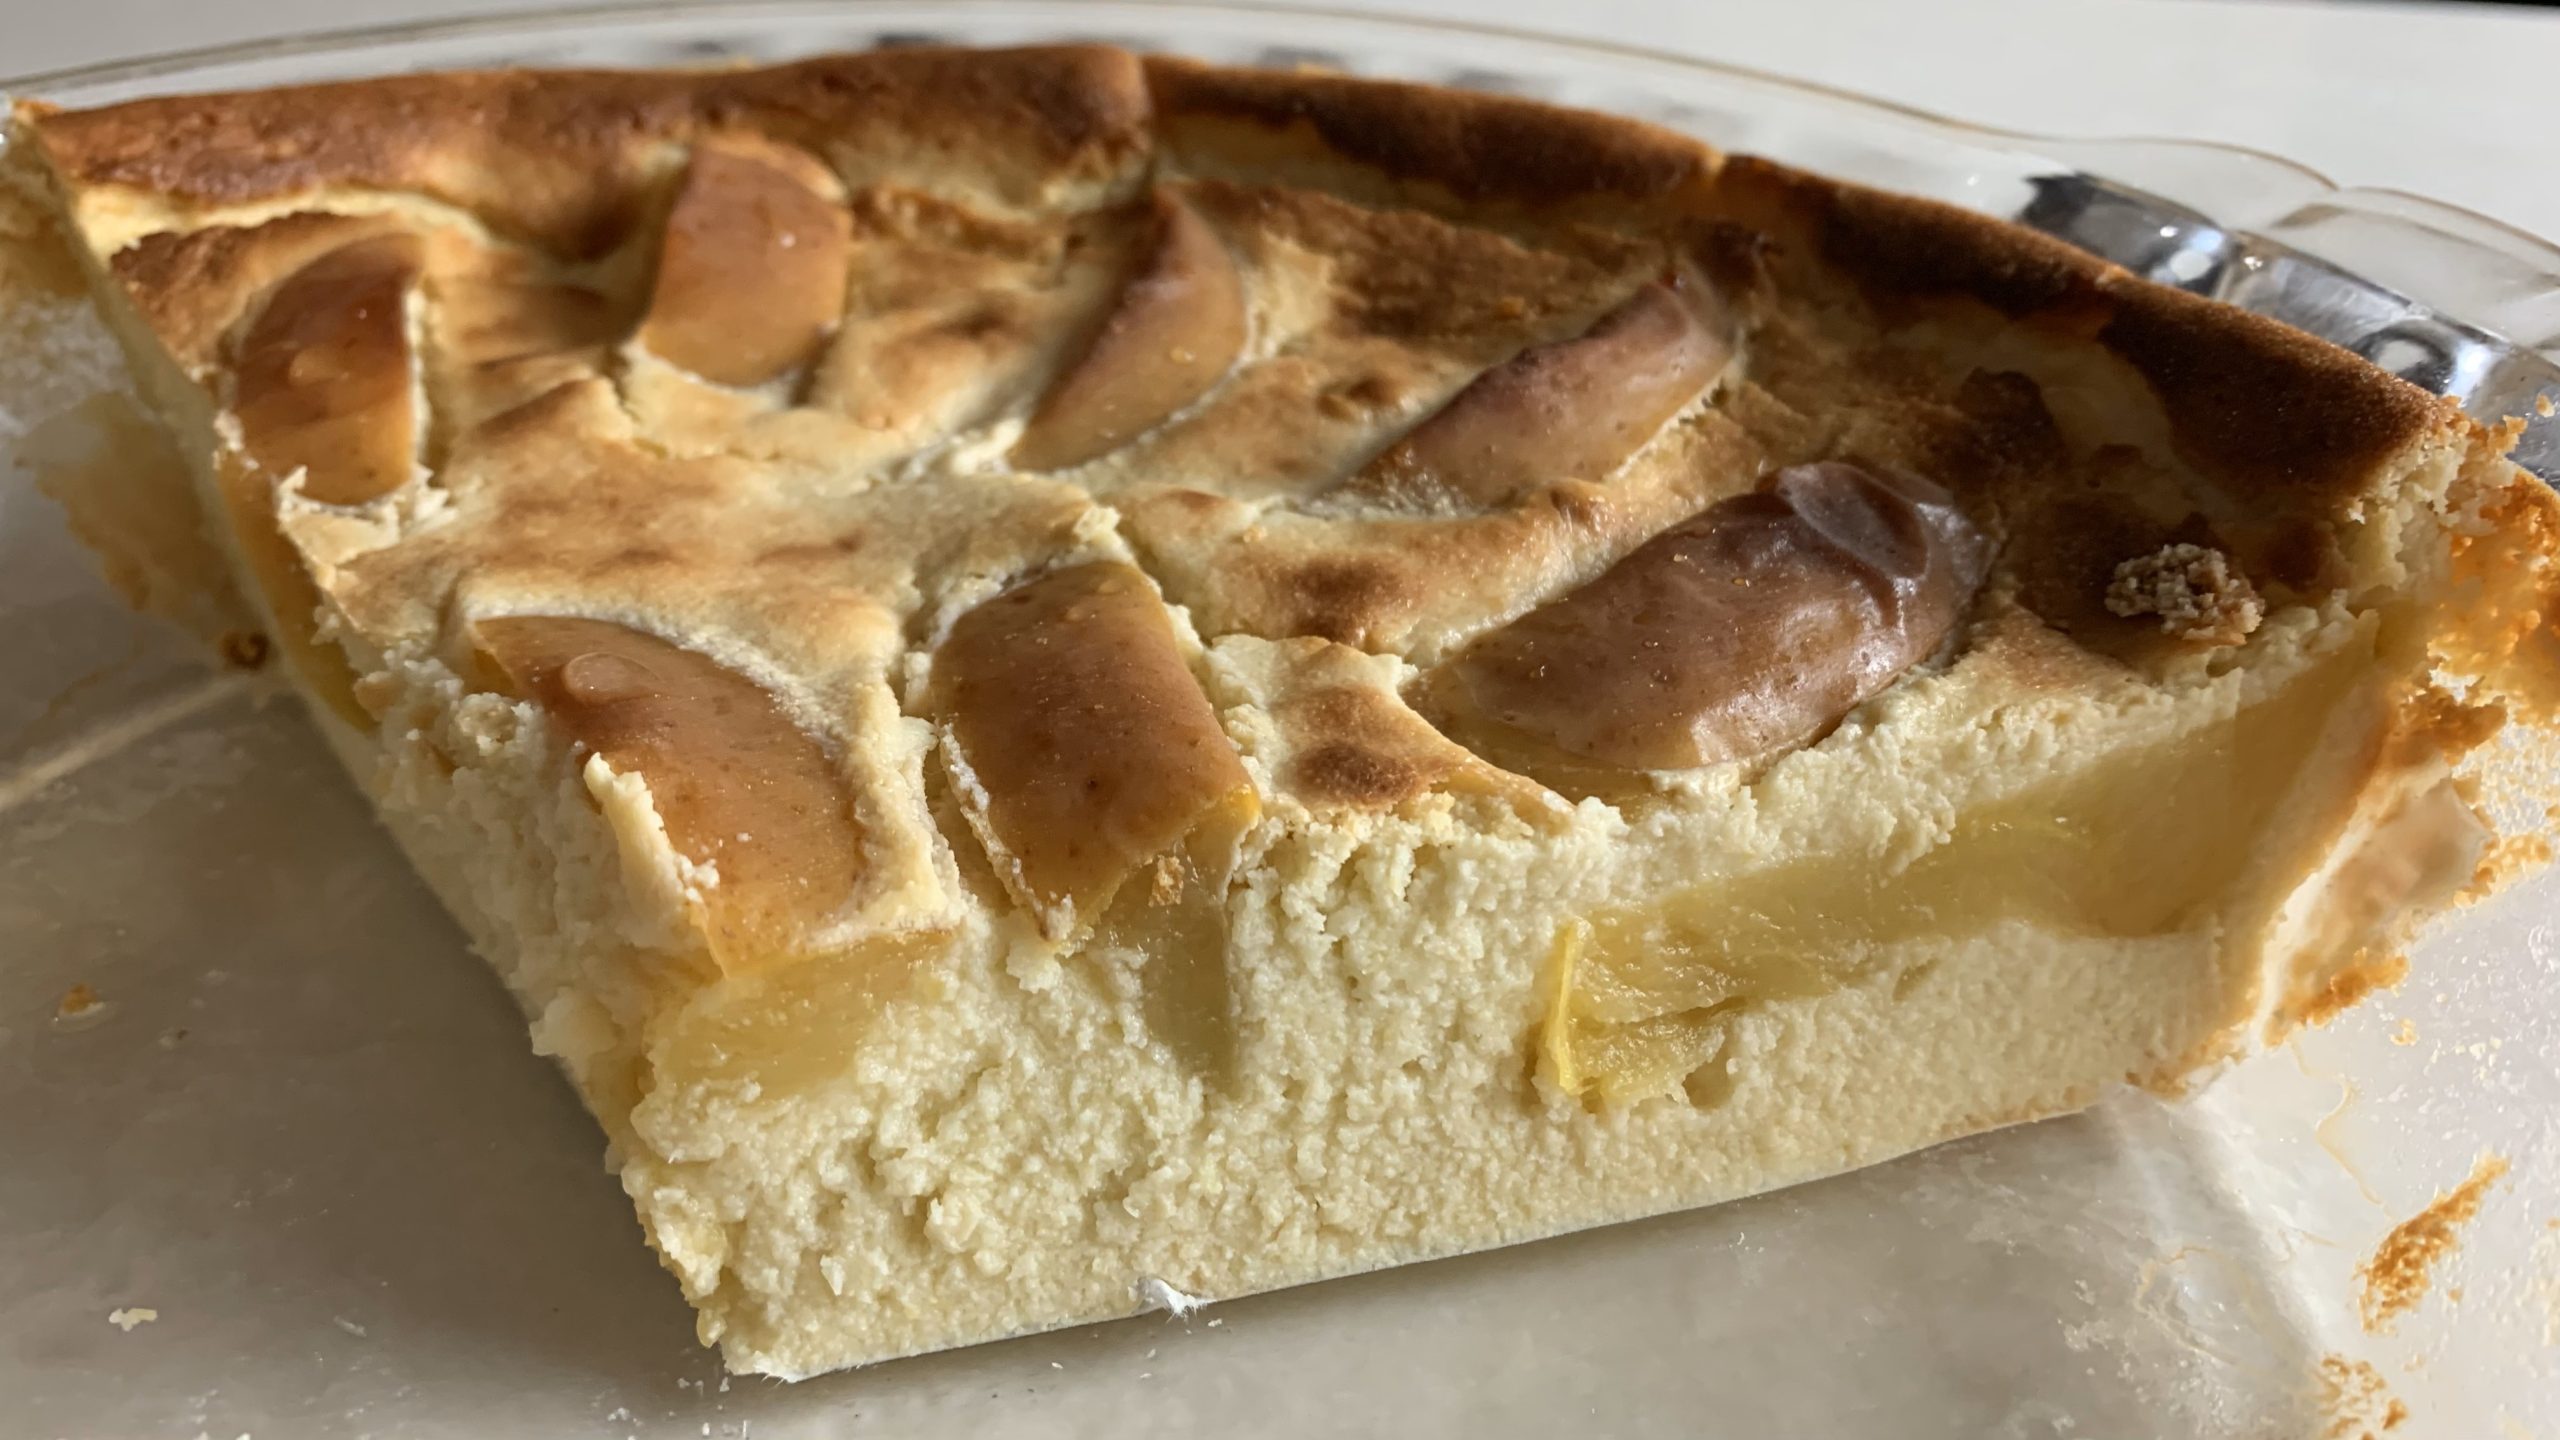
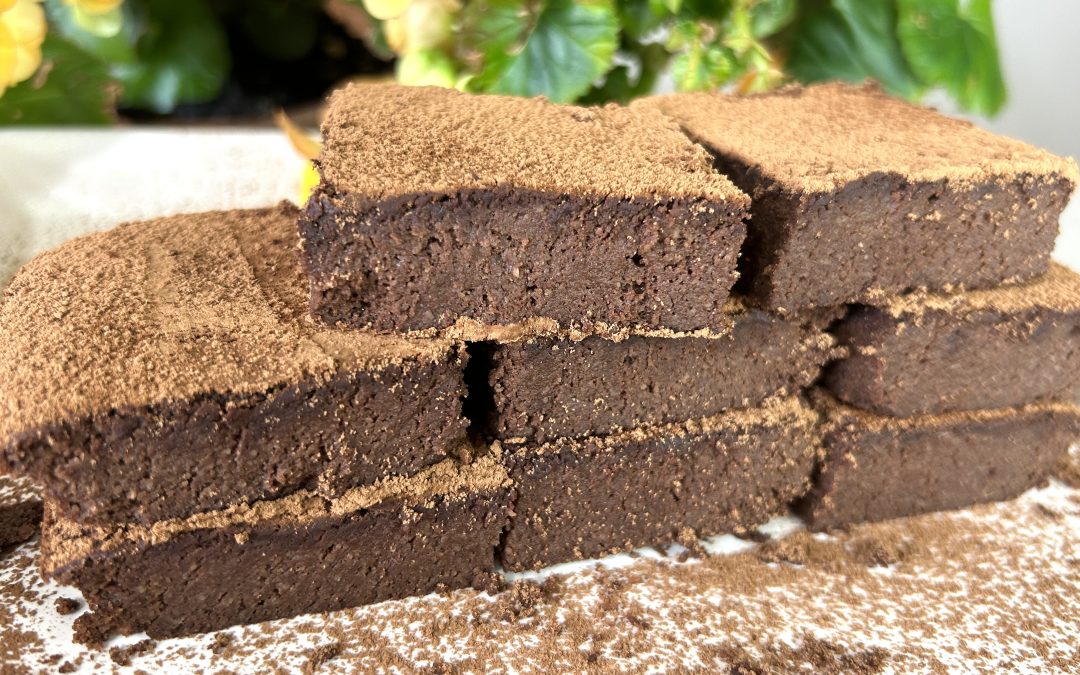
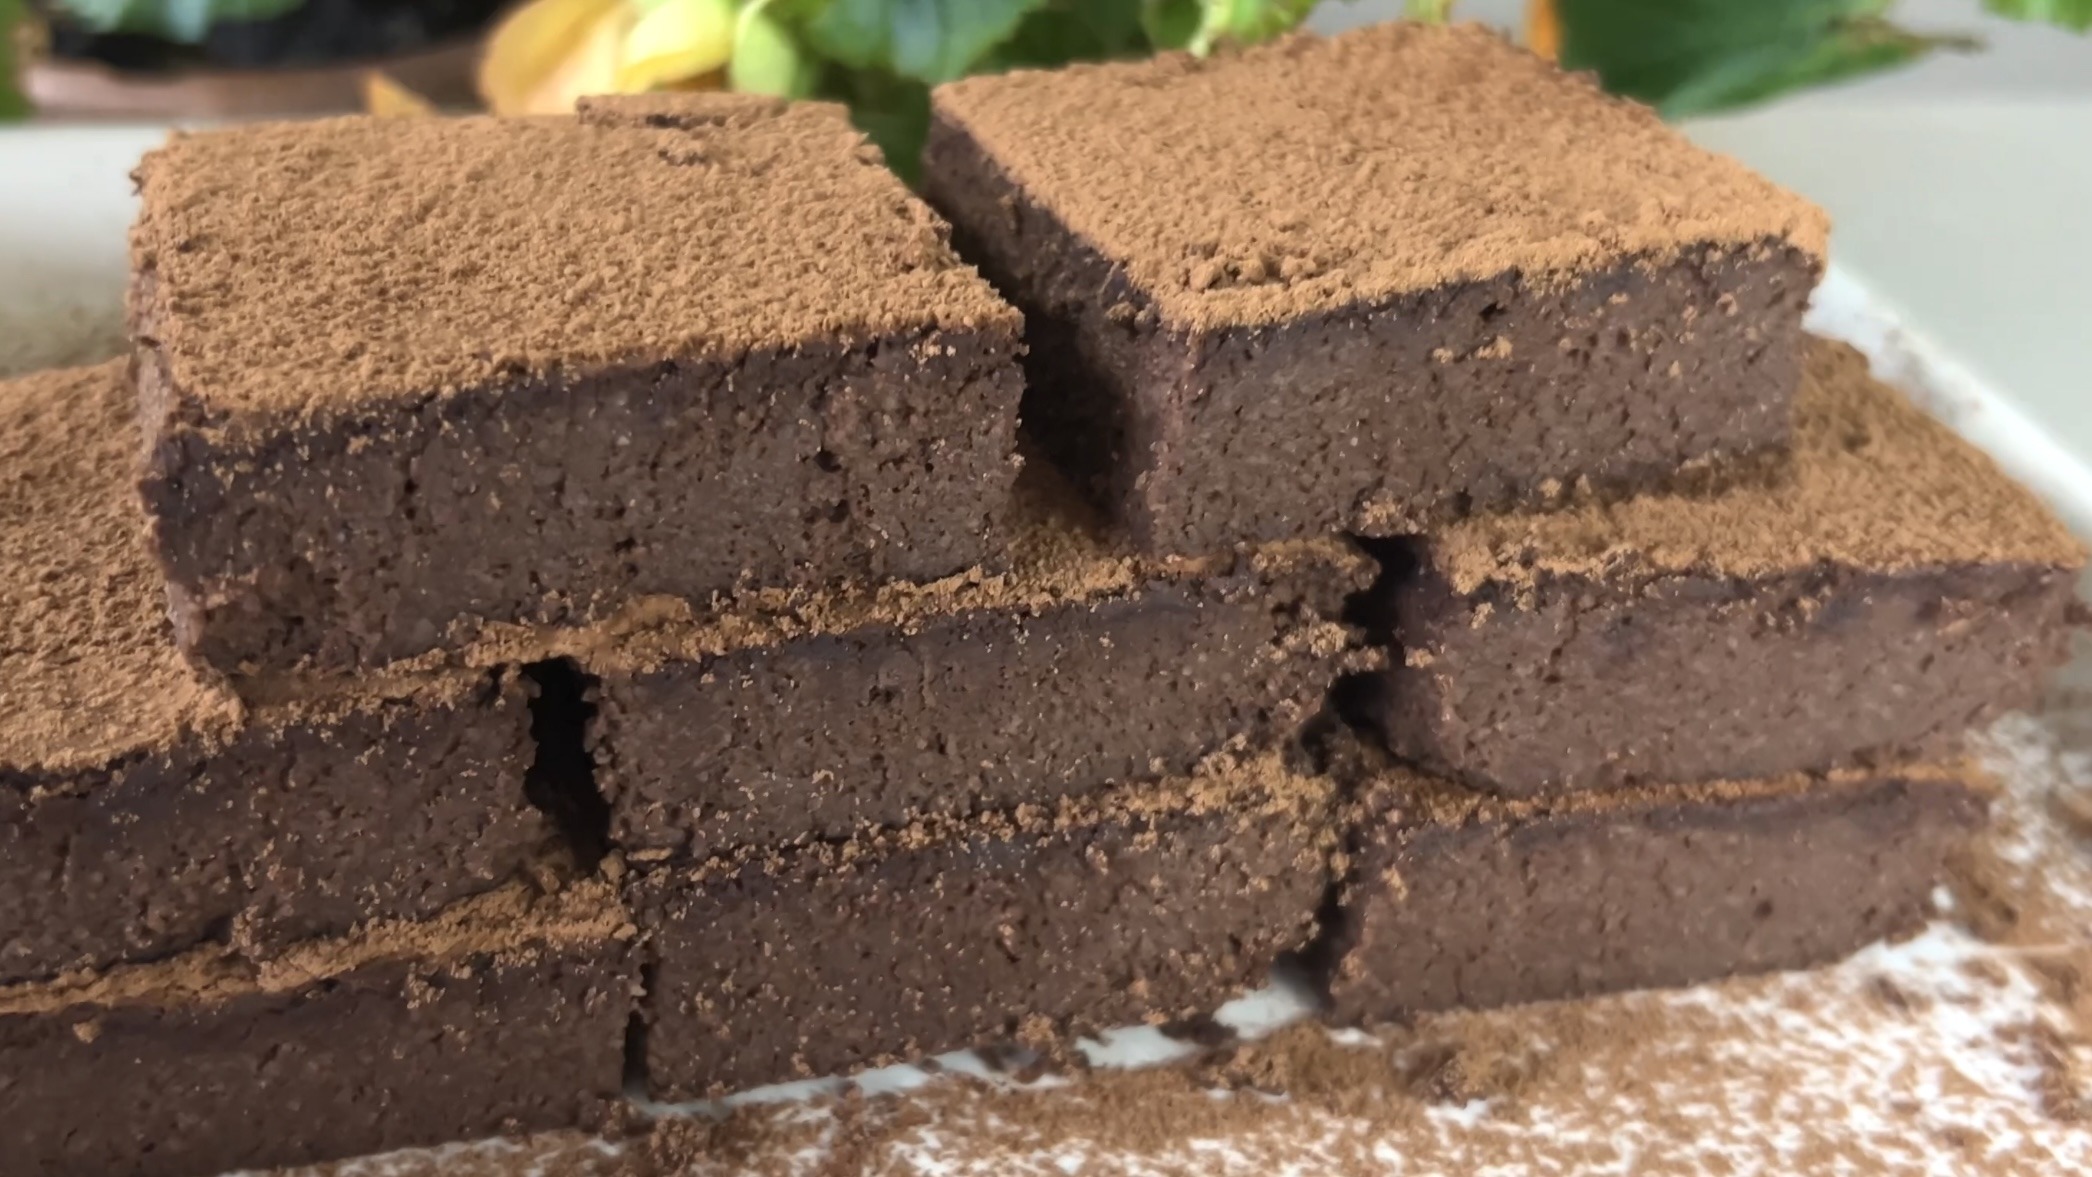
Prepare to be amazed by these soft, rich, and decadent Gluten-Free Chocolate Fudge Brownies. This recipe takes a slightly unconventional approach by incorporating apple purée, which not only adds moisture but also introduces nutrients into the mix, resulting in an incredibly moist and rich brownie. These brownies are perfect for anyone who is intolerant to gluten but doesn’t want to compromise on taste.
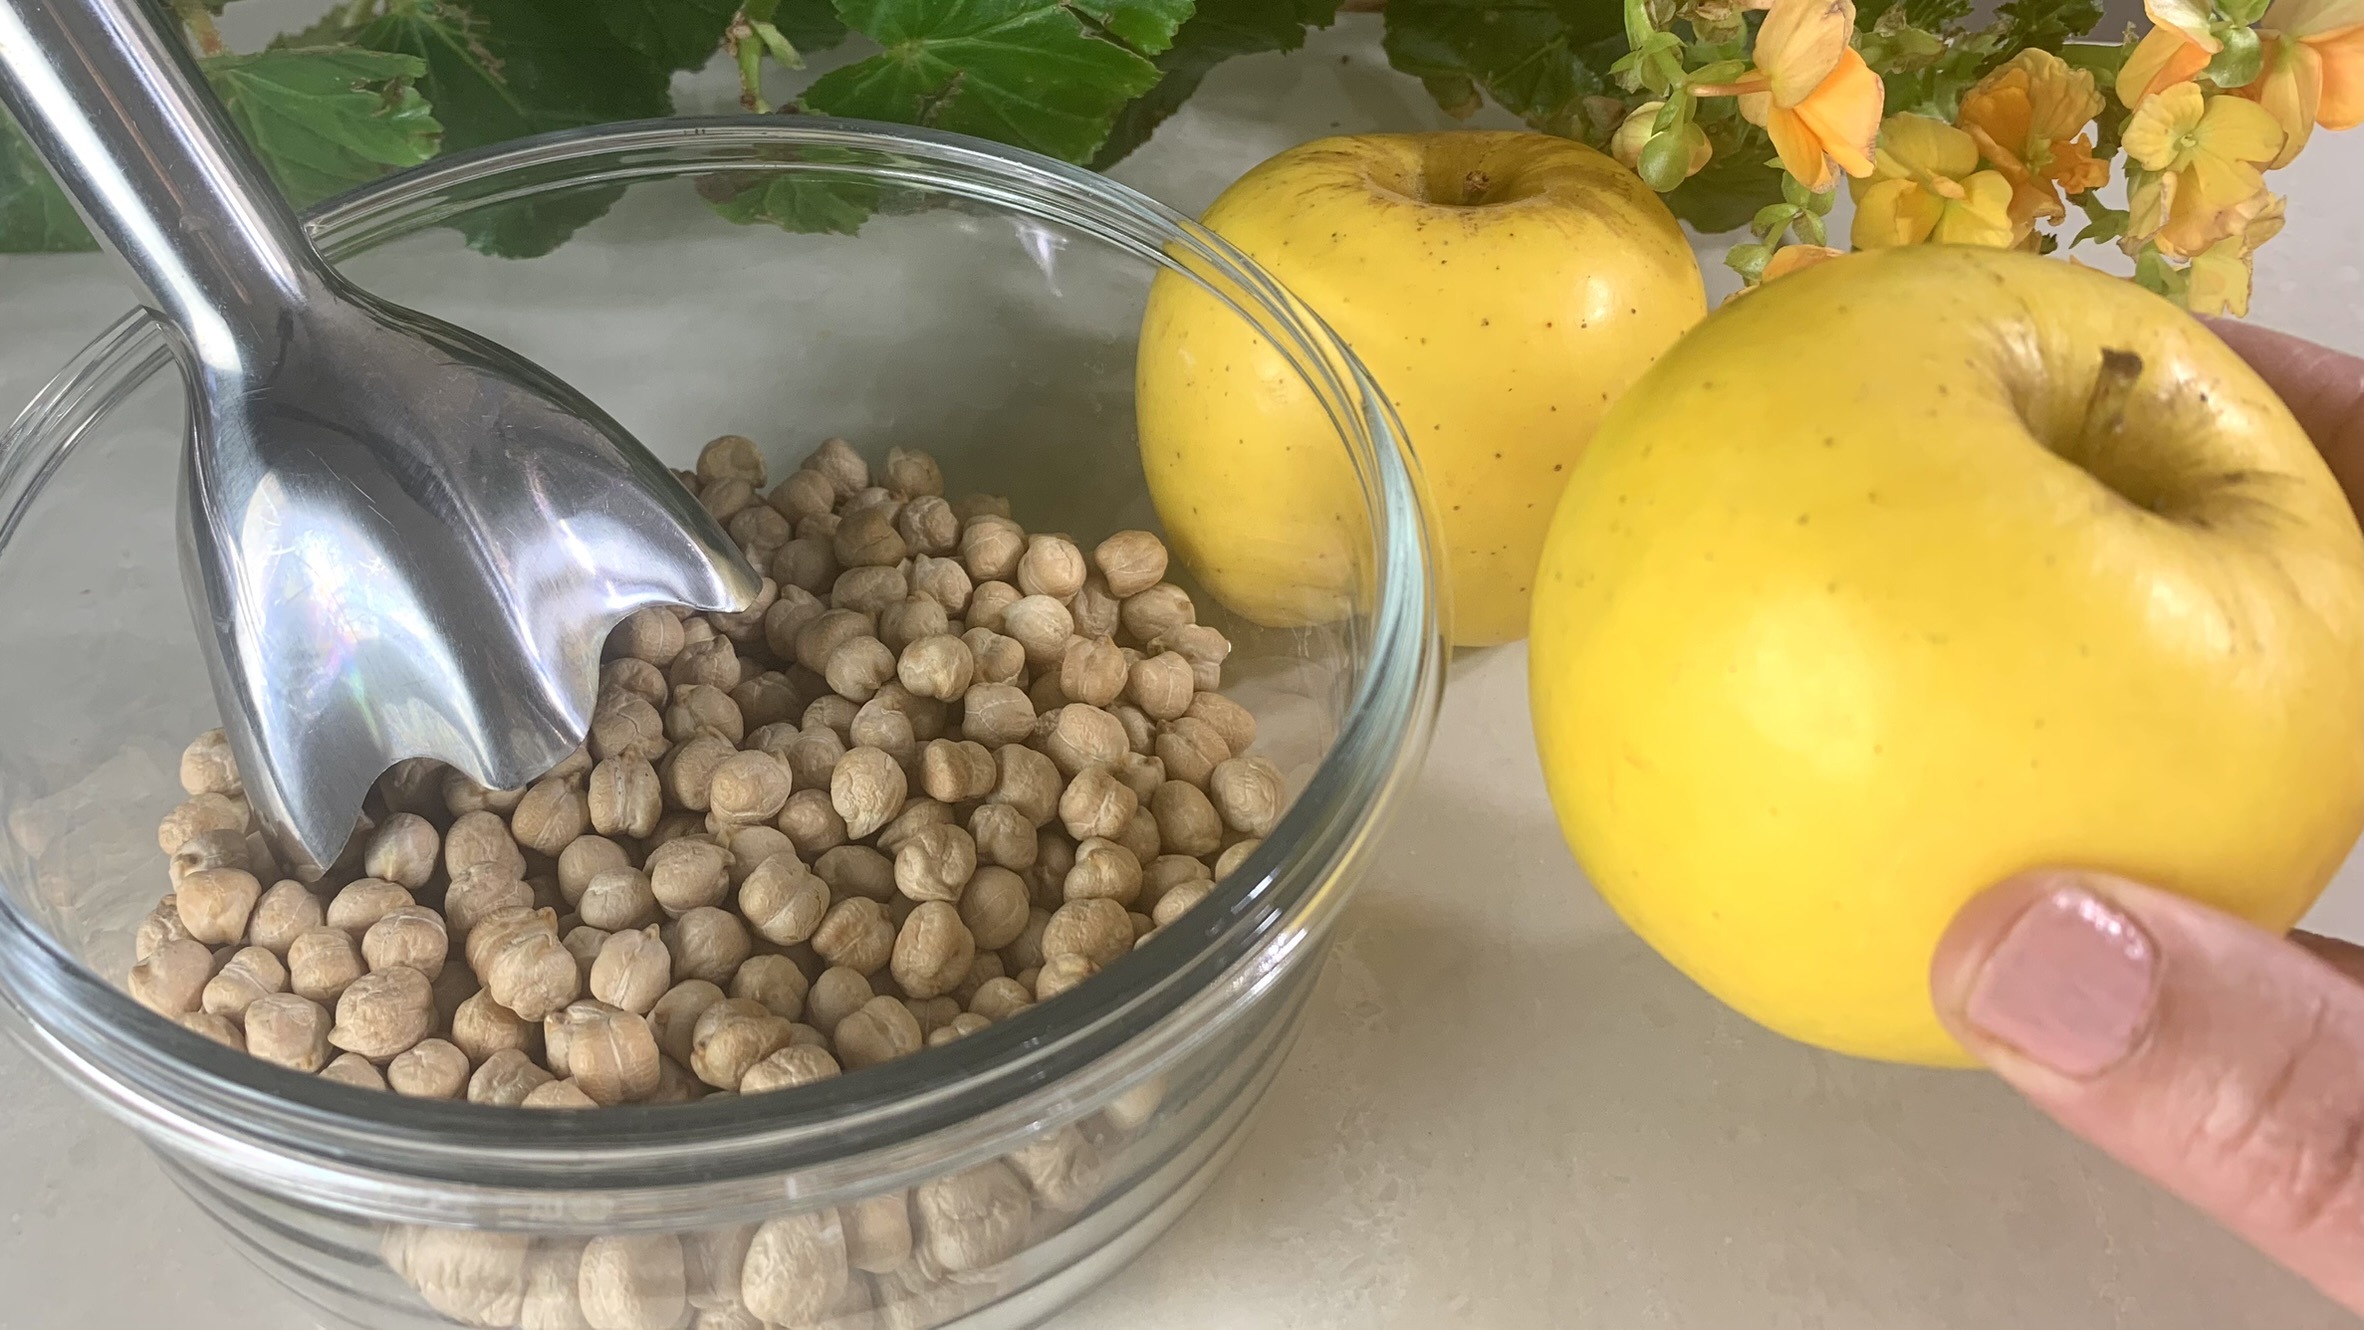
Apple purée serves as a natural sweetener and moisture enhancer in this recipe, reducing the need for added sugars and fats, while almond flour provides a nutrient-dense base that’s rich in healthy fats, fiber, and protein.
 |
 |
These brownies are so fudgy and delicious that you won’t even miss the gluten, making them a great option for those with dietary restrictions or anyone looking to enjoy a healthier treat. Whether you’re serving them as a dessert or indulging in a sweet snack, these brownies are sure to satisfy your chocolate cravings!
Ingredients
- 160 g dark chocolate (50% cocoa)
- 3 large eggs (separated)
- 1 large apple (~150 g)
- 1 cup (100 g) almond flour
- 1/2 tbsp cocoa powder (for sprinkling)
Directions
- Start by setting up a double boiler. Add the dark chocolate to a bowl and stir until it is completely melted and smooth.
- Take the bowl out of the double boiler, add the egg yolks to the melted chocolate, stirring continuously to combine thoroughly.
- Clean, chop, and blend the apple until it reaches a puréed texture.
- Add the apple purée to the chocolate mixture and stir well to combine. If the mixture starts to harden, use the double boiler and continue stirring until it is smooth and well combined.
- Gradually add the almond flour to the mixture, stirring constantly to ensure it is evenly incorporated.
- In a separate bowl, whisk the egg whites until they form stiff peaks.
- Gently fold the whipped egg whites into the chocolate mixture.
- Pour the batter into a lined baking pan and bake in a preheated oven at 365°F (185°C) for 20-25 minutes.
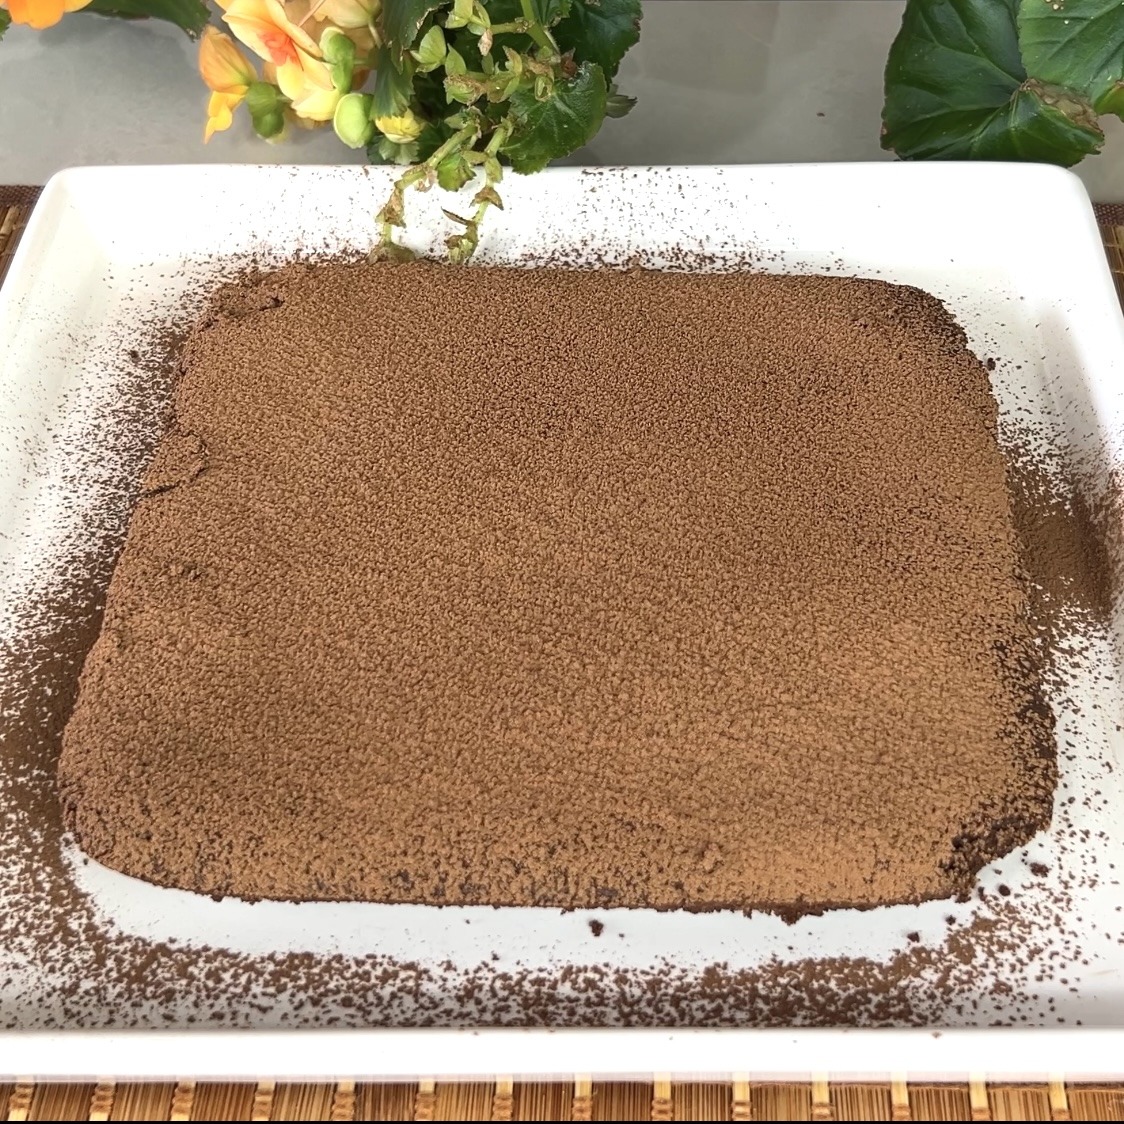
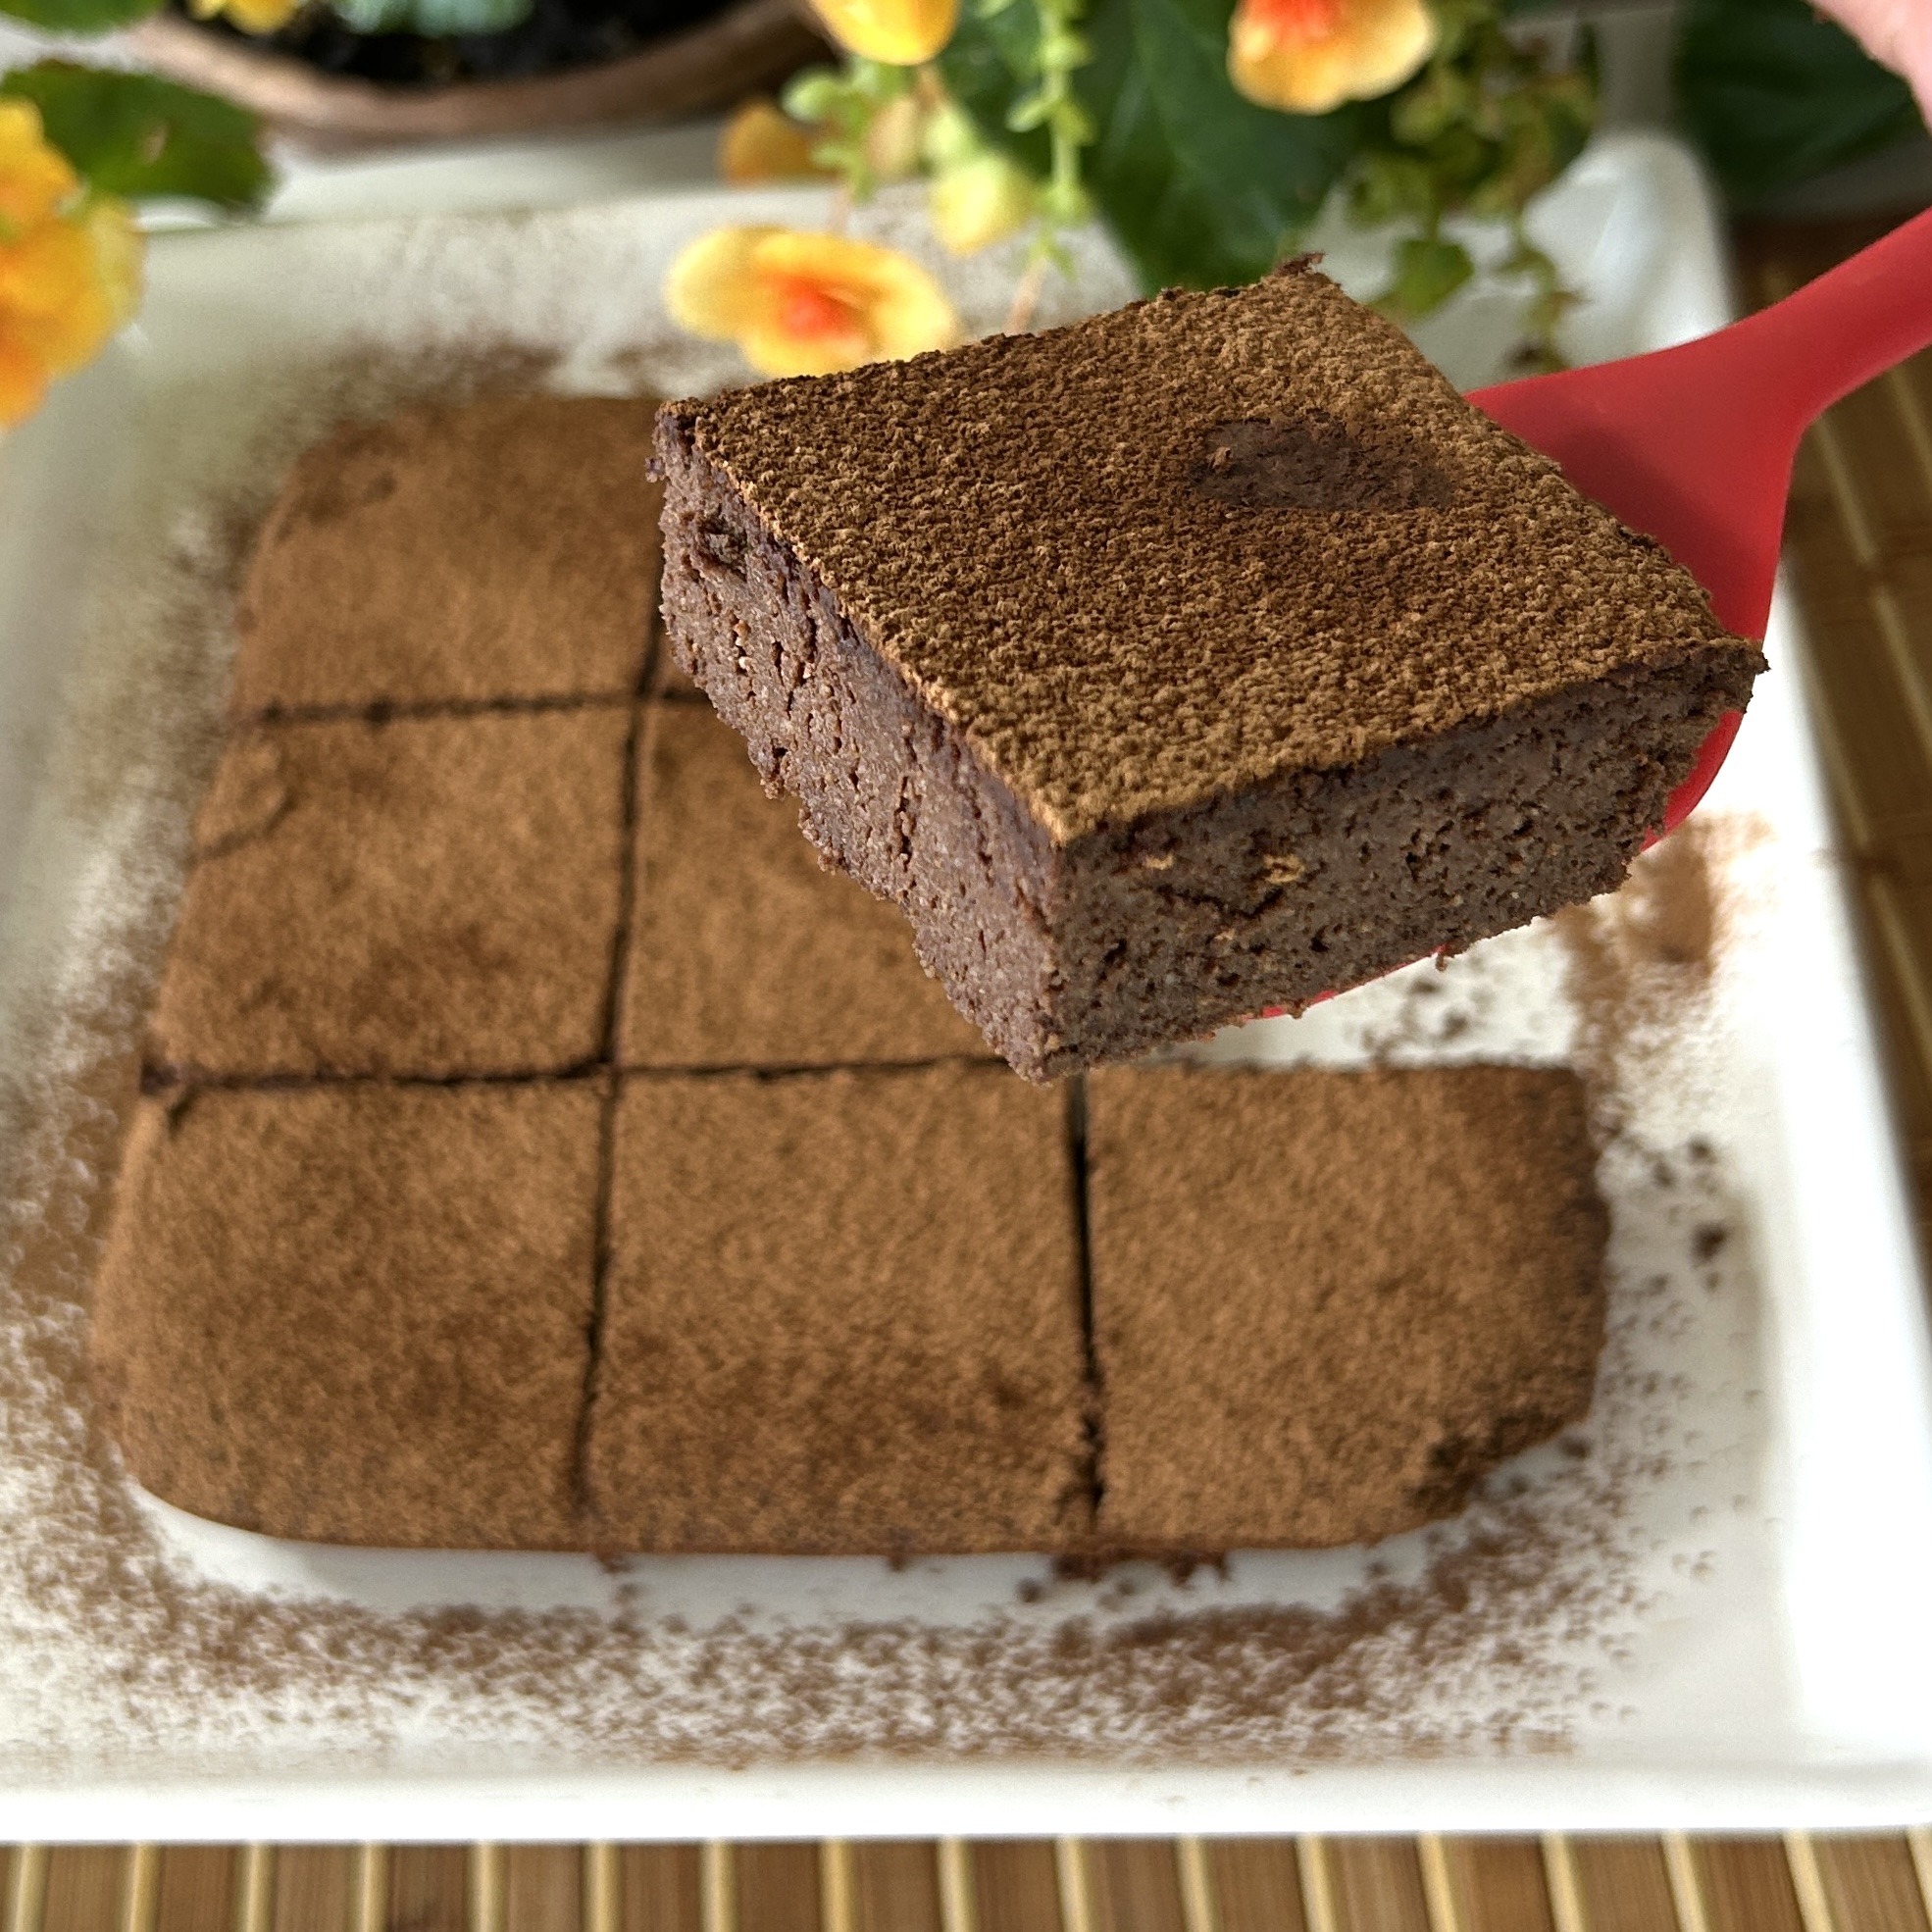
- Let the brownies cool in the pan before transferring them to a serving plate.
- Just before serving, sprinkle the top with cocoa powder for a nice finish.
Prep Time: 30 minutes
Baking Time: 25 minutes
Servings: 9
Nutritional Information
Per 1 Serving:
- Energy: 200 calories
- Protein: 5.63 g
- Fat: 14 g
- Carbohydrates: 14.14 g
- Fiber: 3.1 g
Storage and Recommendations
- Store your fudgy brownies leftover in an airtight container at room temperature for up to 3 days, or in the fridge for up to 1 week.
- Pair with a scoop of ice cream or a dollop of whipped cream for an extra indulgence.