Banana Oatmeal Pancakes
Banana Oatmeal Pancakes
Looking for a nutritious and delicious pancake recipe that’s both wholesome and satisfying? These Banana Oat Pancakes are the perfect choice! Whether you’re starting your day with a hearty breakfast or enjoying a light snack, these pancakes deliver a powerful combination of flavor and nutrition that will keep you energized throughout the day.

The star of this recipe is oats, a superfood that has long been praised for its numerous health benefits. Oats are a whole grain packed with essential nutrients like fiber, protein, and a range of vitamins and minerals. One of the standout nutrients in oats is soluble fiber, particularly beta-glucan, which has been shown to lower cholesterol levels, improve heart health, and help regulate blood sugar levels. The high fiber content in oats also promotes a feeling of fullness, which can aid in weight management and prevent overeating. Additionally, oats are rich in antioxidants, which help protect the body from oxidative stress and reduce inflammation.
Incorporating oats into your regular diet can contribute to better digestive health, provide sustained energy, and support overall well-being. Paired with the natural sweetness of ripe bananas and the light, fluffy texture of these pancakes, you get a nutritious meal that’s as delicious as it is good for you.

Whether you’re aiming for weight loss or simply want to enjoy healthier food, these Banana Oat Pancakes are sure to become a favorite!
Ingredients
- 1 ¼ cups (100 g) oat flour (made from blended rolled oats)
- 2 eggs
- 2 ripe bananas
- 1 tsp baking powder
- 1/2 tsp vanilla extract
Directions
- If you don’t have oat flour, you can easily make it by blending rolled oats in a food processor or blender until they reach a fine, flour-like consistency.
- Mash ripe bananas in a bowl.
- Add eggs to the mashed bananas and stir to combine along with vanilla extract.
- Gradually add the oat flour to the wet ingredients and baking powder. Stir until just combined.
- Heat a greased nonstick pan or skillet over medium heat.
- Pour small amounts of batter onto the skillet.
- Cook until bubbles form on the surface, then flip and cook until golden brown.
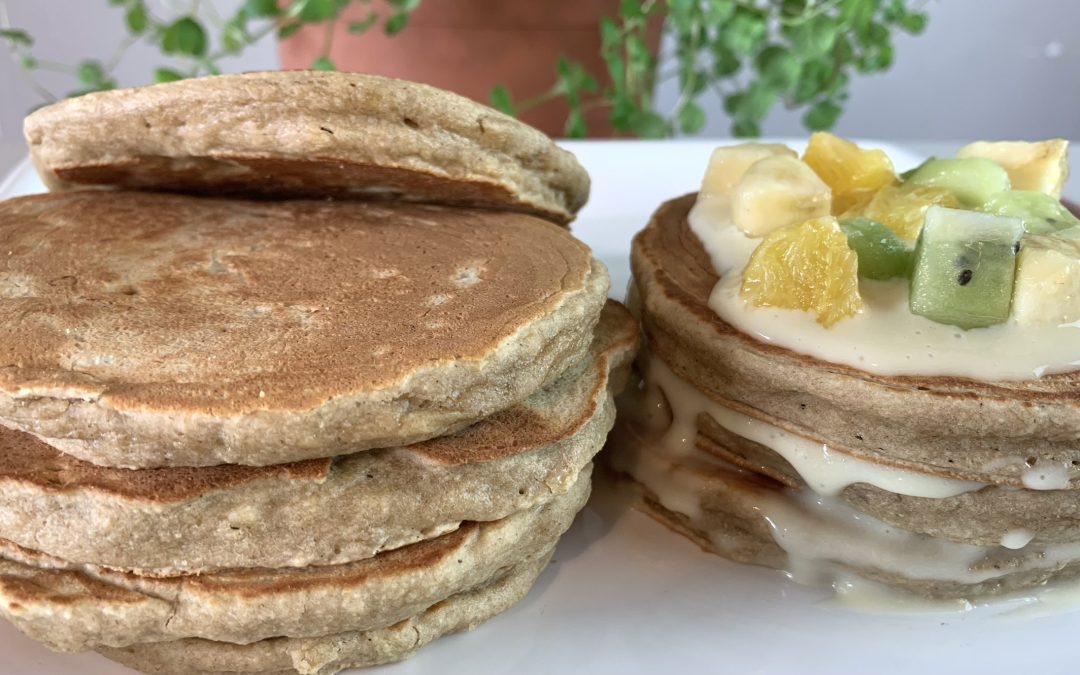
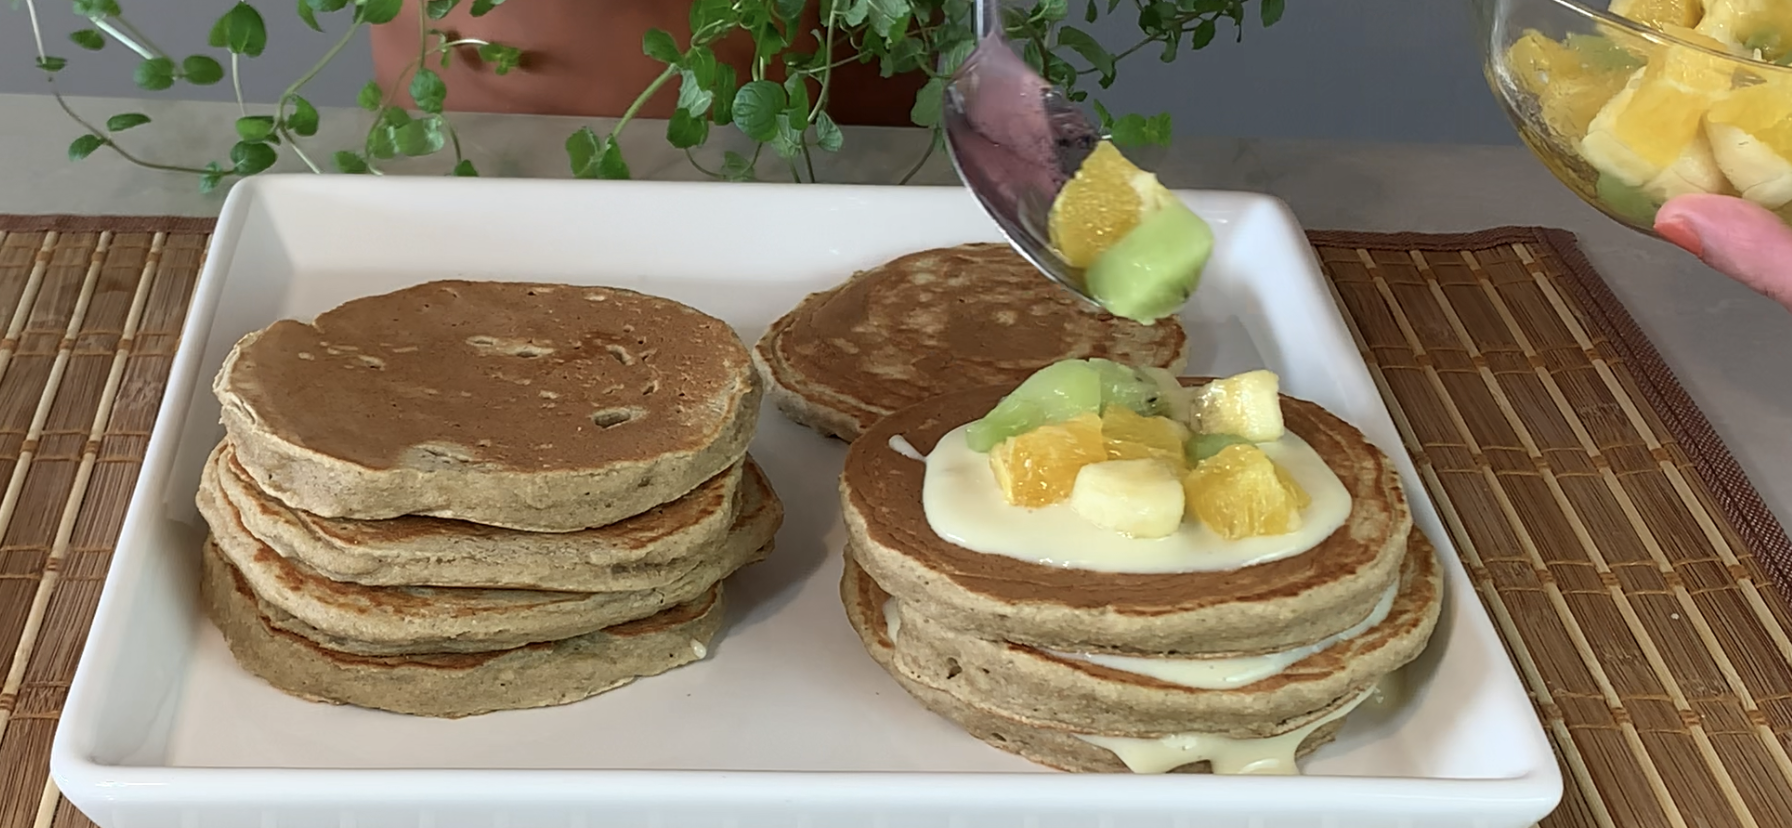
- Serve warm with your desired toppings.
Prep Time, Baking Information, and Servings
- Servings: 8 pieces
- Prep Time: 20 minutes
- Cooking Time: 30 minutes
Nutritional Information (Per 1 Pancake)
- Energy: 103 calories
- Protein: 4.43 g
- Fat: 2.32 g
- Carbohydrates: 17.06 g
- Fiber: 2.4 g
Notes & Storage
- Leftover pancakes can be stored in an airtight container in the refrigerator for up to 7 days.
- Serve the pancakes warm with your favorite toppings such as fresh fruit, Greek yogurt, honey, or maple syrup.