Chia Puddings
Chia Puddings
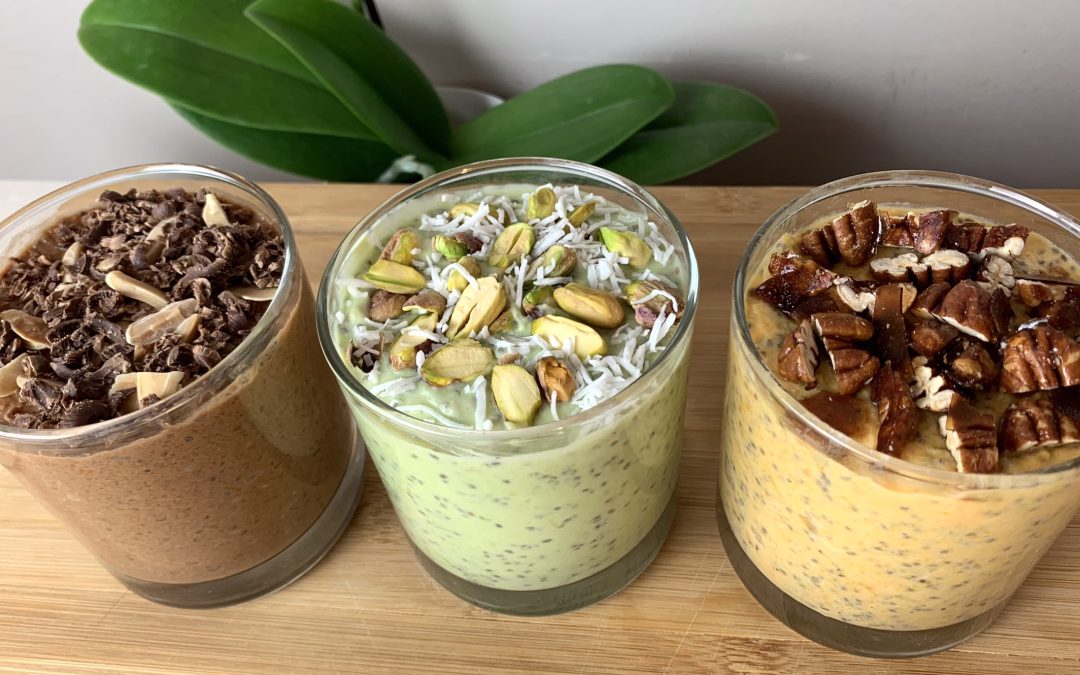
If you’re looking for a delicious way to start your day or a guilt-free dessert option, chia puddings are where it’s at. These little powerhouses of nutrition are not just tasty but incredibly versatile too. Whether you’re a fan of creamy avocados, hearty sweet potatoes, or flavorful pumpkins, we’ve got a chia pudding recipe that’s perfect for you.
Chia seeds are often celebrated as a superfood, and for good reason! Packed with fiber, protein, and a wealth of antioxidants, these tiny seeds offer a big nutritional punch. When combined with ingredients like yogurt, mashed fruits, and a touch of maple syrup, chia seeds transform into a thick, creamy pudding that’s both satisfying and nourishing.
So, let’s dive into the world of chia puddings and discover how you can create three delectable versions that are as good for your body as they are for your taste buds!
Ingredients
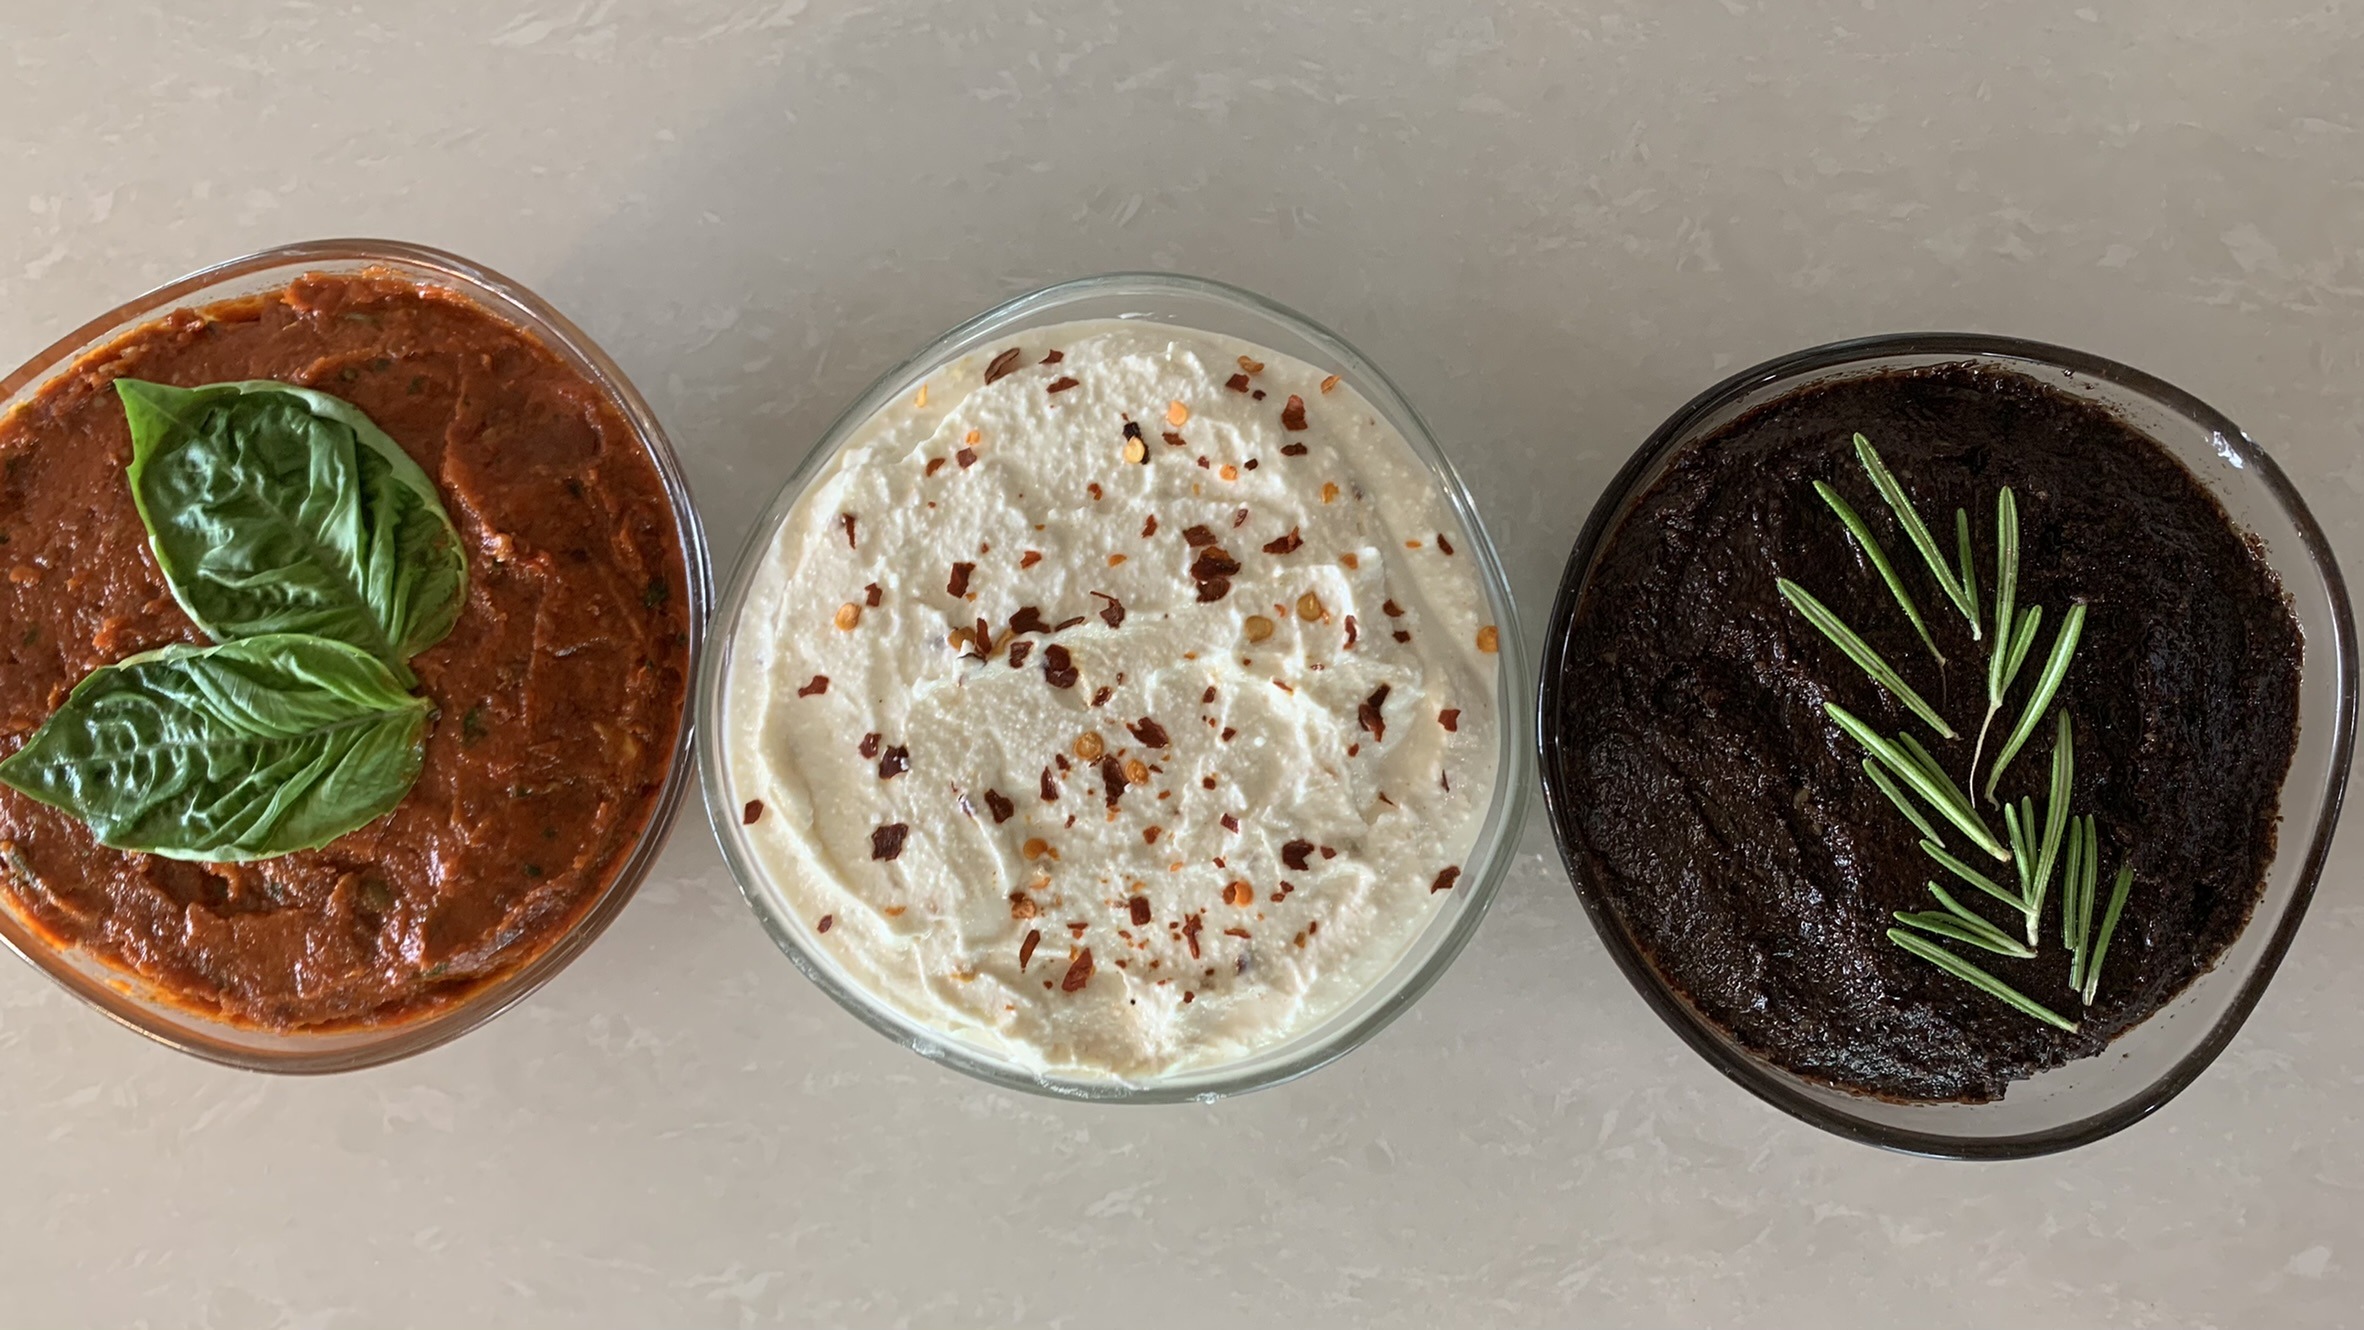
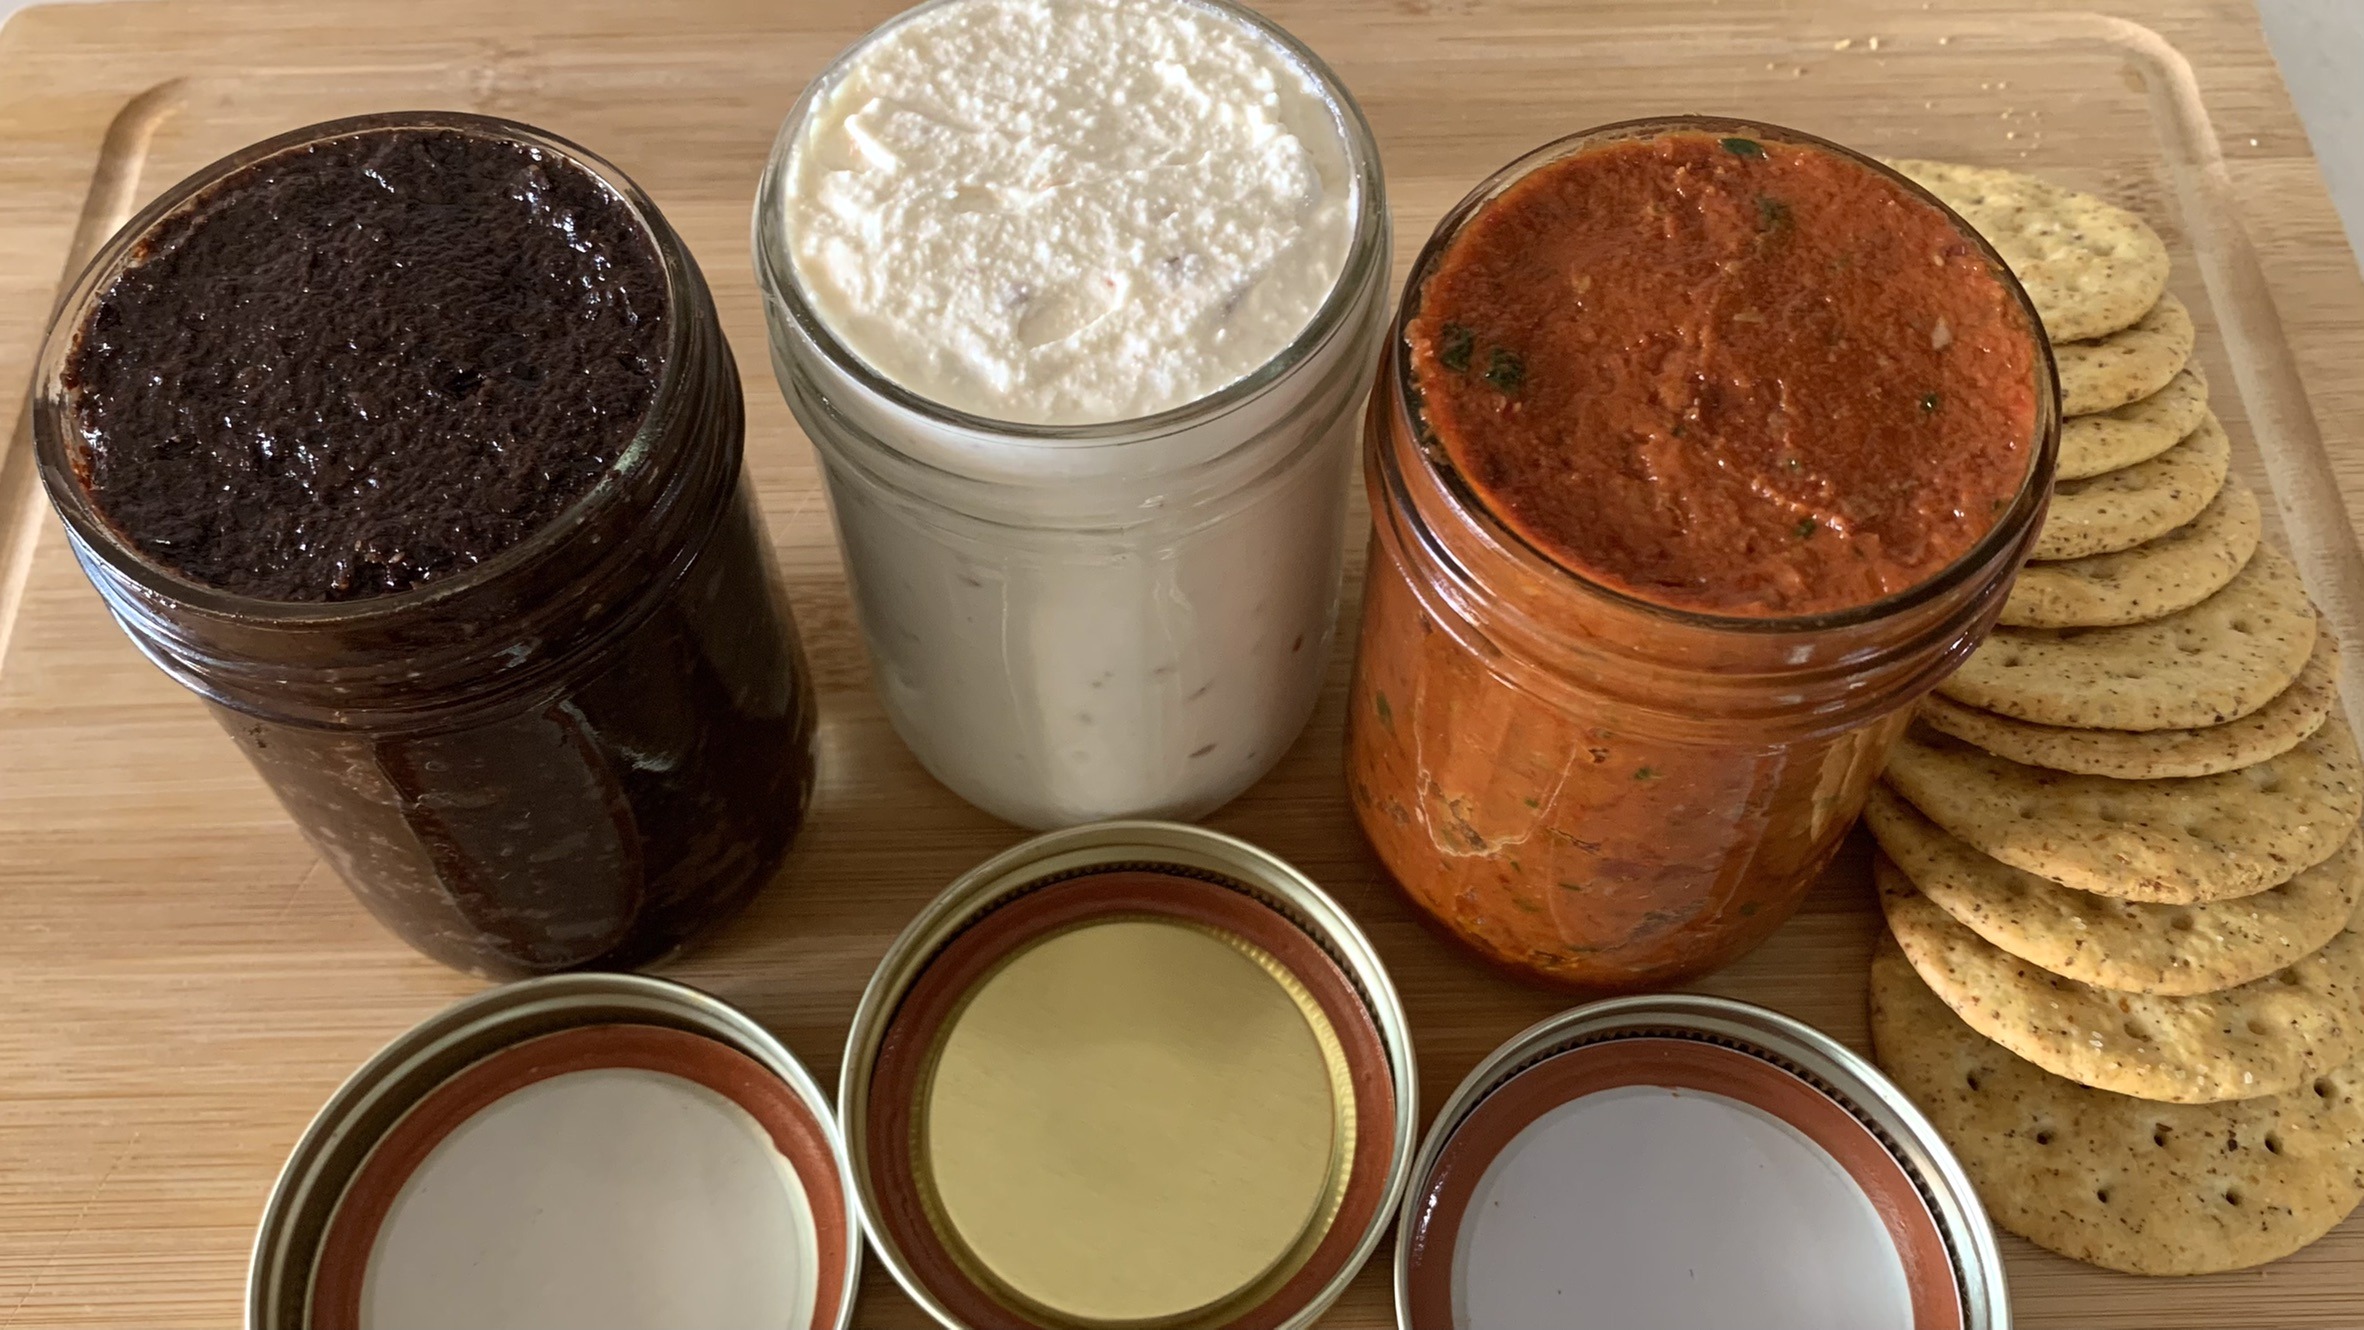
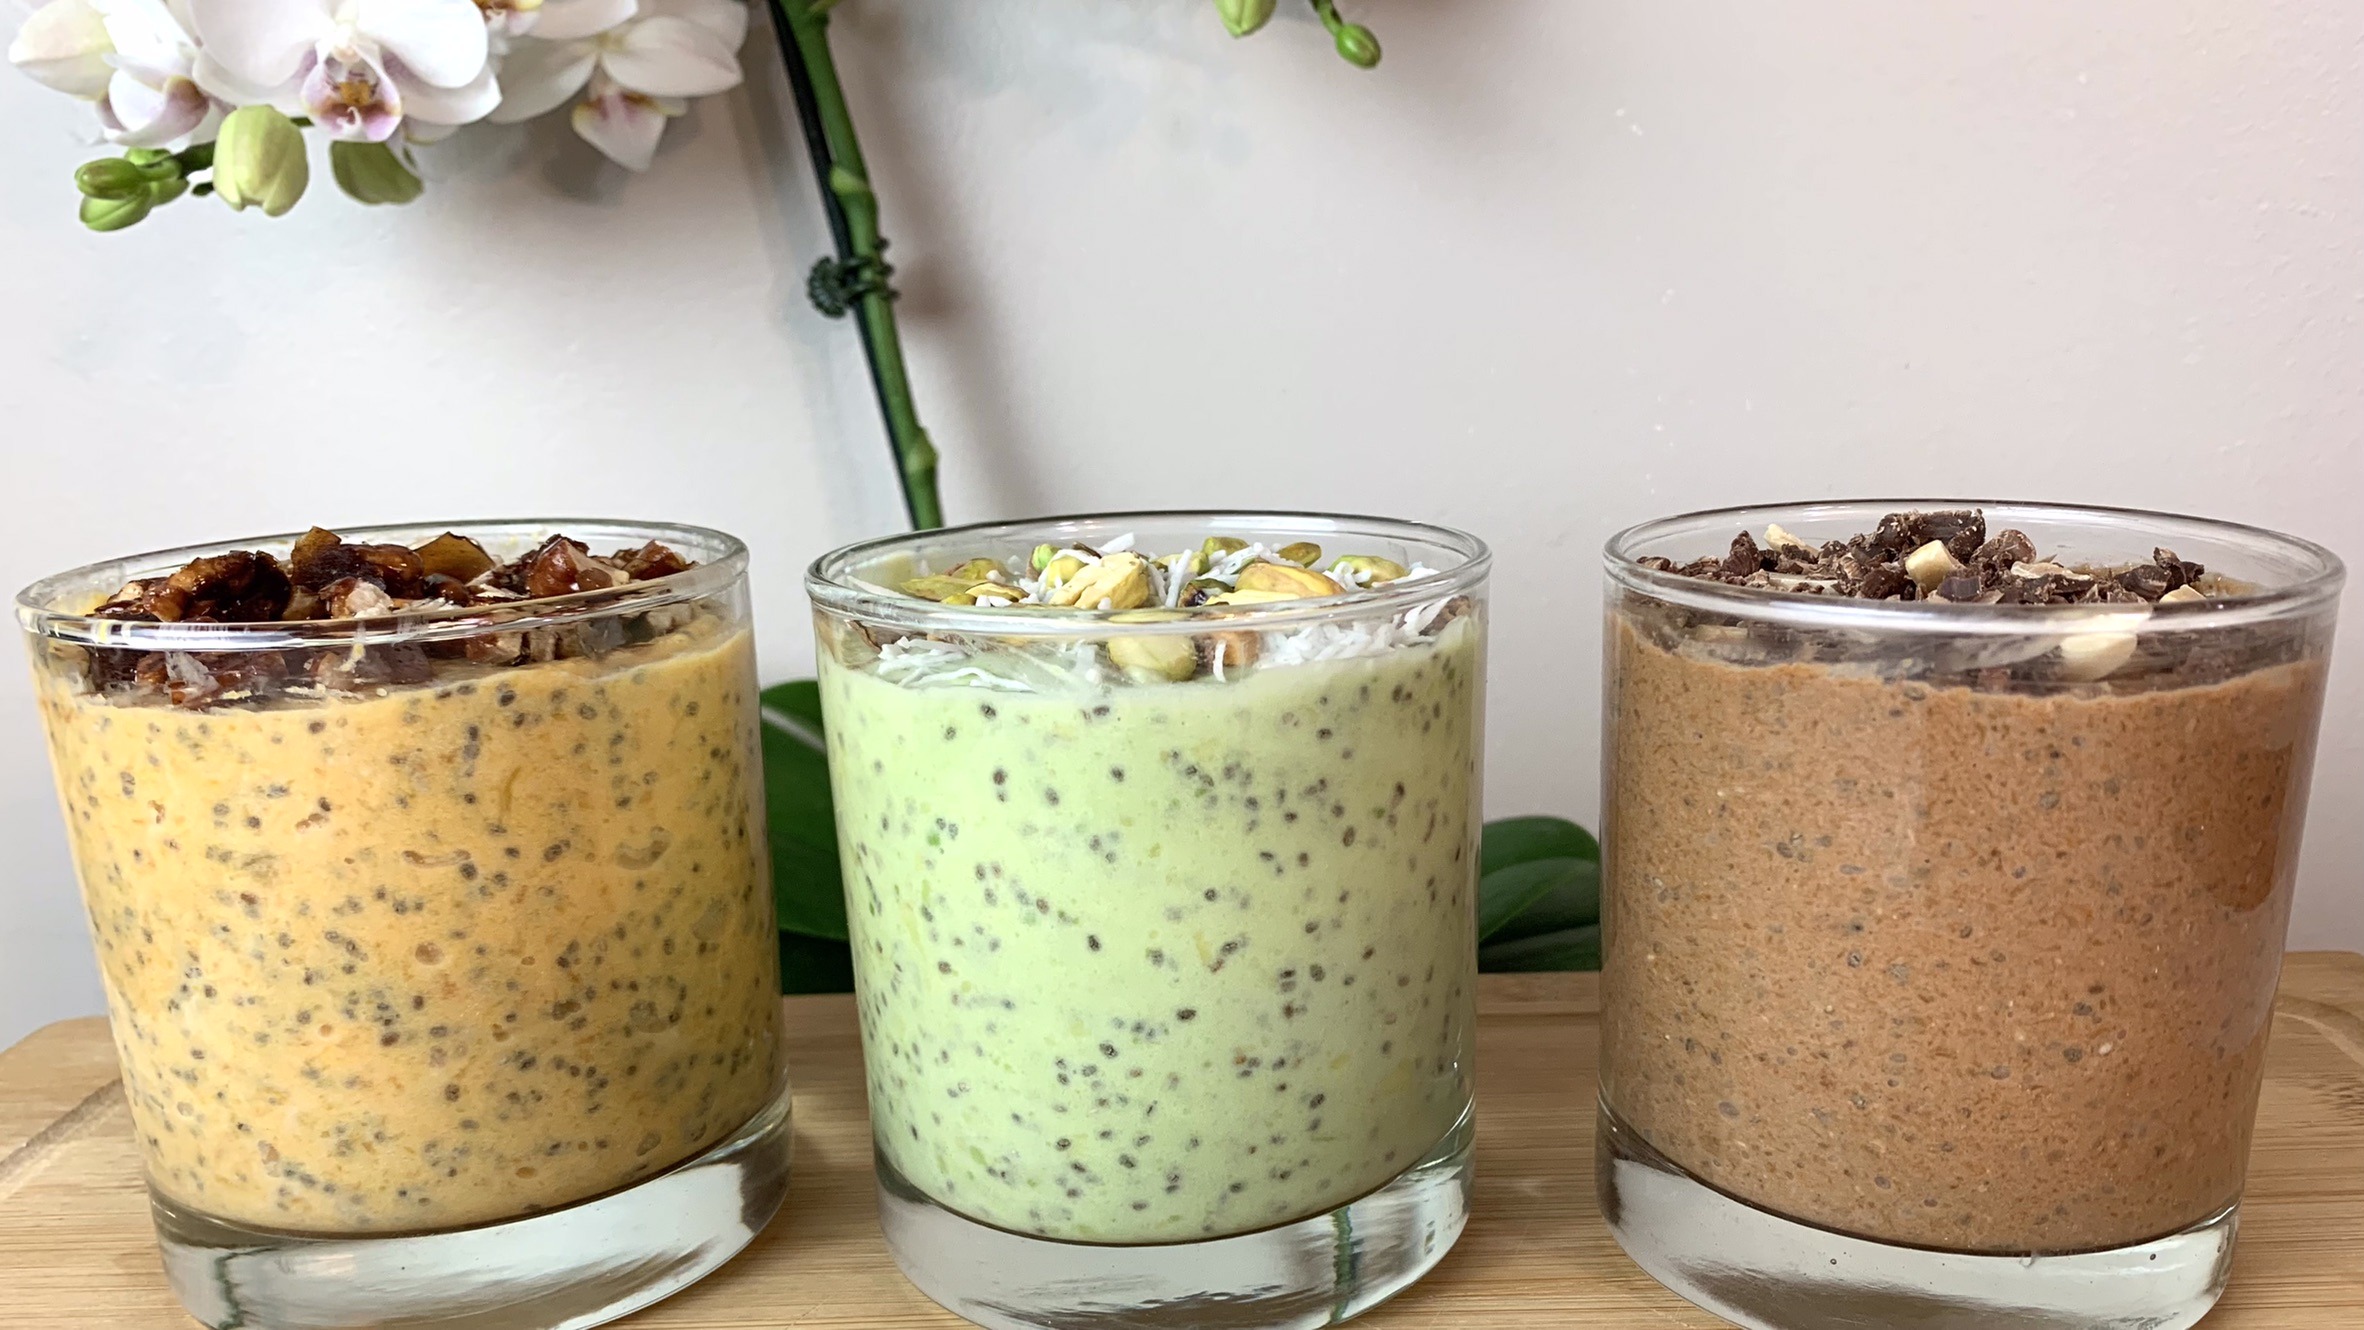
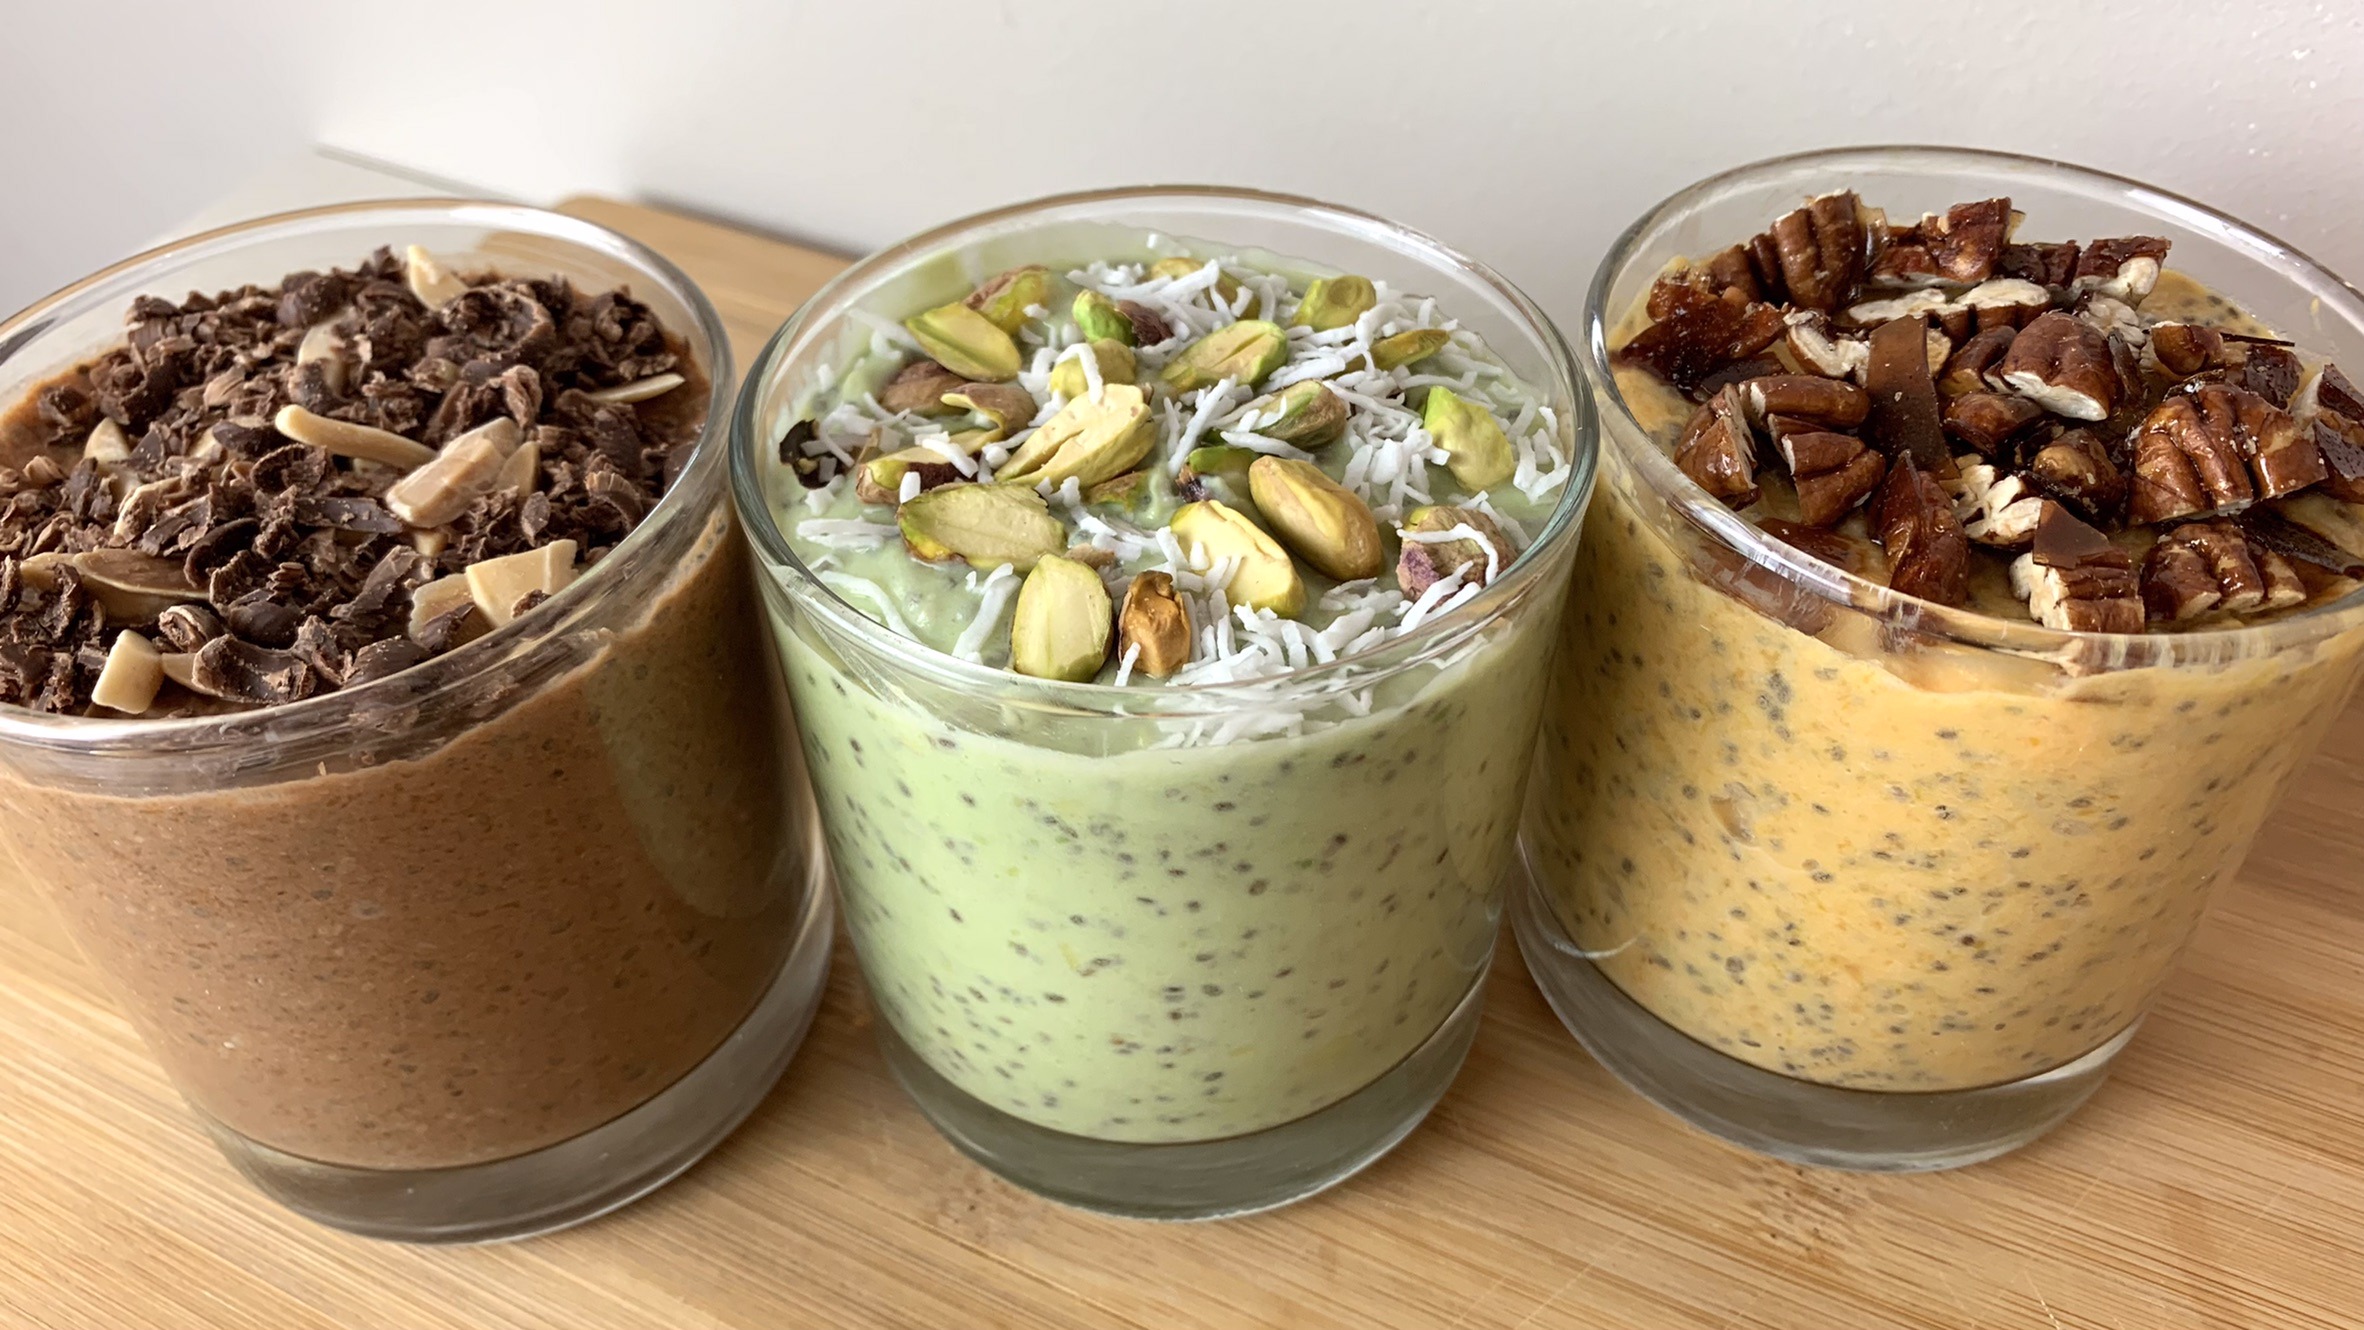
Avocado Chia Pudding:
- ½ cup plain yogurt
- ½ cup (80g) mashed avocado
- 2 tbsp. chia seeds
- 1 tbsp. maple syrup
- Handful of pistachios (for garnish)
- Shredded coconut (for decoration)
Sweet Potato Chia Pudding:
- ½ cup plain yogurt
- ½ cup steamed and mashed sweet potato
- 2 tbsp. chia seeds
- 1 tbsp. maple syrup
- Handful of pecans (for garnish)
Pumpkin Chia Pudding:
- ½ cup plain yogurt
- ½ cup steamed and mashed pumpkin (puréed pumpkin)
- 2 tbsp. chia seeds
- 1 tbsp. maple syrup
- 1 tbsp. cocoa powder
- 1 tbsp. shredded chocolate (for garnish)
- Handful of almond slices (for garnish)
Directions
Avocado Chia Pudding:
- In a mixing bowl, combine plain yogurt, mashed avocado, chia seeds, and maple syrup, and stir until well incorporated.
- Refrigerate the mixture for at least 1 hour.
- Garnish with pistachios and shredded coconut.
Sweet Potato Chia Pudding:
- Mix plain yogurt, mashed sweet potato, chia seeds, and maple syrup in a bowl until thoroughly combined.
- Refrigerate the mixture for at least 1 hour.
- Garnish with maple roasted pecans.
Pumpkin Chia Pudding:
- Combine plain yogurt, mashed pumpkin, chia seeds, maple syrup, and cocoa powder in a mixing bowl.
- Refrigerate the pudding mixture for 1 hour.
- Garnish with shredded chocolate and almond slices.
Serving Information
- Servings: 3 Puddings
- Prep Time: 20 minutes
- Time in the Fridge: 1 hour
Nutritional Information
- Note: Nutritional information can vary based on the ingredients you use. Calculate it according to your specific choices.
Storage and Recommendations
- Store the chia pudding in airtight containers in the refrigerator for up to 3 days.
- Enjoy these nutritious and delicious chia puddings as wholesome breakfasts, satisfying snacks, or guilt-free desserts.