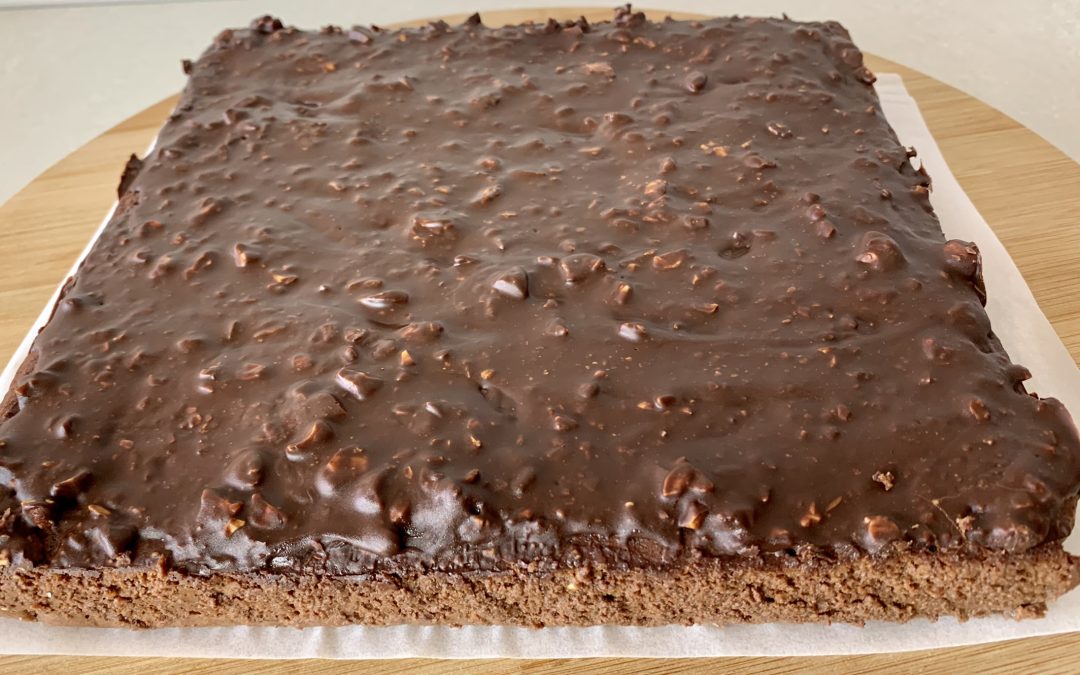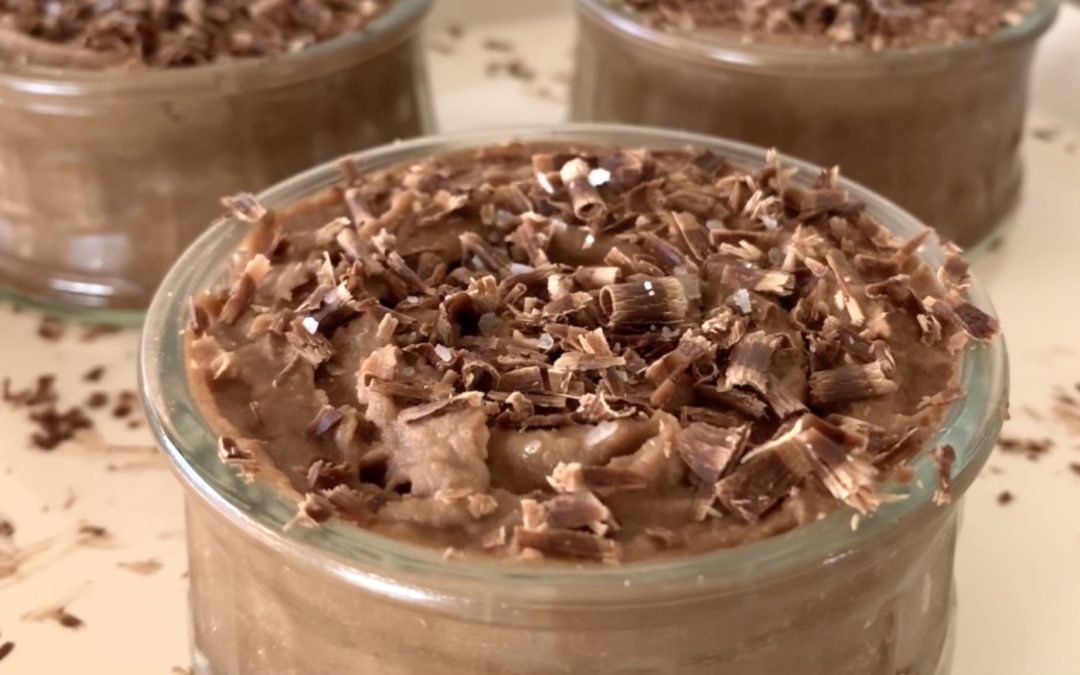
Light Chocolate Mousse
Healthy Chocolate Mousse

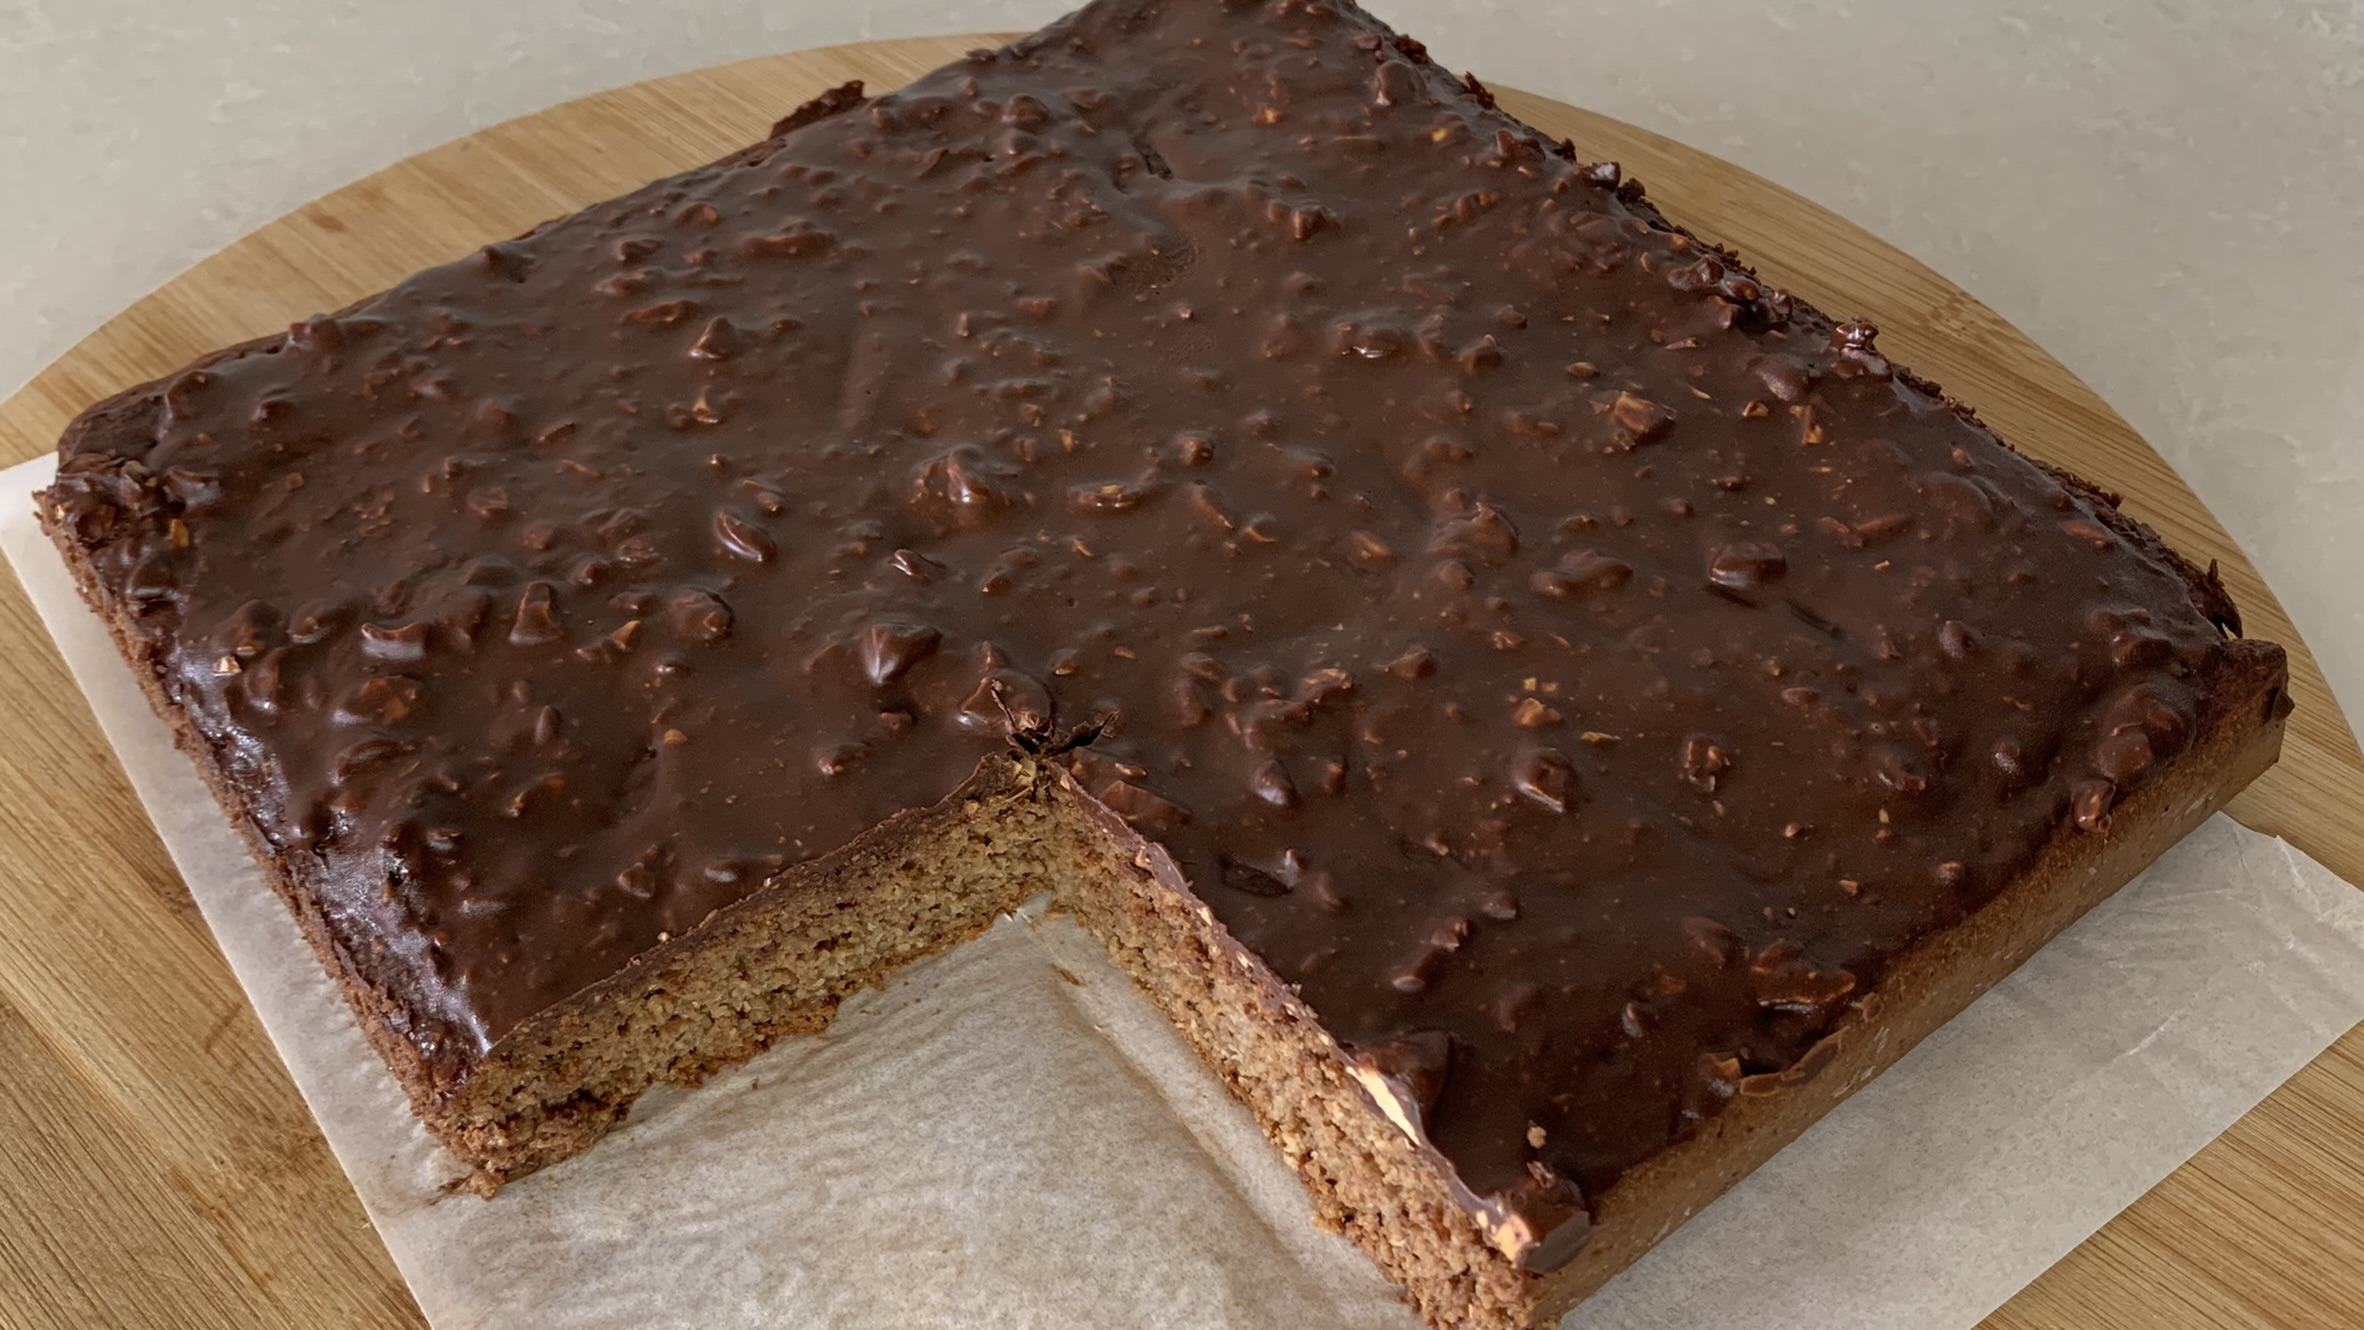
If you’re anything like me, chocolate is one of those things you just can’t live without. And what could be better than a chocolate mousse that’s not only decadent and smooth but also good for you? That’s right! This Healthy Chocolate Mousse is your new best friend when those chocolate cravings hit, and it’s packed with wholesome ingredients to boot.
The magic of this mousse comes from sweet potatoes. Yep, you read that right! Sweet potatoes aren’t just for savory dishes, they’re the secret to achieving that creamy, dreamy texture in this dessert. Plus, they’re loaded with fiber, which keeps you feeling full and satisfied. Sweet potatoes are also a fantastic source of vitamins A and C, both of which are essential for keeping your skin glowing and your immune system strong. And because they’re naturally sweet, they help us cut down on added sugars. By including this mousse in your diet, you’re treating yourself to something delicious and nourishing at the same time.
So go ahead, dive into this Healthy Chocolate Mousse, and enjoy every guilt-free spoonful. You deserve it!
Ingredients
- 250 g mashed sweet potato
- 100 g chocolate of your choice
- Pinch of kosher salt
Directions
- Steam the sweet potatoes until tender, then mash them into a smooth purée.
- Melt the chocolate in a bain-marie until smooth.
- Combine the melted chocolate with the sweet potato purée in a mixing bowl.
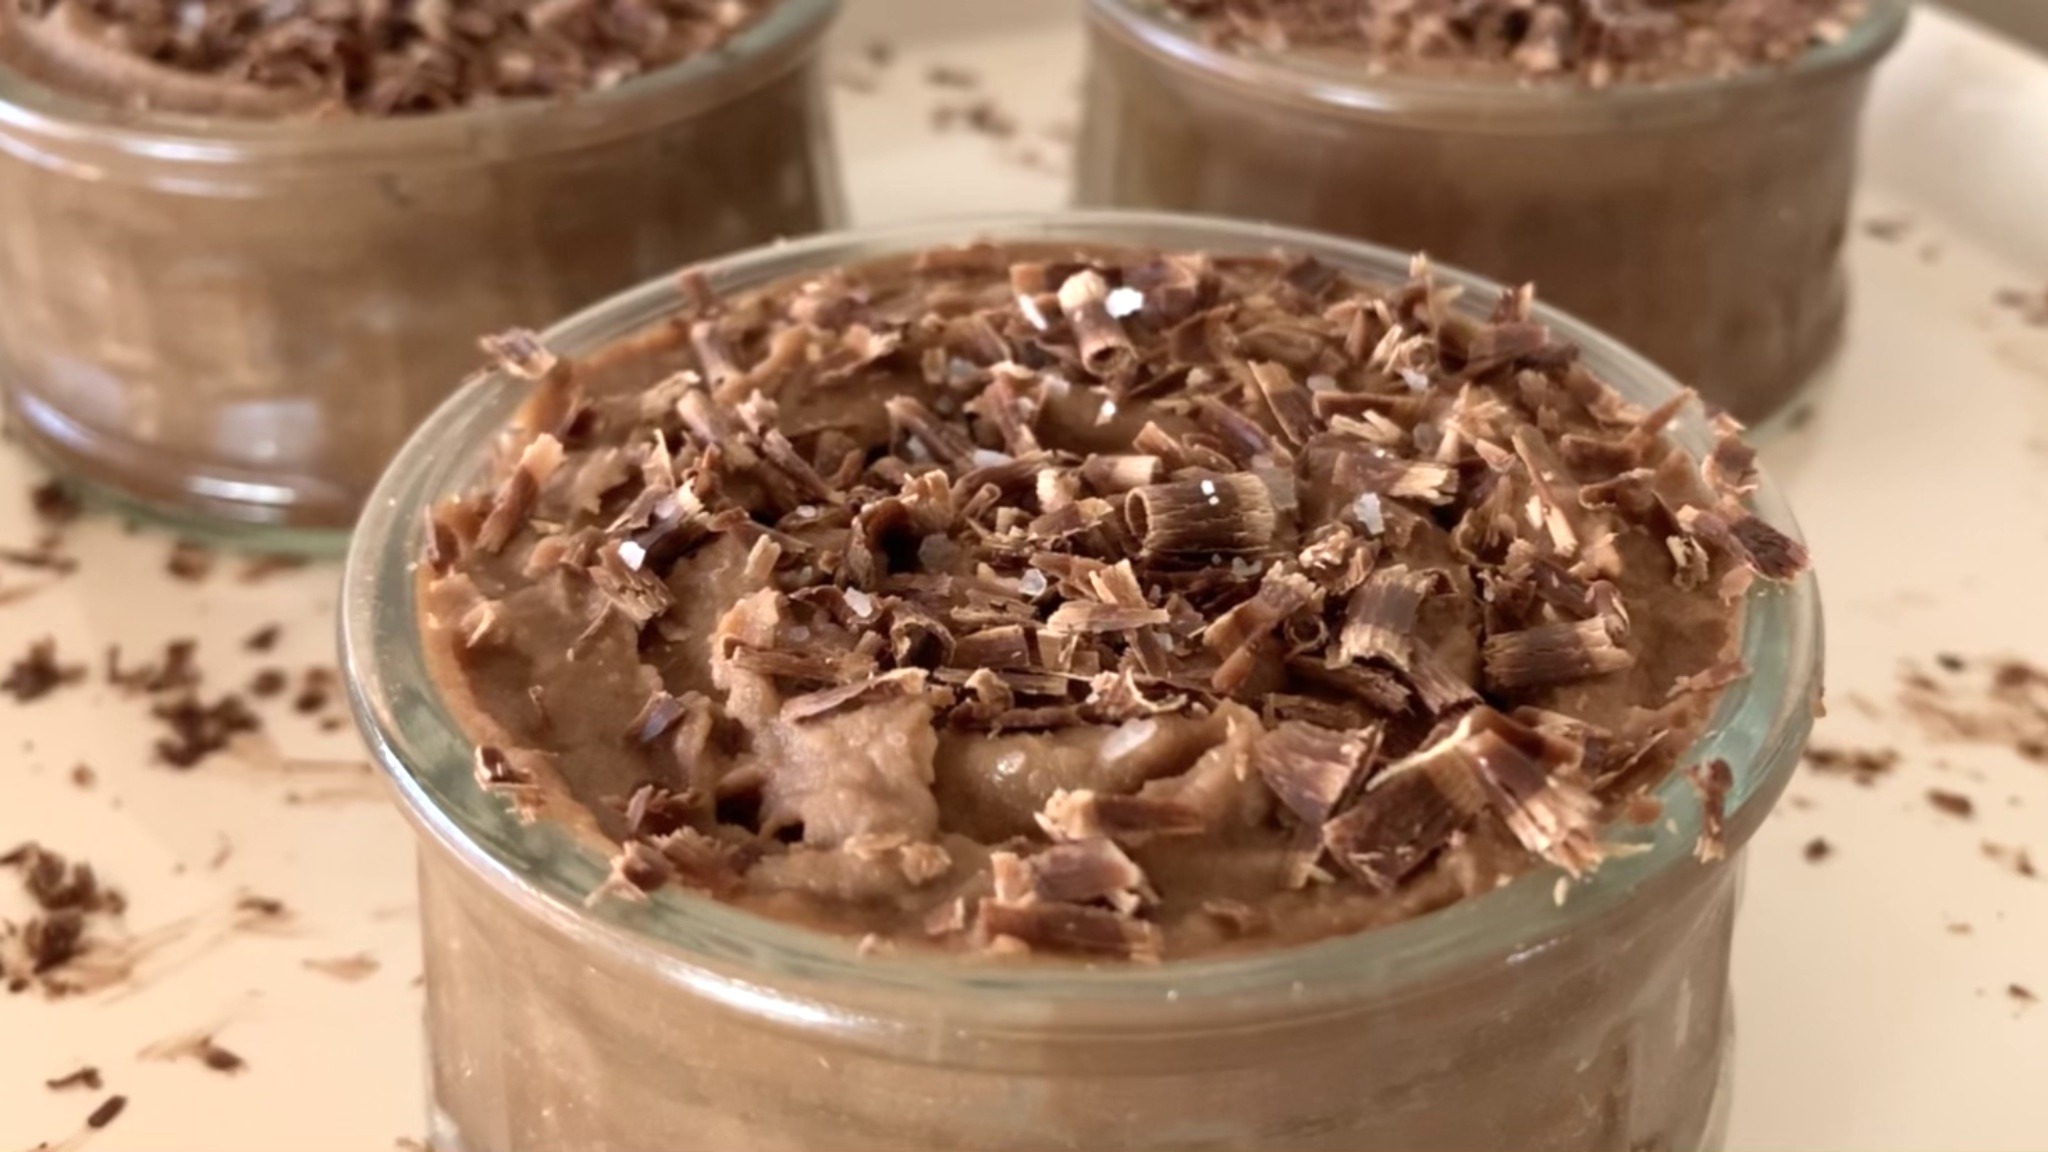
- Whisk vigorously until the mixture achieves a mousse-like texture.
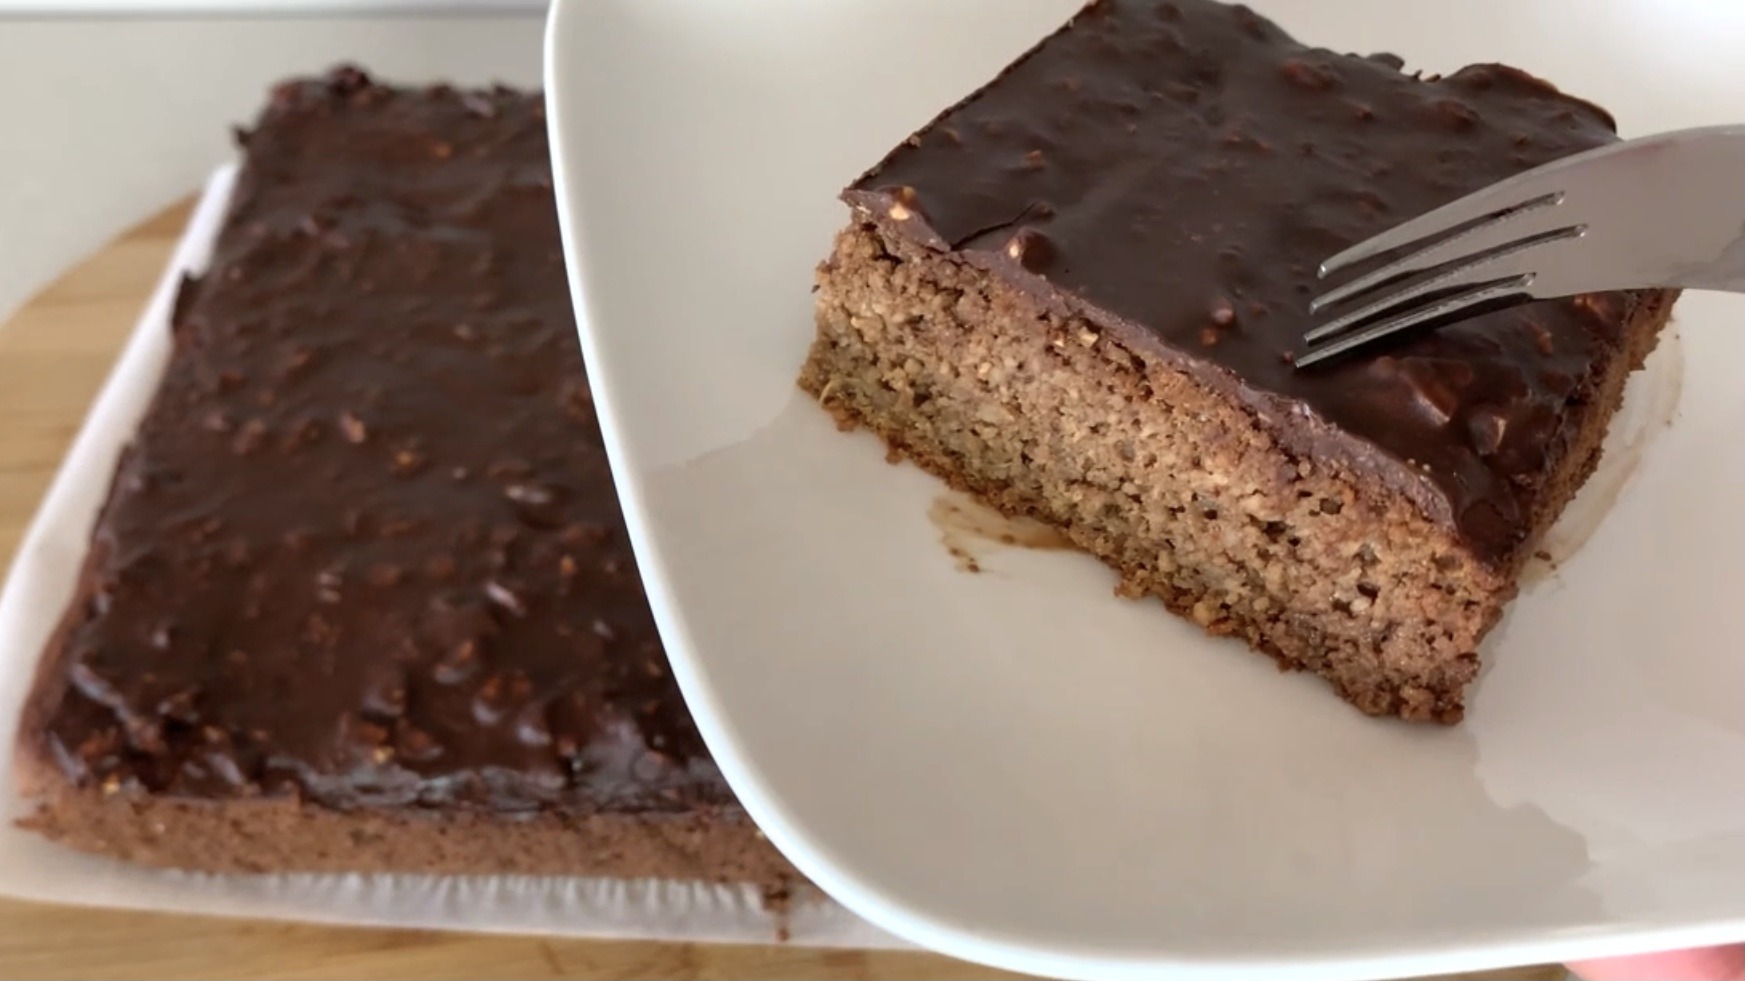
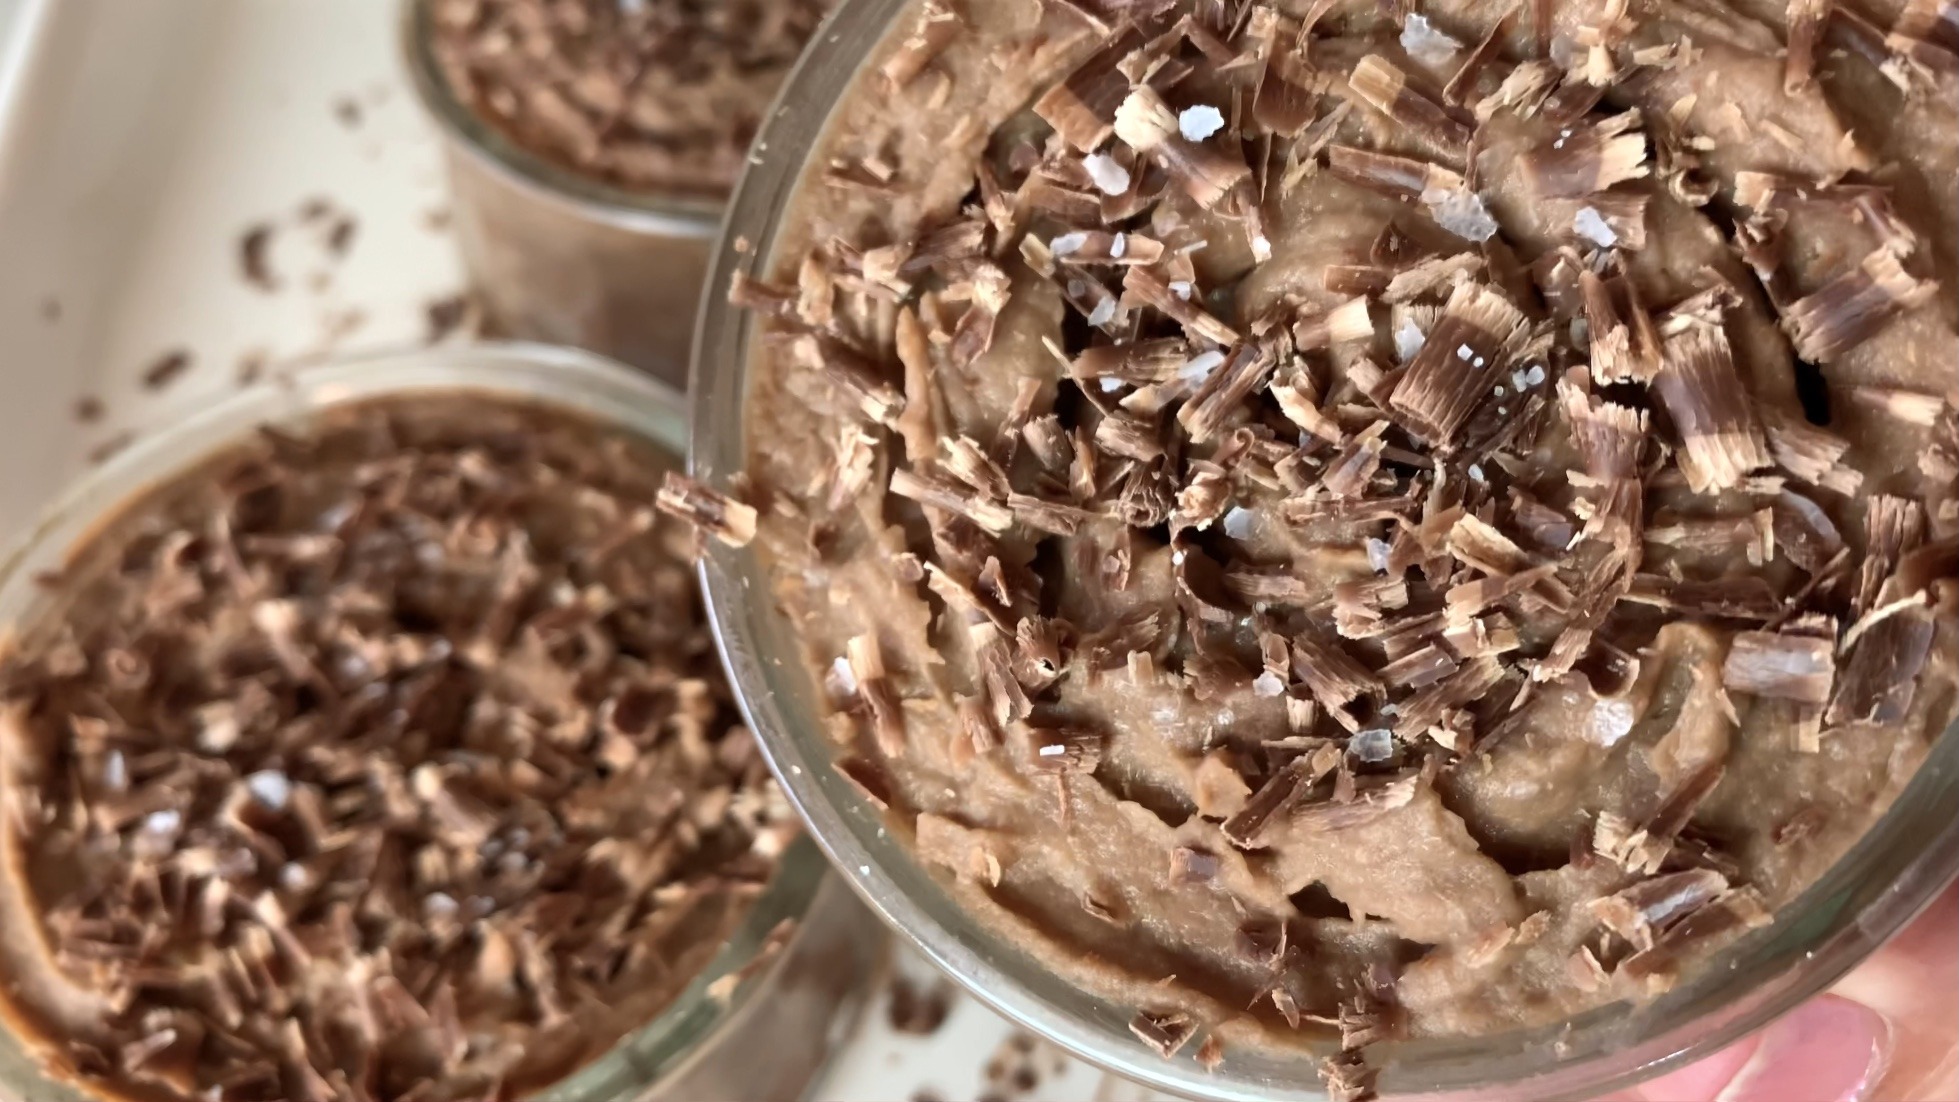
- Divide into serving dishes, garnish with chocolate shavings and a pinch of kosher salt.
- Chill in the refrigerator for at least 30 minutes before serving.
Serving Information
- Servings: 3
- Prep Time: 20 minutes
- Time in the Fridge: 1 hour
Nutritional Information (Per Serving)
- Energy: 271 calories
- Protein: 3.91 g
- Fat: 14.25 g
- Carbohydrates: 32.07 g
- Fiber: 6.1 g
Storage and Recommendations
- Store any leftover chocolate mousse in an airtight container in the refrigerator for up to 1 week.
- Experiment with different types of chocolate to customize the flavor profile to your liking.
- This mousse is both vegan and gluten-free, making it a delightful treat that fits many dietary preferences.


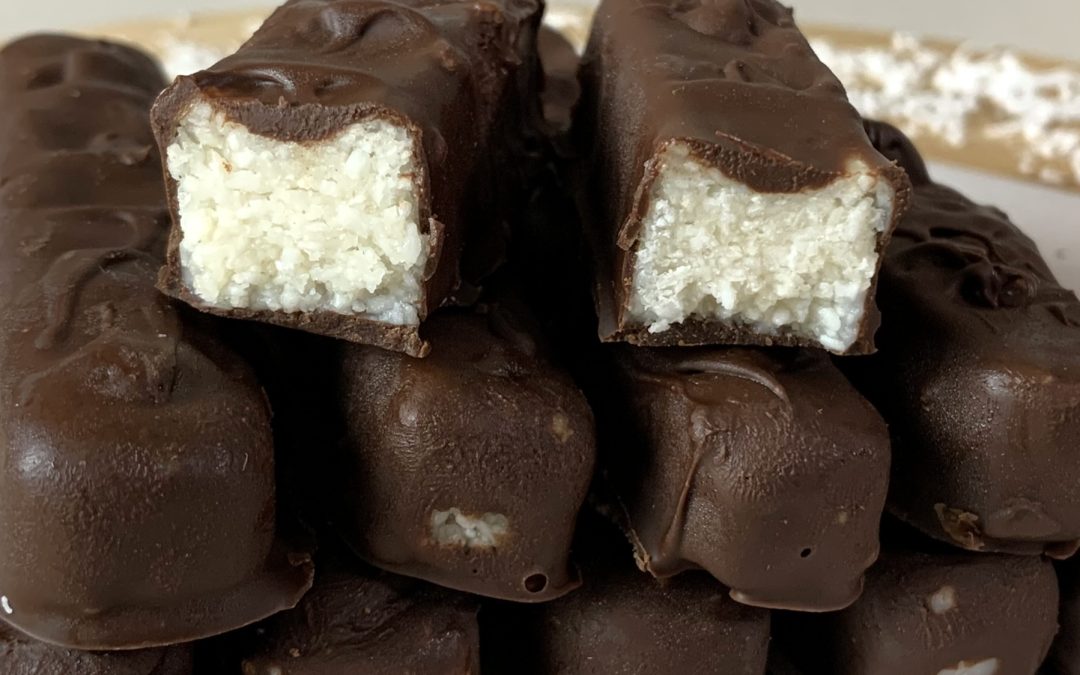

 Making these bars at home allows you to control the ingredients, ensuring they are fresh, natural, and free from artificial additives. They are also incredibly versatil, you can customize them with different coatings like nuts or dried fruits to suit your preferences. Whether you’re looking for a snack to enjoy during your coffee break or a sweet treat to satisfy your dessert cravings, these homemade bounties are the perfect choice.
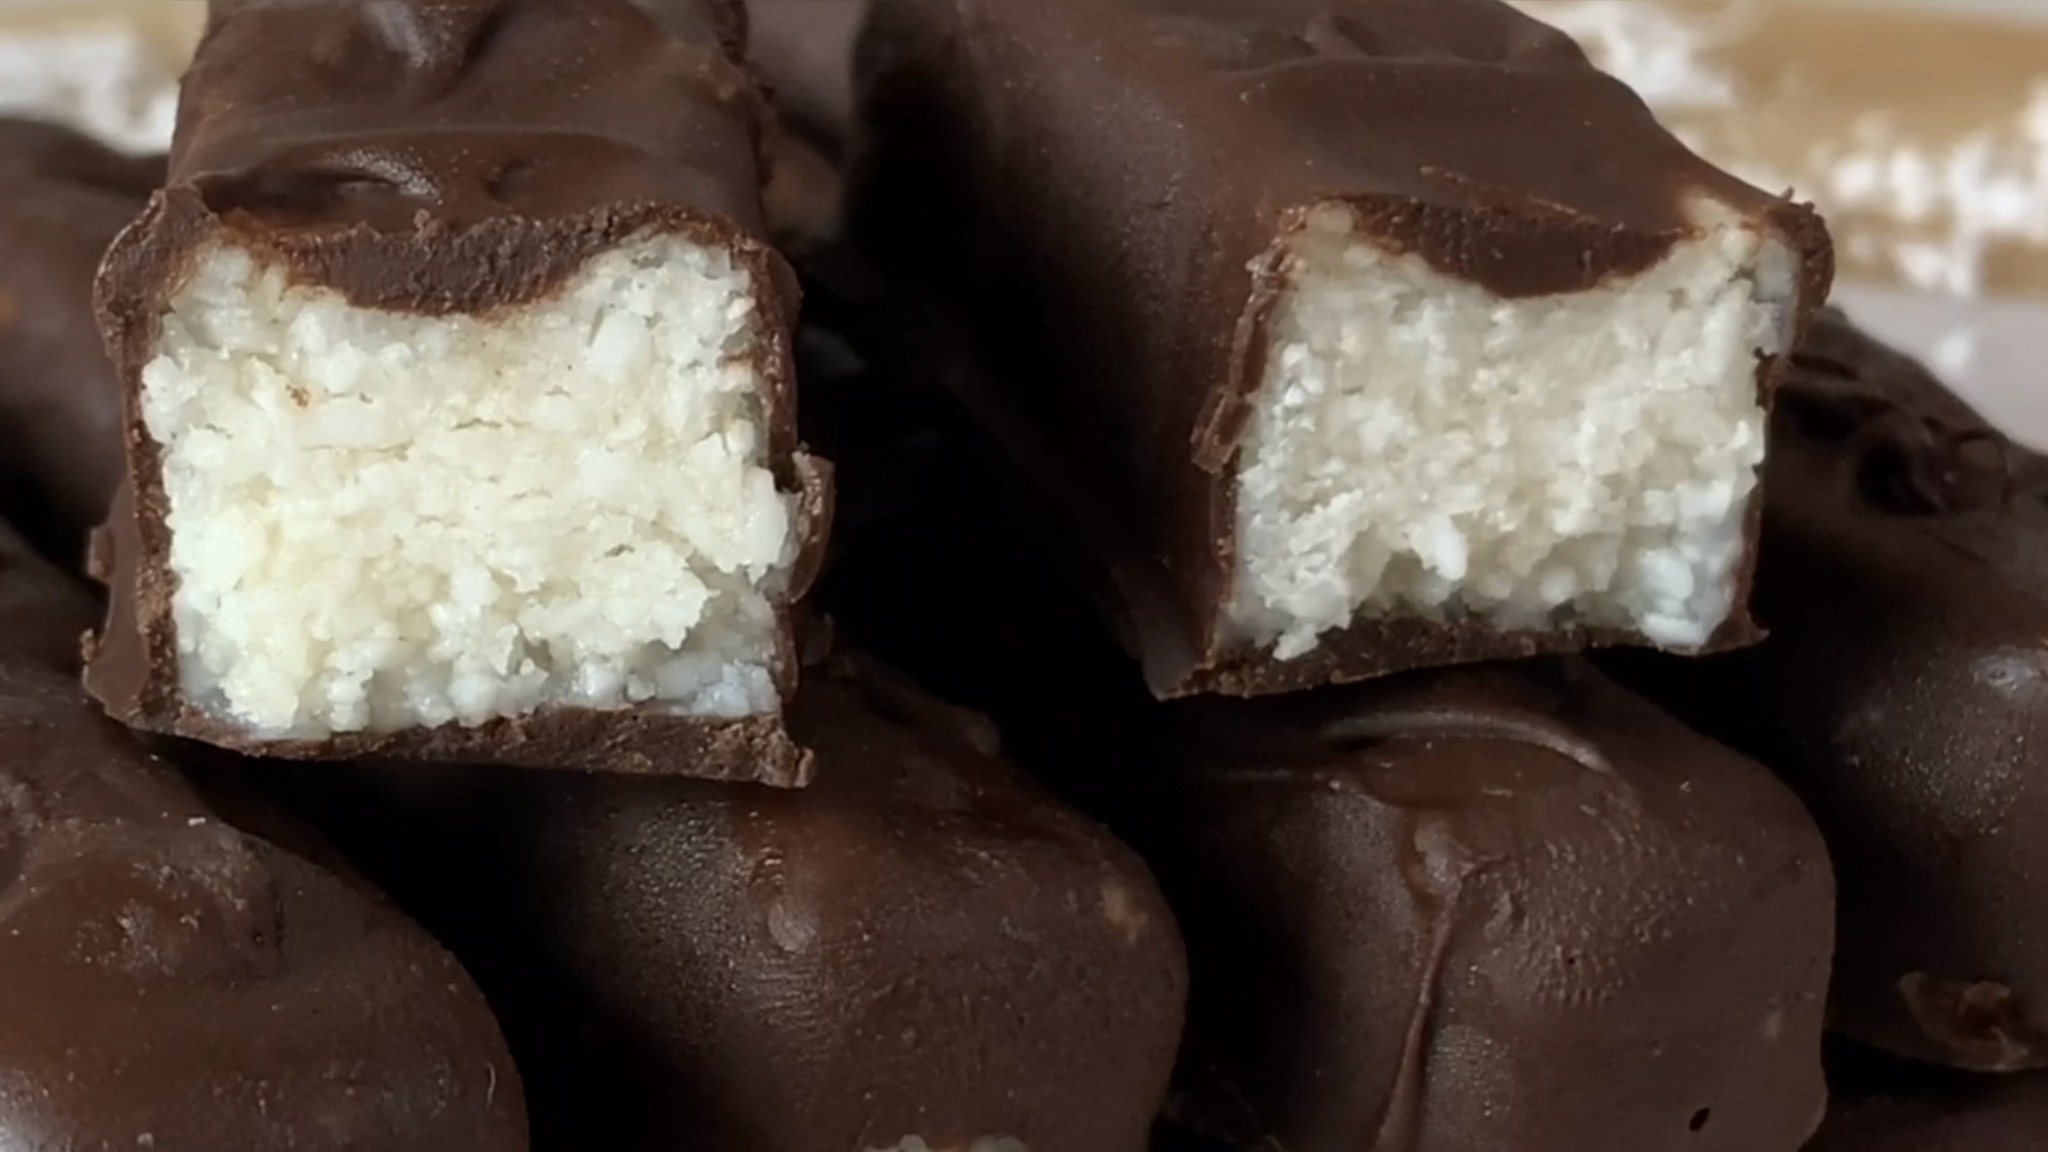