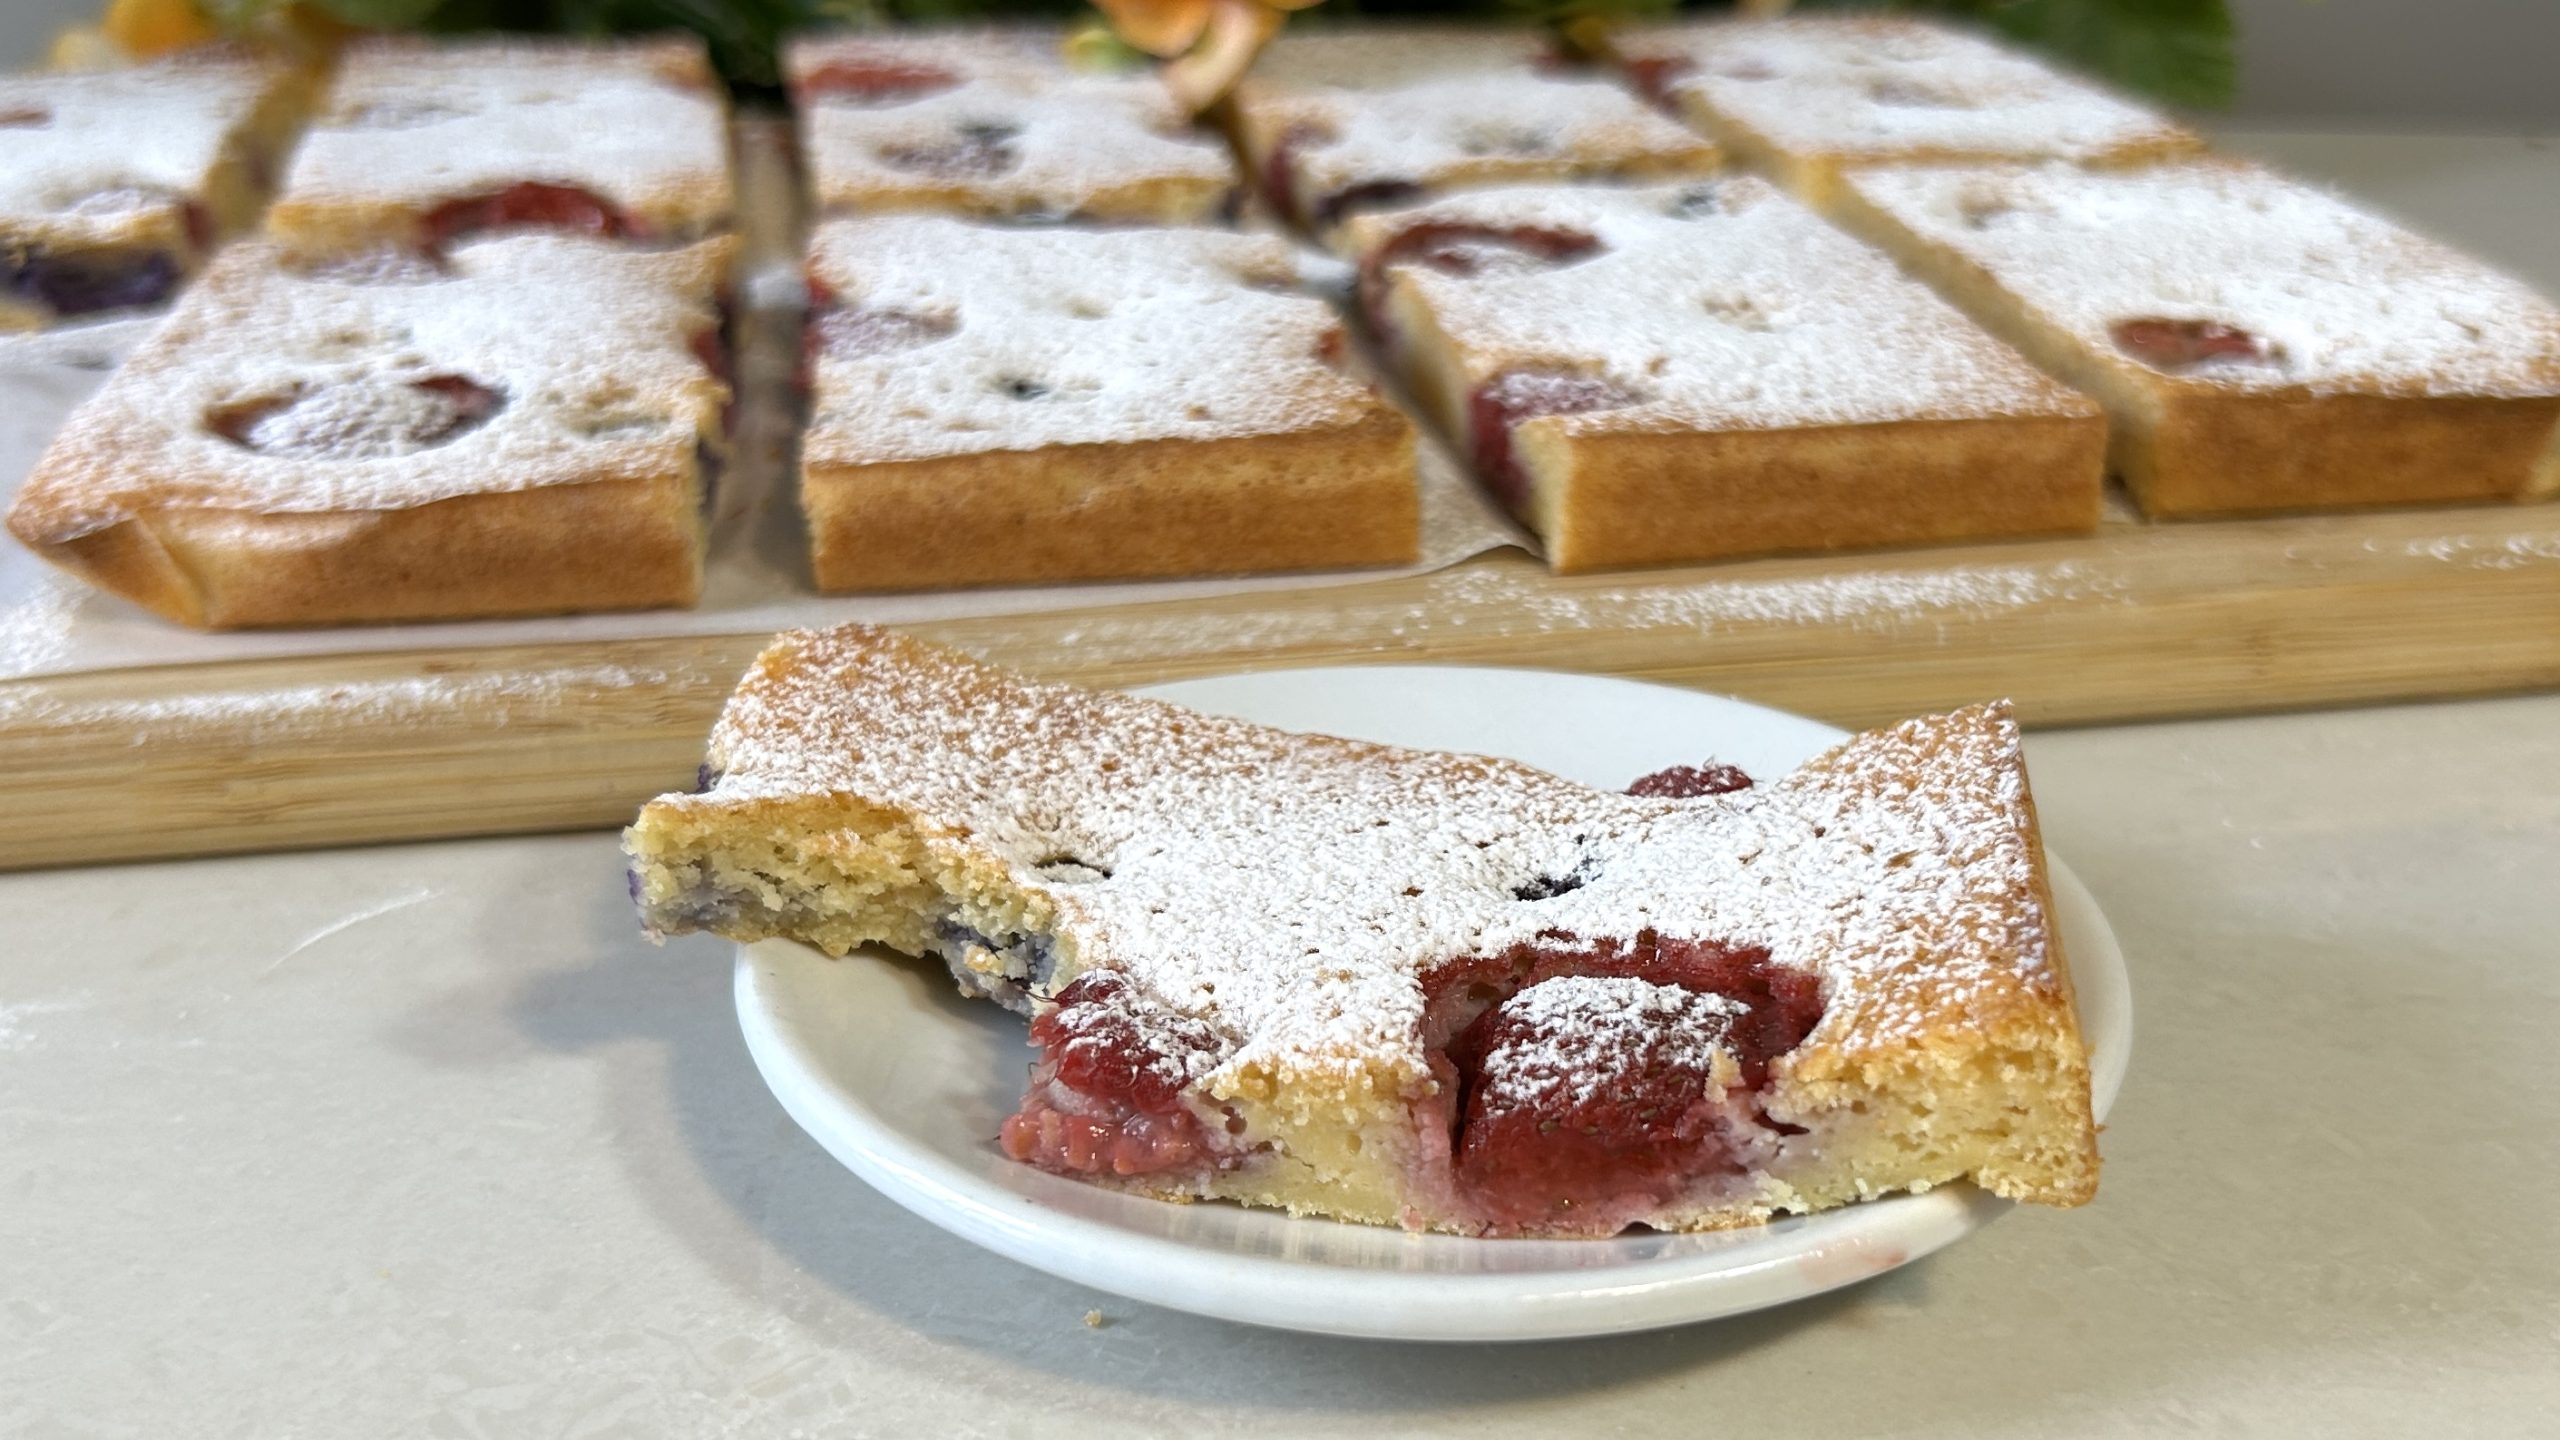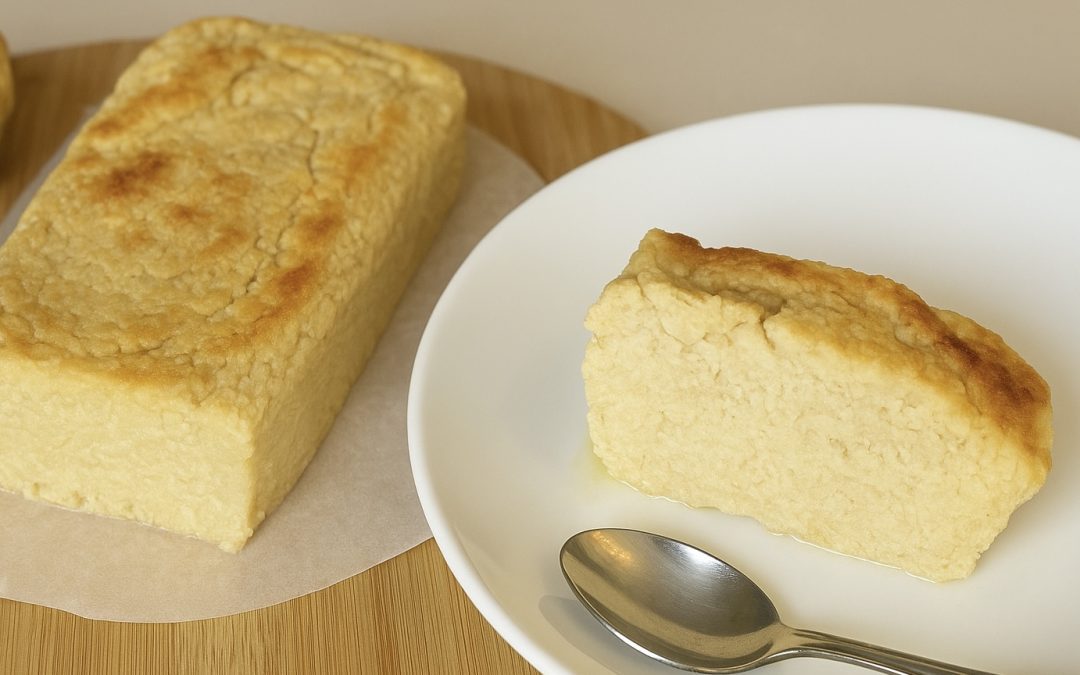
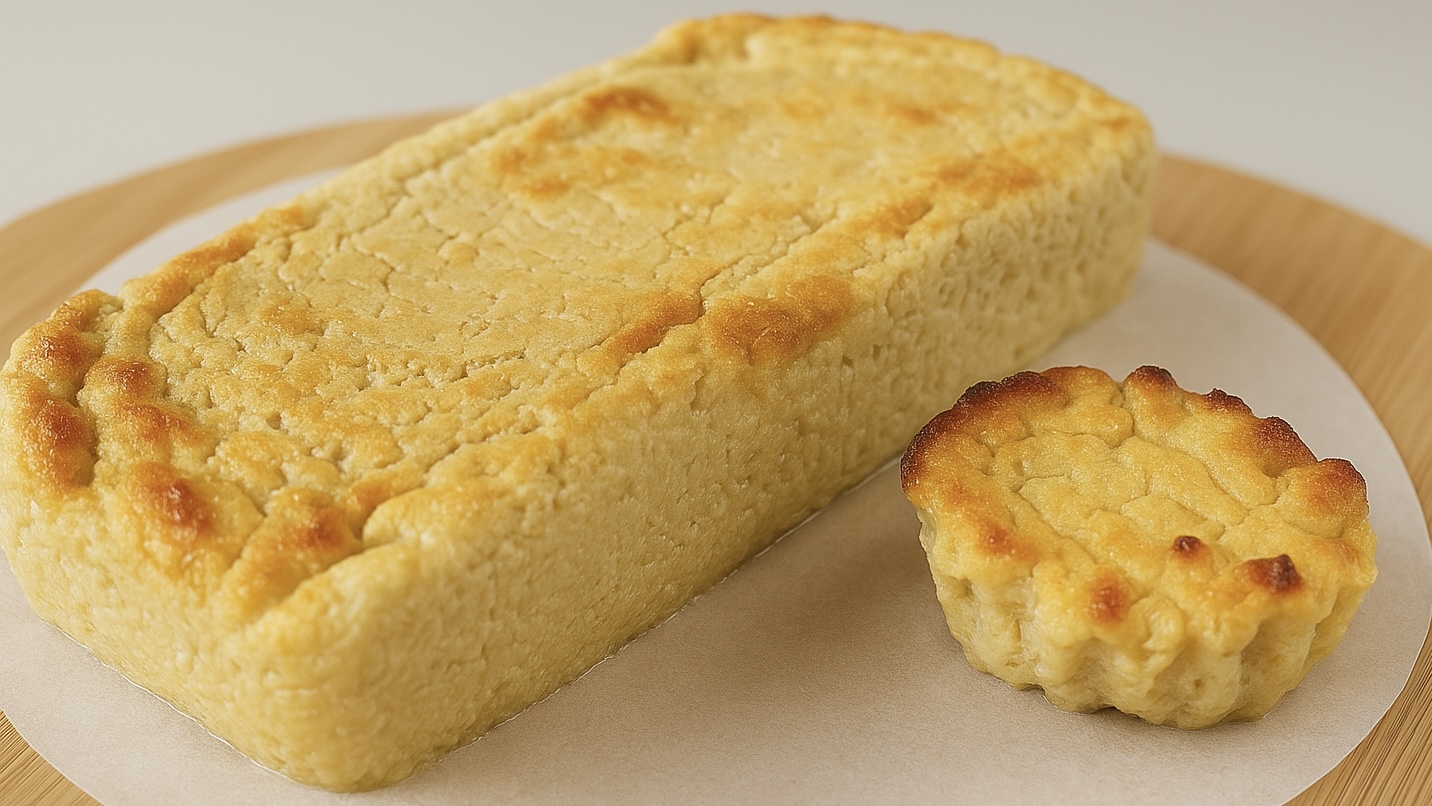
Apple Cheesecake
Apple Cheesecake
If you’re someone who’s constantly torn between satisfying a sweet tooth and sticking to a health-conscious lifestyle, this recipe is your answer. This Apple Cheesecake isn’t just another dessert, it’s a feel-good treat that aligns with your wellness goals. It’s crafted from real, whole ingredients, and has that cozy, creamy texture you’d expect from a traditional cheesecake, but without the sugar overload or any processed fuss. Just blend, bake, and chill, it’s that simple.
What makes it especially remarkable is how this cake naturally helps you feel fuller longer. Thanks to the generous amount of apples it contains, it’s rich in soluble fiber and pectin, two natural compounds known to support satiety, slow down digestion, and help stabilize blood sugar levels. In fact, these properties mimic the satiety effects of modern weight-loss drugs like Ozempic, but without side effects or any need for prescriptions. So, whether you’re craving a comforting dessert or looking for something that fits into a calorie-conscious plan, this cake is a perfect choice!
Let’s talk about apples, the principle ingredient in this dessert. Apples are not only versatile and delicious, but they’re also nutrition powerhouses. They’re rich in fiber (especially pectin), vitamin C, and a wide variety of antioxidants and polyphenols. These compounds support gut health, fight inflammation, and may even help reduce the risk of chronic diseases like heart disease and type 2 diabetes. Including apples in your regular diet is a smart move, they’re easy to digest, help manage blood sugar levels, and are naturally low in calories while keeping you satisfied. This cake is a beautiful, tasty way to bring more of that goodness into your everyday routine.
This dessert is Naturally sweetened, gluten-free, low in calories, and high in protein and fiber.
Ingredients
-
4 large apples (550 g peeled and cored)
-
3 eggs
-
1 cup (200 g) cottage cheese
-
1 tsp. baking powder
-
1 tsp. vanilla extract
Directions
- Peel and core the apples, then chop them into large chunks.
- Place the apple chunks into a large mixing bowl or a food processor.
- Add the eggs and cottage cheese to the bowl. Blend everything using a hand mixer or food processor until smooth and batter-like.
- Add in the baking powder and vanilla extract. Stir until everything is fully combined.
- Pour the batter into a silicone cake pan. If you’re using a regular cake pan, be sure to line it with parchment paper.
- Gently shake or tap the pan to help level the batter.
- Preheat your oven to 380°F (194°C).
- Bake the cake for 45 minutes or until the edges and top are golden.
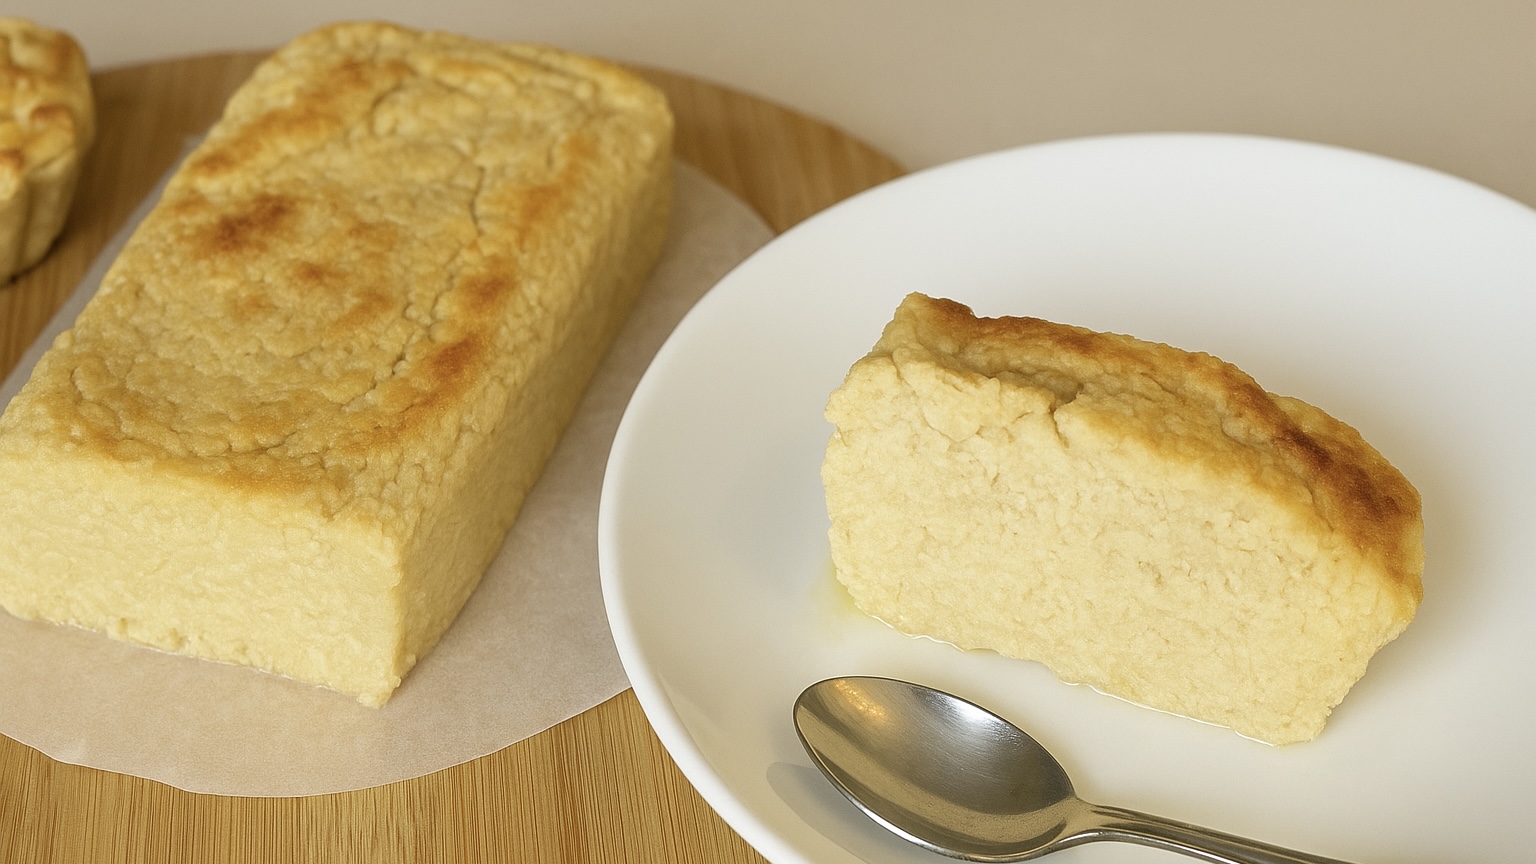
- Take it out of the oven—the center may still jiggle a little, and that’s perfect. Let the cake cool completely at room temperature.
- Once cooled, transfer it to the fridge and let it chill for at least 2 hours so it sets like a cheesecake.
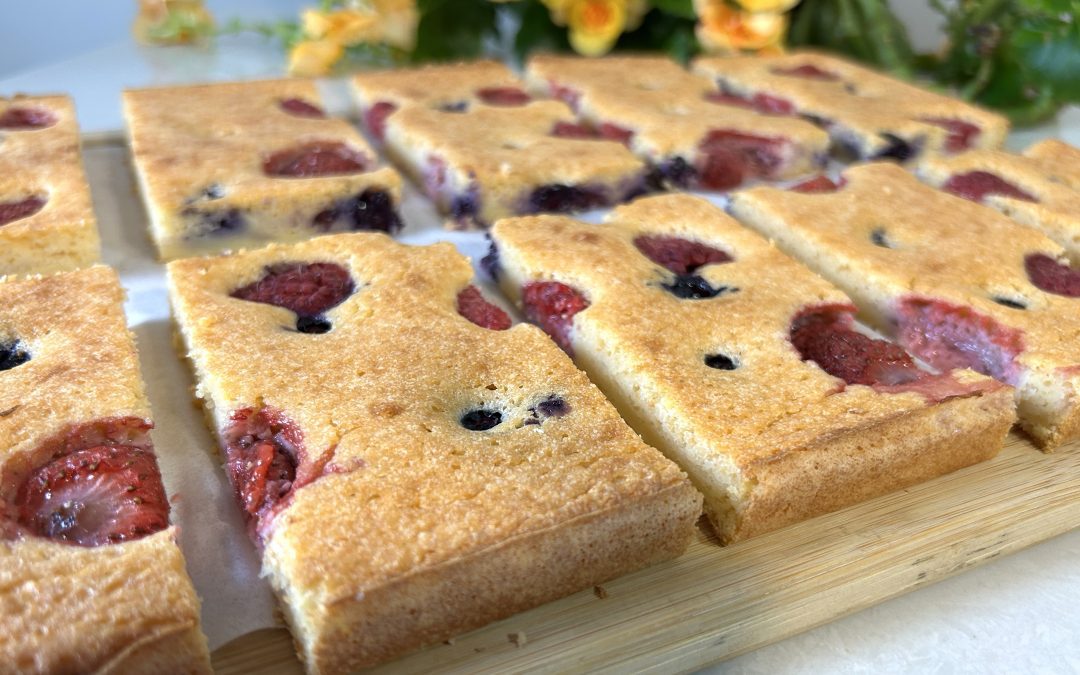
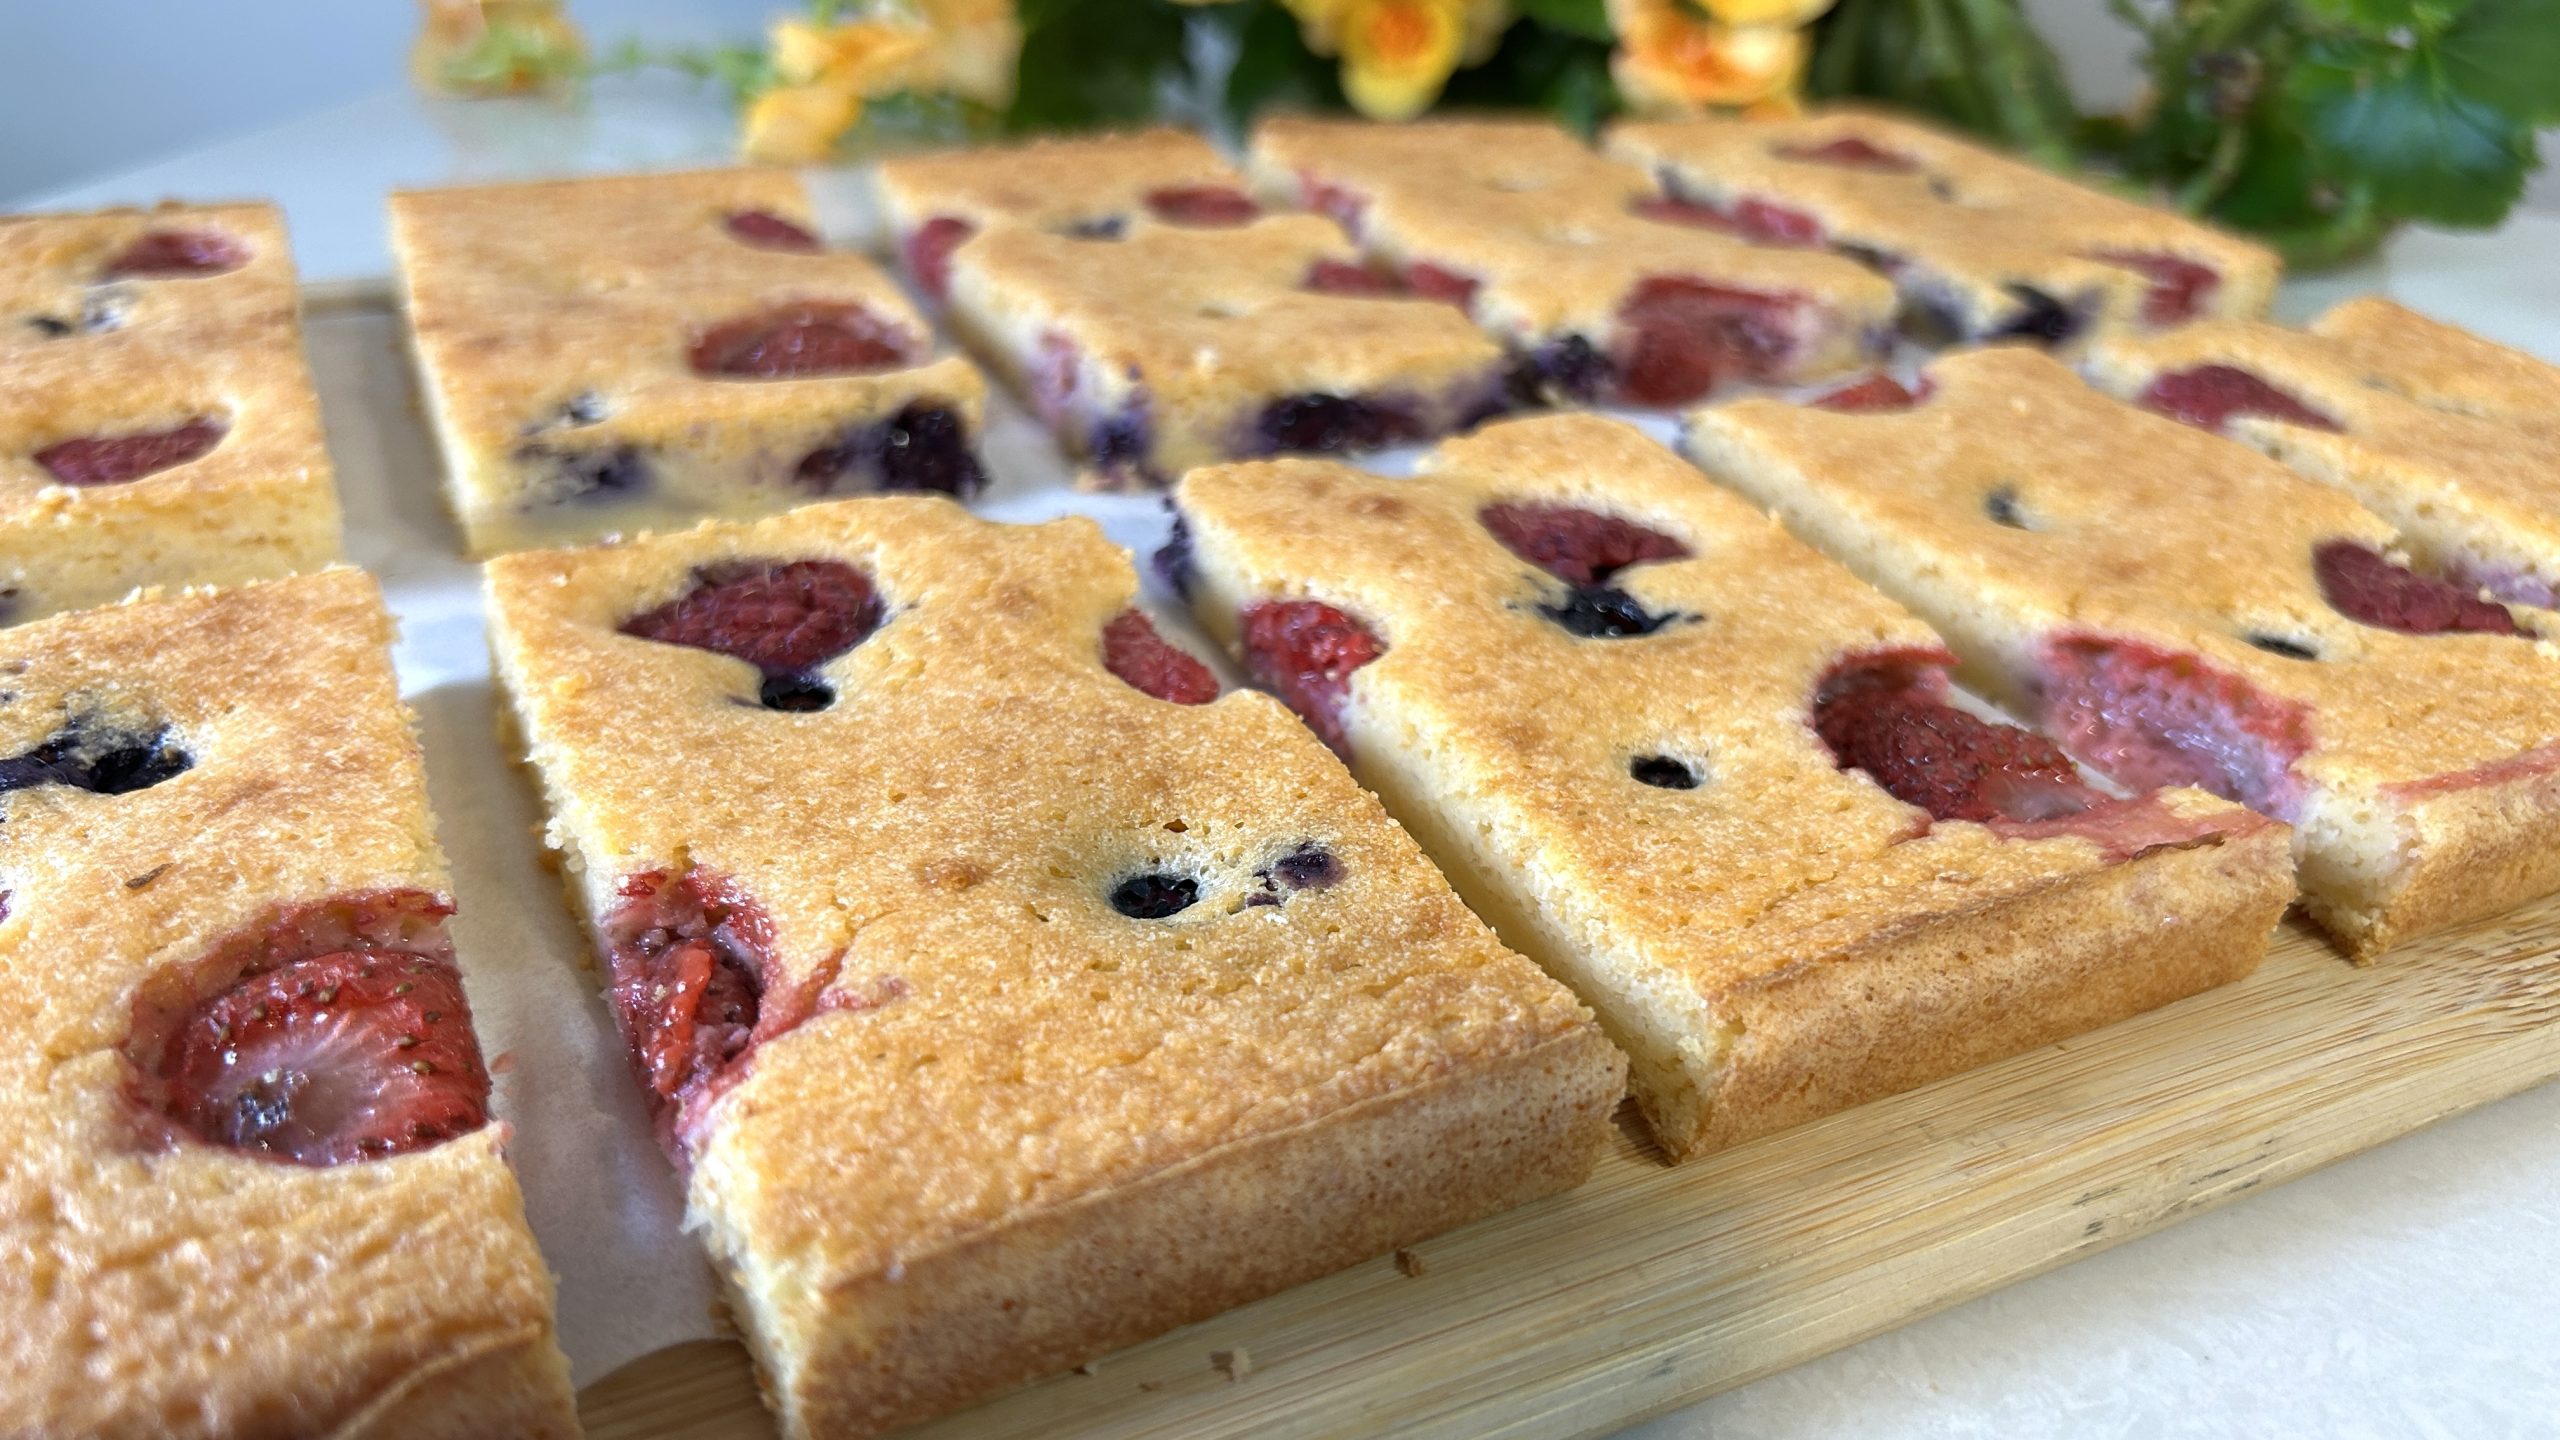
- Slice, serve, and enjoy the naturally sweet, satisfying result!
Prep Time: 20 minutes
Baking Time: 45 minutes
Chilling Time: 2 hours in the fridge
Servings: 8
Nutritional Information (per serving)
-
Energy: 96 calories
-
Protein: 5.35 g
-
Fat: 3 g
-
Carbohydrates: 12.56 g
-
Fiber: 2 g
Storage
-
Store leftovers in an airtight container in the fridge for up to 5 days.
-
This cheesecake actually tastes better the next day as the flavors meld beautifully.
-
For added indulgence, serve with a dollop of Greek yogurt, a drizzle of maple syrup, or even a scoop of your favorite ice cream.