Peanut Butter & Oat Bars
Aug 21, 2024
Peanut Butter & Oat Bars

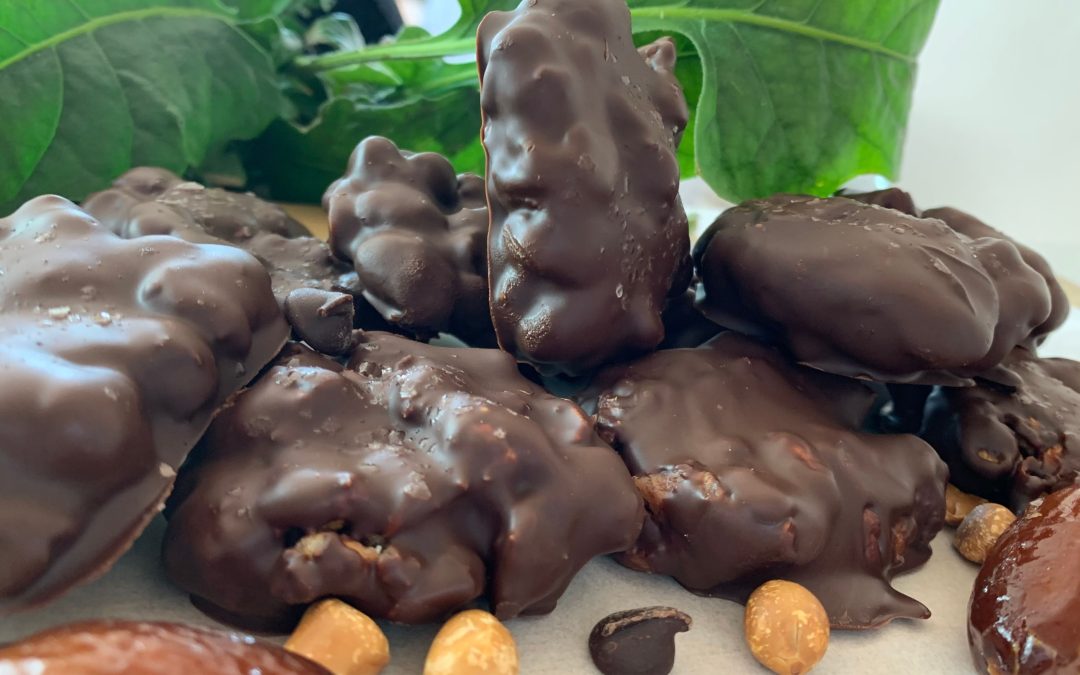
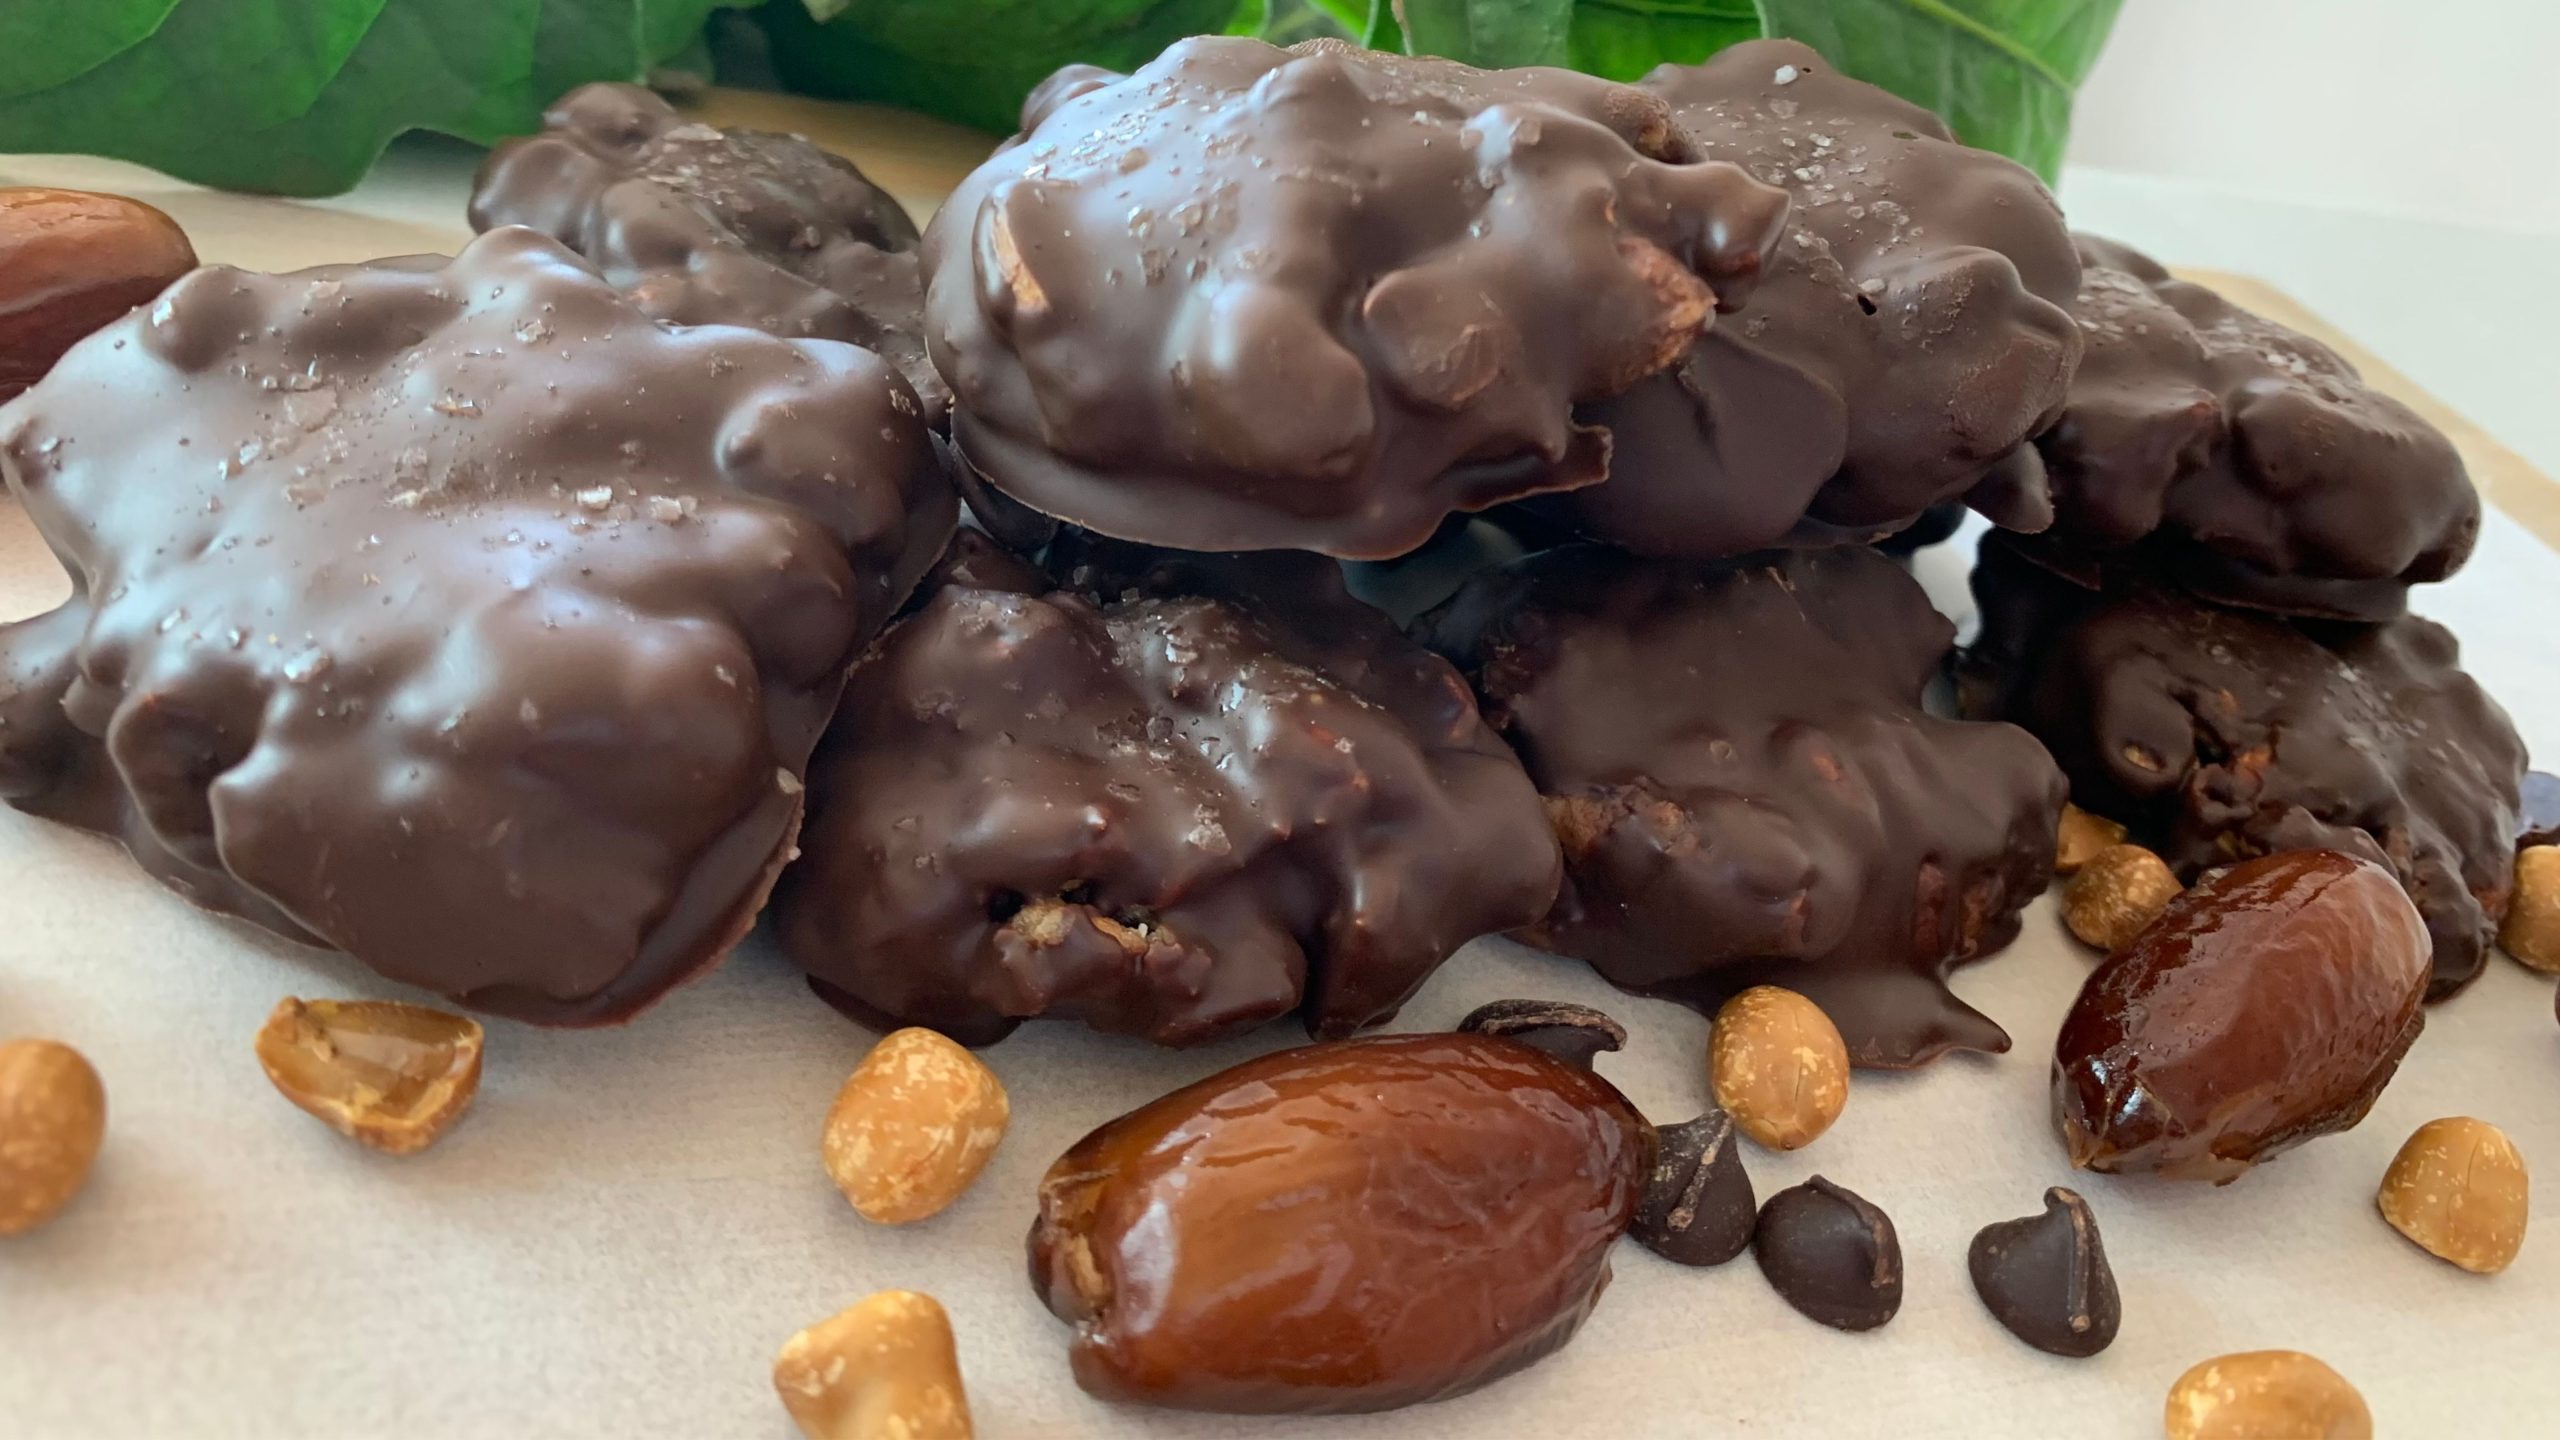
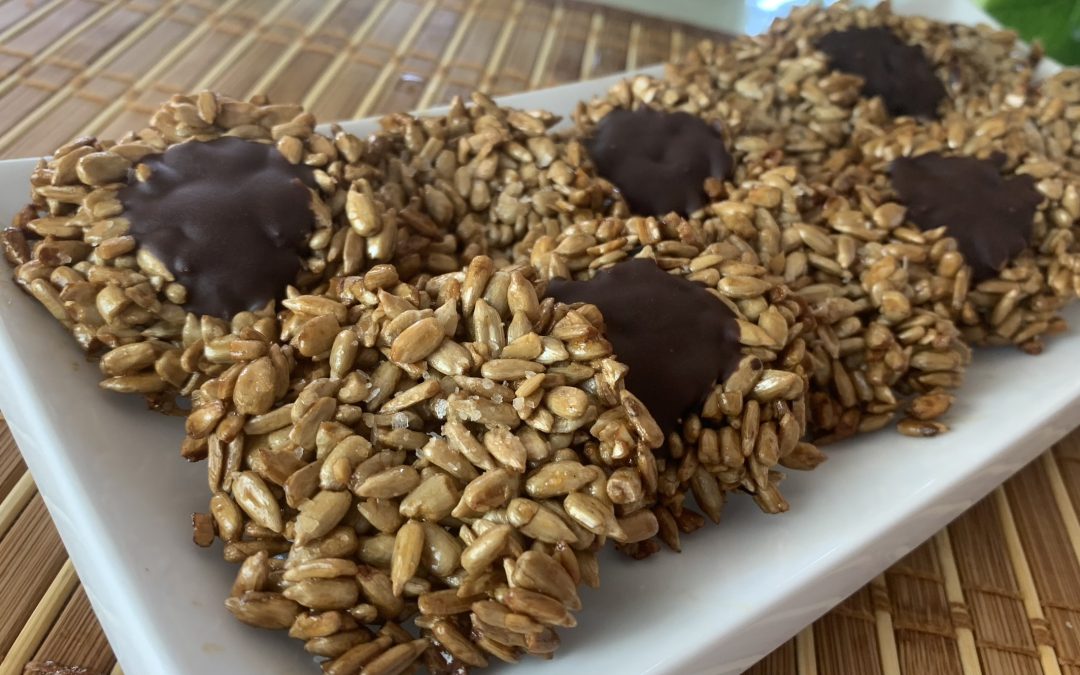
Get ready to indulge in the perfect combination of taste and nutrition with our Peanut Butter & Oatmeal Bars! These no-bake bars are a fantastic choice for those who want a quick and delicious snack that doesn’t compromise on health. With a rich blend of peanut butter, rolled oats, and naturally sweet dates, these bars offer a satisfying bite that is both chewy and crunchy, making them an ideal treat for any time of day.
Oats, the star ingredient in these bars, are packed with essential nutrients that make them a powerhouse of health benefits. Rich in dietary fiber, oats help to keep your digestive system running smoothly and can contribute to lower cholesterol levels. They are also a great source of complex carbohydrates, providing sustained energy without causing spikes in blood sugar. Combined with the protein-packed peanut butter, these bars offer a balanced snack that will keep you full and energized.
Incorporating oats into your diet is an excellent way to ensure you’re getting a good dose of vitamins, minerals, and antioxidants. Whether you enjoy these bars as a pre-workout snack, a quick breakfast, or a midday pick-me-up, you’ll be nourishing your body with wholesome ingredients that promote overall well-being. Plus, with the added crunch of roasted peanuts and the indulgent layer of dark chocolate, these bars are bound to satisfy your sweet tooth while supporting your health goals.
This reimagined recipe brings the original elements together with a focus on nutritional benefits and the enjoyment of a healthy, homemade snack!
Ingredients
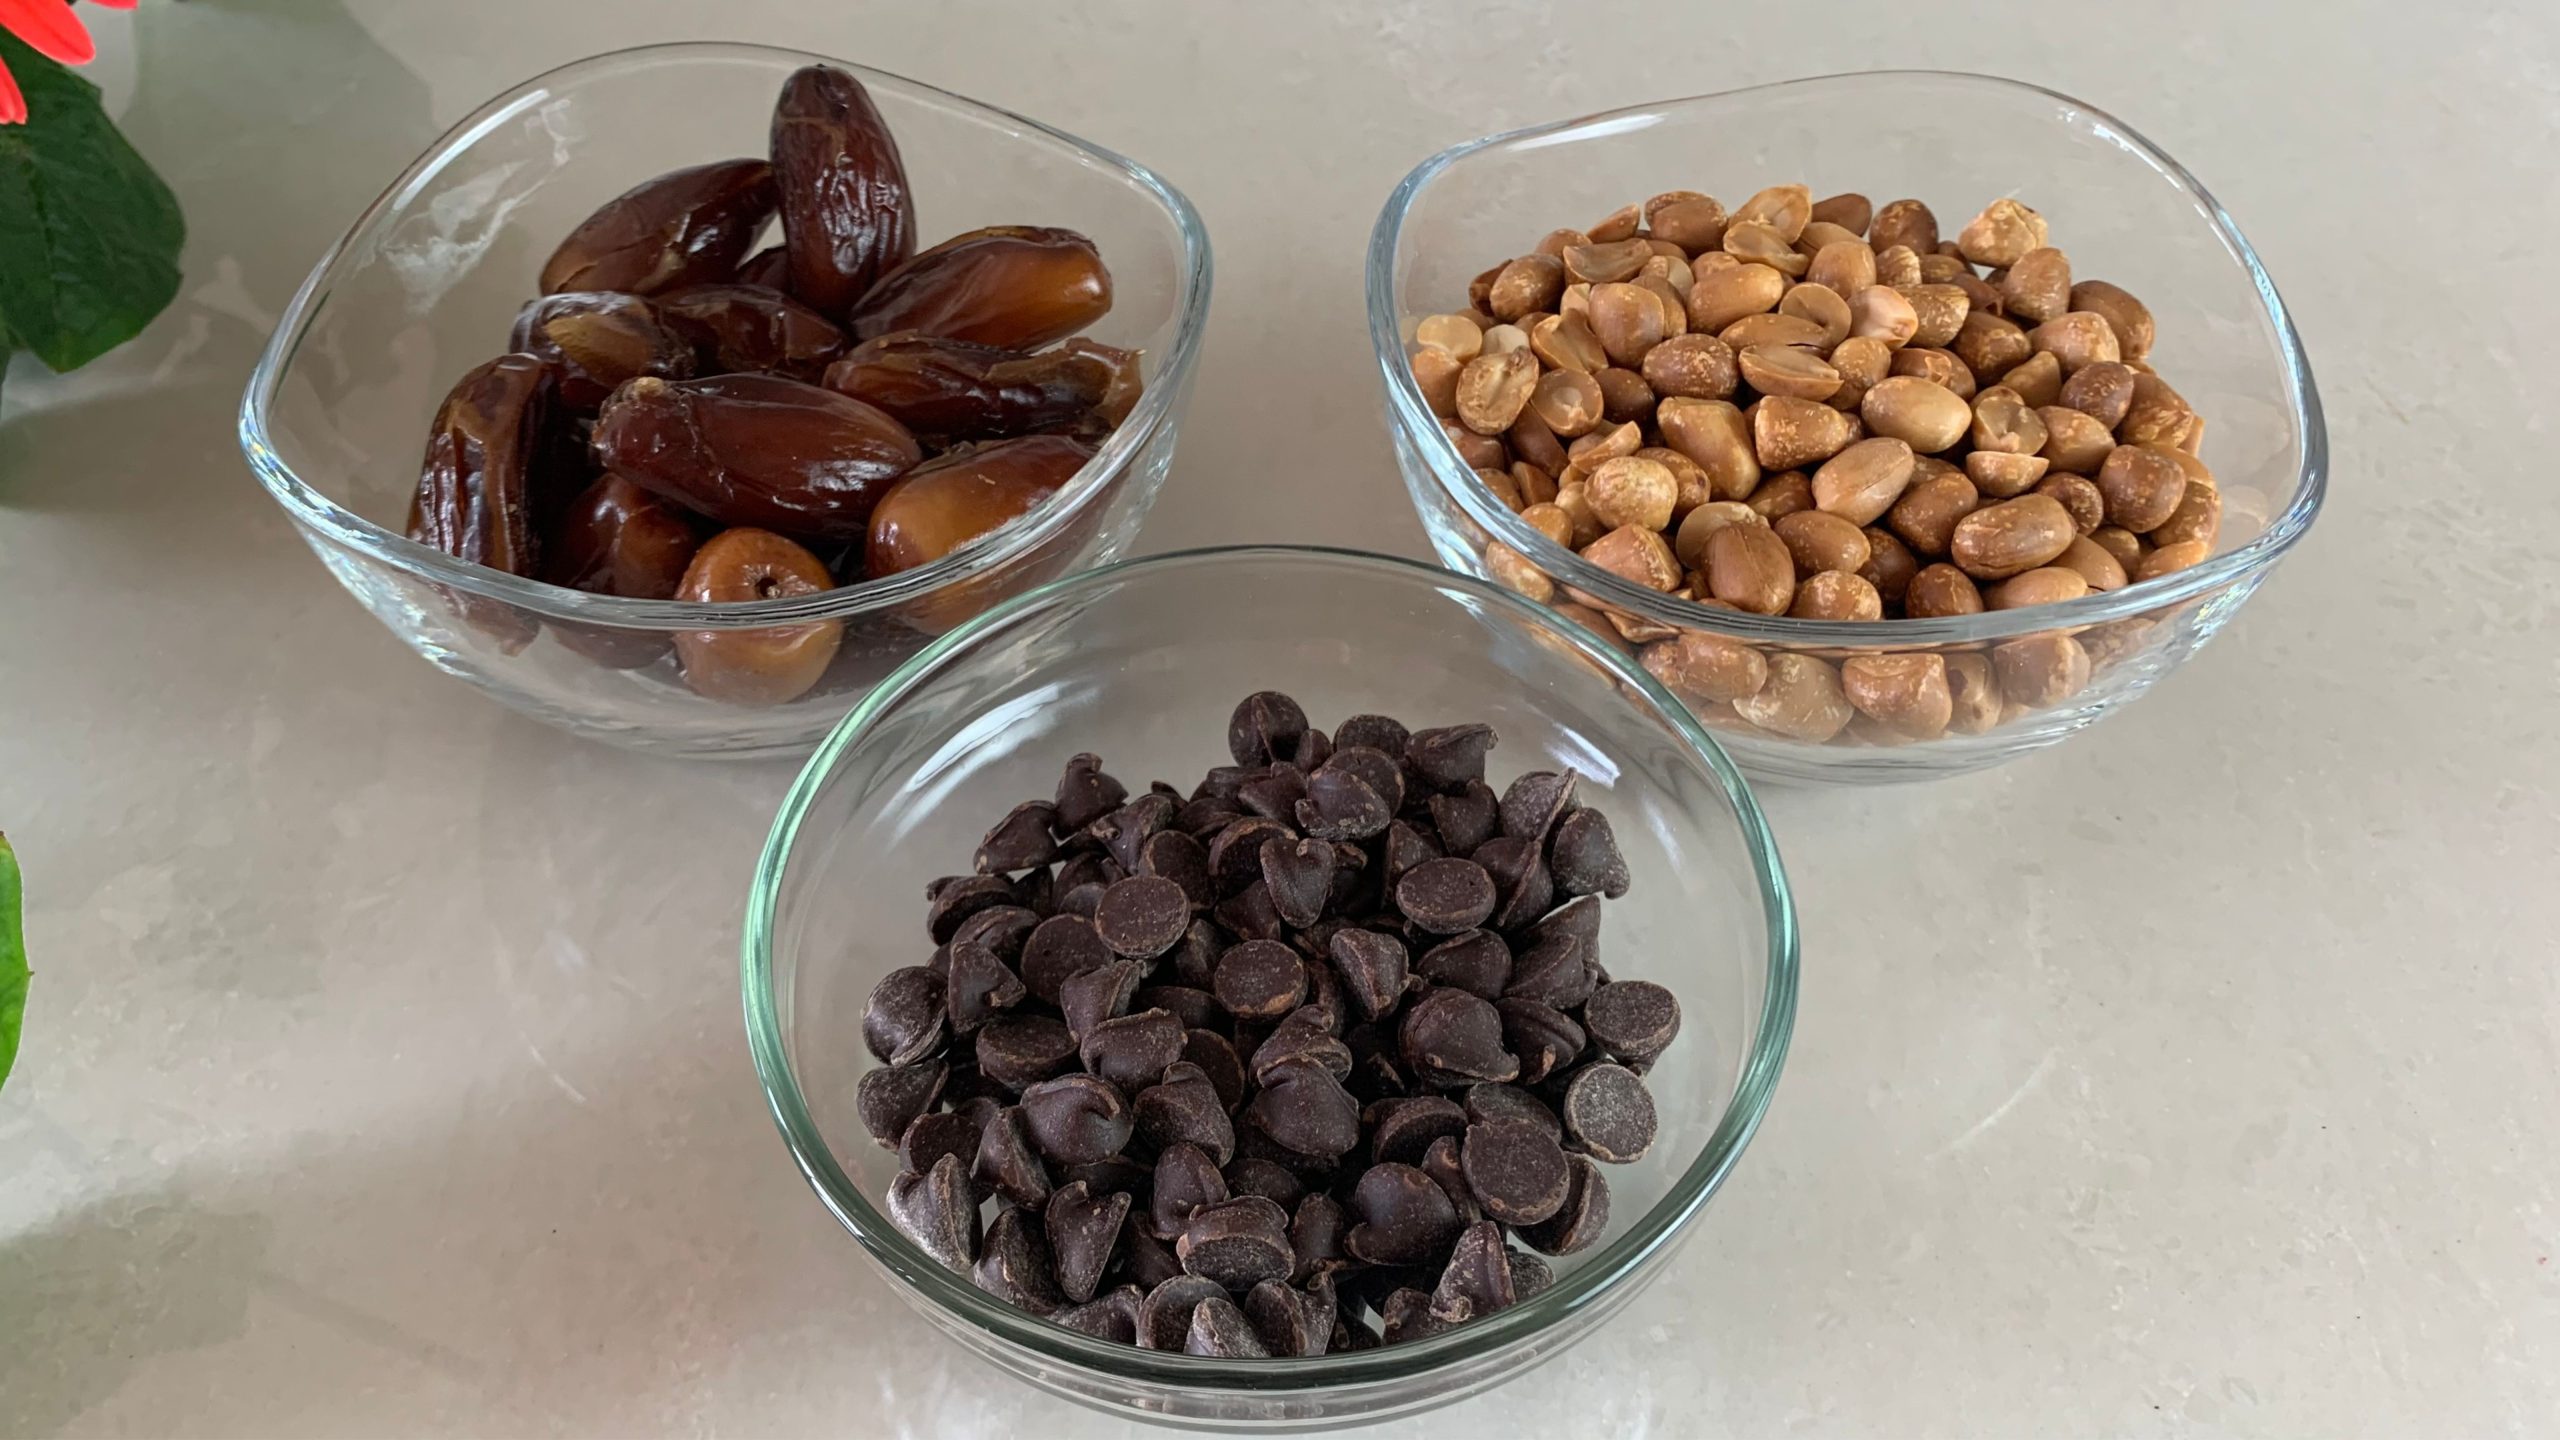
- 1 1/2 cups (120 g) old-fashioned rolled oats
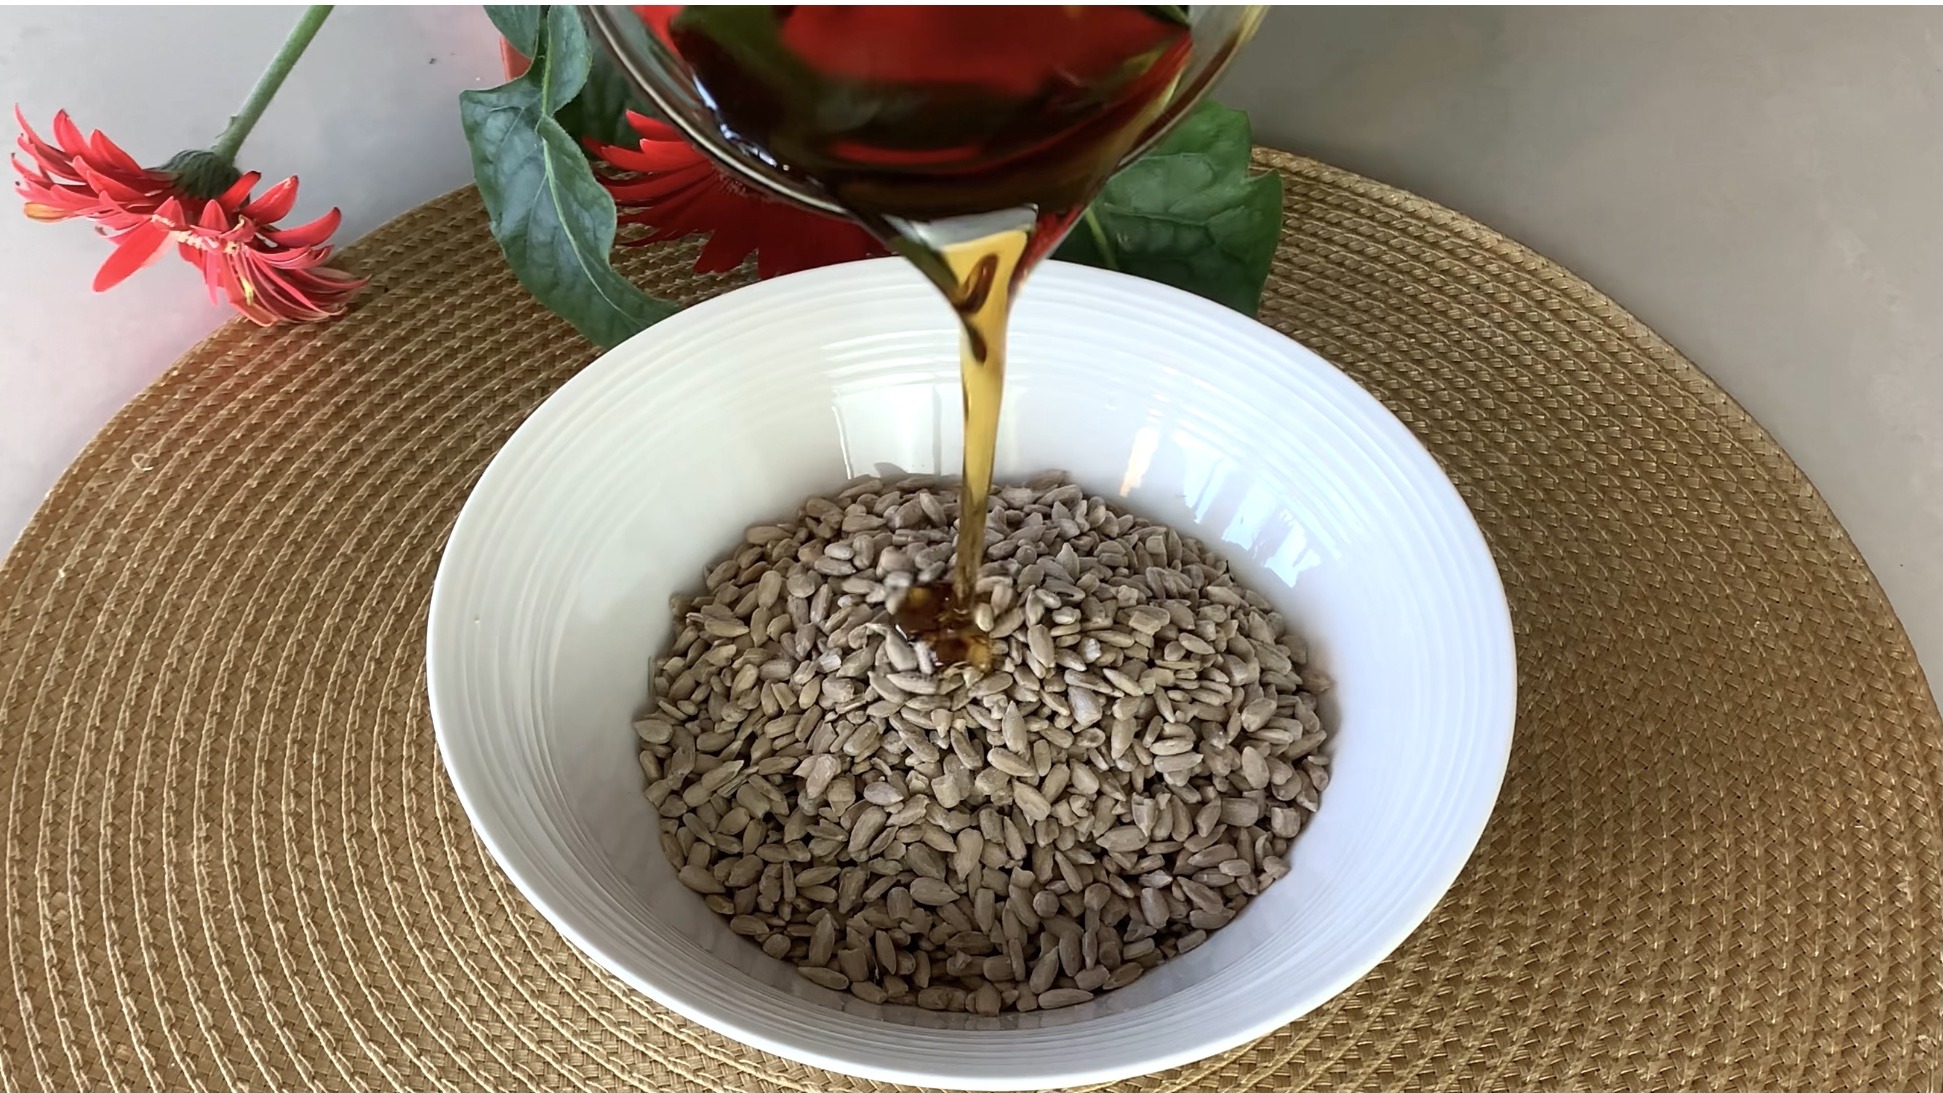
- 2/3 cup (140 g) peanut butter (preferably unsweetened with just 1 ingredient)
- 150 g pitted dates
- 60 g roasted peanuts
- 1/3 cup (90 g) melted dark chocolate
- Kosher salt (optional, for sprinkling on top of the chocolate)
Directions
- Begin by roasting old-fashioned rolled oats in a pan over medium heat. Stir constantly and roast until the oats become fragrant, approximately 10 minutes.
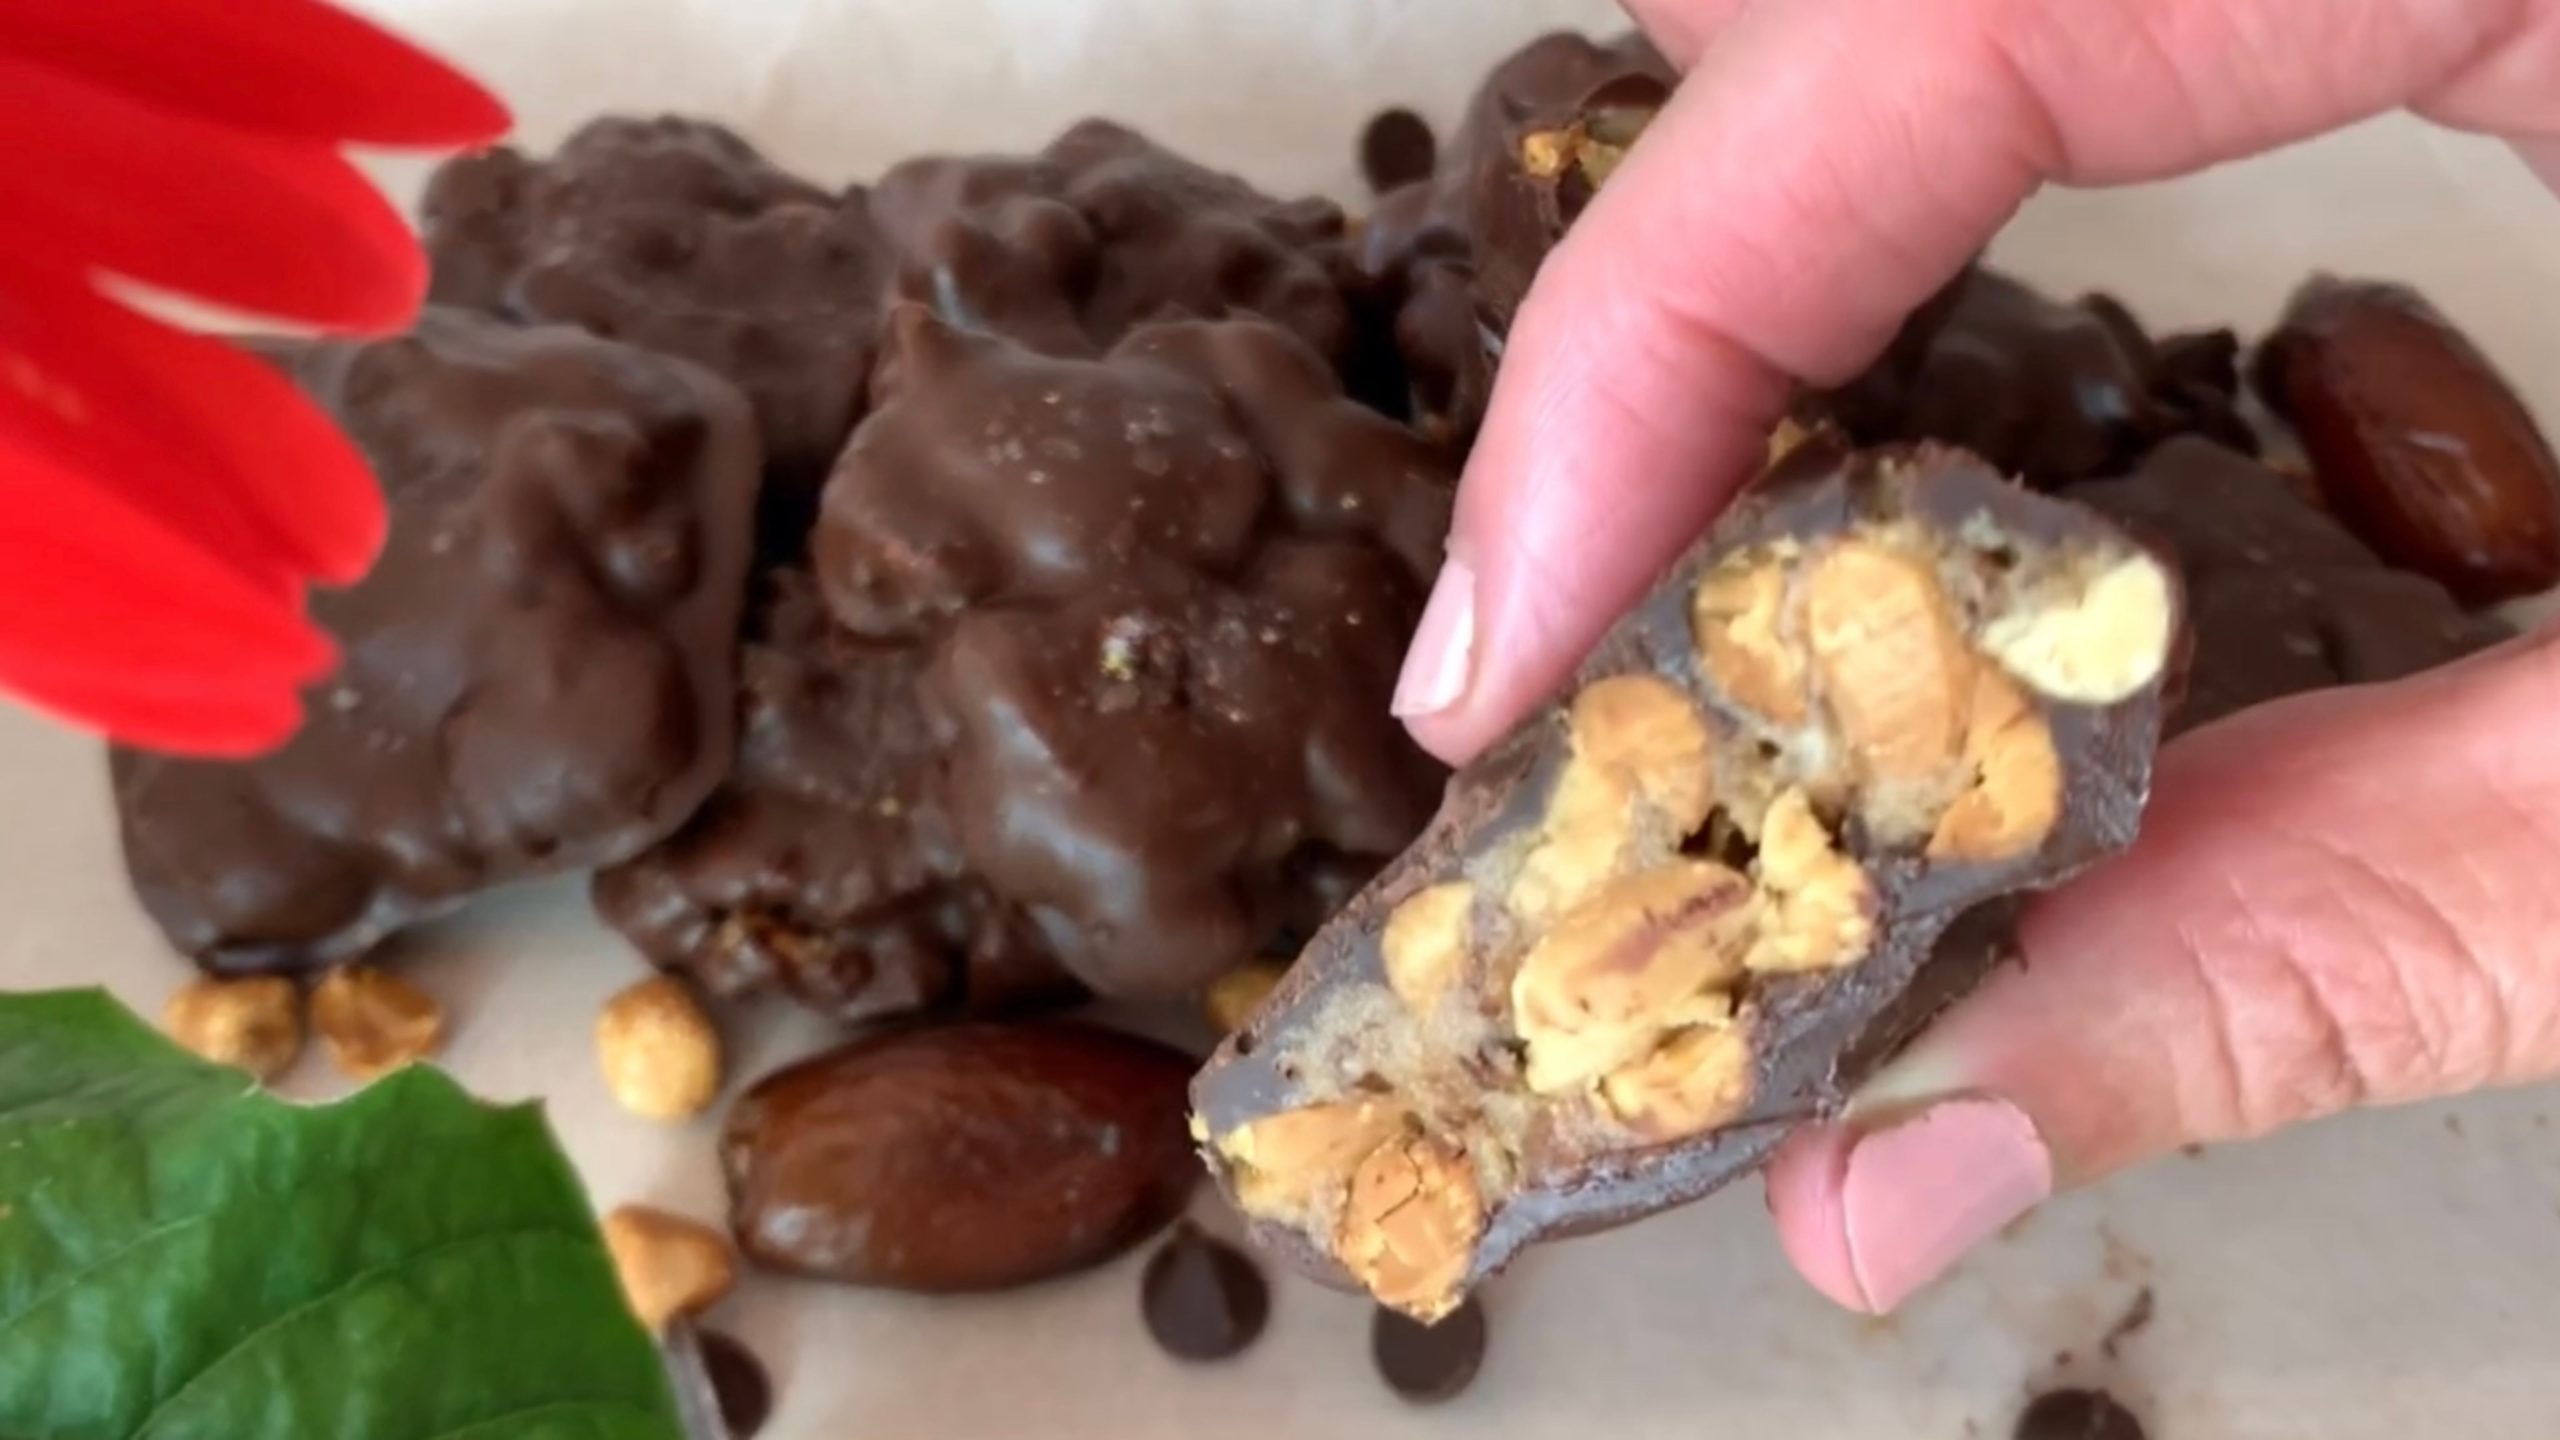
- Transfer the roasted oats into a blender. Add peanut butter and pitted dates to the blender.
- Blend the mixture until it reaches a sticky and cohesive consistency, ensuring all ingredients are well combined.
- Prepare a 22 cm x 12 cm rectangular container, lining it with parchment paper for easy removal.
- Transfer the blended mixture into the container, using a spoon to press it down firmly, ensuring a smooth surface.
- Sprinkle roasted peanuts on top of the mixture, adding an extra crunch to the texture.
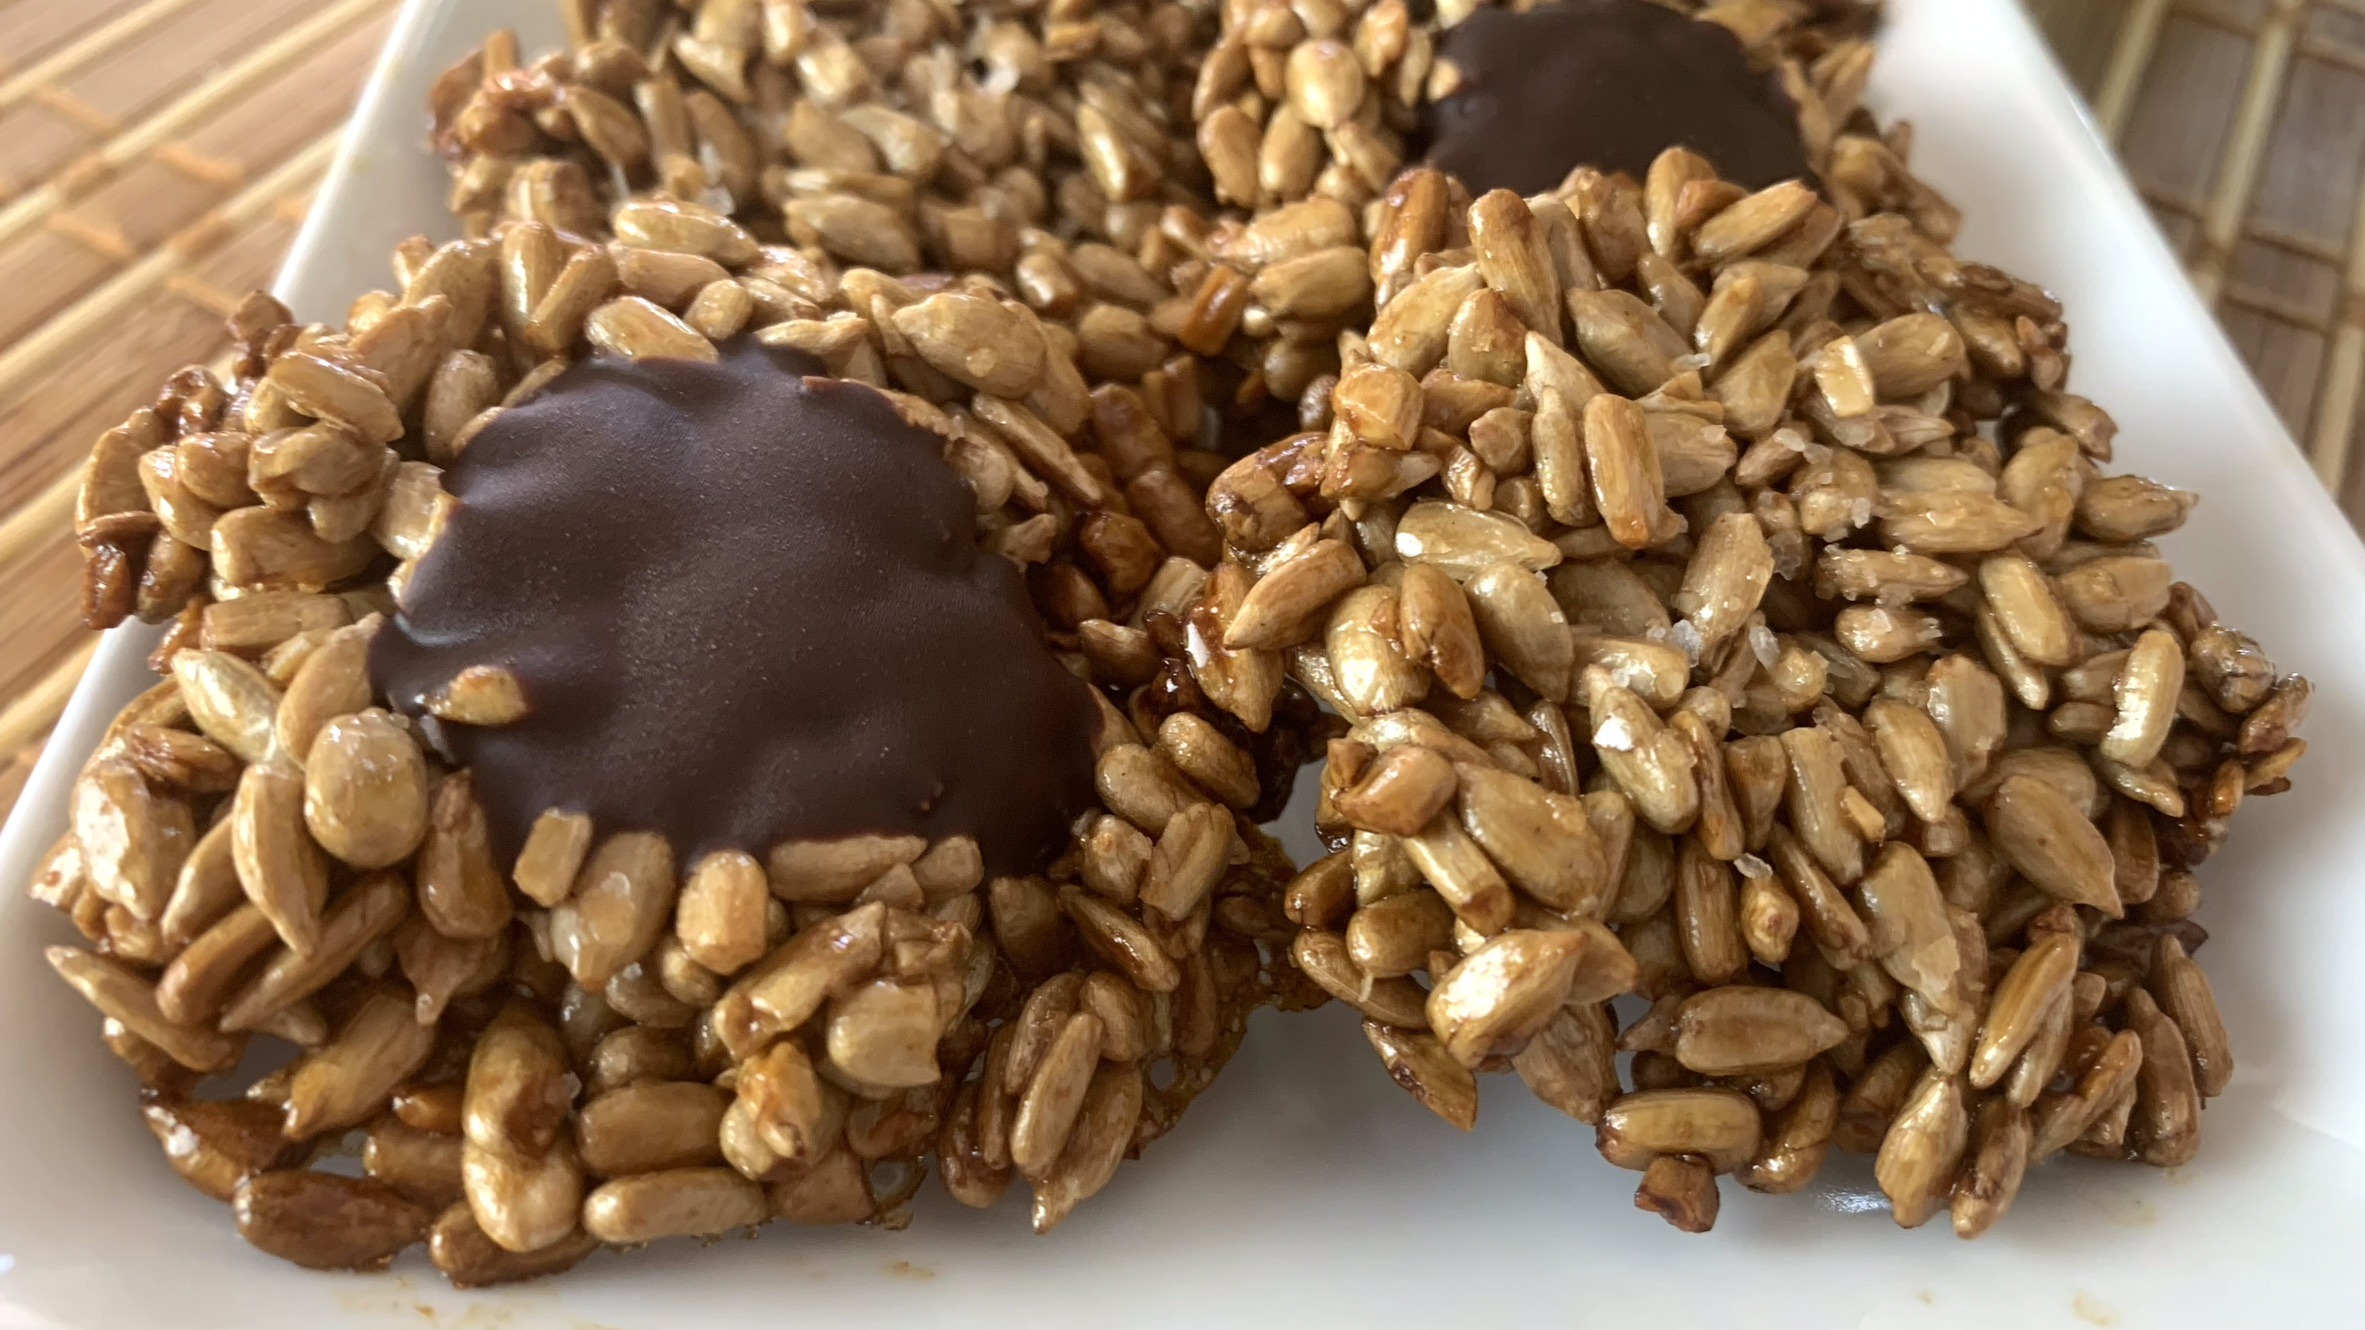
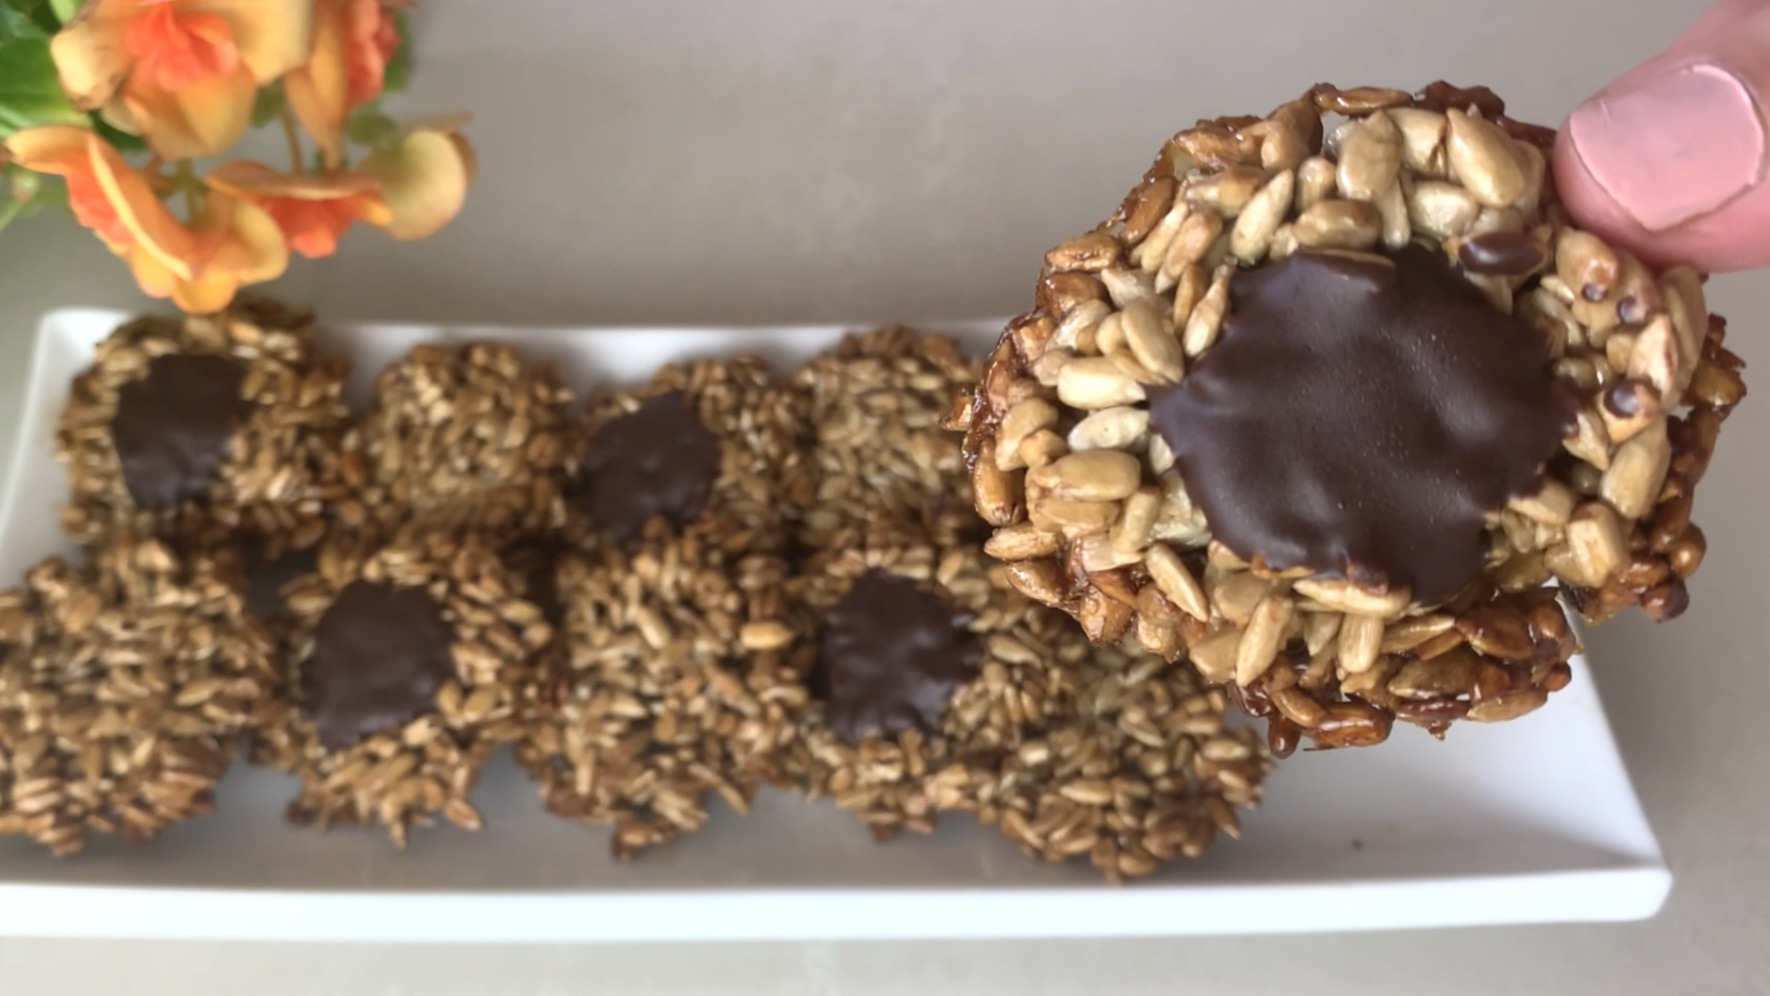
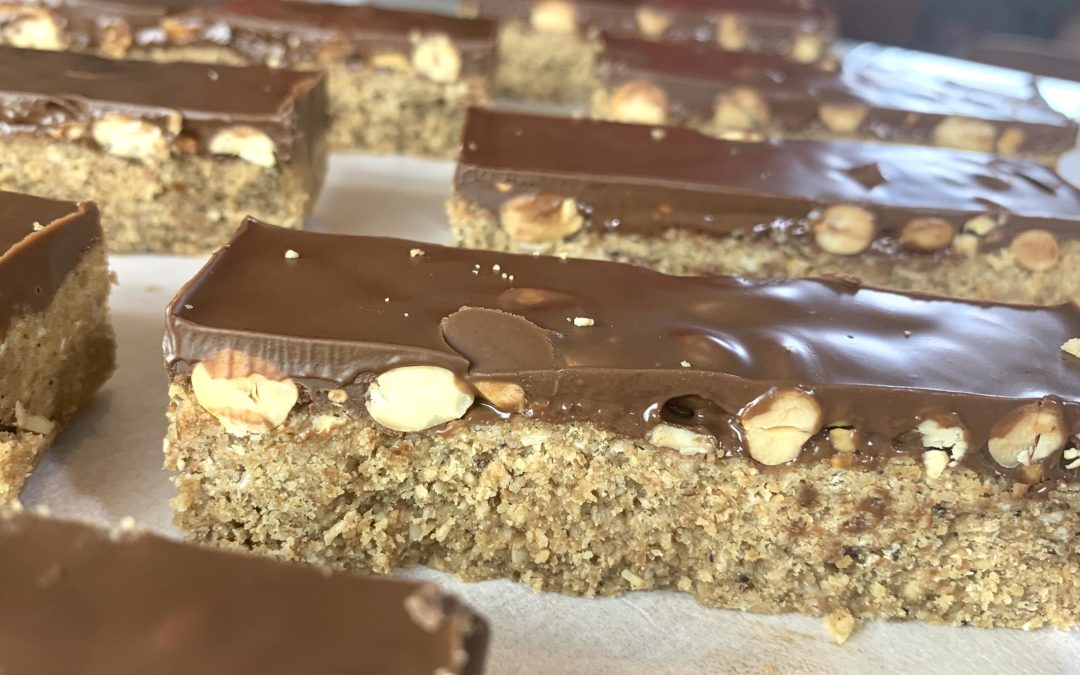
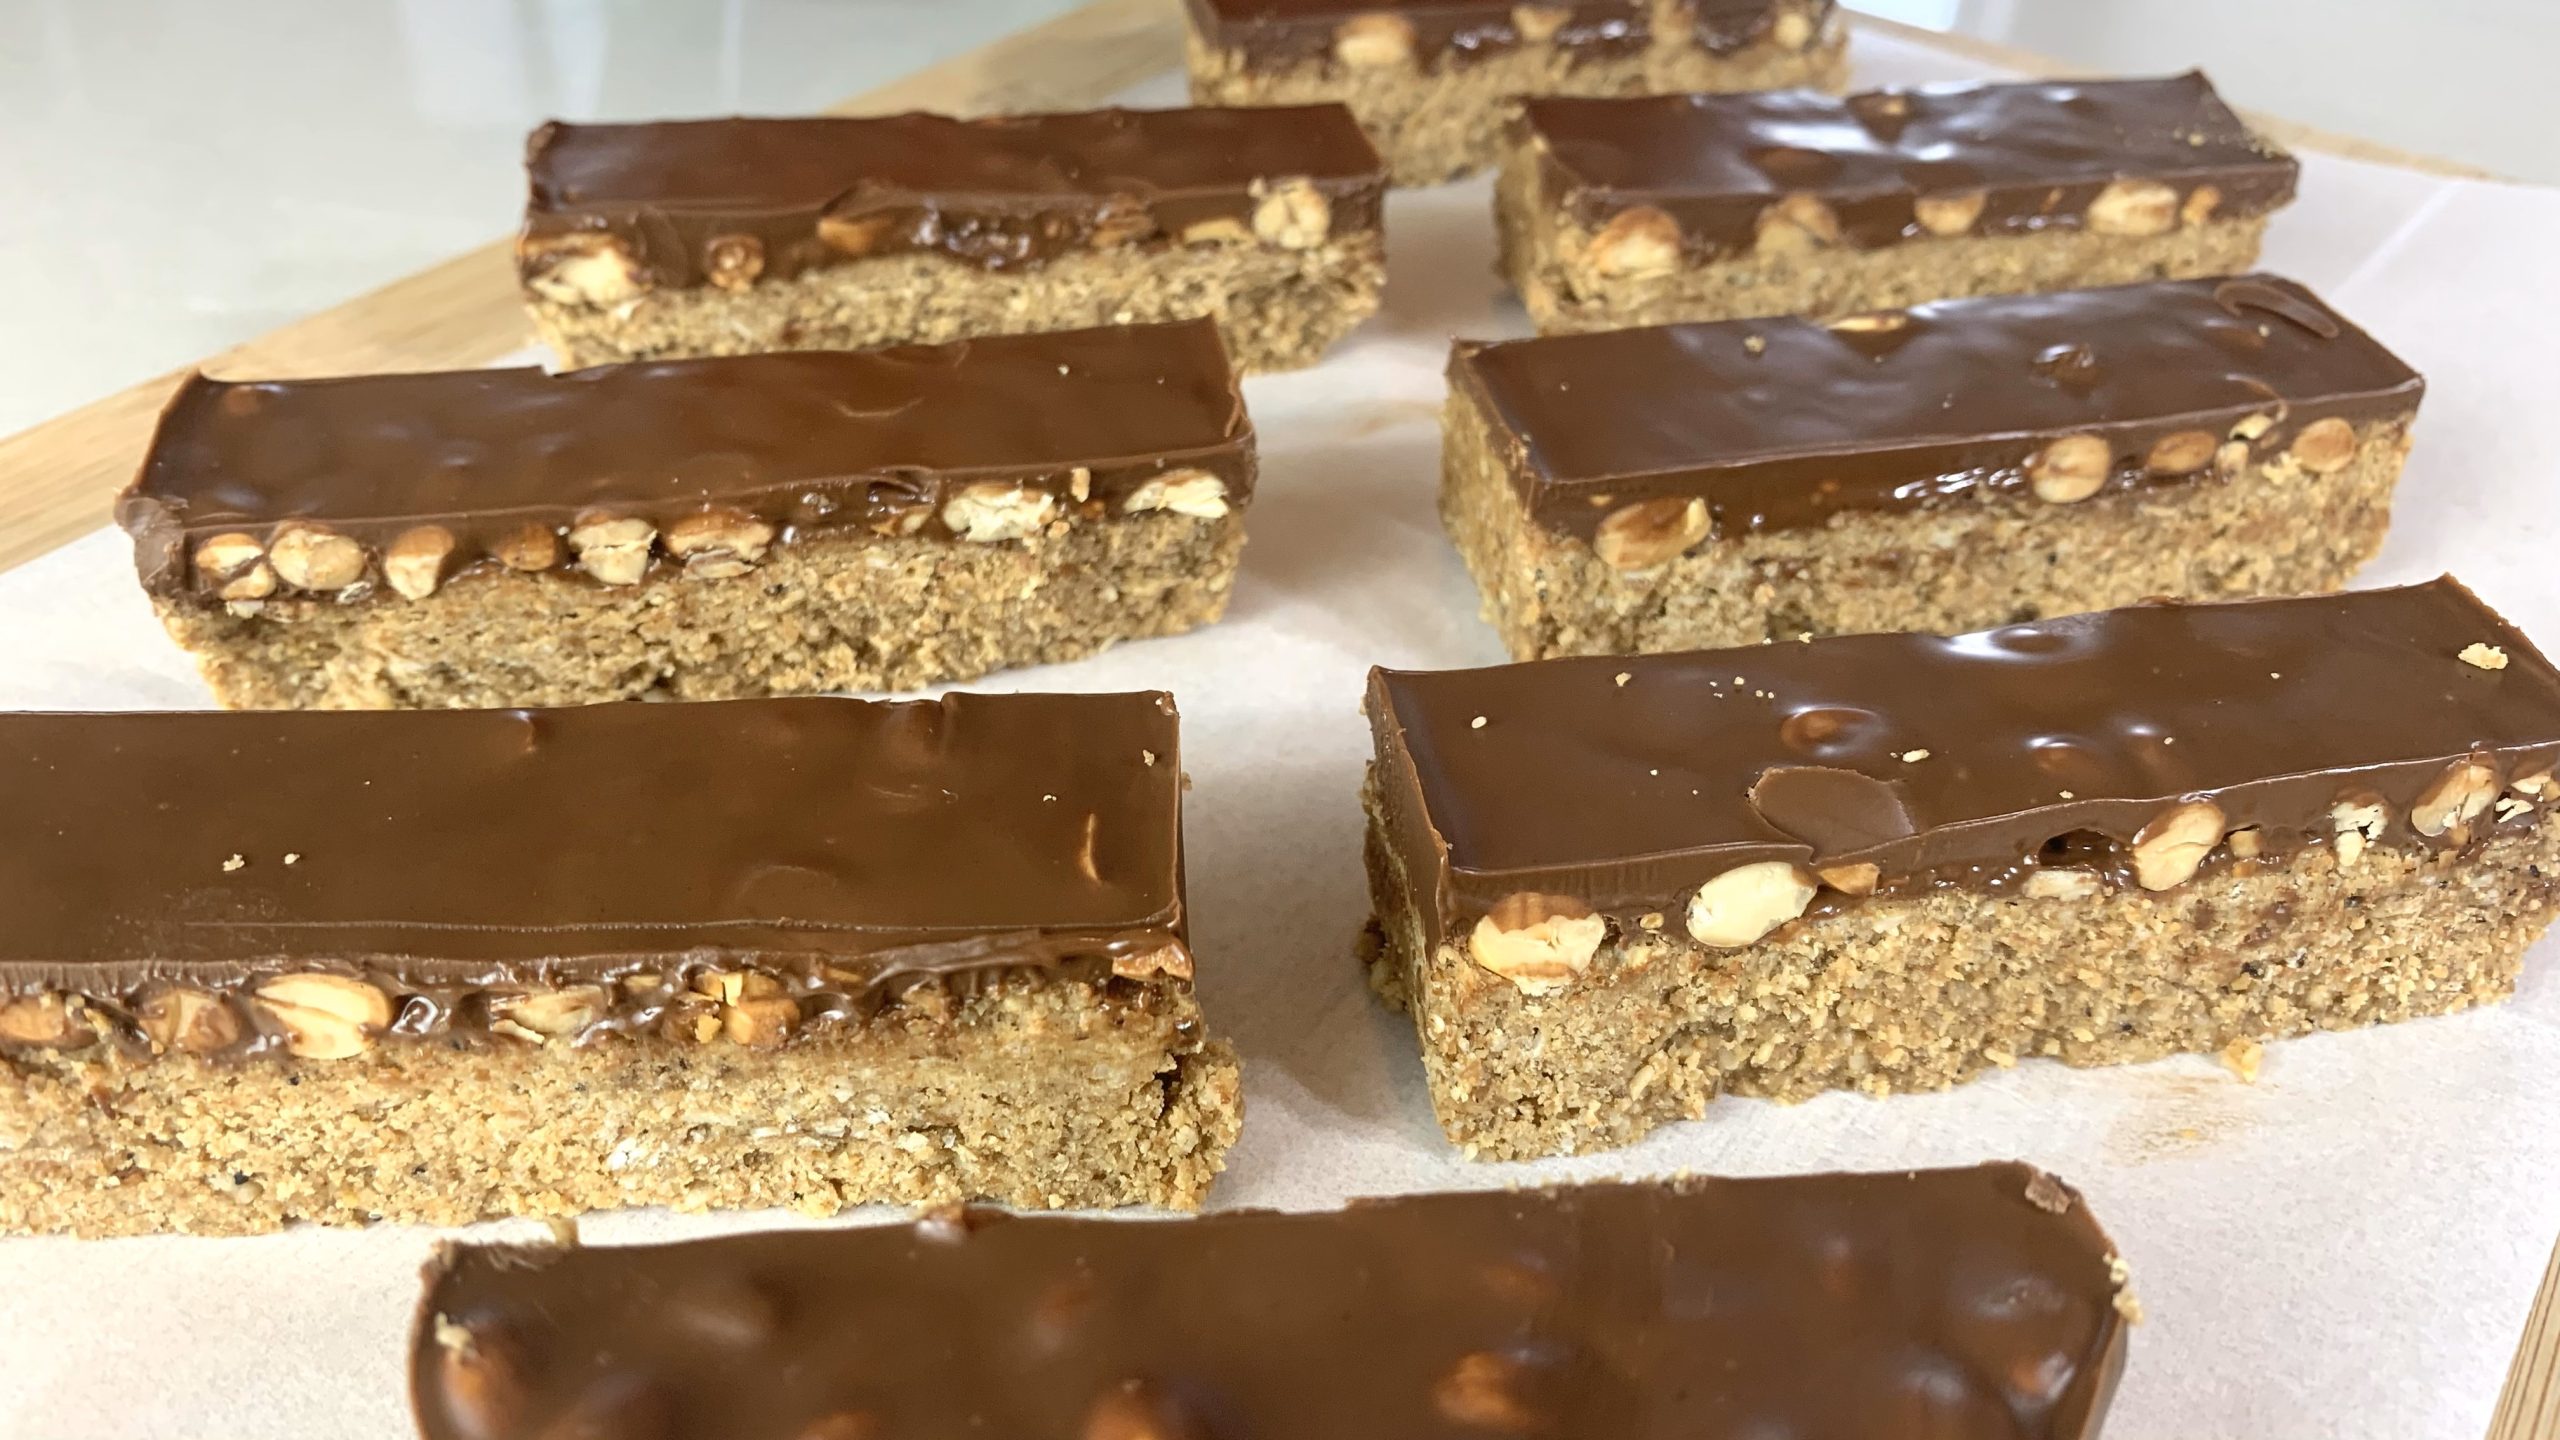
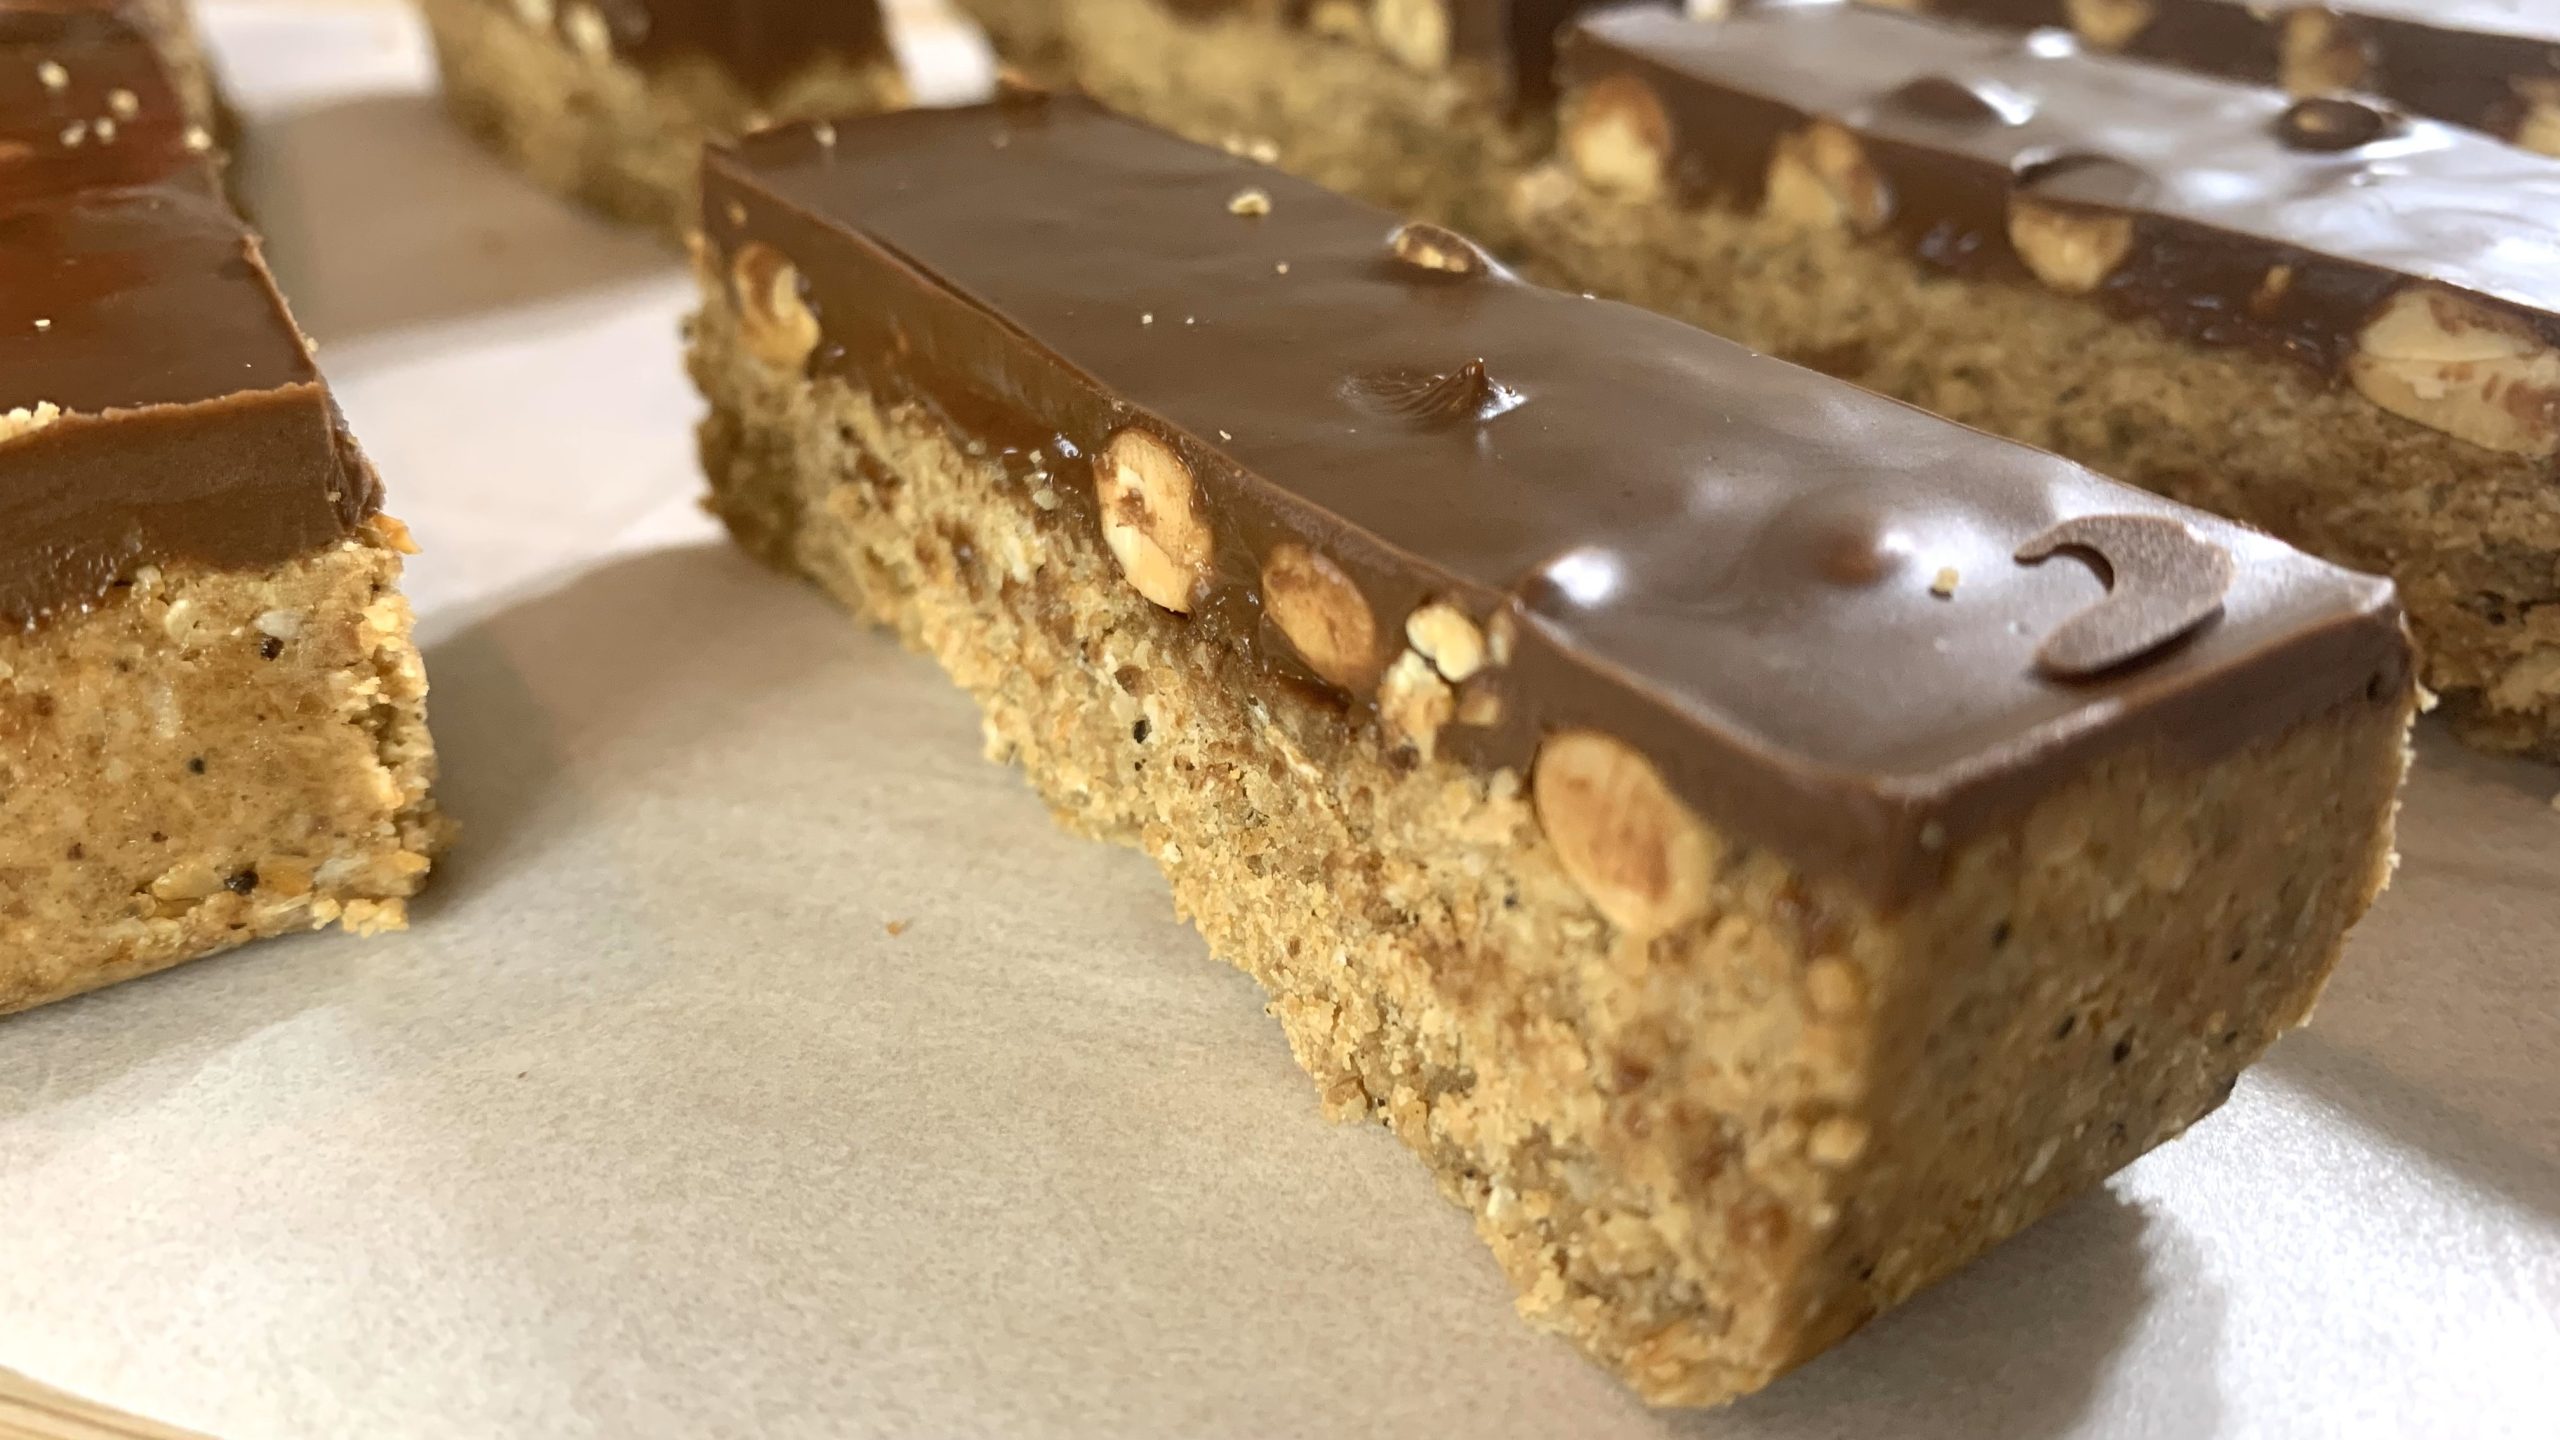
- For the finishing touch, add a layer of melted dark chocolate over the peanuts.
- Sprinkle kosher salt on top of the chocolate if desired.
- Place the container in the fridge and let it sit for about an hour or until the chocolate sets.
- Once the chocolate is set, cut into bars. We cut the mixture into 8 large bars for this recipe.
Prep Time: 30 minutes
Fridge Time: 1 hour
Servings: 8 bars
Nutritional Information (Per 1 Serving)
- Energy: 327 calories
- Protein: 9.58 g
- Fat: 18.62 g
- Carbohydrates: 34.67 g
- Fiber: 5.8 g
Notes
- Store the bars in an airtight container in the fridge for up to 1 week or freeze for up to 3 months for longer storage.
- These bars make for a delightful snack on the go, a satisfying treat after a workout, or a wholesome dessert option after a meal.