Express Mini Breads
Express Mini Breads
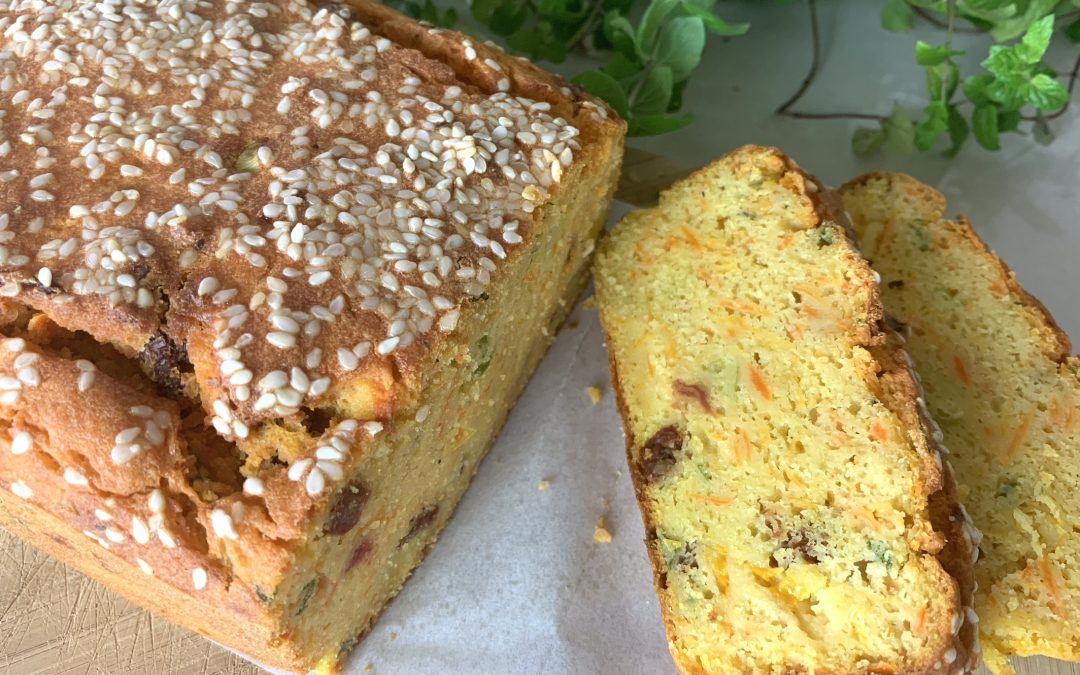
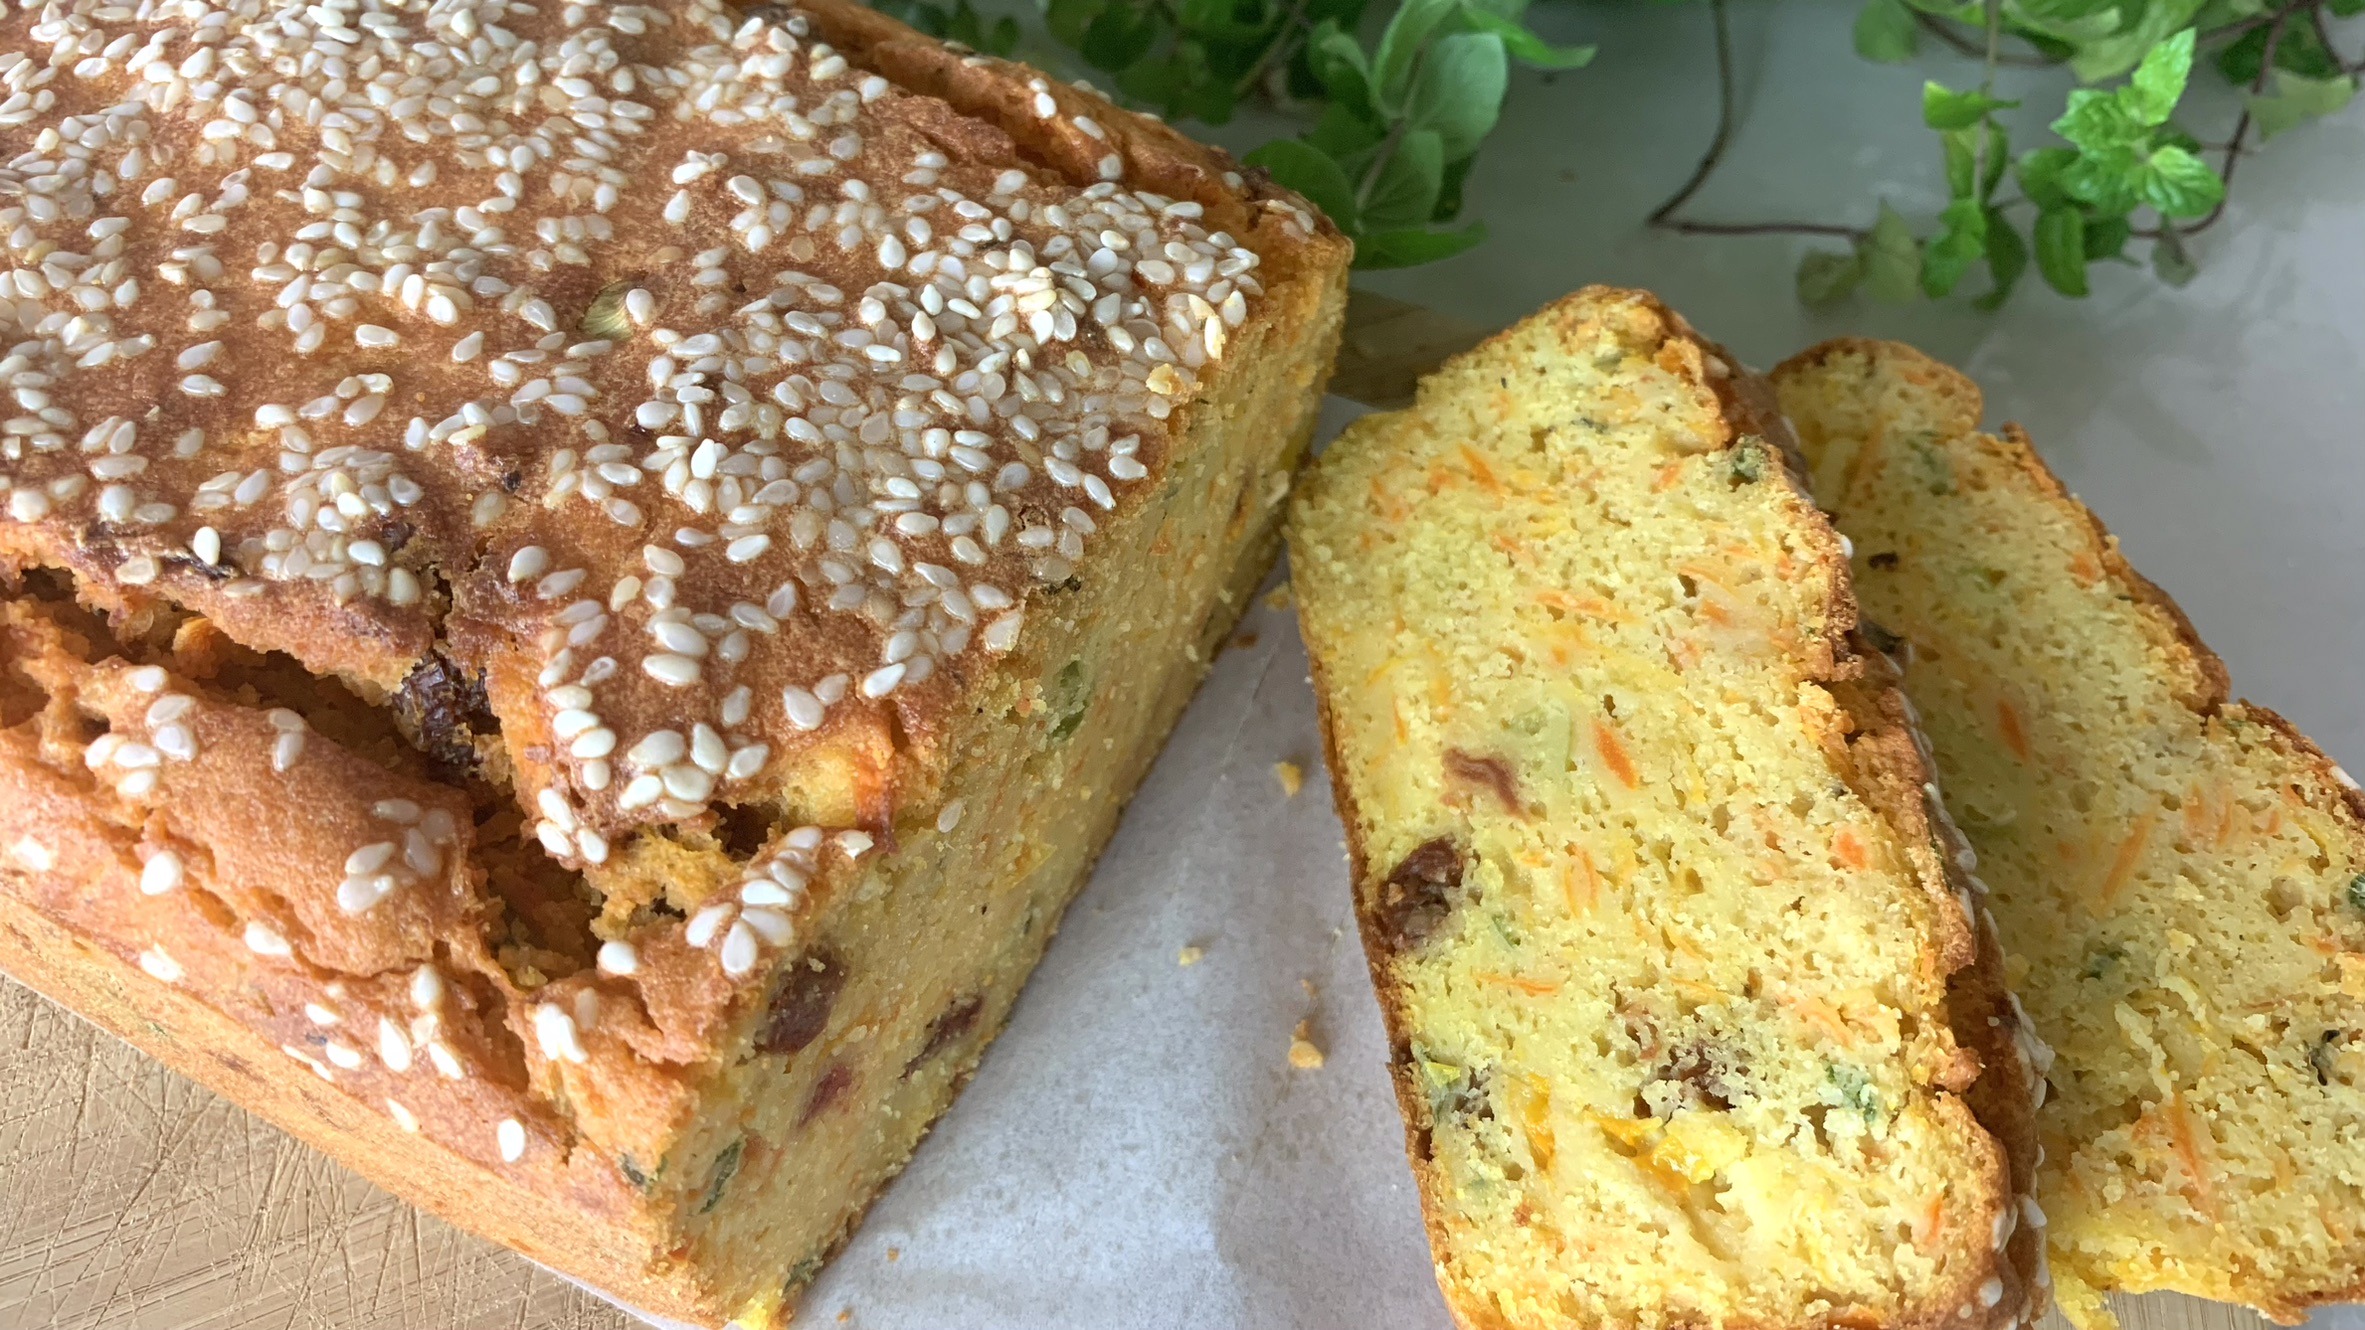
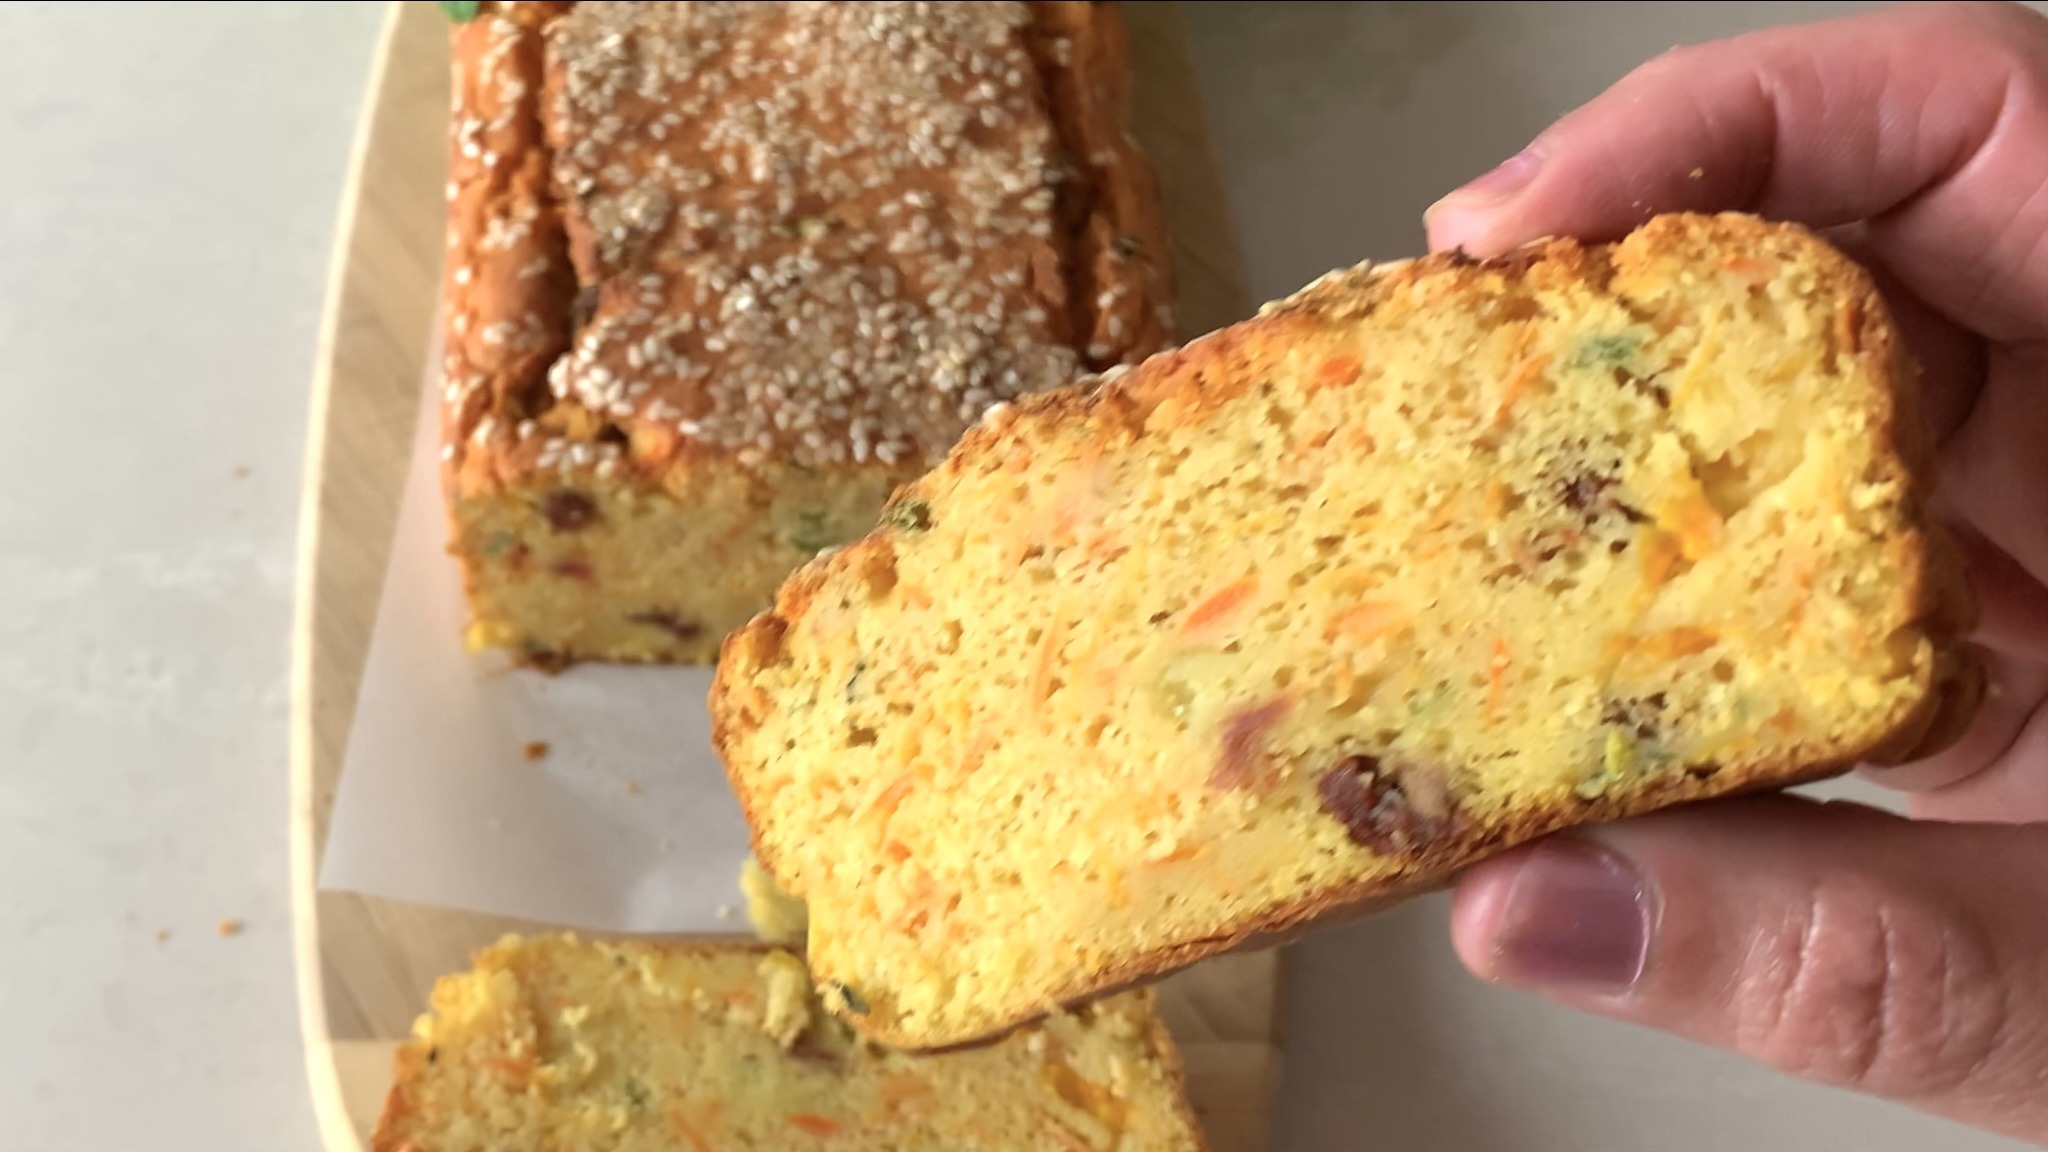
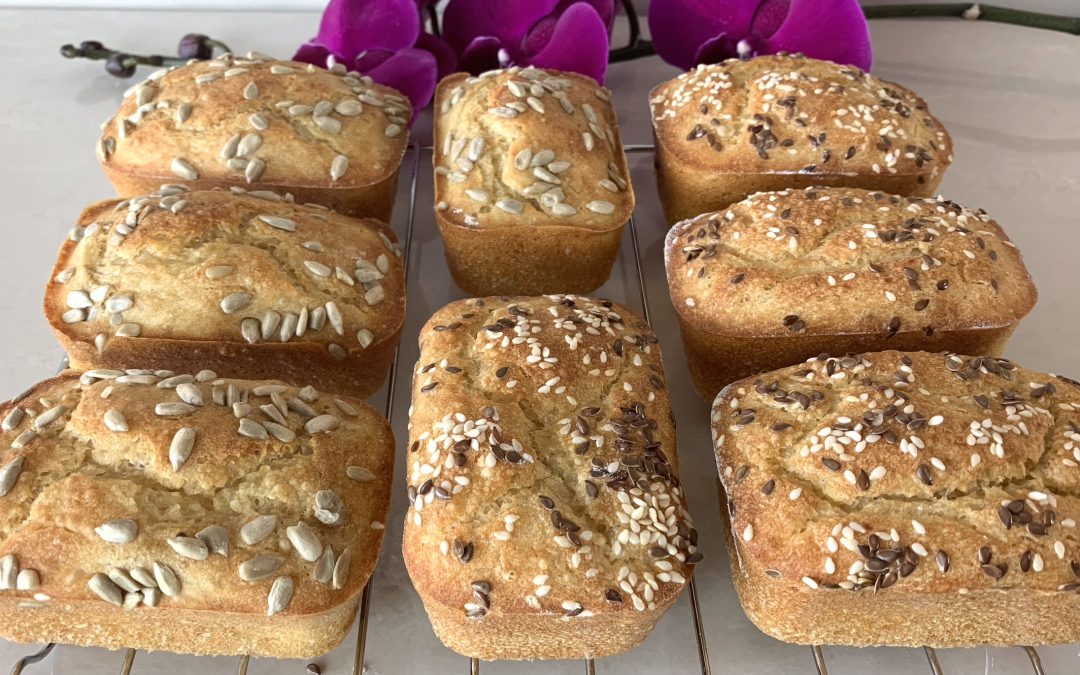
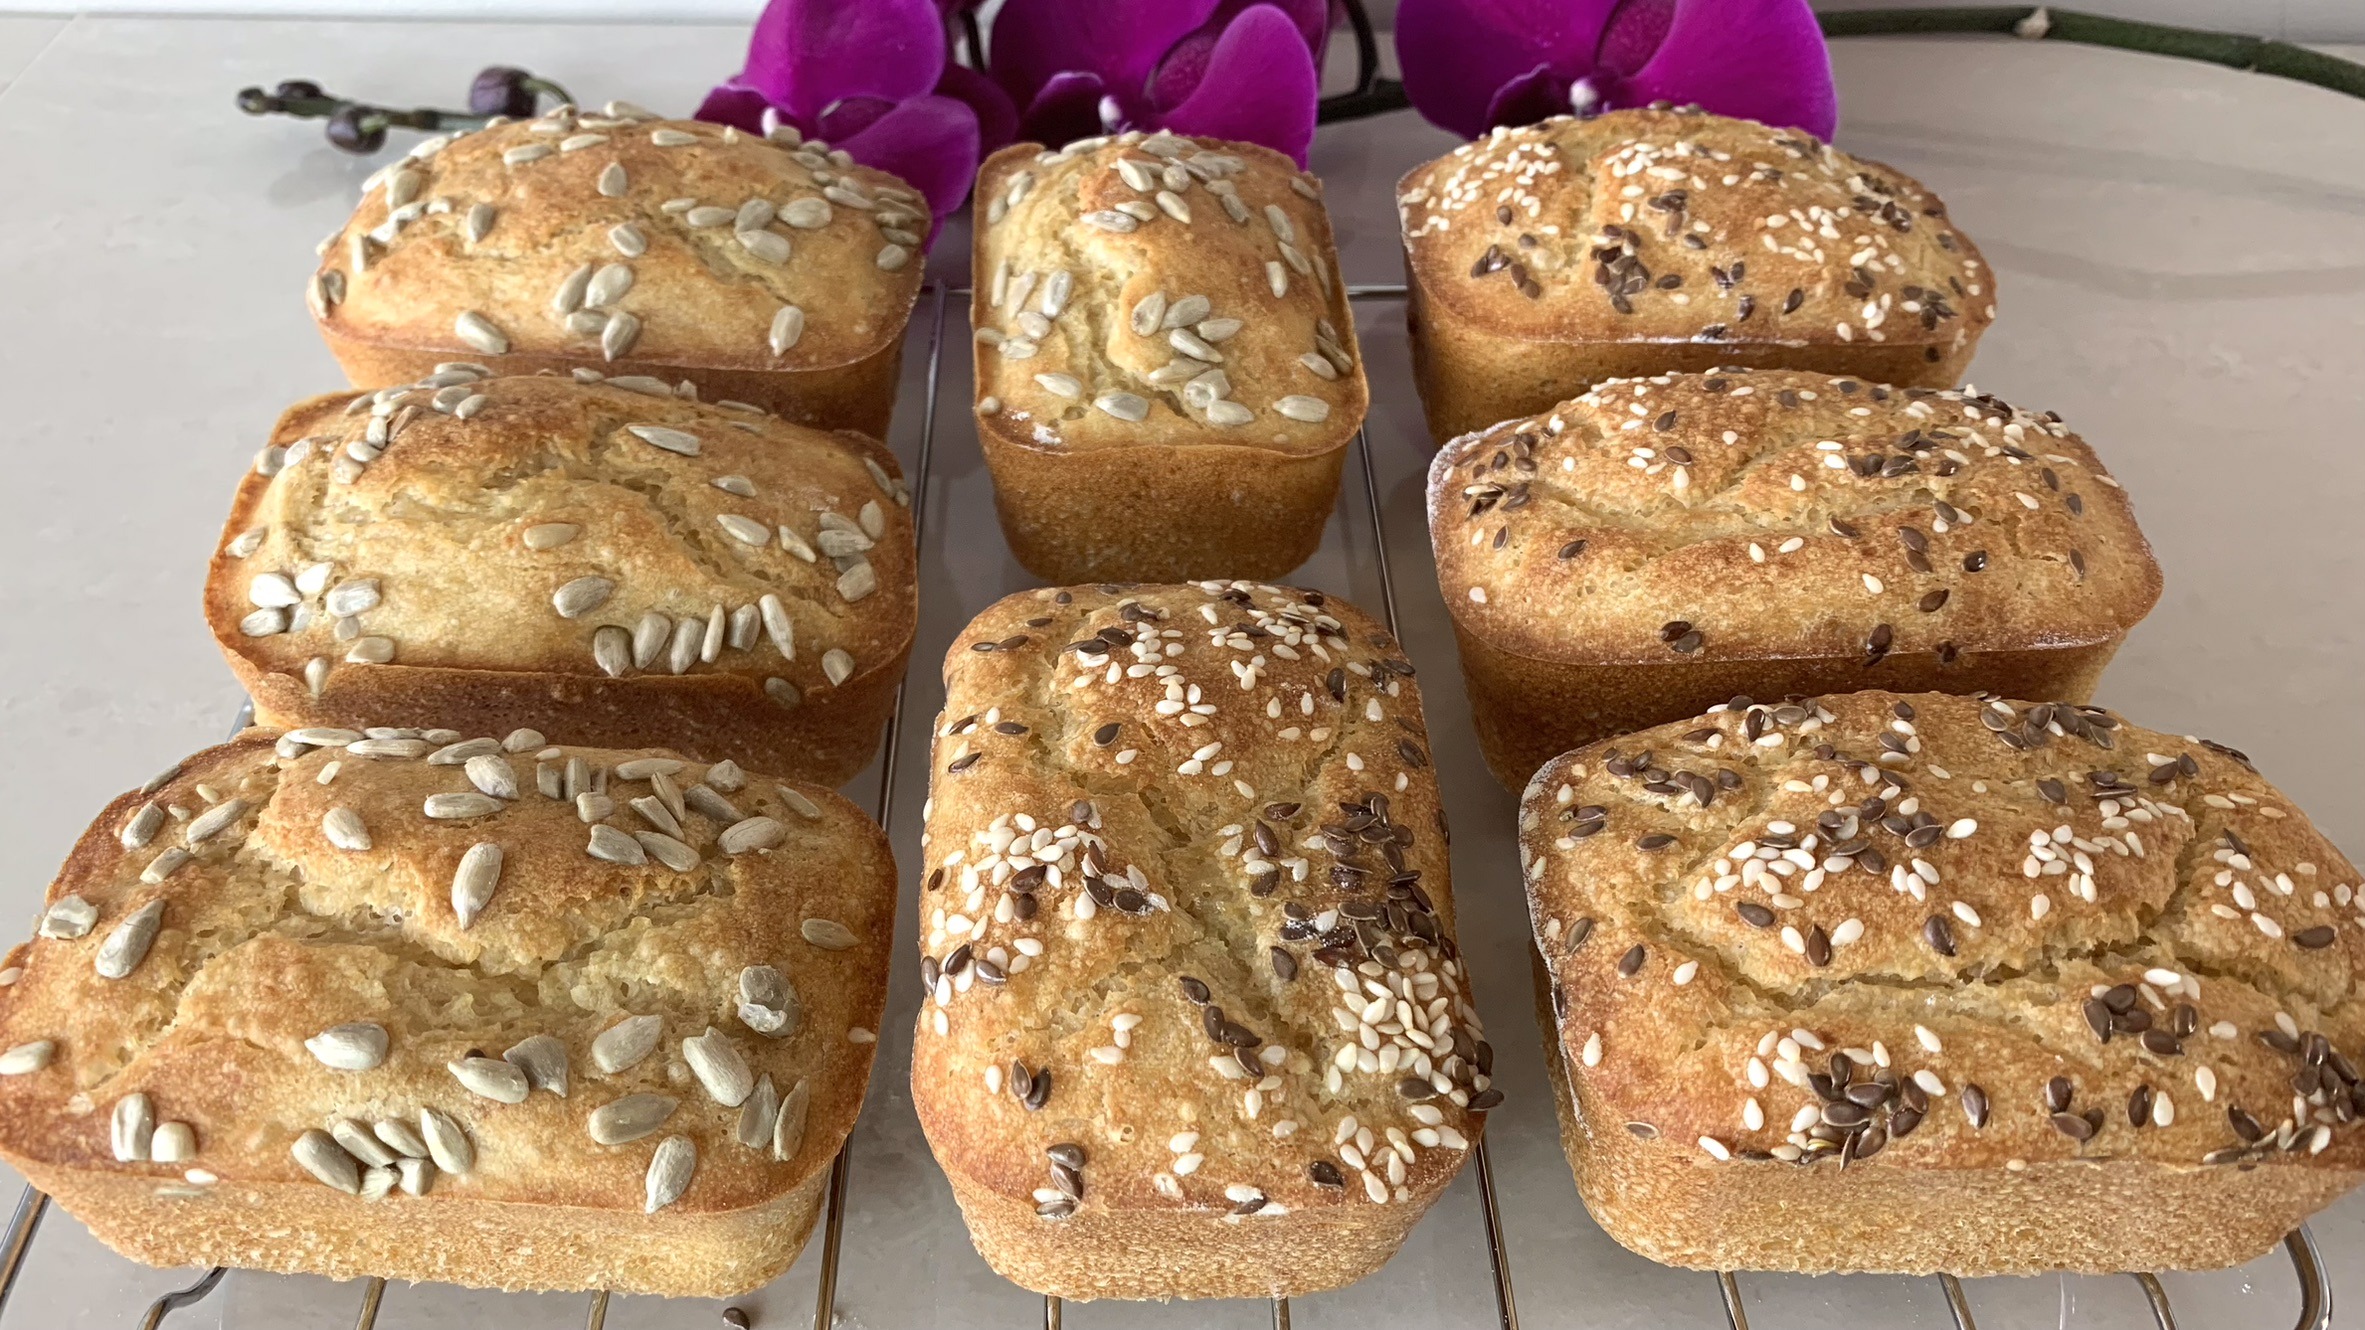
These super-easy mini loaf breads are the perfect solution for anyone craving fresh, homemade bread without the hassle of kneading. With minimal effort and maximum freshness, you can have fluffy loaves with a golden crust ready in no time. These mini breads are versatile, making them ideal for sweet or savory sandwiches or as a delightful side to soups and salads.
Wheat flour is the star ingredient in this recipe, providing a rich source of carbohydrates that are essential for energy. Whole wheat flour, particularly when combined with wheat germ, offers additional fiber, vitamins, and minerals that contribute to a balanced diet. Incorporating whole grains like wheat into your meals can help regulate blood sugar levels, improve digestion, and support heart health. Plus, these mini loaves are light, airy, and perfect for any meal of the day.
Whether you’re looking for a quick breakfast, a lunchbox staple, or a side for dinner, these No-Knead Mini Loaf Breads are sure to satisfy.
Ingredients
- 2 cups (270 g) unbleached wheat flour
- ⅓ cup (30 g) wheat germ (optional, to increase fiber content)
- 1/2 tsp. salt
- 1 ½ tbsp. instant yeast
- 1/2 tsp. maple syrup (or any other sweetener of your choice)
- 1 ¾ cups lukewarm water (adjust up to 2 cups depending on the flour used)
For Garnish:
- 1 tsp. sesame seeds (optional)
- 1 tsp. flaxseed (optional)
- 1 tsp. sunflower seeds (optional)
Directions
- In a large mixing bowl, combine the dry ingredients: unbleached wheat flour, wheat germ (if using), salt, and instant yeast. Add maple syrup.
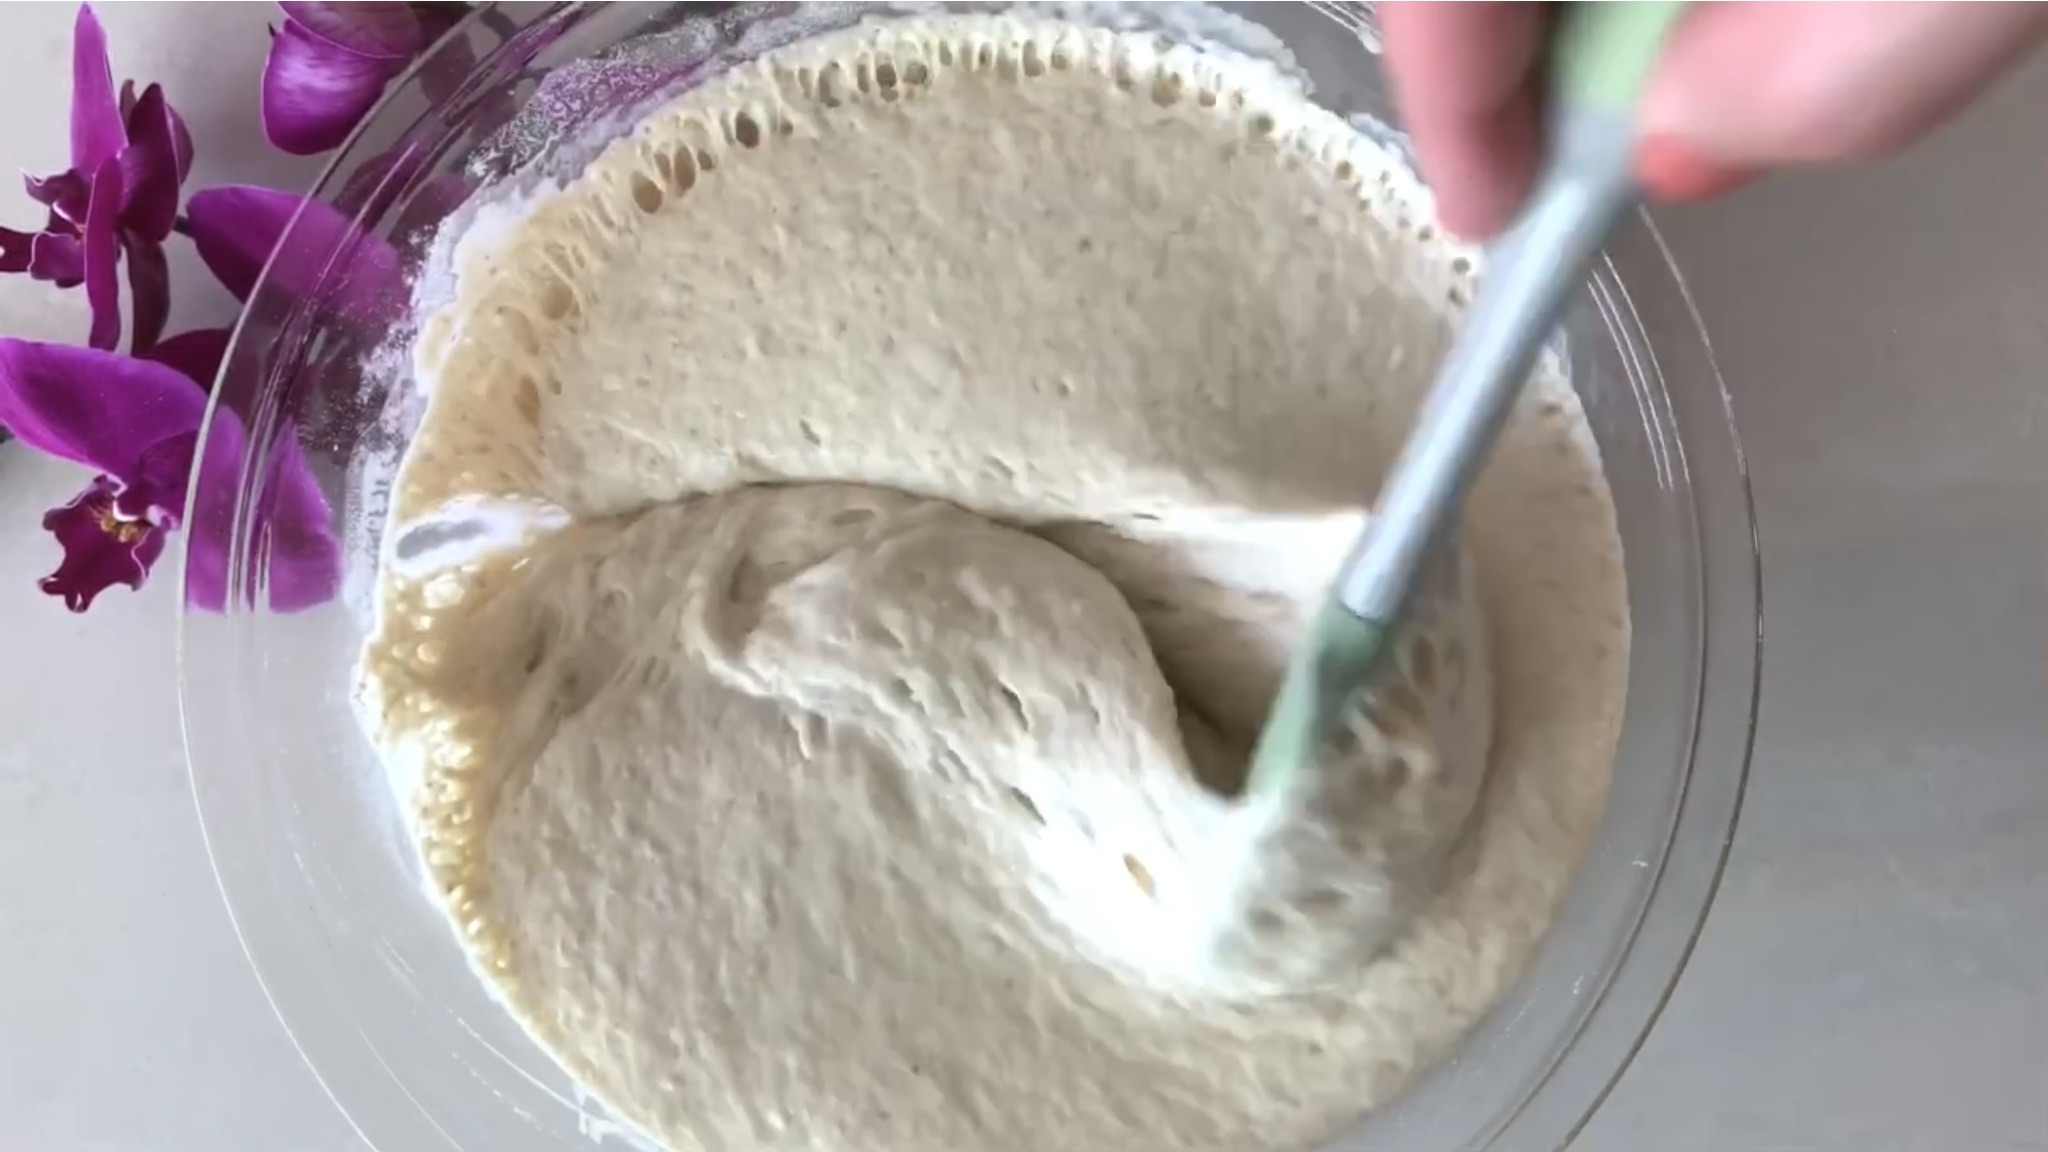
- Gradually pour lukewarm water into the dry ingredients while whisking continuously. Keep whisking until you achieve a slightly runny batter with a smooth consistency.
- Cover the bowl with plastic wrap and let the dough proof for 30 minutes in a warm corner of your kitchen. The dough will double in volume during this time.
- Preheat your oven to 365°F (185°C). Prepare the mini loaf pans by lightly dusting them with flour.
- Spoon the equivalent of half a cup of the dough into each mini loaf pan. Sprinkle sesame seeds, flaxseed, or sunflower seeds on top for garnish.
- Bake the mini loaves for 40 minutes or until they develop a golden crust outside and are fluffy and soft inside.
- Remove the mini loaves and let them cool on a wire rack. Leaving them in the pan may cause them to become moist and lose their crunch.
- Enjoy your express mini breads!
Prep Time and Servings
- Makes: 8 Servings
- Prep Time: 20 minutes
- Proofing Time: 30 minutes
- Baking Time: 40 minutes
Nutritional Information (Per 1 Serving)
- Energy: 150 calories
- Protein: 5.38 g
- Fat: 1.3 g
- Carbohydrates: 28.9 g
- Fiber: 1.8 g
Storage and Recommendations
- Store cooled mini loaf breads in an airtight container in the fridge for up to 1 week or up to 3 months in the freezer.
- Enjoy these mini loaf breads as part of breakfast, lunch, or dinner, paired with your favorite spreads or as a side to soups and salads.