Banana & Coconut Ice Cream
Banana & Coconut Ice Cream
When the temperatures rise and the sun starts blazing, all we really want is something cold, creamy, and comforting to beat the heat. But not just any treat. We want something that’s refreshing and delicious—but also made with real, nourishing ingredients we can feel good about. That’s where this banana and coconut ice cream comes in. It’s the kind of recipe you’ll want to make on repeat: not only because it tastes like pure frozen bliss, but because it’s shockingly simple and packed with nutrition. Just two ingredients, one blender, and you’ve got a luscious, scoopable dessert ready to enjoy.
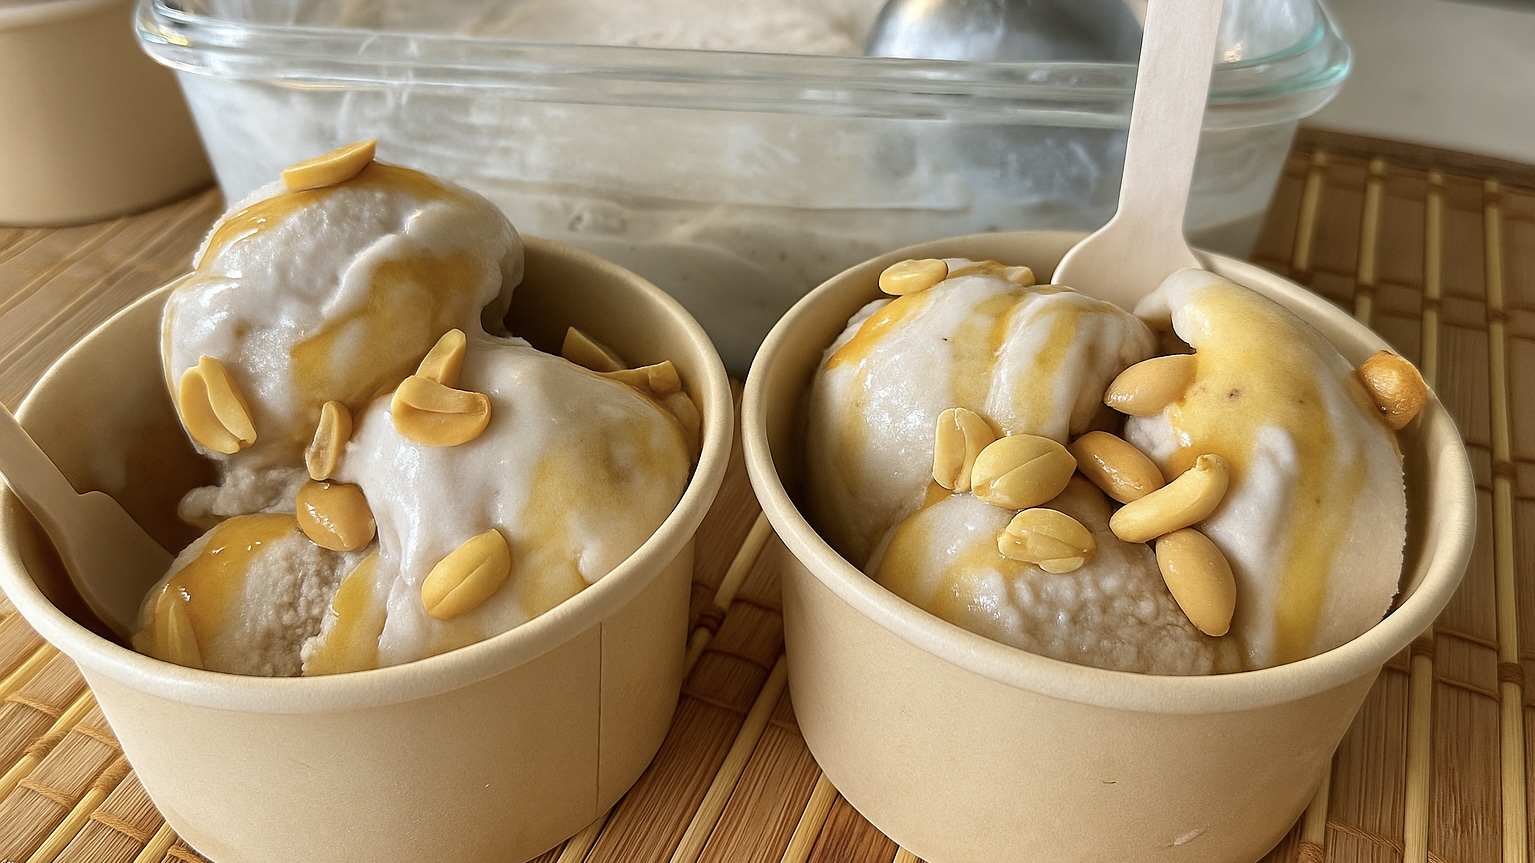
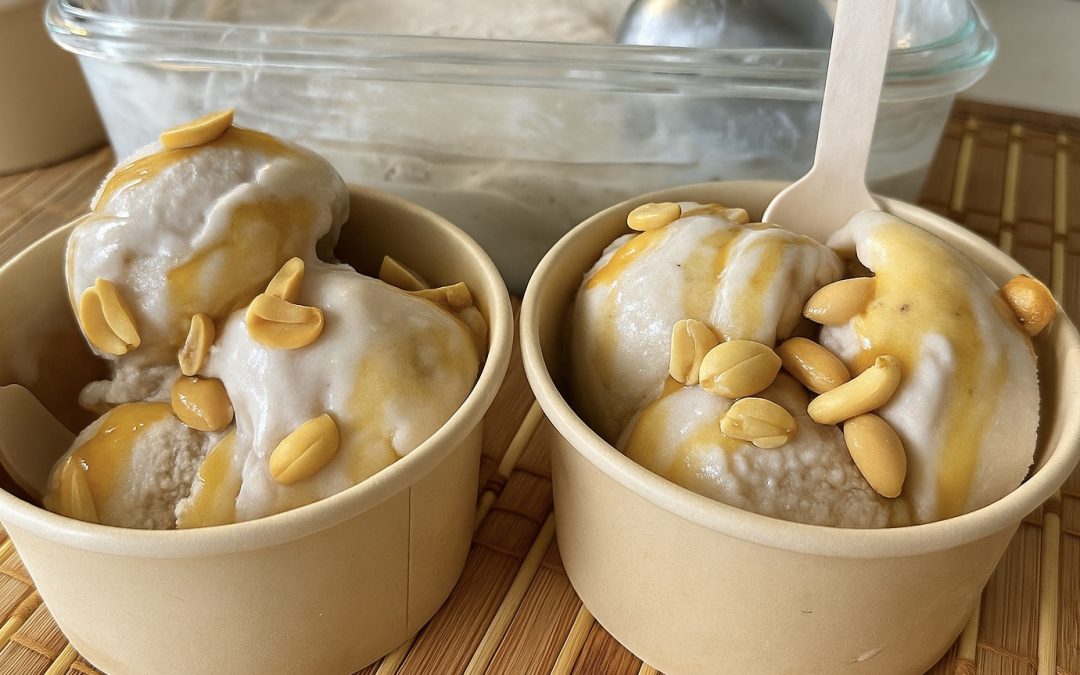
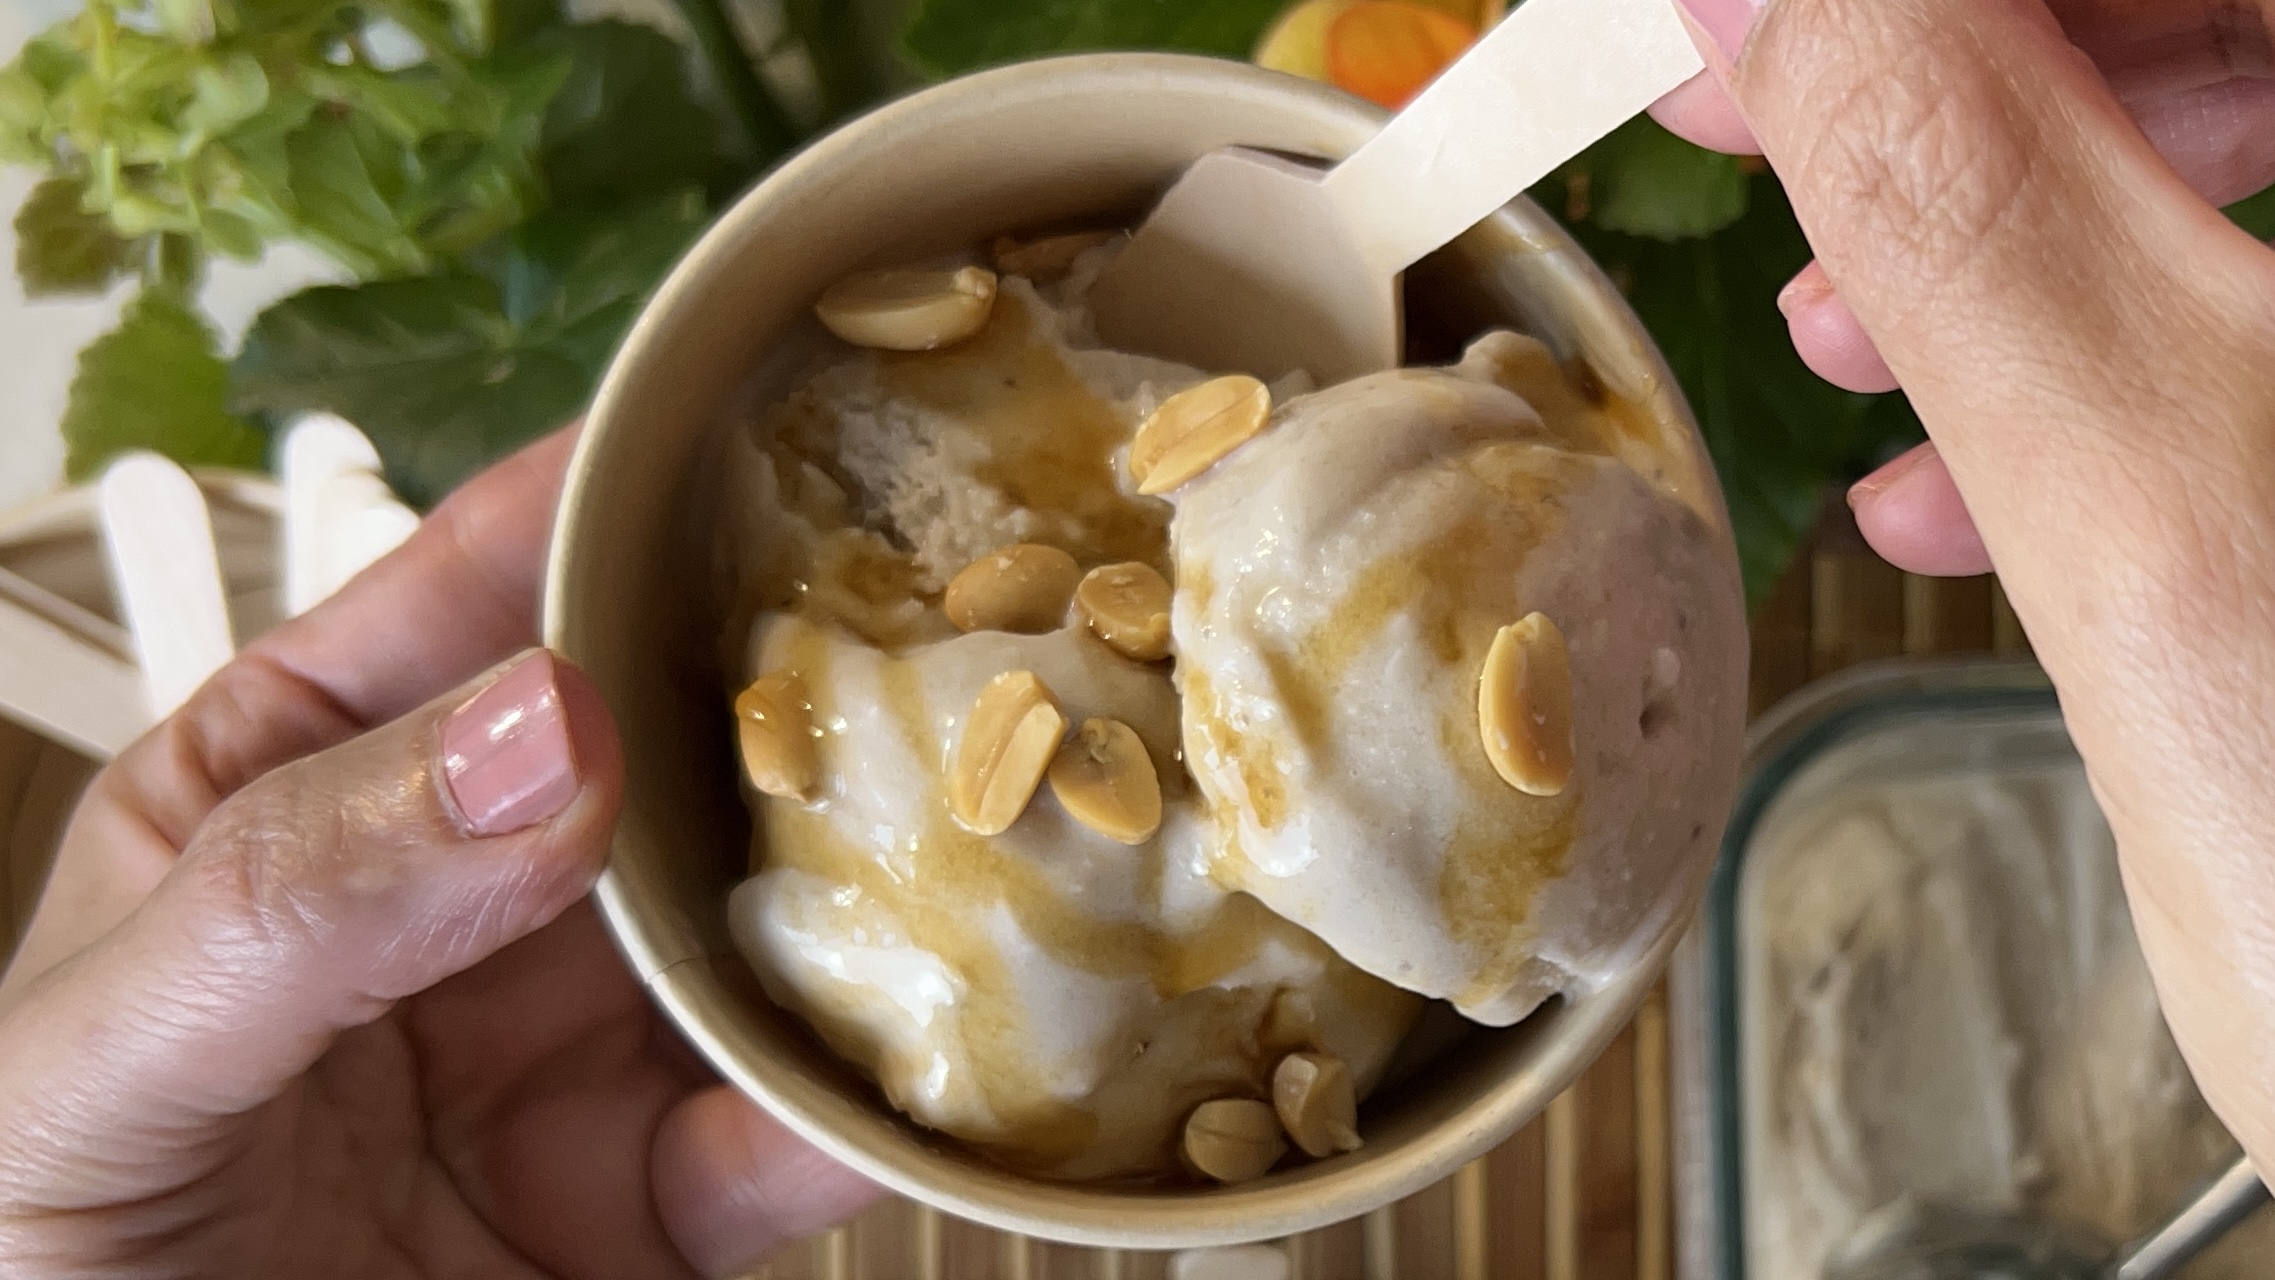
This is one of those recipes that makes you wonder, why didn’t I try this sooner? You don’t need an ice cream maker. You don’t need eggs, dairy, or added sugar. All you need are very ripe bananas and a can of coconut milk or cream. That’s it. The bananas bring all the natural sweetness, while the coconut adds that rich, tropical silkiness that takes the whole thing to another level. And if you want to take it even further—drizzle it with homemade caramel and scatter some roasted peanuts on top for that unbeatable sweet-salty combo. You’ve got a bowl of ice cream that hits all the right notes.
Now let’s talk about bananas—because they are the real star of this recipe. Bananas are one of the most underrated superfoods sitting on your kitchen counter. They’re naturally sweet (perfect for desserts), but they also pack a nutritional punch. Rich in potassium, bananas help regulate blood pressure and support heart health. They’re a great source of vitamin B6, essential for brain development and mood regulation, and they contain vitamin C, which plays a role in immune defense and collagen production. Plus, the dietary fiber in bananas aids digestion and keeps you feeling satisfied longer.
Because they’re high in carbohydrates but low in fat and protein, bananas provide quick energy—making them a great pre-workout snack or afternoon pick-me-up. They also help promote gut health by acting as a prebiotic, feeding the good bacteria in your digestive system. Including bananas in your regular diet is a smart move, especially if you’re looking for whole food-based sources of energy that taste amazing and actually support your body’s needs.
Combined with the creamy richness of coconut milk—a great source of medium-chain triglycerides (MCTs) that may support brain function and satiety—this ice cream becomes more than just a refreshing treat. It becomes a smart choice for anyone seeking better ingredients without sacrificing taste. Let’s get into it!
Ingredients (6 Servings)
-
620 g frozen banana slices (from 5 large, very ripe bananas)
-
400 ml canned coconut milk or coconut cream
-
1 tsp homemade caramel sauce per serving (optional)
-
1 tsp roasted peanuts per serving (optional)
Directions
- Start by preparing your frozen bananas. Slice five large, very ripe bananas and freeze them until solid—ideally overnight.
- Once the banana slices are fully frozen, place them into a high-powered food processor.
- Add the canned coconut milk or cream to the food processor along with the frozen banana slices.
- Blend the mixture until smooth and creamy. This could take a couple of minutes depending on your machine—pause to scrape down the sides as needed.
- Once the mixture is smooth and evenly blended, transfer it to a freezer-safe glass container.
- Cover the container and place it in the freezer for at least 2 hours.
- When the ice cream is firm but scoopable, it’s ready to enjoy.
- For a special touch, serve your scoops with a drizzle of homemade caramel and a sprinkle of roasted peanuts—or add any toppings you love like dark chocolate shavings, chopped almonds, or toasted coconut flakes.
Prep Time: 15 minutes
Freezing Time: 2 hours
Servings: 6
Nutritional Information (Per Serving)
-
Energy: 220 calories
-
Protein: 2.46 g
-
Fat: 14.4 g
-
Carbohydrates: 25.45 g
-
Fiber: 2.7 g
Storage & Recommendations
-
Best enjoyed within 1 week for optimal texture.
-
Let sit at room temperature for 5–10 minutes before scooping if it becomes too firm.
-
Feel free to experiment with different toppings: try chopped toasted nuts, dark chocolate curls, or fresh fruit slices for extra flavor and texture.
-
This recipe is vegan, dairy-free, and contains no refined sugars.