One-Pan Baked Oatmeal

One-Pan Baked Oatmeal

One-Pan Baked Oatmeal

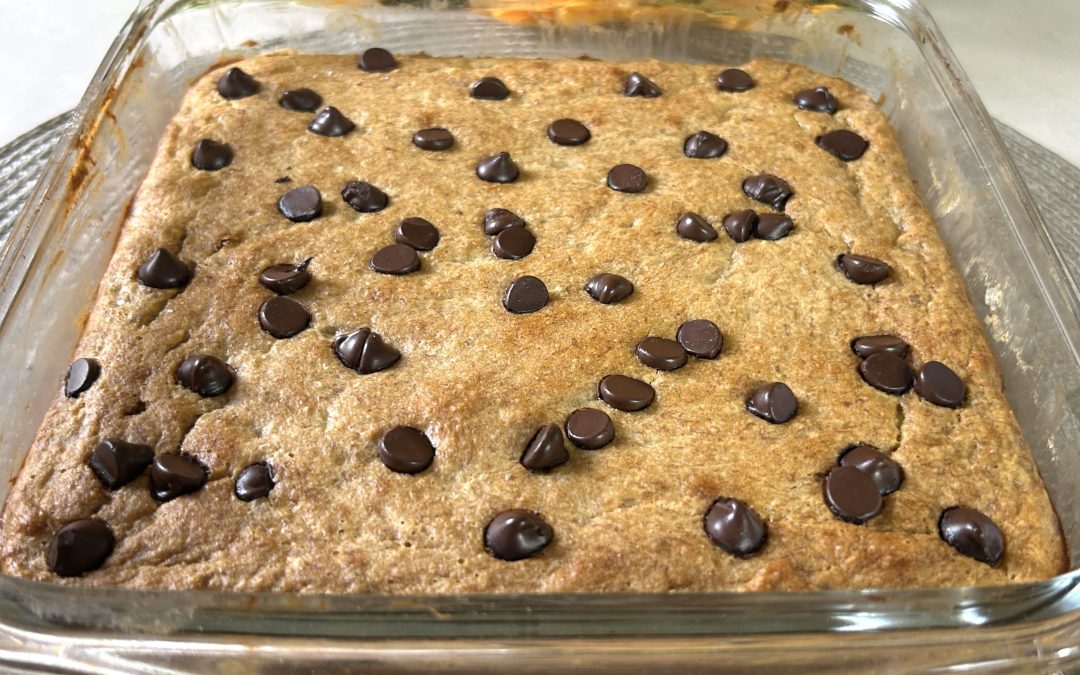
There’s something truly magical about a recipe that brings together simplicity, flavor, and wholesome goodness in a single dish. This One-Pan Baked Oatmeal is just that—a perfectly soft, naturally sweet, and satisfying treat that requires minimal effort. Whether you need a quick breakfast, a healthy snack, or a guilt-free dessert, this banana oat bake has got you covered. The combination of ripe bananas, protein-packed peanut butter, and oat flour creates a wonderfully moist and tender texture with just the right amount of natural sweetness. And let’s not forget the dark chocolate chips, because who doesn’t love a little chocolate indulgence?

What makes this recipe even better? It’s all mixed and baked in one pan, meaning less mess, fewer dishes, and more time to enjoy the good things in life. Whether you eat it warm with a drizzle of peanut butter or pair it with your morning coffee, this easy bake will quickly become a staple in your kitchen.

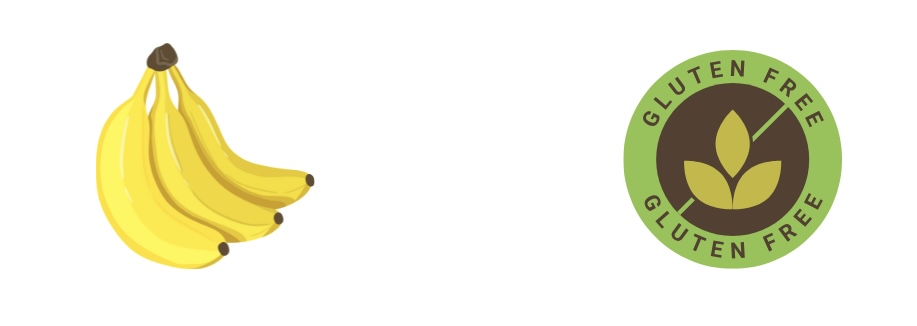
Now, let’s talk about oats, the humble yet powerful grain that serves as the foundation of this recipe. Oats are packed with dietary fiber, particularly beta-glucan, which helps support heart health by reducing cholesterol levels. They’re also rich in essential minerals like iron, magnesium, and manganese, making them an excellent choice for sustained energy and overall well-being. Oats provide a steady release of energy, keeping you full for longer, and they aid digestion, promoting a healthy gut. Incorporating oats into your regular diet can help improve cholesterol, stabilize blood sugar, and support a balanced diet. So, if you haven’t been giving oats the attention they deserve, this delicious recipe is the perfect way to start!

Overall, this one-pan wonder is gluten-free, naturally sweetened, and full of nourishing ingredients that make it an excellent choice for any time of the day. Happy baking!

Ingredients:

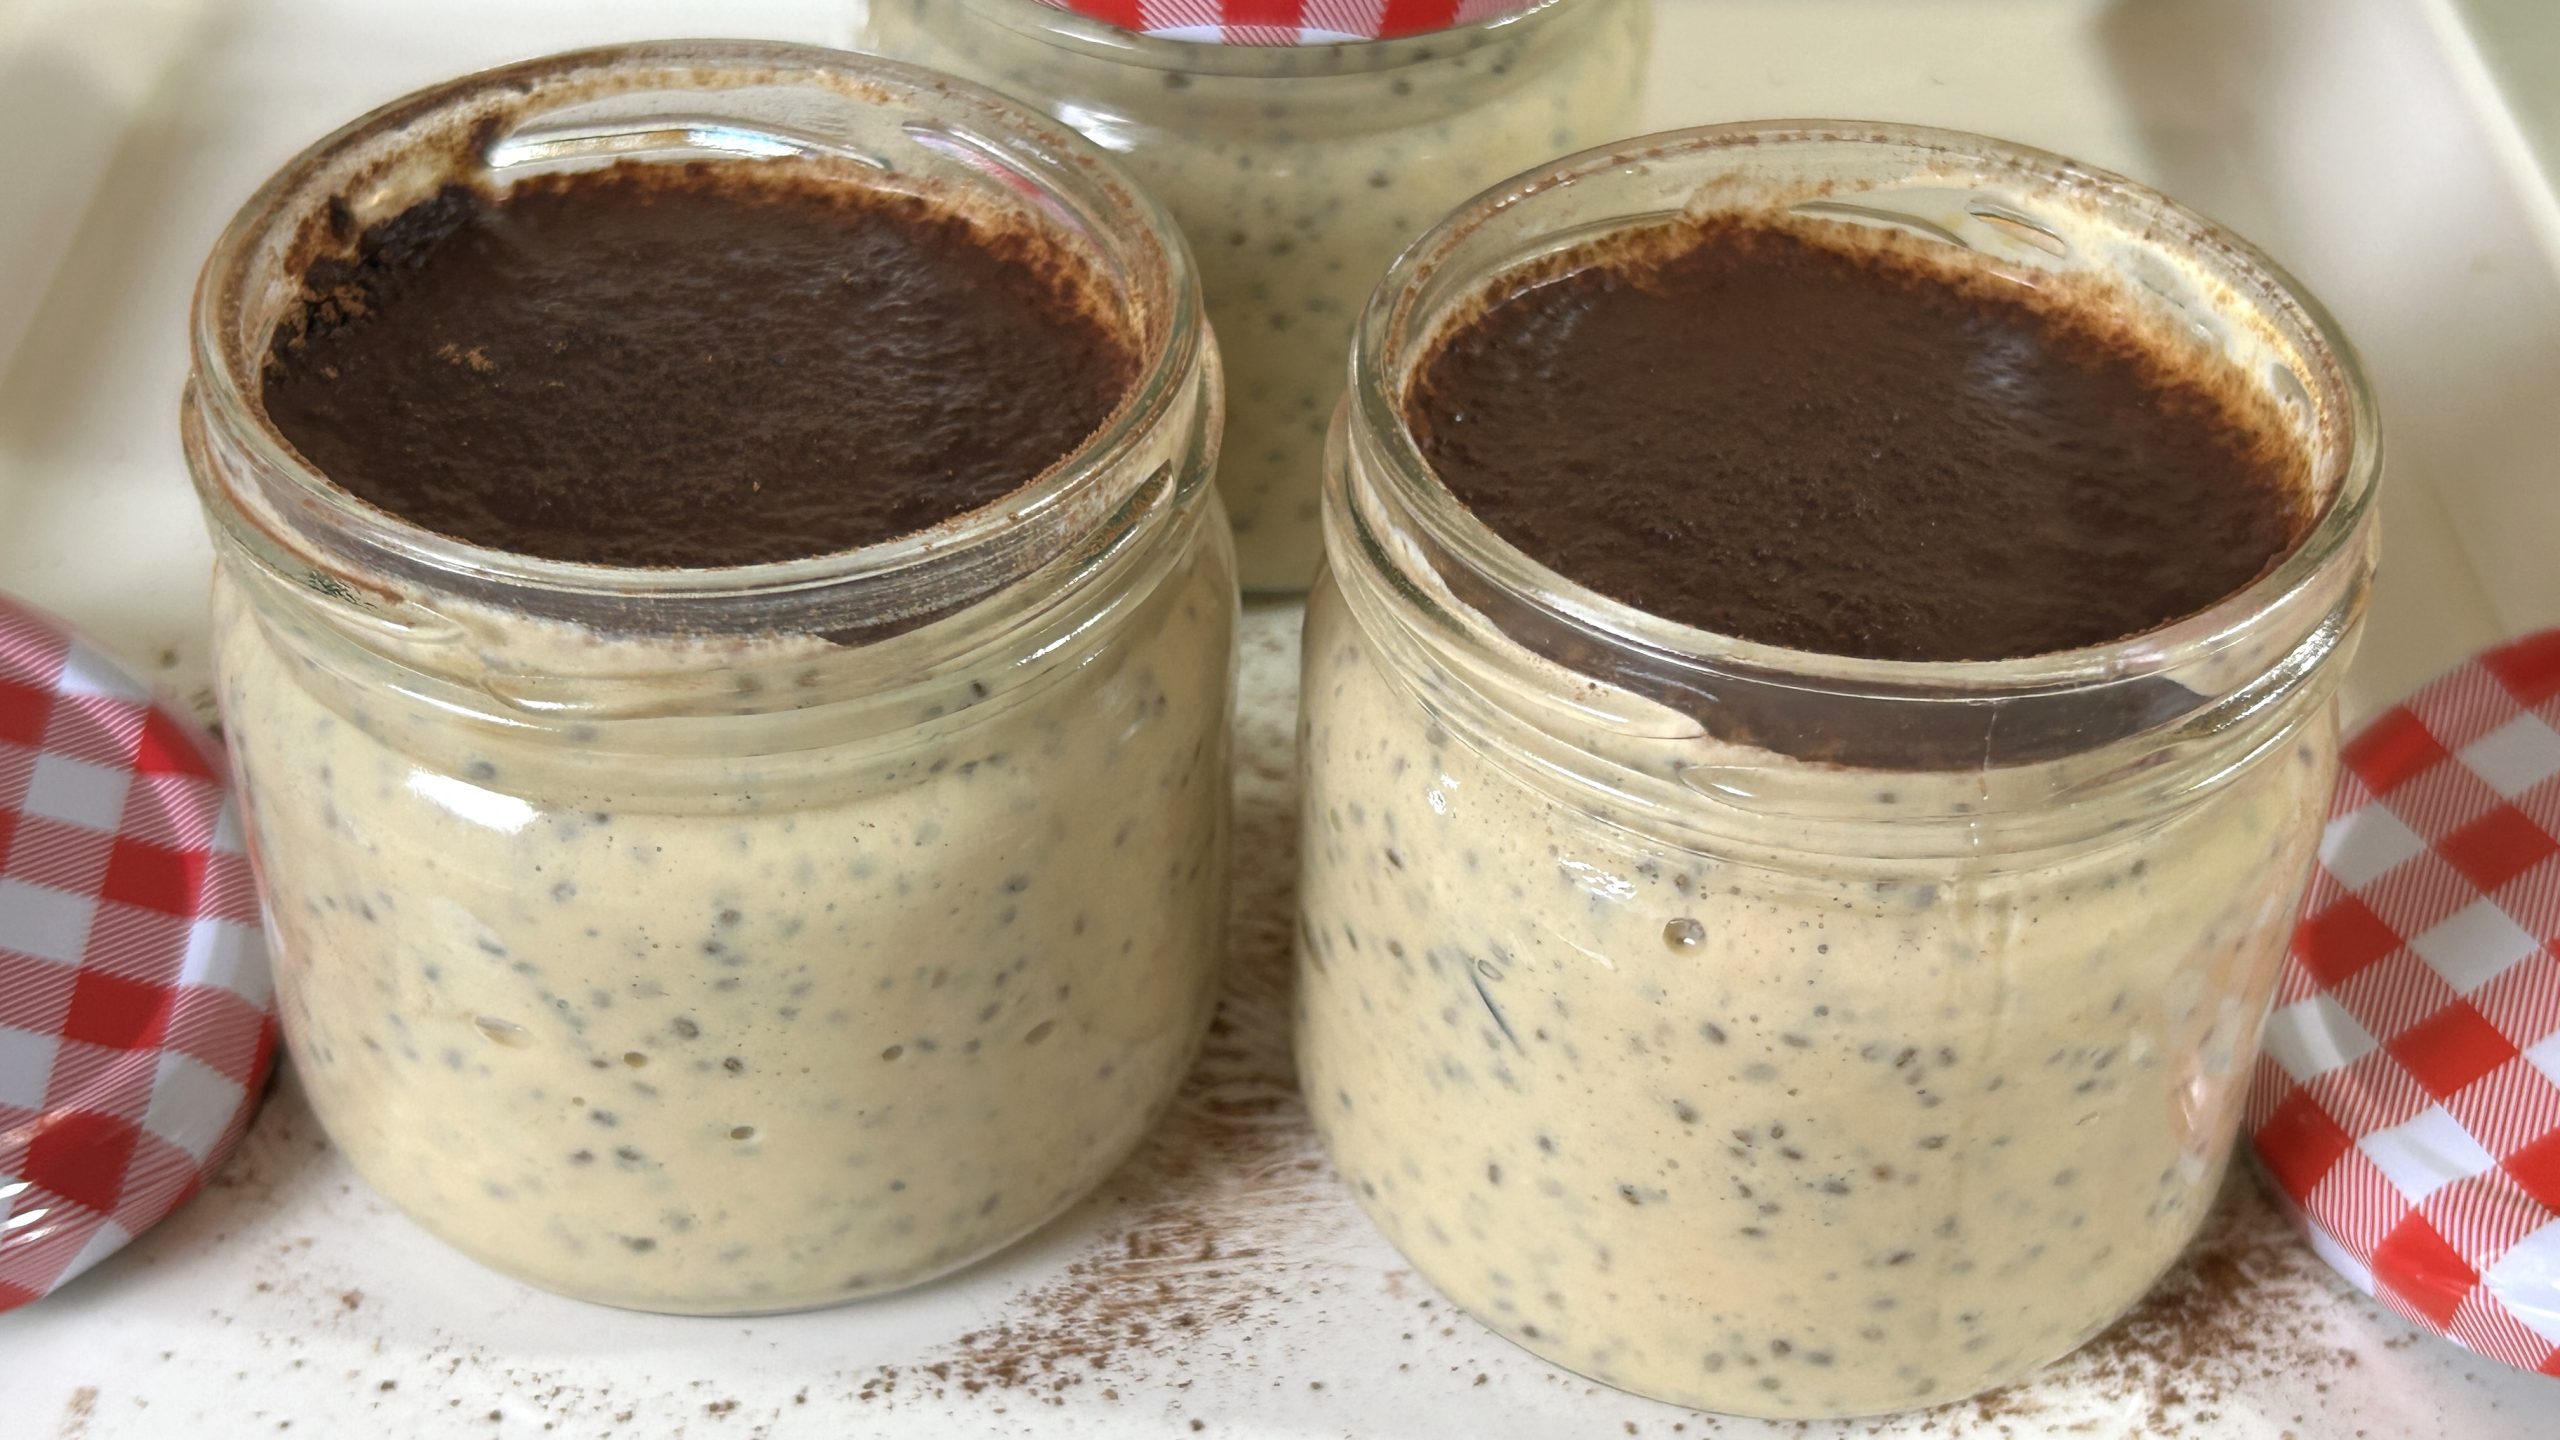
  • 1 cup (90 g) oat flour (or blended rolled oats)
  • 3 ripe bananas (335 g without skin)
  • 1/3 cup (80 g) peanut butter
  • 2 eggs
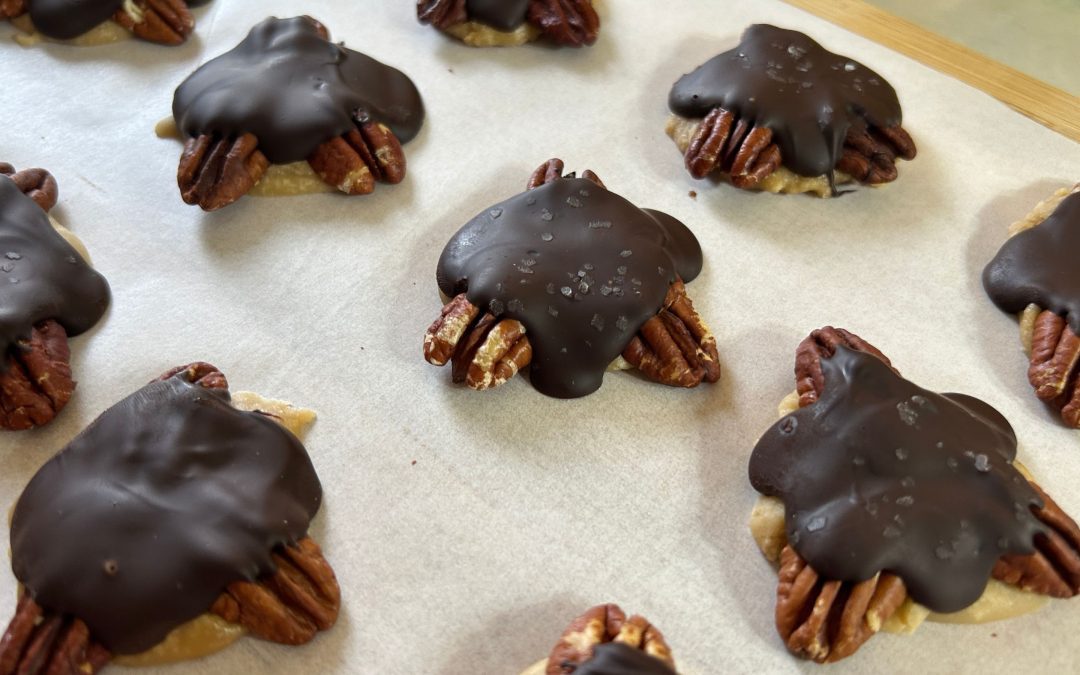
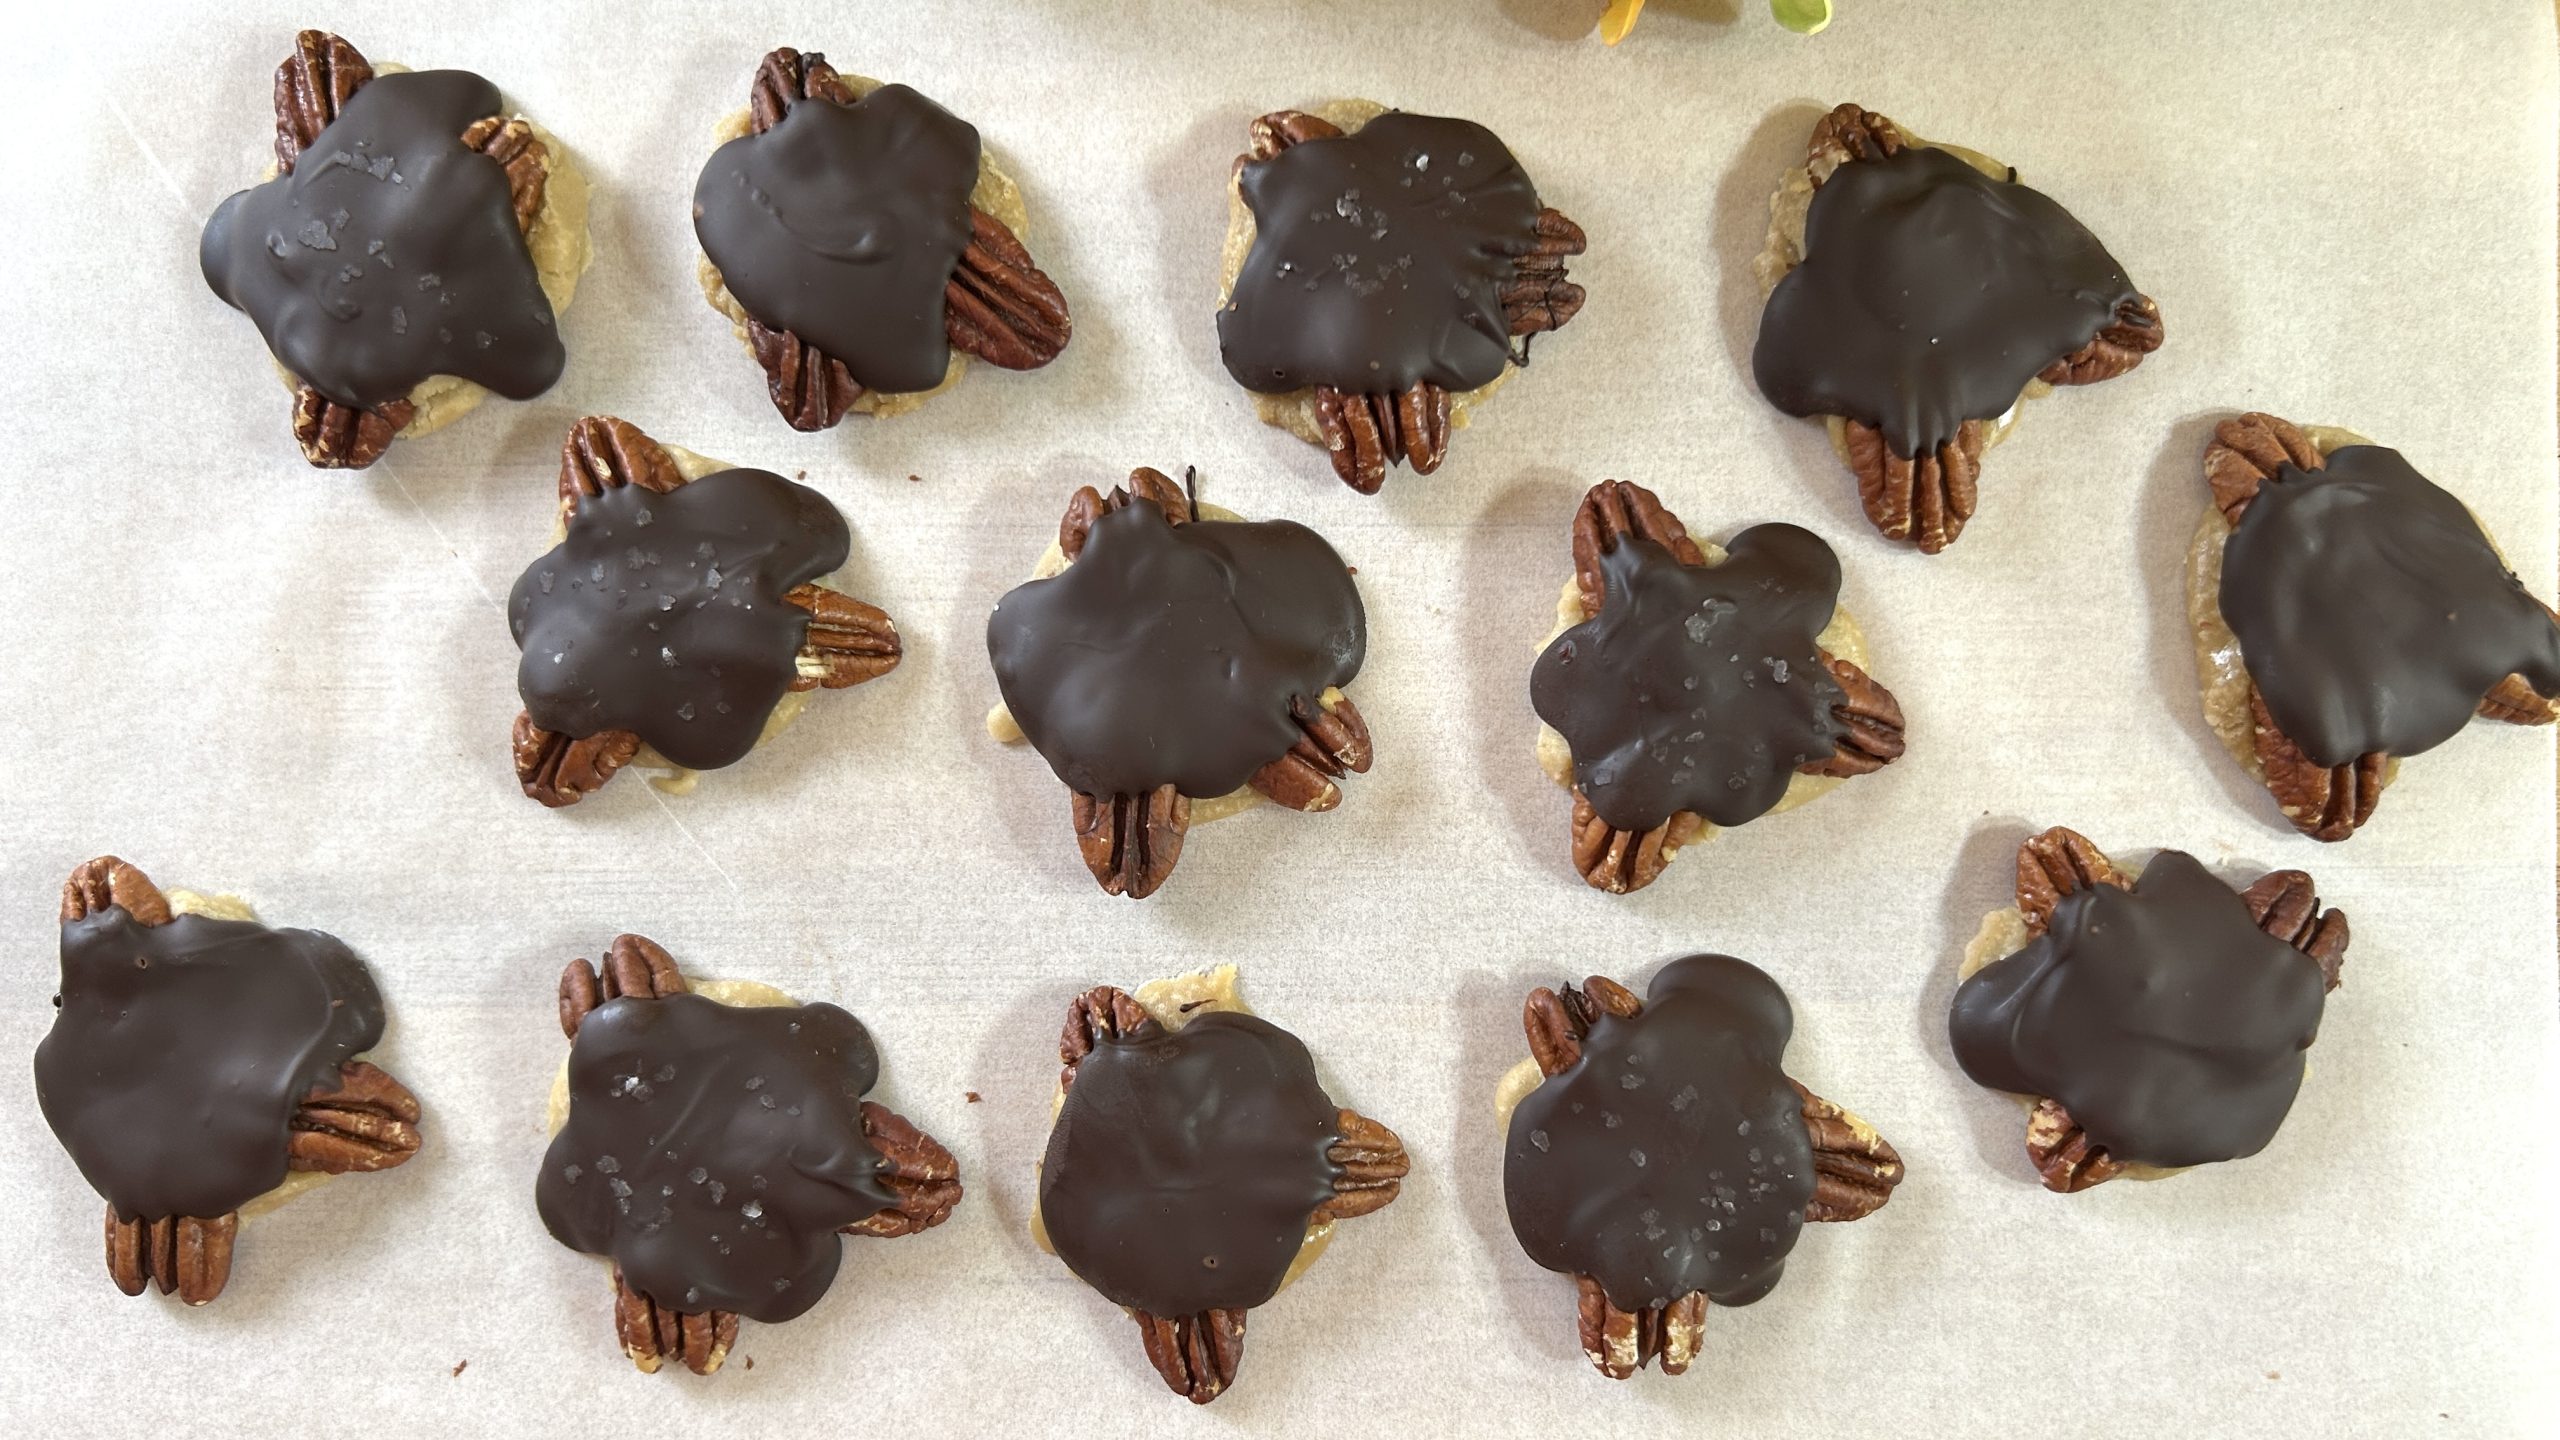
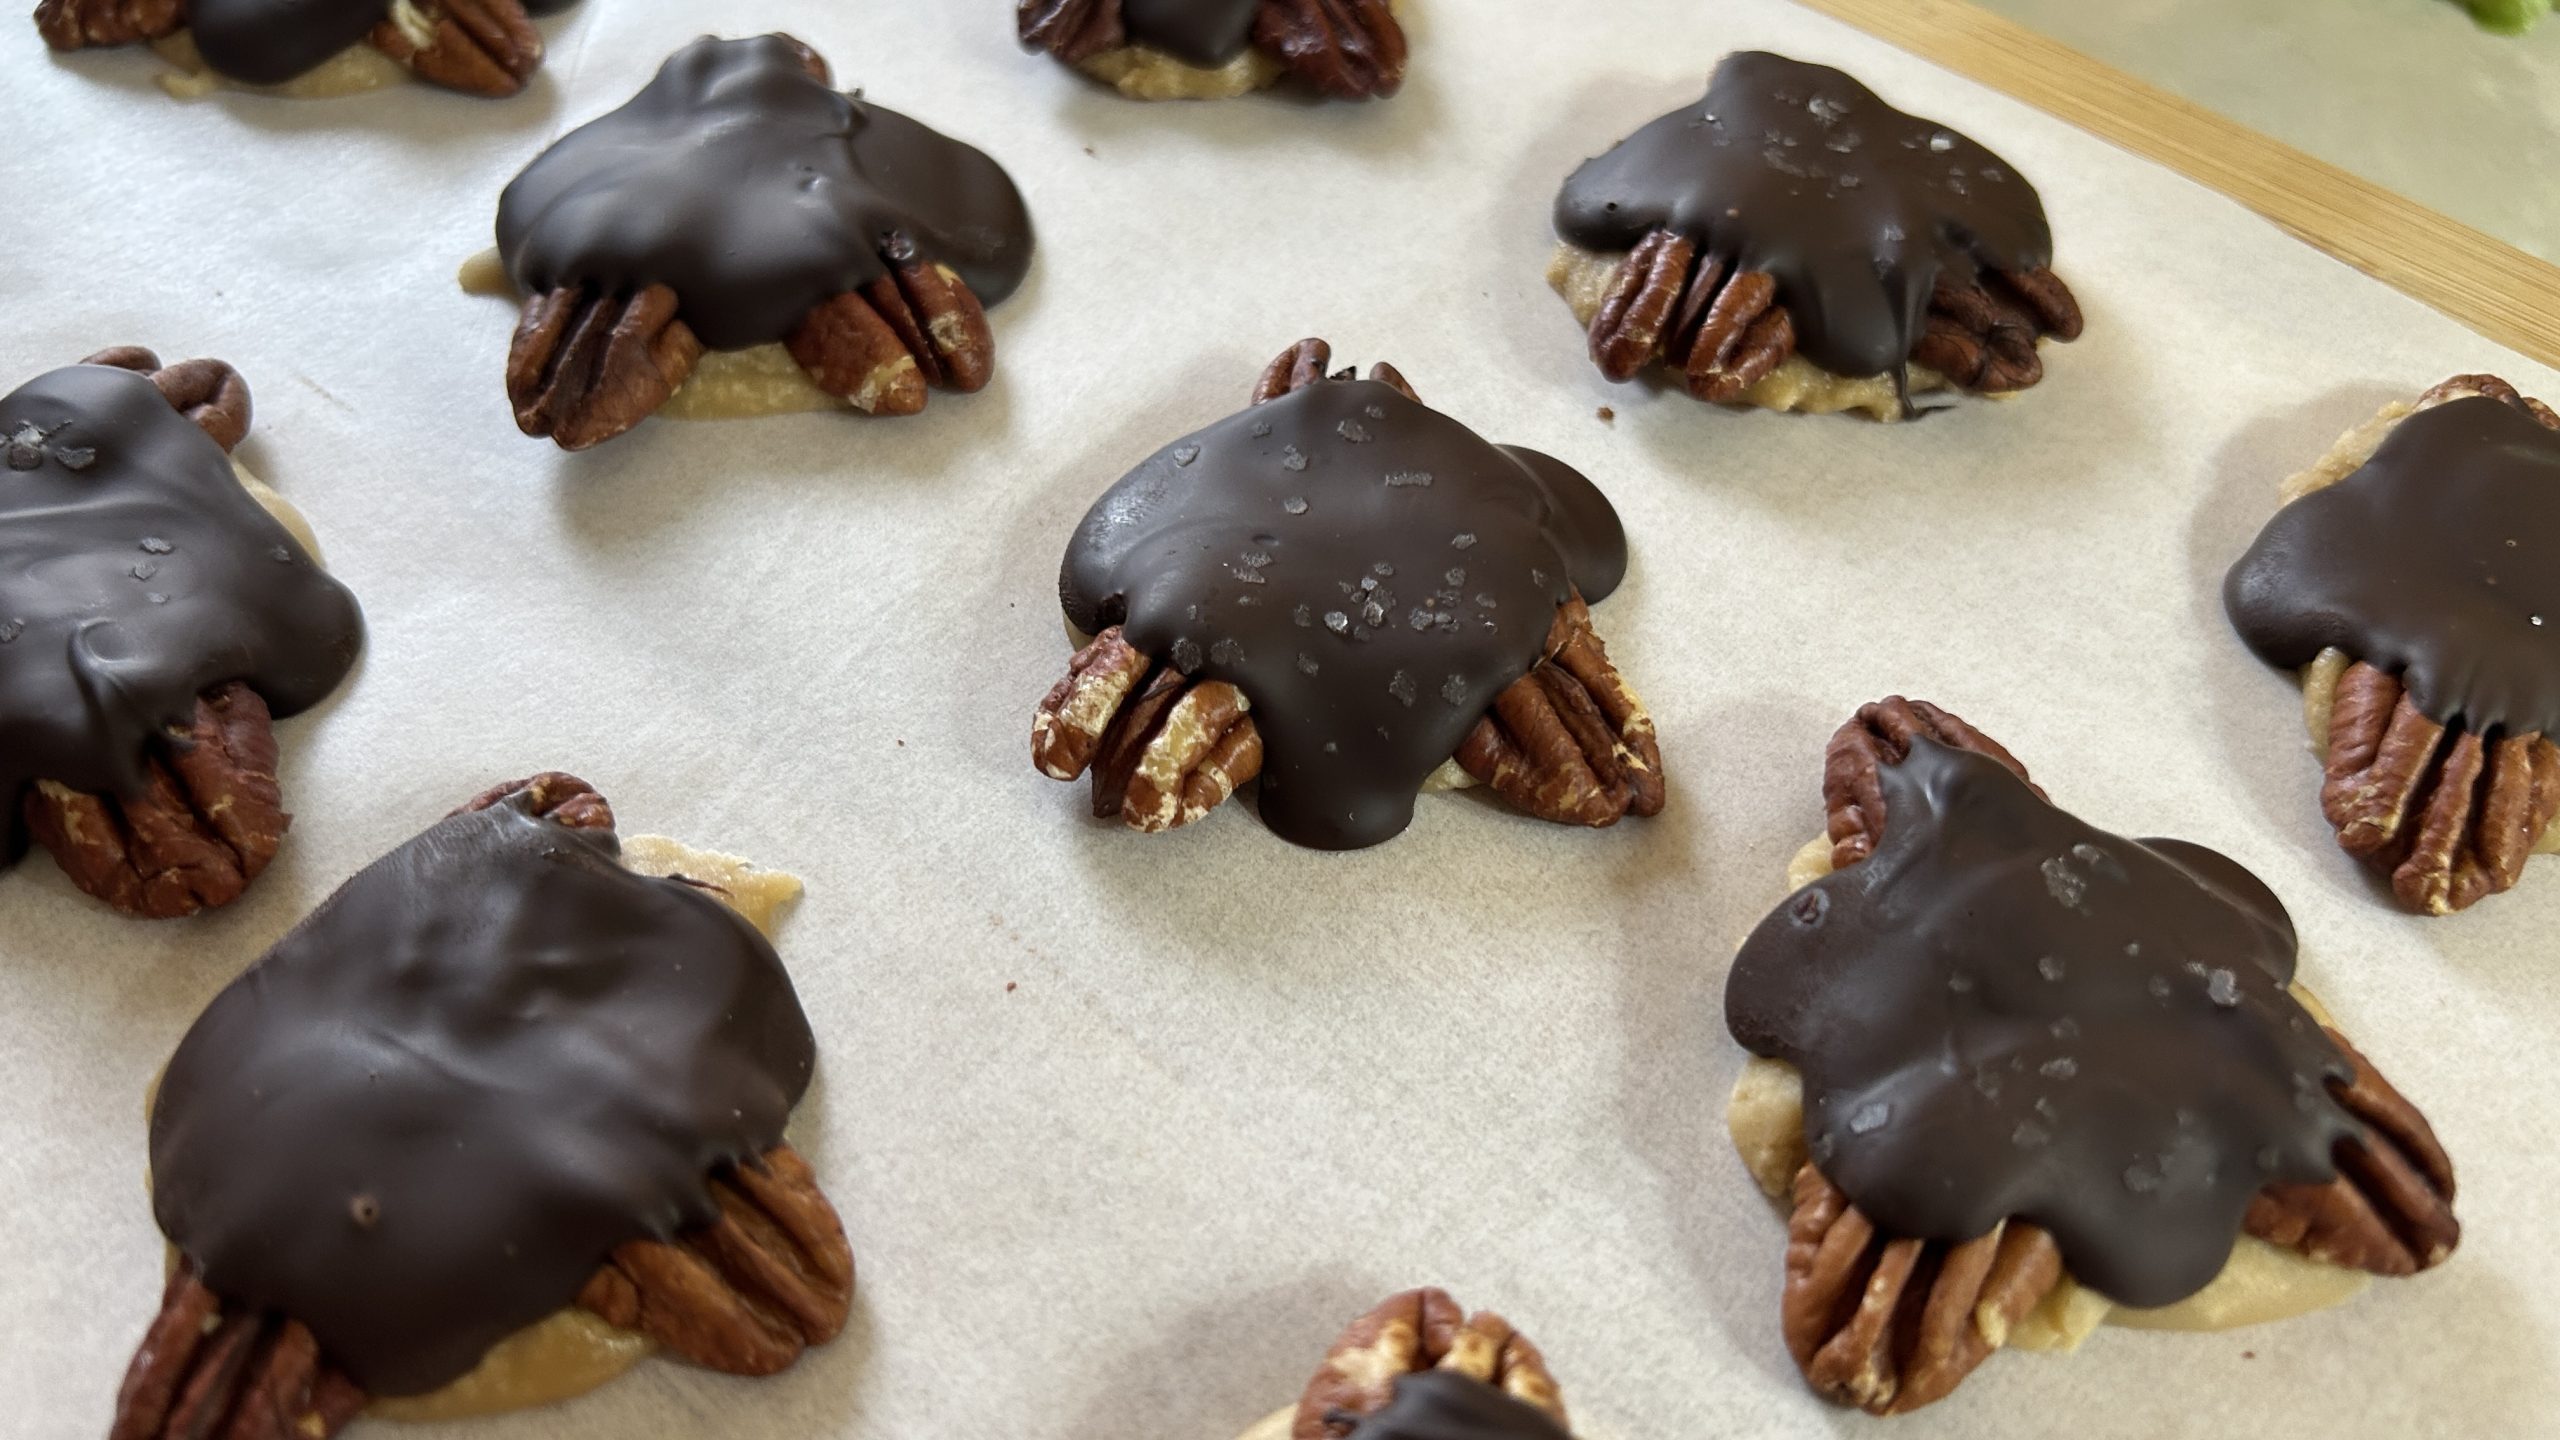
  • 30 g dark chocolate chips (optional)
  • 1 tsp. baking powder
  • 1 tsp. vanilla extract

Directions:

  1. Preheat the oven to 350°F (180°C).
  2. If making your own oat flour, blend rolled oats in a blender or coffee grinder until fine.
  3. In a small bowl, mix the oat flour with baking powder and set aside.
  4. In a 20 cm (8-inch) glass baking pan, add the bananas and mash them with a fork until smooth.
  5. Add the peanut butter and eggs to the mashed bananas, stirring with a fork until well combined.
  6. Stir in the vanilla extract, then gradually add the oat flour mixture, mixing gently until just incorporated.
  7. If using dark chocolate chips, fold them into the batter.
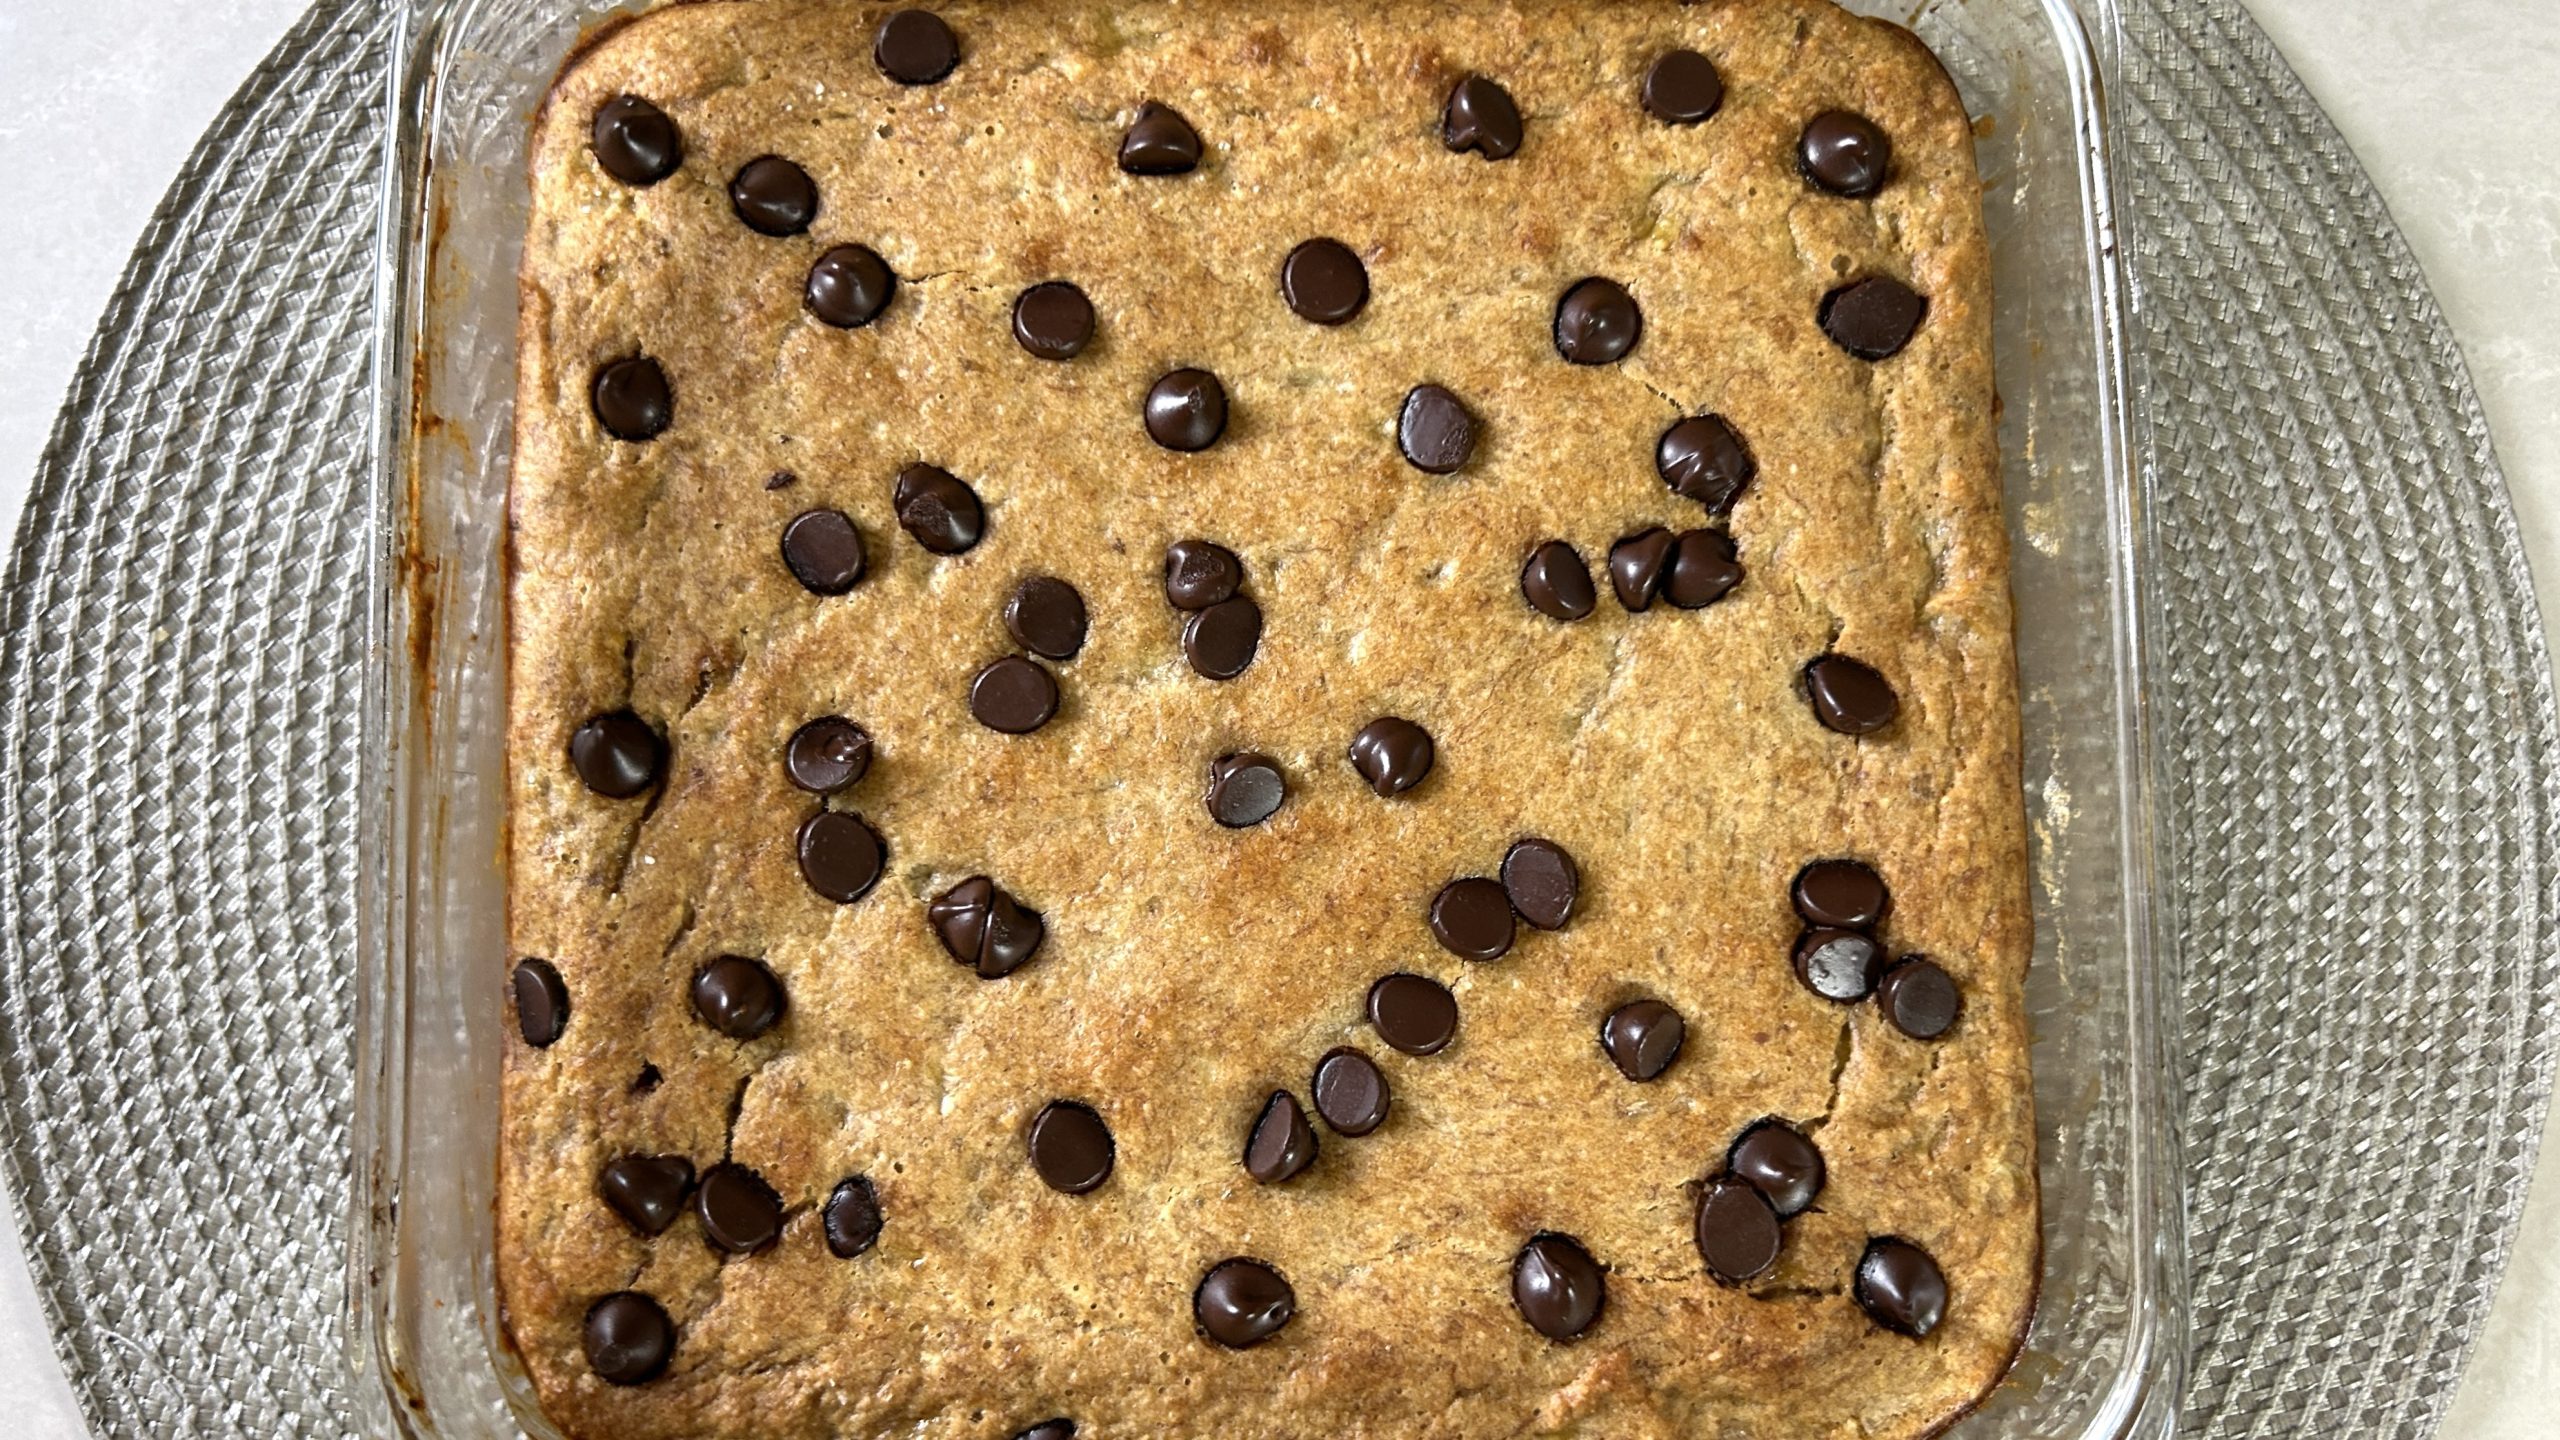
  8. Spread the batter evenly in the pan, smoothing the top.
  9. Sprinkle a few extra chocolate chips on top for an added touch.
  10. Bake for 30 minutes, or until a toothpick inserted in the center comes out clean.
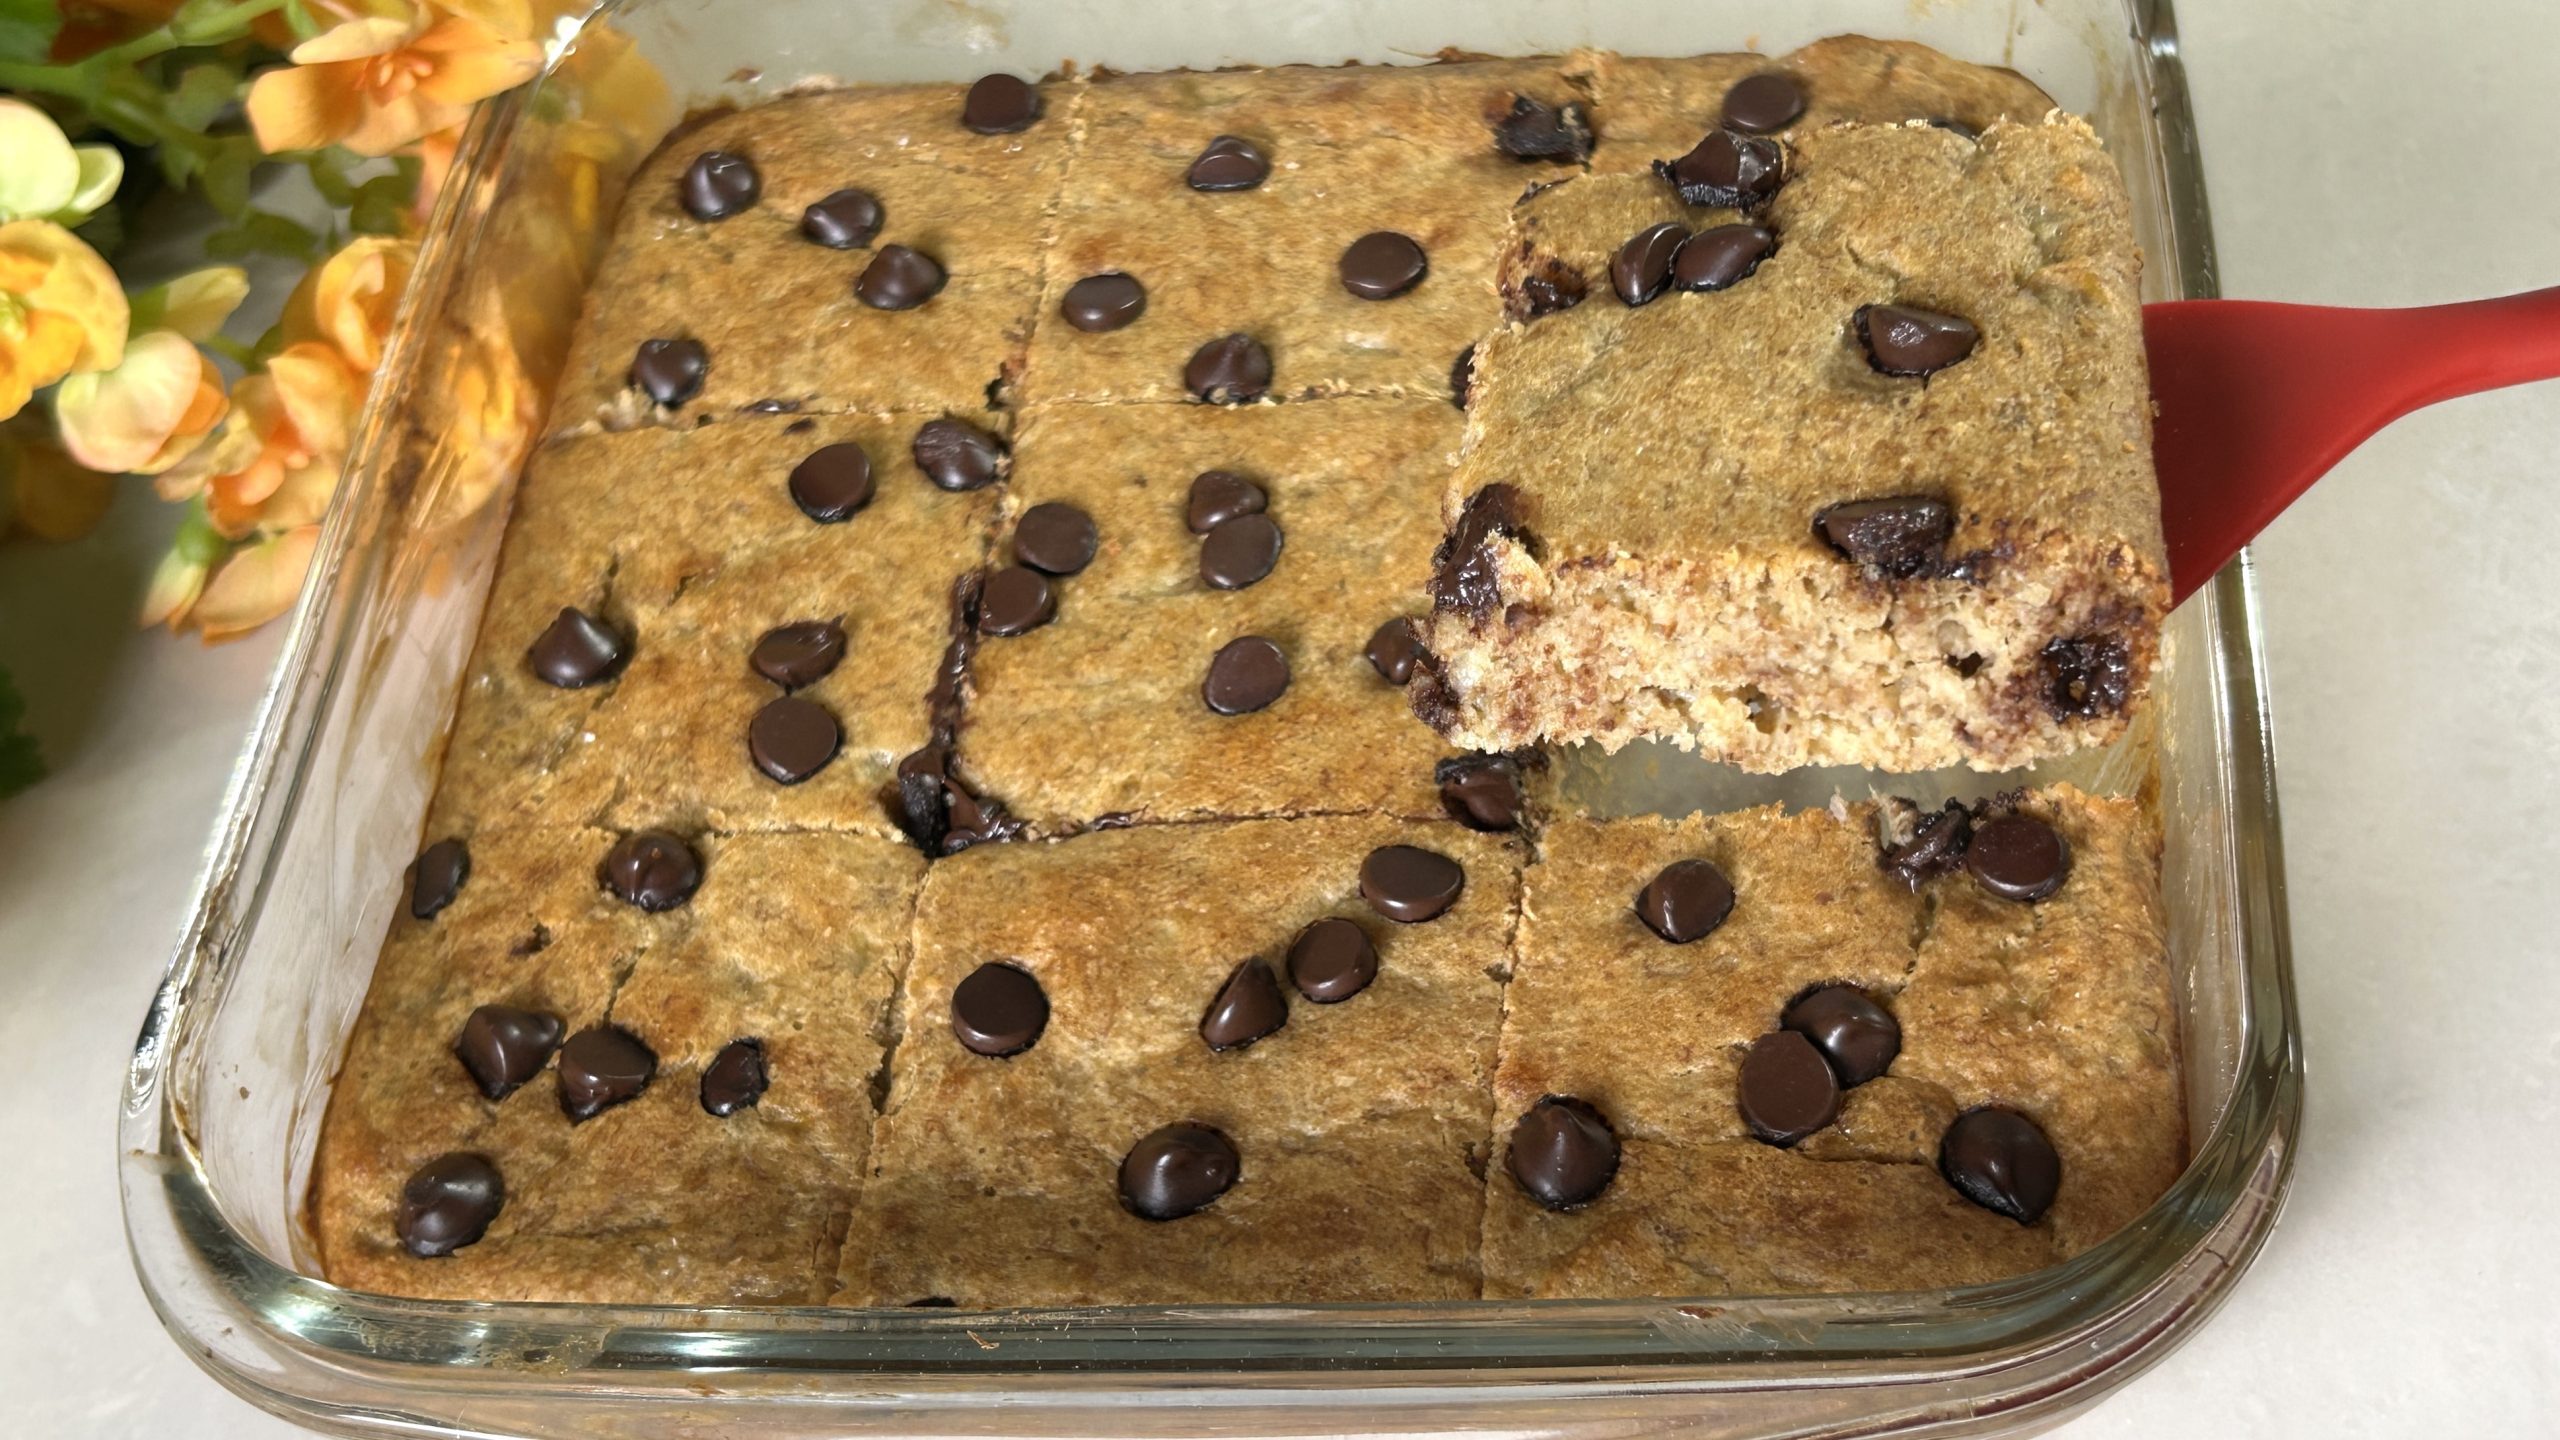
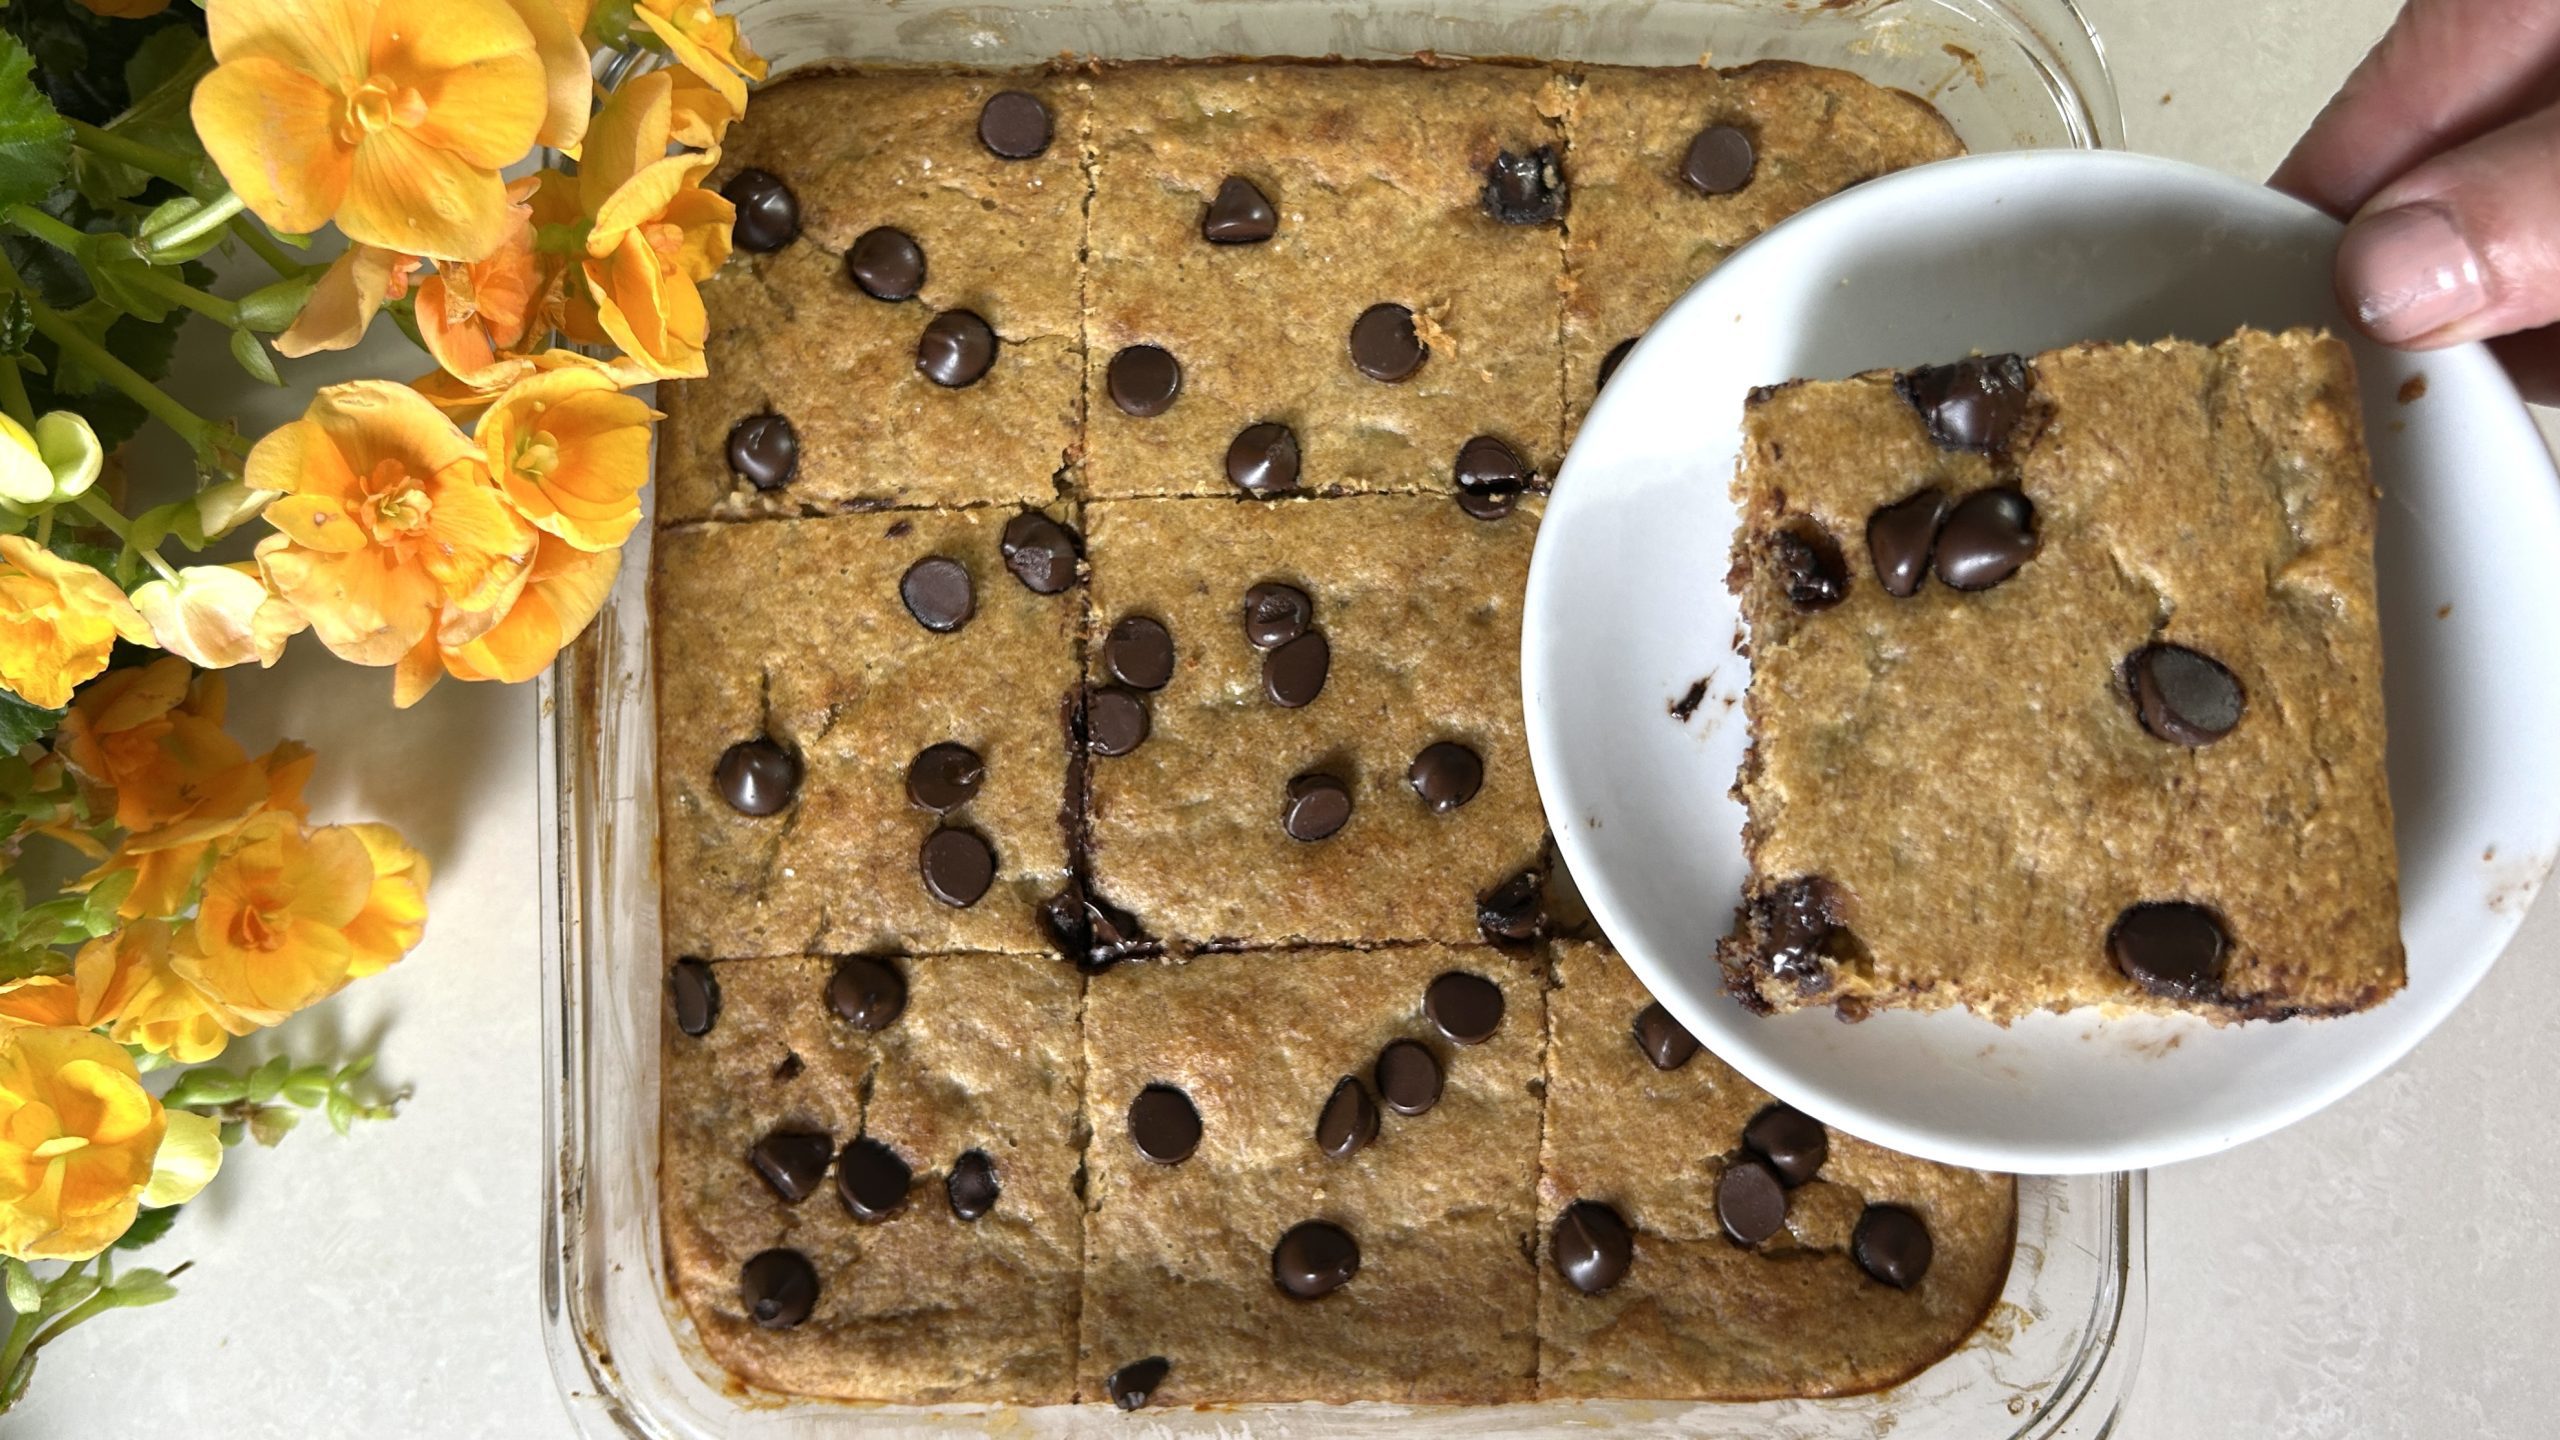
  11. Let the cake cool slightly before slicing into squares and serving.

Prep Time: 20 minutes
Baking Time: 30 minutes
Servings: 9 squares

Nutritional Information (Per Serving):

  • Energy: 162 calories
  • Protein: 5.69 g
  • Fat: 7.93 g
  • Carbohydrates: 18.83 g
  • Fiber: 2.7 g

Storage:

  • Keep refrigerated for up to 5 days for longer freshness.
  • Freeze individual squares for up to 3 months; thaw before serving.
  • Enjoy warm with a drizzle of peanut butter or alongside a cup of tea or coffee.


Chocolate Turtles

Chocolate Turtles

Chocolate Turtles

Who can resist the magic of homemade chocolate turtles? These little bites of joy are the perfect marriage of crunchy pecans, gooey caramel, and rich dark chocolate—a timeless classic that never disappoints. Making them at home is surprisingly simple, and the best part? You only need four wholesome ingredients to create this indulgent yet nutritious treat!

The true star of this recipe is pecans, which not only provide that signature crunch but also bring a host of nutritional benefits. Pecans are packed with heart-healthy monounsaturated fats, helping to support cholesterol balance and overall cardiovascular health. They are also a fantastic source of zinc and magnesium, two essential minerals that contribute to immune function, brain health, and muscle relaxation. Additionally, pecans contain powerful antioxidants, which protect cells from damage and reduce inflammation. Including pecans in your diet can help support long-term wellness while adding a delightful richness to your meals and snacks!

Paired with maple syrup caramel, a refined sugar-free alternative, and dark chocolate, known for its polyphenols and flavonoids that promote heart health, this treat is not only delicious but also nourishing. These homemade turtles make a wonderful gift, a special snack, or a dessert you’ll find hard to resist!

Ingredients

  • 40 g pecans
  • ½ cup maple syrup
  • 30 g unsalted butter (vegan or not, room temperature)
  • 85 g dark chocolate (70% or higher)
  • Pinch of kosher salt (optional)

Directions

  1. Preheat the oven to 350°F (180°C). Spread the pecans on a baking tray and roast them for 5 minutes. Let them cool.
  2. In a saucepan over medium-high heat, simmer the maple syrup while stirring continuously until it reduces by half and thickens.
  3. Add the butter and stir vigorously for 1-2 minutes until fully incorporated. The caramel will continue to thicken as it cools.
  4. Quickly spoon small portions of the caramel onto a parchment-lined baking tray, shaping them into small circles.
  5. Insert three roasted pecans into each caramel circle, arranging them like a turtle (one head, two feet).
  6. If the caramel hardens too much, reheat on low heat and stir until spoonable again.
  7. Melt the dark chocolate using a double boiler or microwave.
  8. Spoon a small amount of melted chocolate over each caramel-pecan cluster, covering the center. Sprinkle a pinch of kosher salt if desired.
  9. Refrigerate for at least 30 minutes until fully set. Enjoy your homemade chocolate turtles!

Prep Time: 30 minutes
Baking Time: 5 minutes
Chilling Time: 30 minutes
Servings: 14

Nutritional Information (Per Serving)

  • Energy: 101 calories
  • Protein: 0.76 g
  • Fat: 6.39 g
  • Carbohydrates: 10.73 g
  • Fiber: 0.9 g

Storage

  • Store in an airtight container in the fridge for up to 2 weeks.
  • For a firmer texture, keep them in the freezer for up to 3 months.
  • Use dairy-free butter to make them completely dairy-free.


Chia Seed Tiramisu

Chia Seed Tiramisu

Chia Seed Tiramisu

This chia seed tiramisu is a delightful fusion of creamy, coffee-infused goodness and wholesome ingredients that will satisfy your sweet cravings while fueling your body. Perfect for breakfast, a midday pick-me-up, or an after-dinner treat, this recipe brings together the rich flavors of coffee and cocoa with the health benefits of chia seeds.

Unlike traditional tiramisu, which is loaded with refined sugar and heavy dairy, this version is naturally sweetened, packed with protein, and full of fiber to keep you feeling satisfied.

Chia seeds, the star ingredient of this recipe, are tiny nutritional powerhouses that deserve a regular spot in your diet. They are packed with fiber, plant-based protein, and essential omega-3 fatty acids that support heart health, brain function, and digestion. Thanks to their incredible ability to absorb liquid, they create a pudding-like consistency that’s both creamy and satisfying. Plus, their slow-digesting nature helps stabilize blood sugar levels, making them a fantastic choice for sustained energy throughout the day.

Whether you’re looking for a nutritious breakfast option or a wholesome dessert, this chia seed tiramisu is a guilt-free way to enjoy a classic favorite with a nourishing twist.

Ingredients:

  • 1 tbsp. instant coffee
  • 1 tbsp. hot water
  • 2 tbsp. maple syrup
  • 1 ½ cups (300 g) Greek yogurt
  • 3 tbsp. (30 g) chia seeds
  • 3 tbsp. maple syrup
  • ¼ tsp. vanilla extract (optional)
  • ½ tsp. cocoa powder

Directions:

  1. Prepare the whipped coffee: In a glass, combine instant coffee, hot water, and maple syrup.
  2. Use a hand mixer to whisk the mixture until it becomes thick, creamy, and light in texture.
  3. Place the whipped coffee in the fridge while preparing the chia mixture.
  4. In a mixing bowl, add Greek yogurt, chia seeds, maple syrup, and vanilla extract.
  5. Stir the mixture well to ensure the chia seeds are evenly distributed.
  6. Gently fold in the whipped coffee, mixing until fully incorporated.
  7. Pour the chia mixture into small jars or cups, filling them to the top.
  8. Lightly sprinkle cocoa powder over each serving for a tiramisu-like finish.
  9. Cover the jars with lids or plastic wrap and refrigerate for at least 2 hours (overnight for the best texture).
  10. Serve chilled and enjoy the creamy, coffee-infused delight!

Prep Time: 15 minutes
Chill Time: 2 hours in the fridge
Servings: 3

Nutritional Information (Per Serving):

  • Energy: 197 calories
  • Protein: 5.2 g
  • Fat: 6.38 g
  • Carbohydrates: 31.39 g
  • Fiber: 3.5 g

Storage:

  • Store in airtight jars or covered cups in the fridge for up to 3 days.
  • For a thicker texture, let it sit overnight.
  • Great as a make-ahead dessert or even a nutritious breakfast option!


Wholesome Carrot Cake

Wholesome Carrot Cake

Wholesome Carrot Cake

There’s something about homemade cake that just feels like a warm hug, and this Wholesome Carrot Cake is exactly that, comforting, nourishing, and utterly delicious. Whether you’re making it as a heartfelt Valentine’s Day treat, a birthday surprise, or just because you’re craving something sweet yet nutritious, this cake will hit the spot.

Now, I know Valentine’s Day is all about chocolate, but hear me out, this carrot cake, naturally sweetened with dates and topped with a dreamy maple cream cheese frosting, is an unexpected star of any celebration. It’s moist, subtly spiced, and has that rich depth of flavor from the oats and carrots that makes every bite feel like pure indulgence. And the best part? It’s gluten-free, refined sugar-free, and packed with nutrients that love your body back!

Let’s talk about carrots, the shining star of this cake. Beyond adding natural sweetness and beautiful color, they are a powerhouse of beta-carotene, an antioxidant that converts into vitamin A in your body. This means better vision, a stronger immune system, and radiant skin, all great reasons to sneak more carrots into your diet! Plus, their fiber content keeps your digestion happy, and they work beautifully in baked goods to keep them moist and flavorful. Pair them with oats, another hero ingredient in this cake, and you’ve got a dessert that’s as nourishing as it is delicious.

So, if you’re looking for a treat that feels indulgent but is made with real, wholesome ingredients, this is it. Whether you’re baking for yourself, a loved one, or your entire family, this Wholesome Carrot Cake is a sweet way to show love. Now, let’s get baking!

Ingredients
200 ml hot milk
120 g pitted dates
1 cup (80 g) oat flour (made from rolled oats)
¾ cup (60 g) rolled oats
1 tsp. baking powder
½ tsp. cinnamon powder
½ tsp. pumpkin pie spice
Pinch of salt (optional)
2 eggs
4 tbsp. olive oil
200 g finely shredded carrots
100 g cream cheese
3 tbsp. maple syrup
2 tbsp. milk
30 g walnut halves

Directions

  •  In a bowl, combine oat flour, rolled oats, baking powder, cinnamon, pumpkin spice, and salt (if using). Set aside.
  • Soak the pitted dates in hot milk for 15 minutes until they soften.
  • Puree the softened dates with milk until smooth and creamy.
  • In a mixing bowl, whisk the blended dates with eggs and olive oil until well incorporated.
  • Add the dry mixture to the wet ingredients and stir until fully combined.
  • Gently mix in the finely shredded carrots to ensure an even distribution.
  • Pour the batter into a lined 18 × 18 cm baking pan and bake at 350°F (180°C) for 40 minutes.
  • While the cake bakes, blend cream cheese, maple syrup, and milk until smooth and creamy.
  • Let the cake cool completely, then spread the frosting evenly over the top.
  • Top with walnut halves and chill for at least 1 hour before serving.

Prep & Baking Information
Servings: 9
Prep Time: 30 minutes
Baking Time: 40 minutes
Chilling Time: 1 hour

Nutritional Information (Per Serving)
Energy: 261 calories
Protein: 6.78 g
Fat: 13.87 g
Carbohydrates: 29.64 g
Fiber: 3.7 g

Storage & Tips

  • Store in an airtight container in the refrigerator for up to 5 days
  • Best enjoyed chilled for a firmer, creamier texture
  • For a sweeter cake, increase the number of dates or drizzle extra maple syrup over the frosting

Walnut Heart Biscuits

Walnut Heart Biscuits

Walnut Heart Biscuits

There’s something magical about homemade treats, especially when they come in the shape of a heart. Whether you’re celebrating Valentine’s Day, an anniversary, a birthday, or simply want to surprise someone special, these walnut heart biscuits are a heartfelt way to say, “I care.” They’re a little nutty, slightly sweet, and melt-in-your-mouth delicious with a drizzle of dark chocolate, because, let’s be honest, chocolate makes everything better.

But here’s the best part: these biscuits aren’t just about indulgence; they’re about nourishment, too! Walnuts take center stage in this recipe, bringing their rich, buttery texture and powerhouse nutrients to the mix. Packed with brain-boosting omega-3 fatty acids, antioxidants, and essential minerals like magnesium and copper, walnuts are a true superfood. They support heart health, enhance cognitive function, and even help reduce inflammation.

If you’re looking for a reason to incorporate walnuts into your daily routine, this is it! Whether you toss them into smoothies, sprinkle them on salads, or bake them into wholesome treats like these biscuits, walnuts deserve a spot in your kitchen.

Now, let’s get baking!

Ingredients:

  • 150 g raw walnuts
  • 3 tbsp. maple syrup
  • 50 g dark chocolate hearts (optional)
  • 10 g dark chocolate, melted (optional)

Directions:

  1. Grind the raw walnuts in a coffee grinder or nut grinder using the pulse mode. Be careful not to over-process, as this will turn them oily; you want a fine flour consistency.
  2. Transfer the ground walnuts to a bowl and mix in the maple syrup. Stir with a spatula until a cohesive dough forms.
  3. If needed, refrigerate the dough for 15 minutes to help it firm up.
  4. Preheat the oven to 350°F (180°C) and line a baking sheet with parchment paper.
  5. Take a tablespoon of dough and press it into a heart-shaped biscuit cutter on the prepared baking sheet. Gently press to shape.
  6. Repeat until all the dough is used, arranging the hearts neatly on the sheet.
  7. Bake for 12–15 minutes, or until the biscuits are set and lightly golden.
  8. Let them cool completely before handling, as they firm up during cooling.
  9. If adding chocolate, drizzle a small amount onto each biscuit and press a dark chocolate heart onto it while still melted.
  10. Transfer the biscuits to the fridge for 30 minutes to allow the chocolate to set.

Prep & Baking Time:

  • Prep: 20 minutes
  • Baking: 20 minutes
  • Chilling (if adding chocolate): 30 minutes
  • Servings: 10 biscuits

Nutritional Information (Per Biscuit):

  • Energy: 150 calories
  • Protein: 2.75 g
  • Fat: 12.34 g
  • Carbohydrates: 8.83 g
  • Fiber: 1.7 g

Storage Tips:

  • Store at room temperature in an airtight container for up to 3 days.
  • Refrigerate for up to 1 week.
  • Freeze for up to 3 months in a sealed bag or container.

Notes:

  • You can swap maple syrup for honey if you prefer.
  • Try using different nut flours (like almonds or pecans) for a variation on flavor.