Peanut Mini Cakes
Peanut Mini Cakes
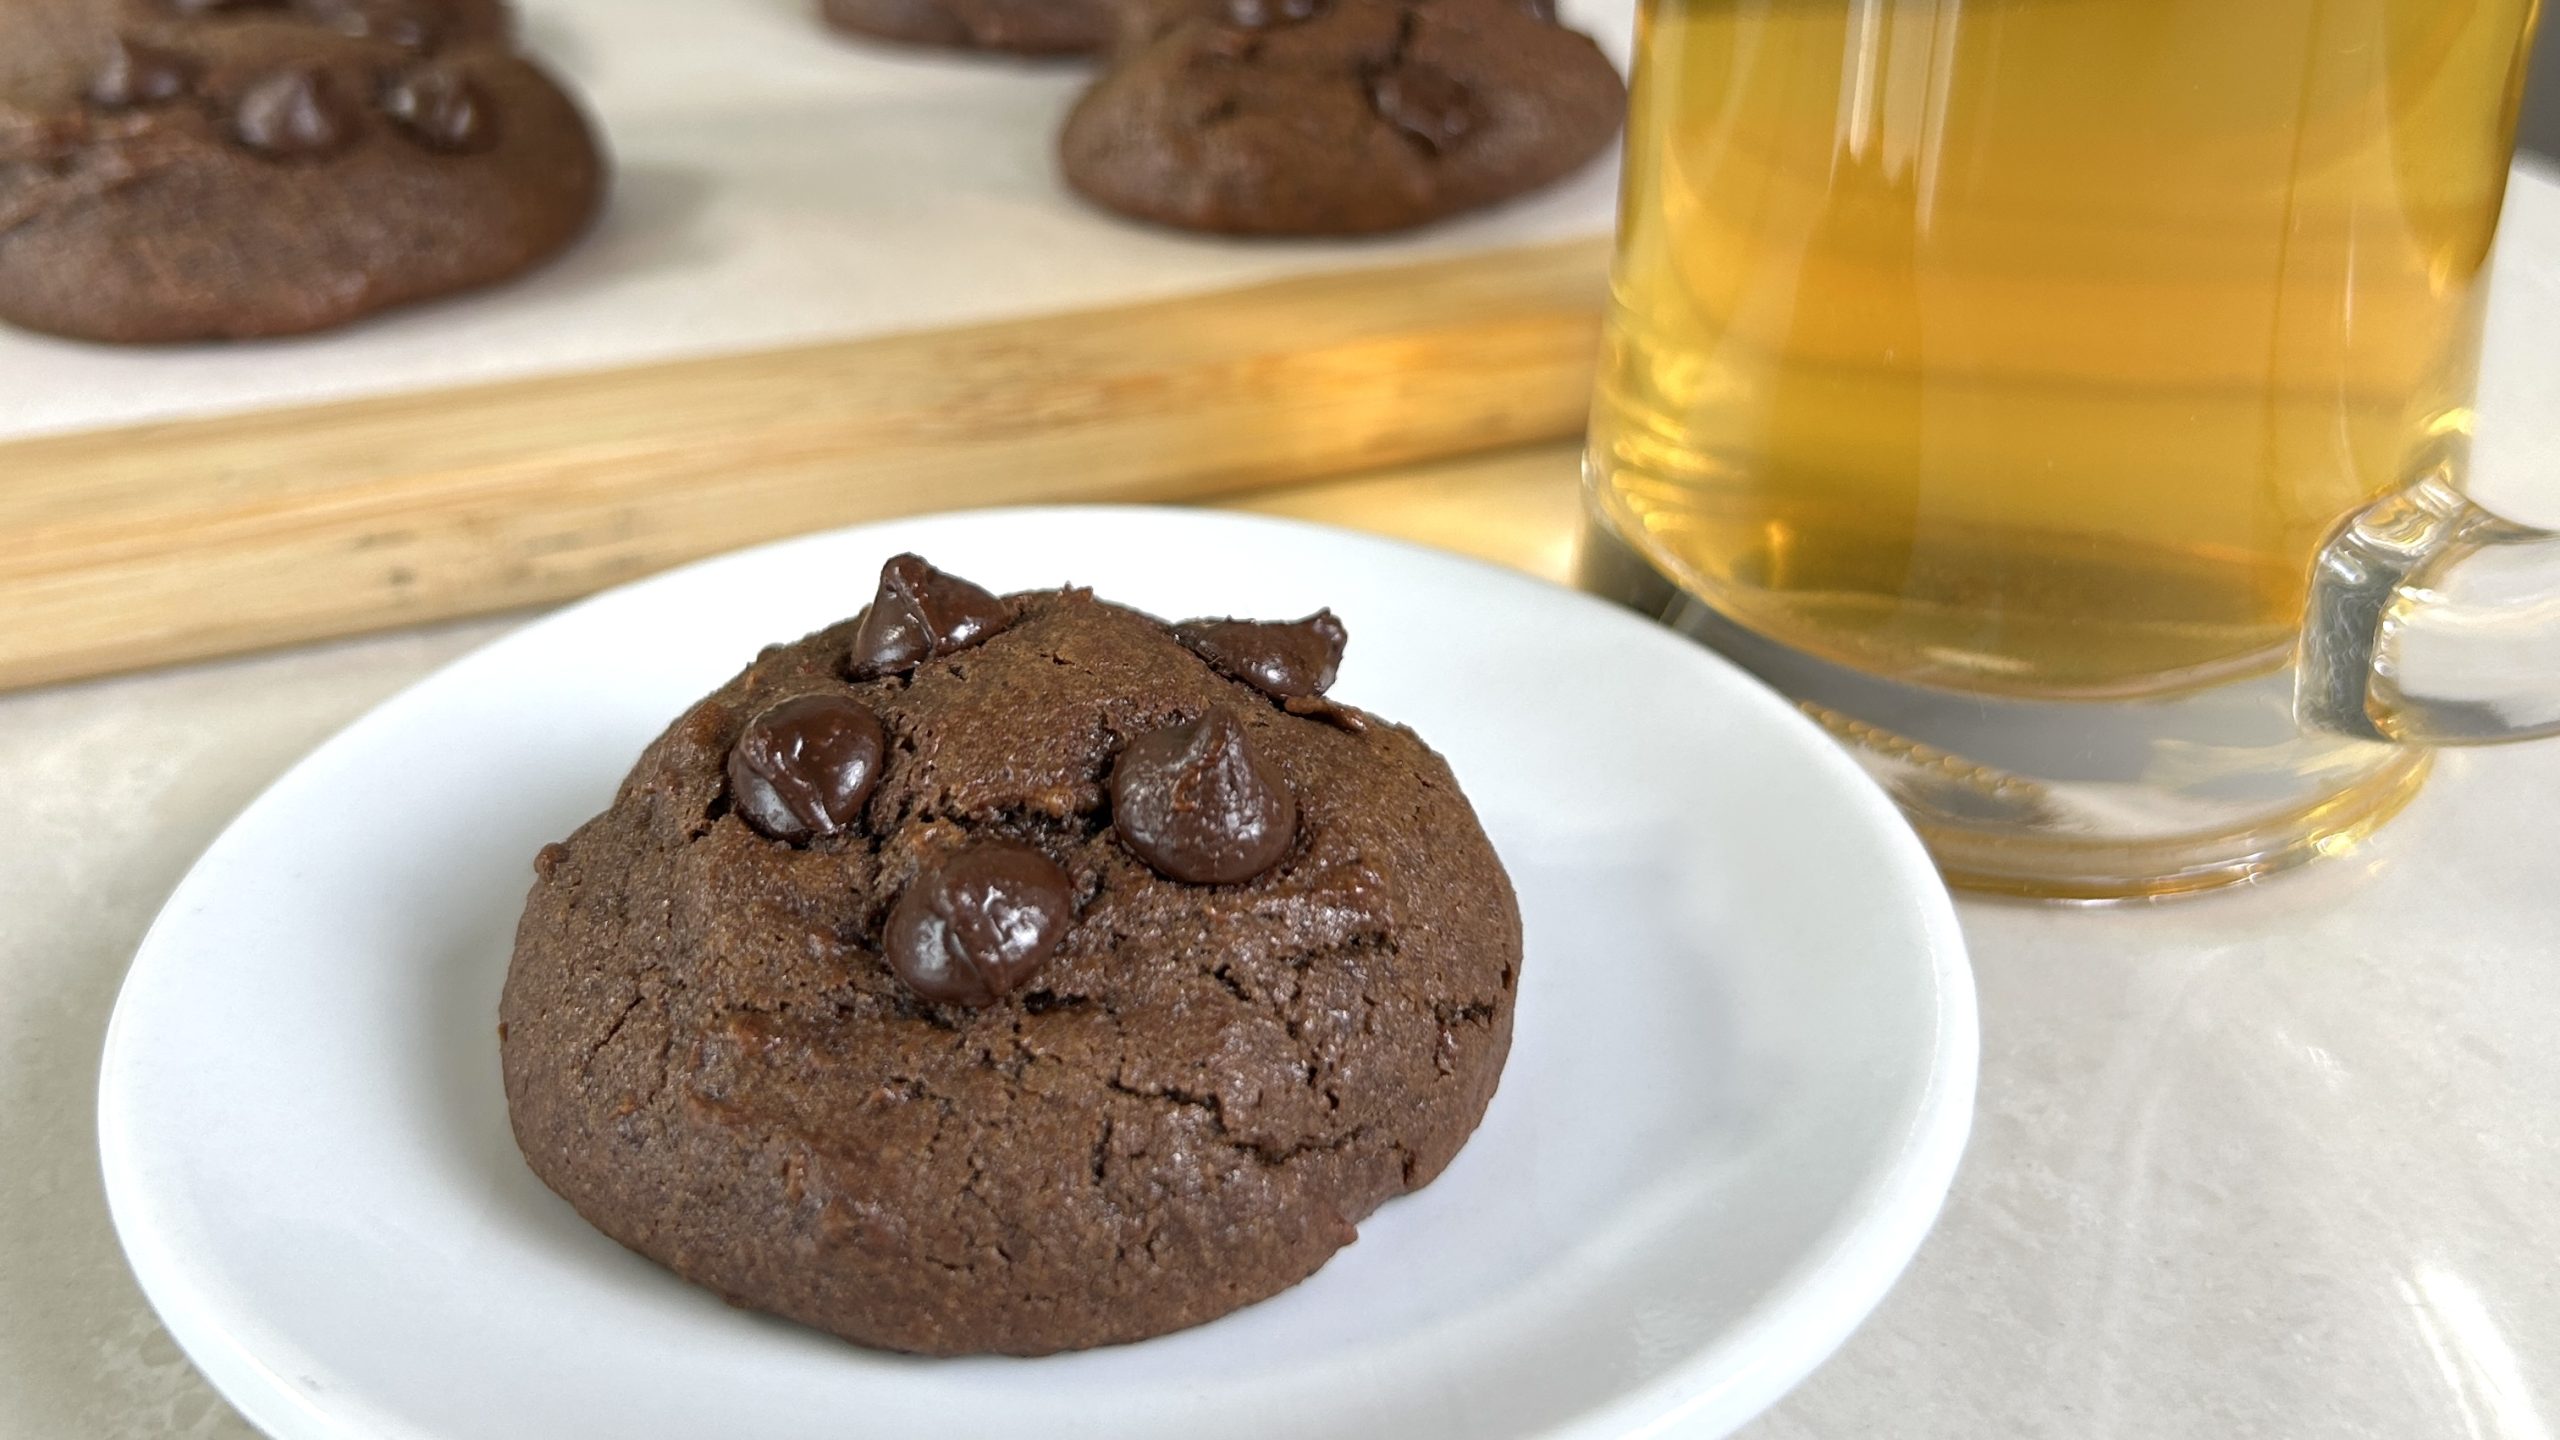
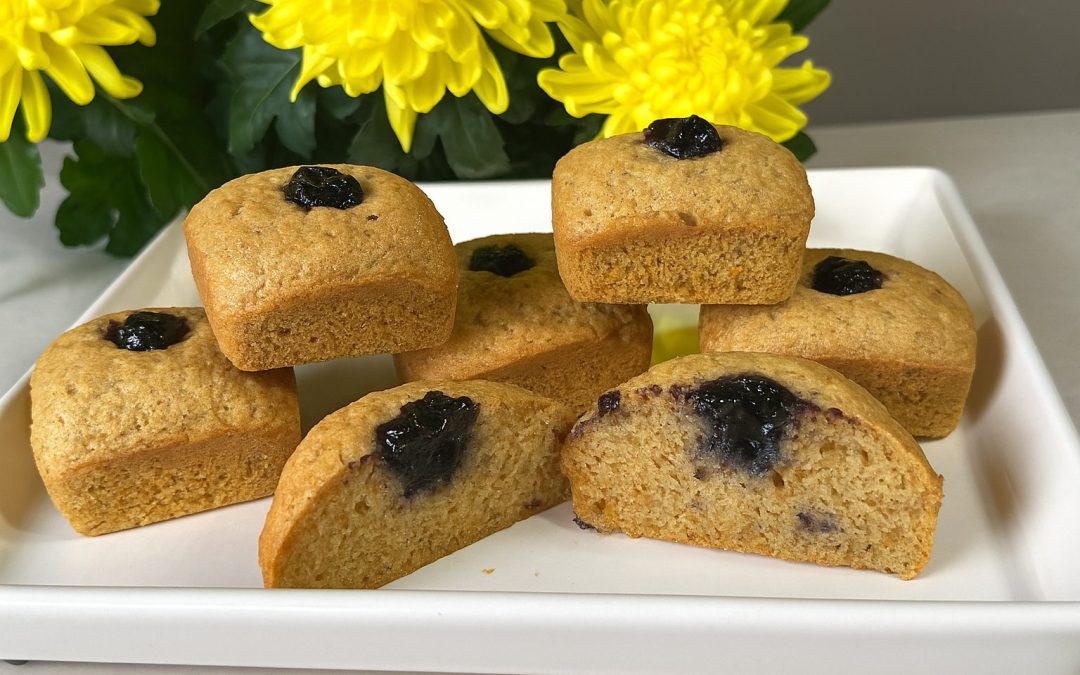
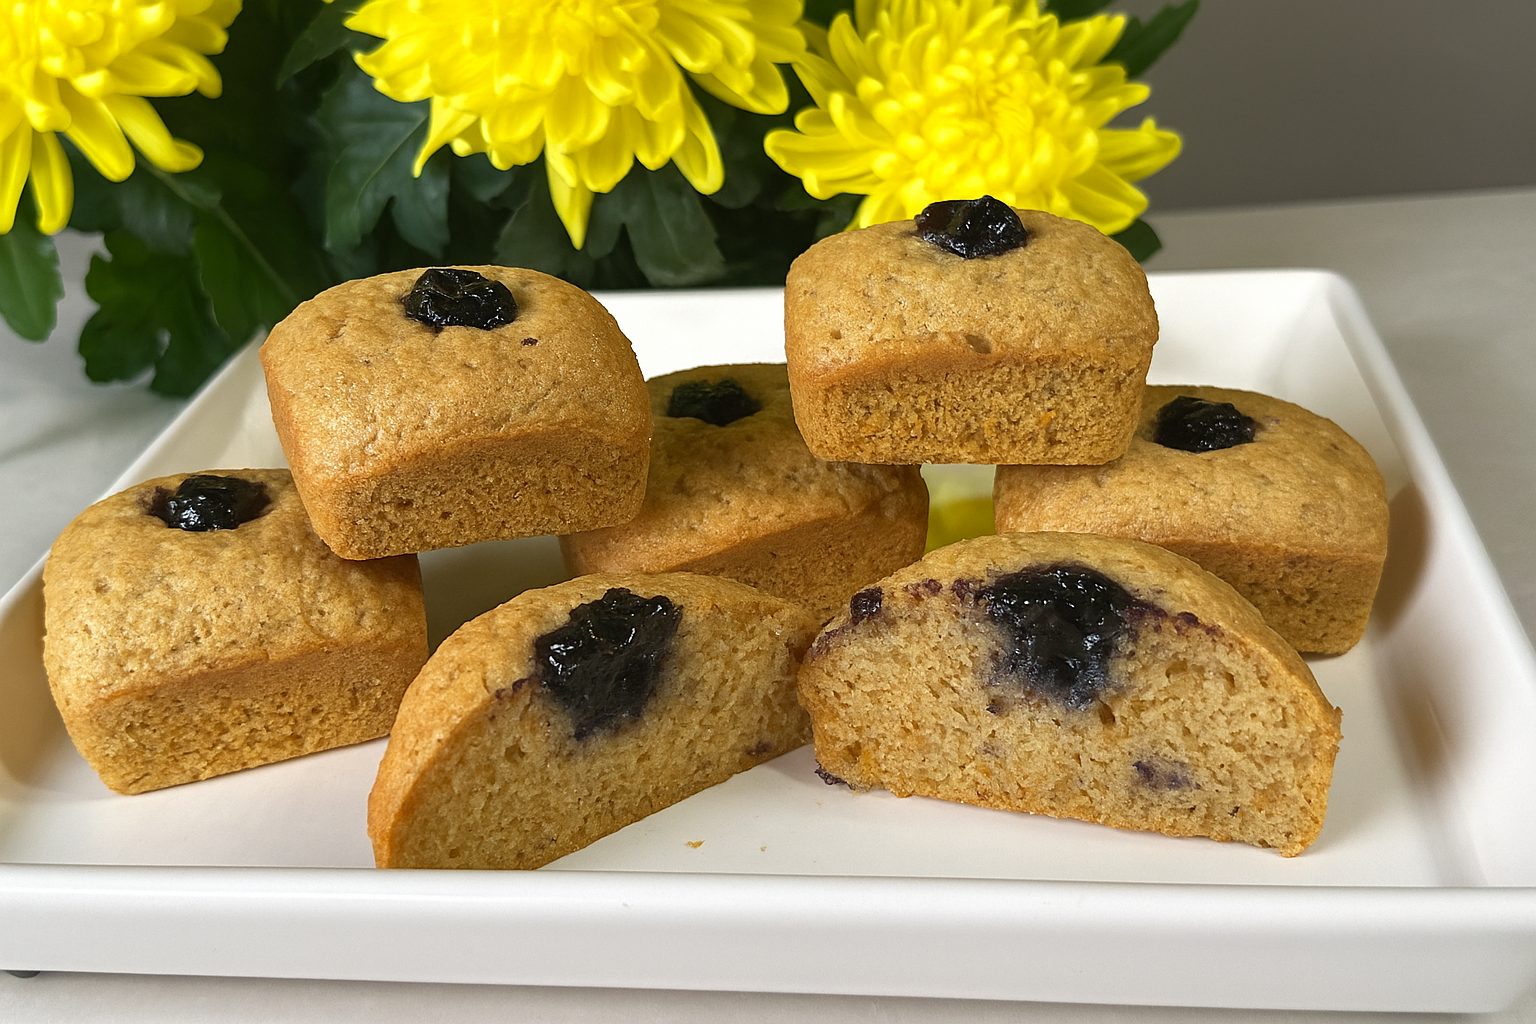
If you loved the idea of an easy peanut cake, you’re going to fall head over heels for this recipe. These Peanut Mini Cakes are the kind of treat that makes you feel like you’ve unlocked a secret, so soft, fluffy, and satisfying, all while being gluten-free, grain-free, and made with just a handful of wholesome ingredients. No refined flour, no complicated steps, no fuss. Just pure, nutty goodness paired with the tangy sweetness of homemade blueberry jam.

What makes these little cakes so special isn’t just how simple they are to prepare, it’s how they combine nutrition and indulgence in every bite. They’re perfect as a protein-packed breakfast, a quick snack to keep you going through the day, or a guilt-free dessert when you want something naturally sweet but nourishing. You’ll be surprised at how quickly they come together and how often you’ll find yourself making them again and again.
Let’s talk peanuts. Peanuts are more than just a crunchy snack, they’re a powerhouse ingredient you should include in your regular diet. Rich in plant-based protein, heart-healthy monounsaturated fats, and important nutrients like magnesium, vitamin E, niacin, and folate, peanuts do more than satisfy hunger. They provide steady energy, support muscle recovery, and contribute to overall cardiovascular health. Including peanuts in your meals helps you stay full for longer, making them an excellent ally for weight management. Plus, they’re affordable and versatile, fitting easily into both sweet and savory recipes. These Peanut Mini Cakes are a delicious example of how you can transform this humble ingredient into something that feels indulgent yet supports your health goals.
Ingredients (makes 6 mini cakes)
- 1 cup (150 g) halfway or fully roasted peanuts
- 3 large eggs
- ⅓ cup (80 ml) maple syrup (or your preferred natural sweetener)
- 1 tsp. vanilla extract
- ½ tbsp. baking powder
- 2 cups (275 g) frozen blueberries
- 2 to 3 tbsp. water
Directions
- Prepare your mini cake or muffin pan by brushing it lightly with oil and lining it with parchment paper. Preheat oven to 350°F (180°C).
- In a saucepan, add the blueberries and water. Cook over medium-high heat until the mixture reduces by about half. Smash the berries as they cook to release their juices. After 5–7 minutes, the mixture should thicken into a jam-like consistency. Transfer to a bowl and let cool completely.
- If using raw peanuts, toast them in the oven at 350°F (180°C) for 10–12 minutes until lightly golden, then let cool. Roasting enhances their flavor and makes them easier to grind.
- Grind the roasted peanuts into a fine flour using a coffee grinder or food processor, pulsing carefully to avoid turning them into peanut butter.
- In a large mixing bowl, whisk together the eggs and maple syrup. Add the peanut flour, vanilla extract, and baking powder. Stir until smooth and just combined.
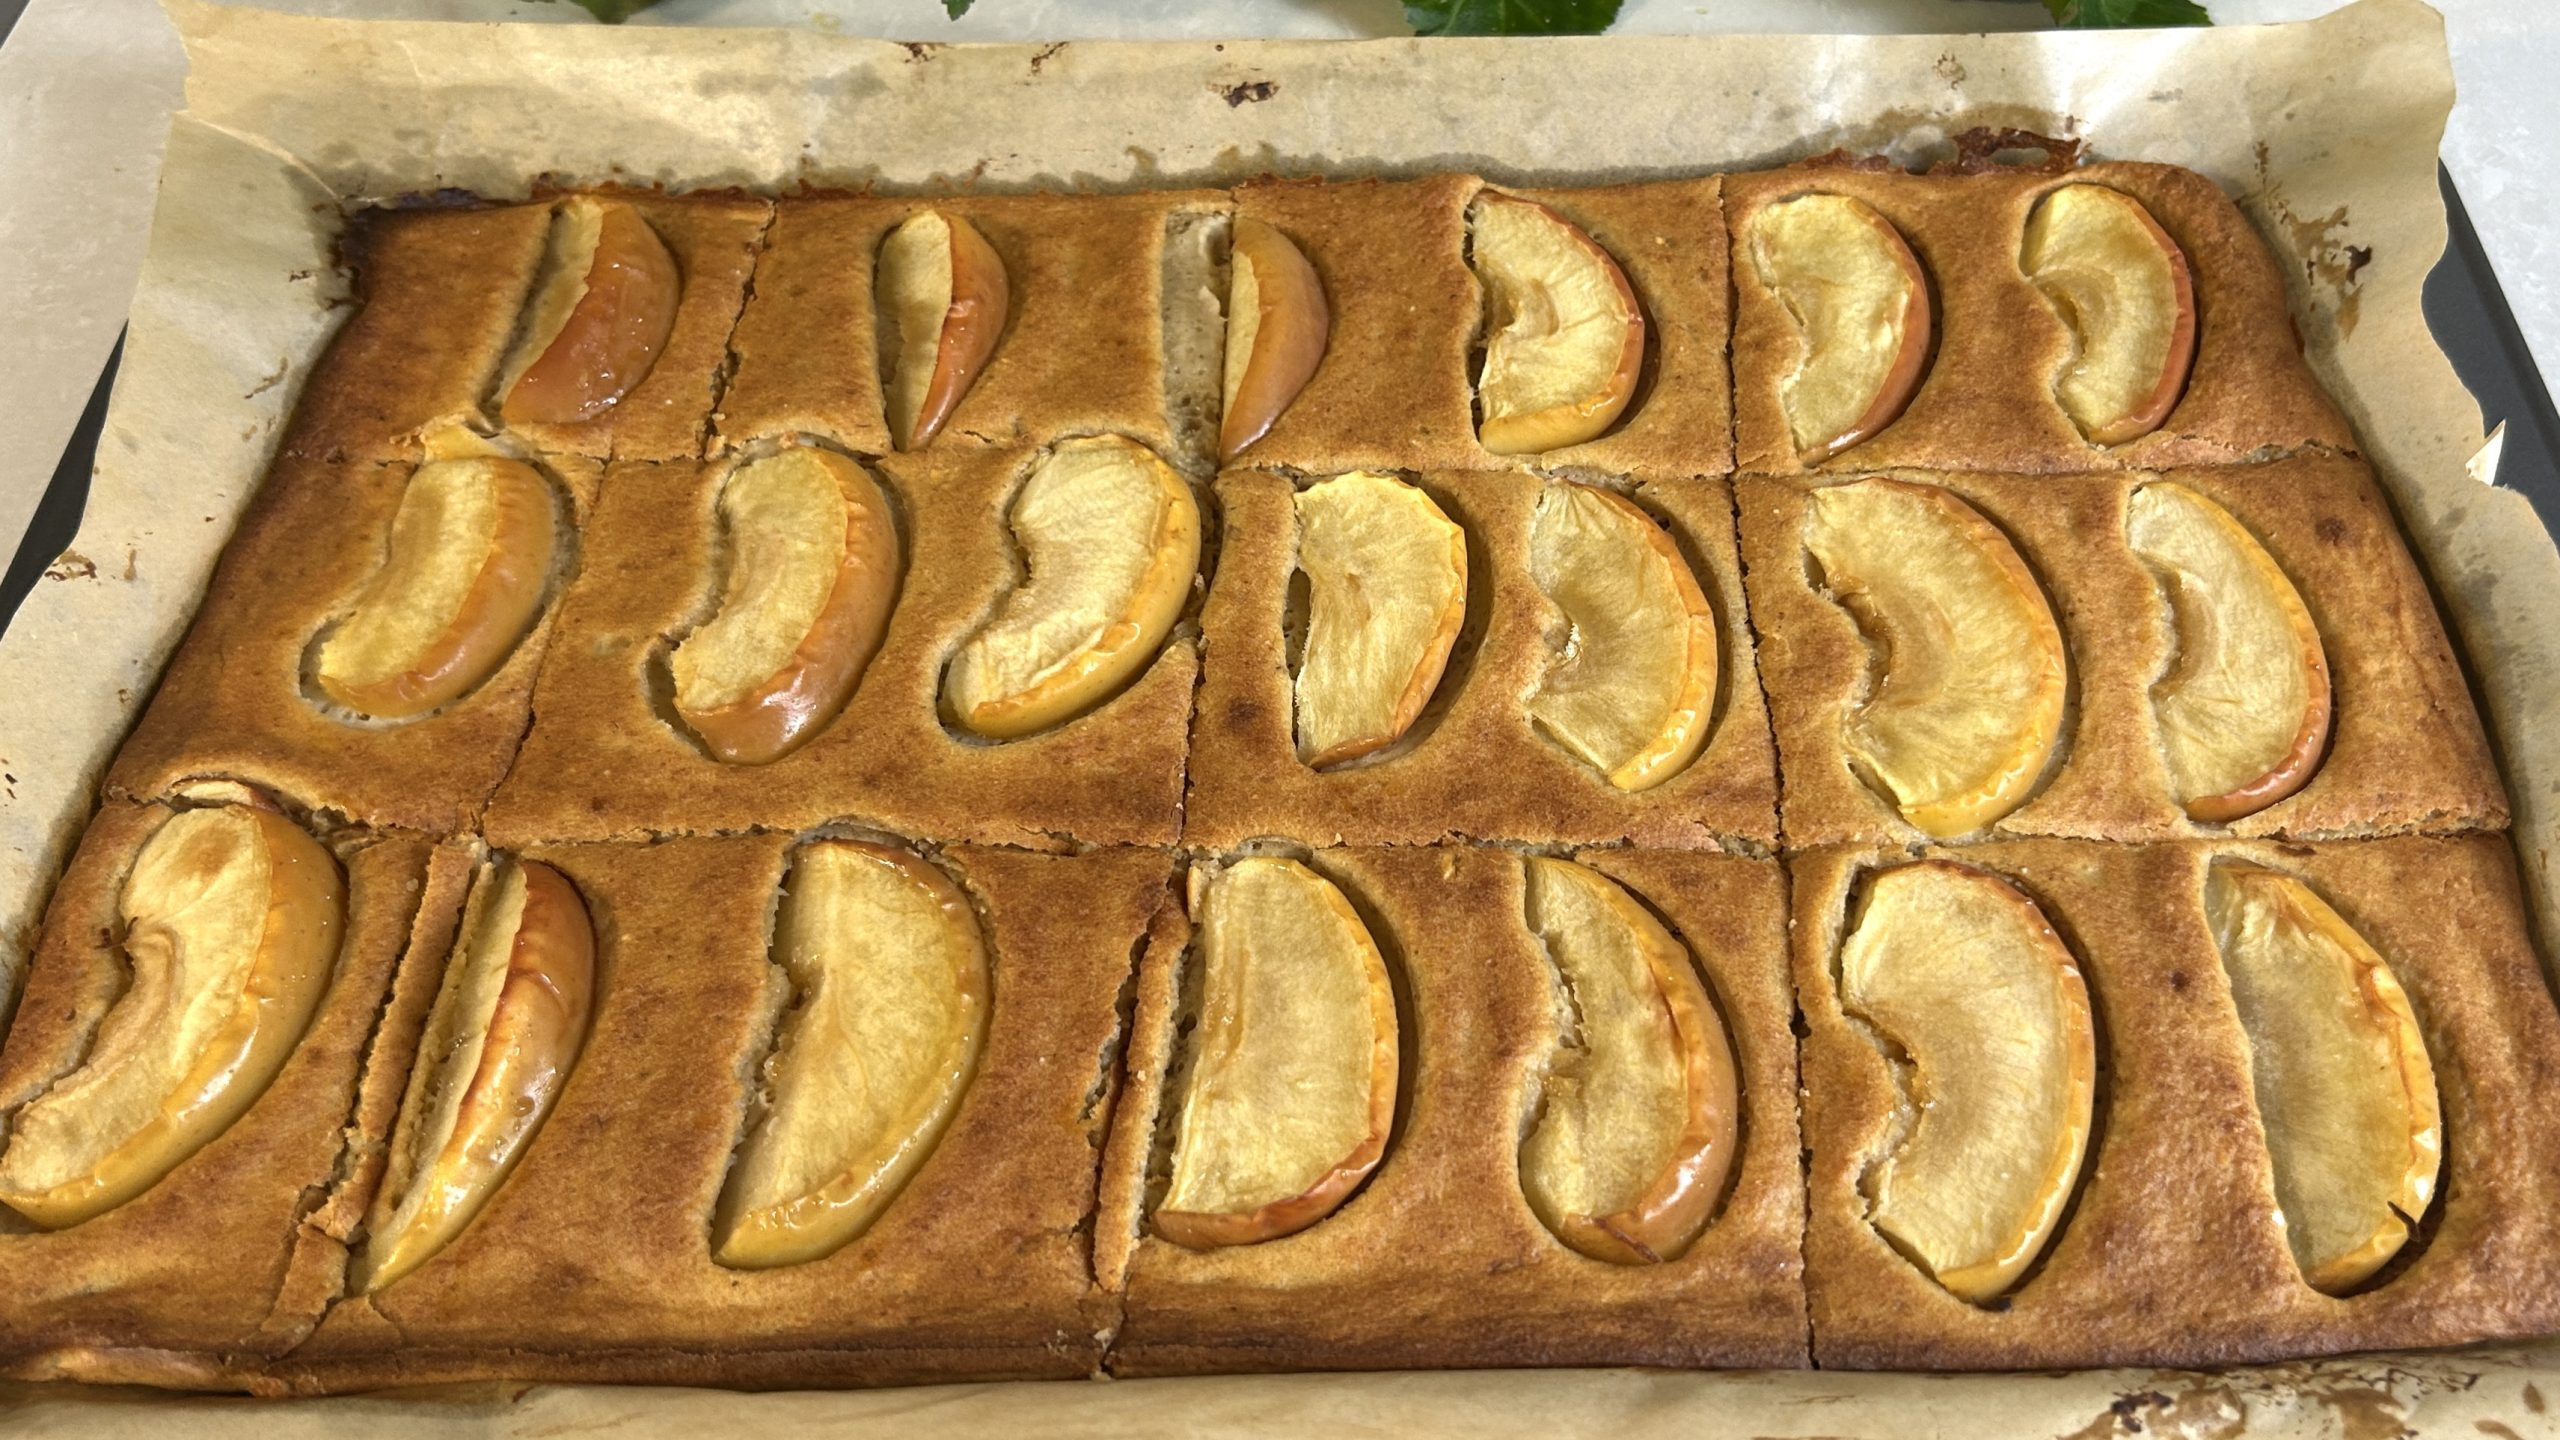
- Pour the batter into the prepared mini cake pan, dividing it evenly. Tap the pan gently on the counter to remove air bubbles and level the tops.
- Bake for 25–30 minutes, until the cakes are golden and a toothpick inserted in the center comes out clean.
- Allow the cakes to cool slightly on a wire rack before adding the filling.
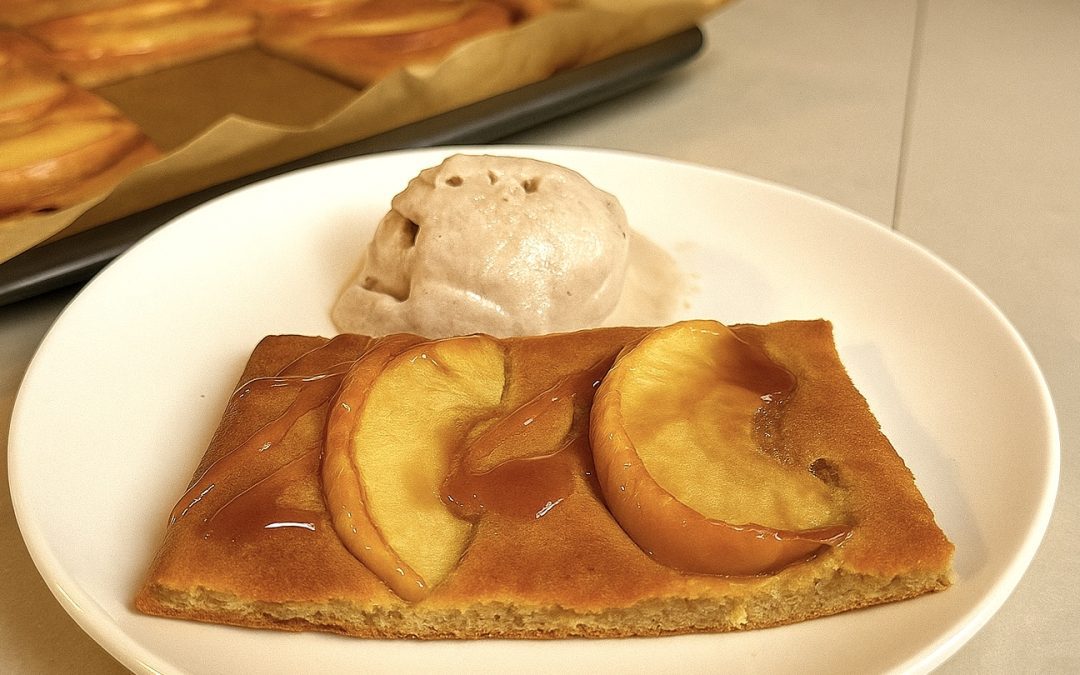
- Using a piping bag or small spoon, fill the center of each mini cake with the cooled blueberry jam.
- Serve and enjoy these fluffy, protein-rich peanut mini cakes!
Prep Time & Baking Info
-
Pan Cooking: 10 minutes
-
Prep: 25 minutes
-
Baking: 25–30 minutes
-
Yield: 6 mini cakes
Nutrition (per mini cake)
-
Energy: 230 calories
-
Protein: 9.24 g
-
Fat: 14.81 g
-
Carbohydrates: 17.79 g
-
Fiber: 2.1 g
Storage & Recommendations
-
Store at room temperature in an airtight container for up to 2 days.
-
Refrigerate for up to 5 days for maximum freshness.
-
Freeze (without the jam filling) for up to 1 month. Thaw at room temperature before serving.
-
Try other fillings like raspberry jam, melted dark chocolate, or nut butter for variety.