Coconut Mini-Cakes
Coconut Mini-Cakes
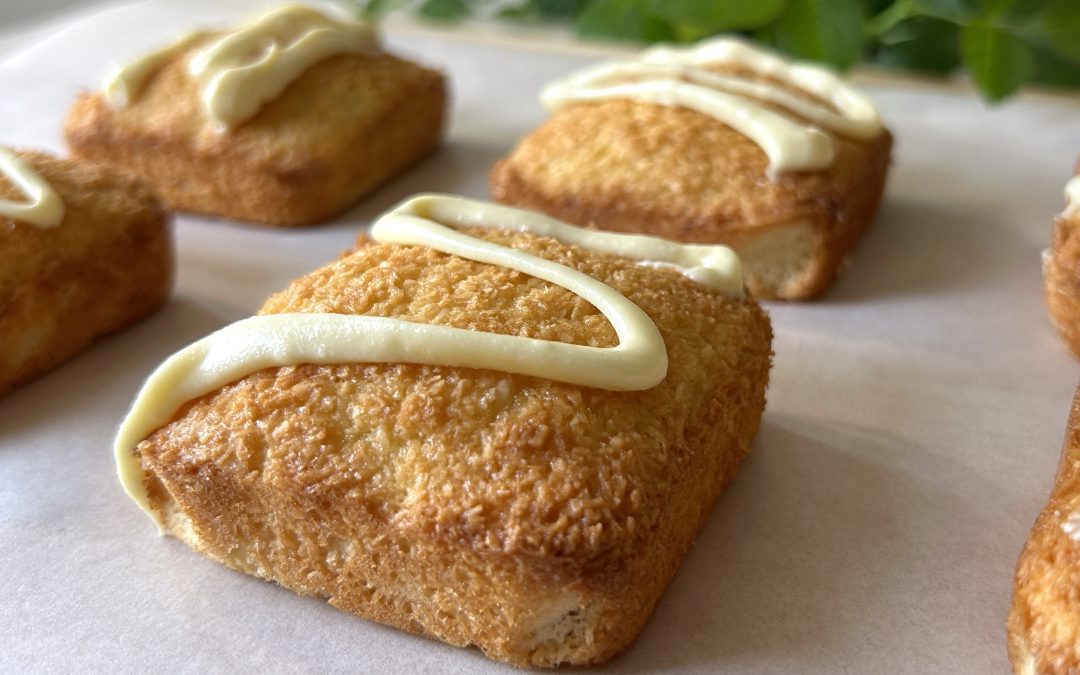
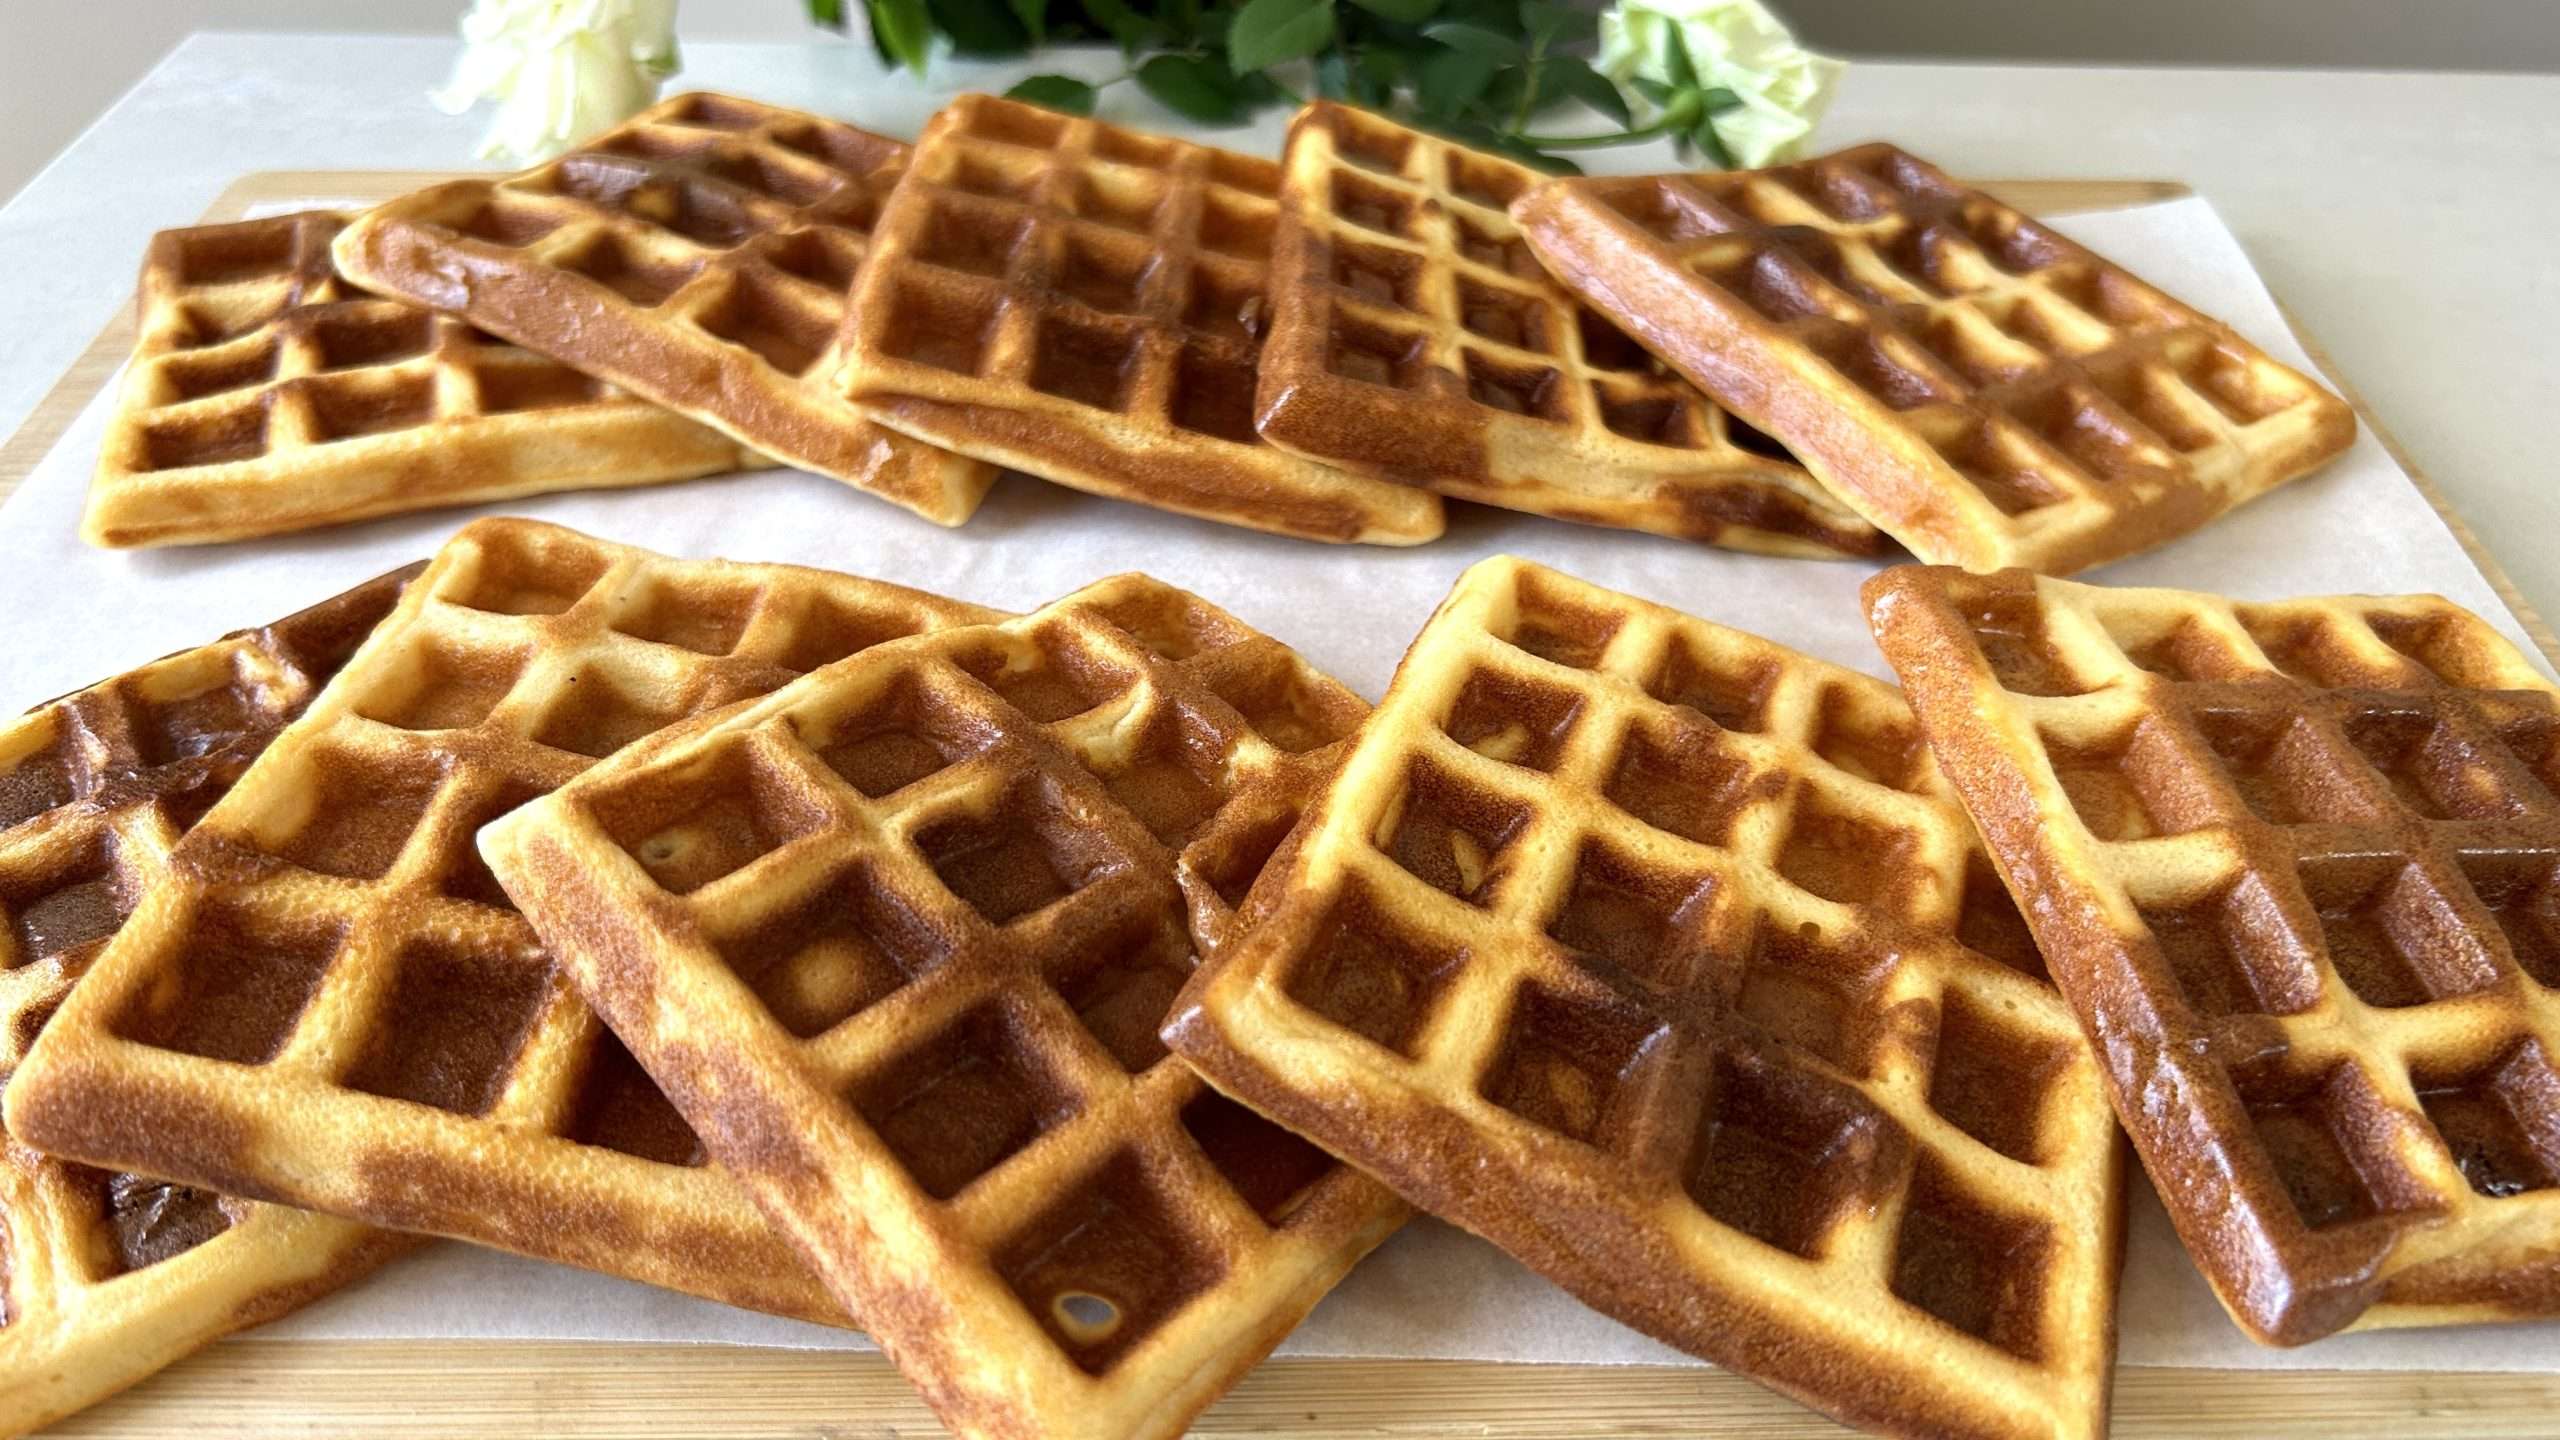
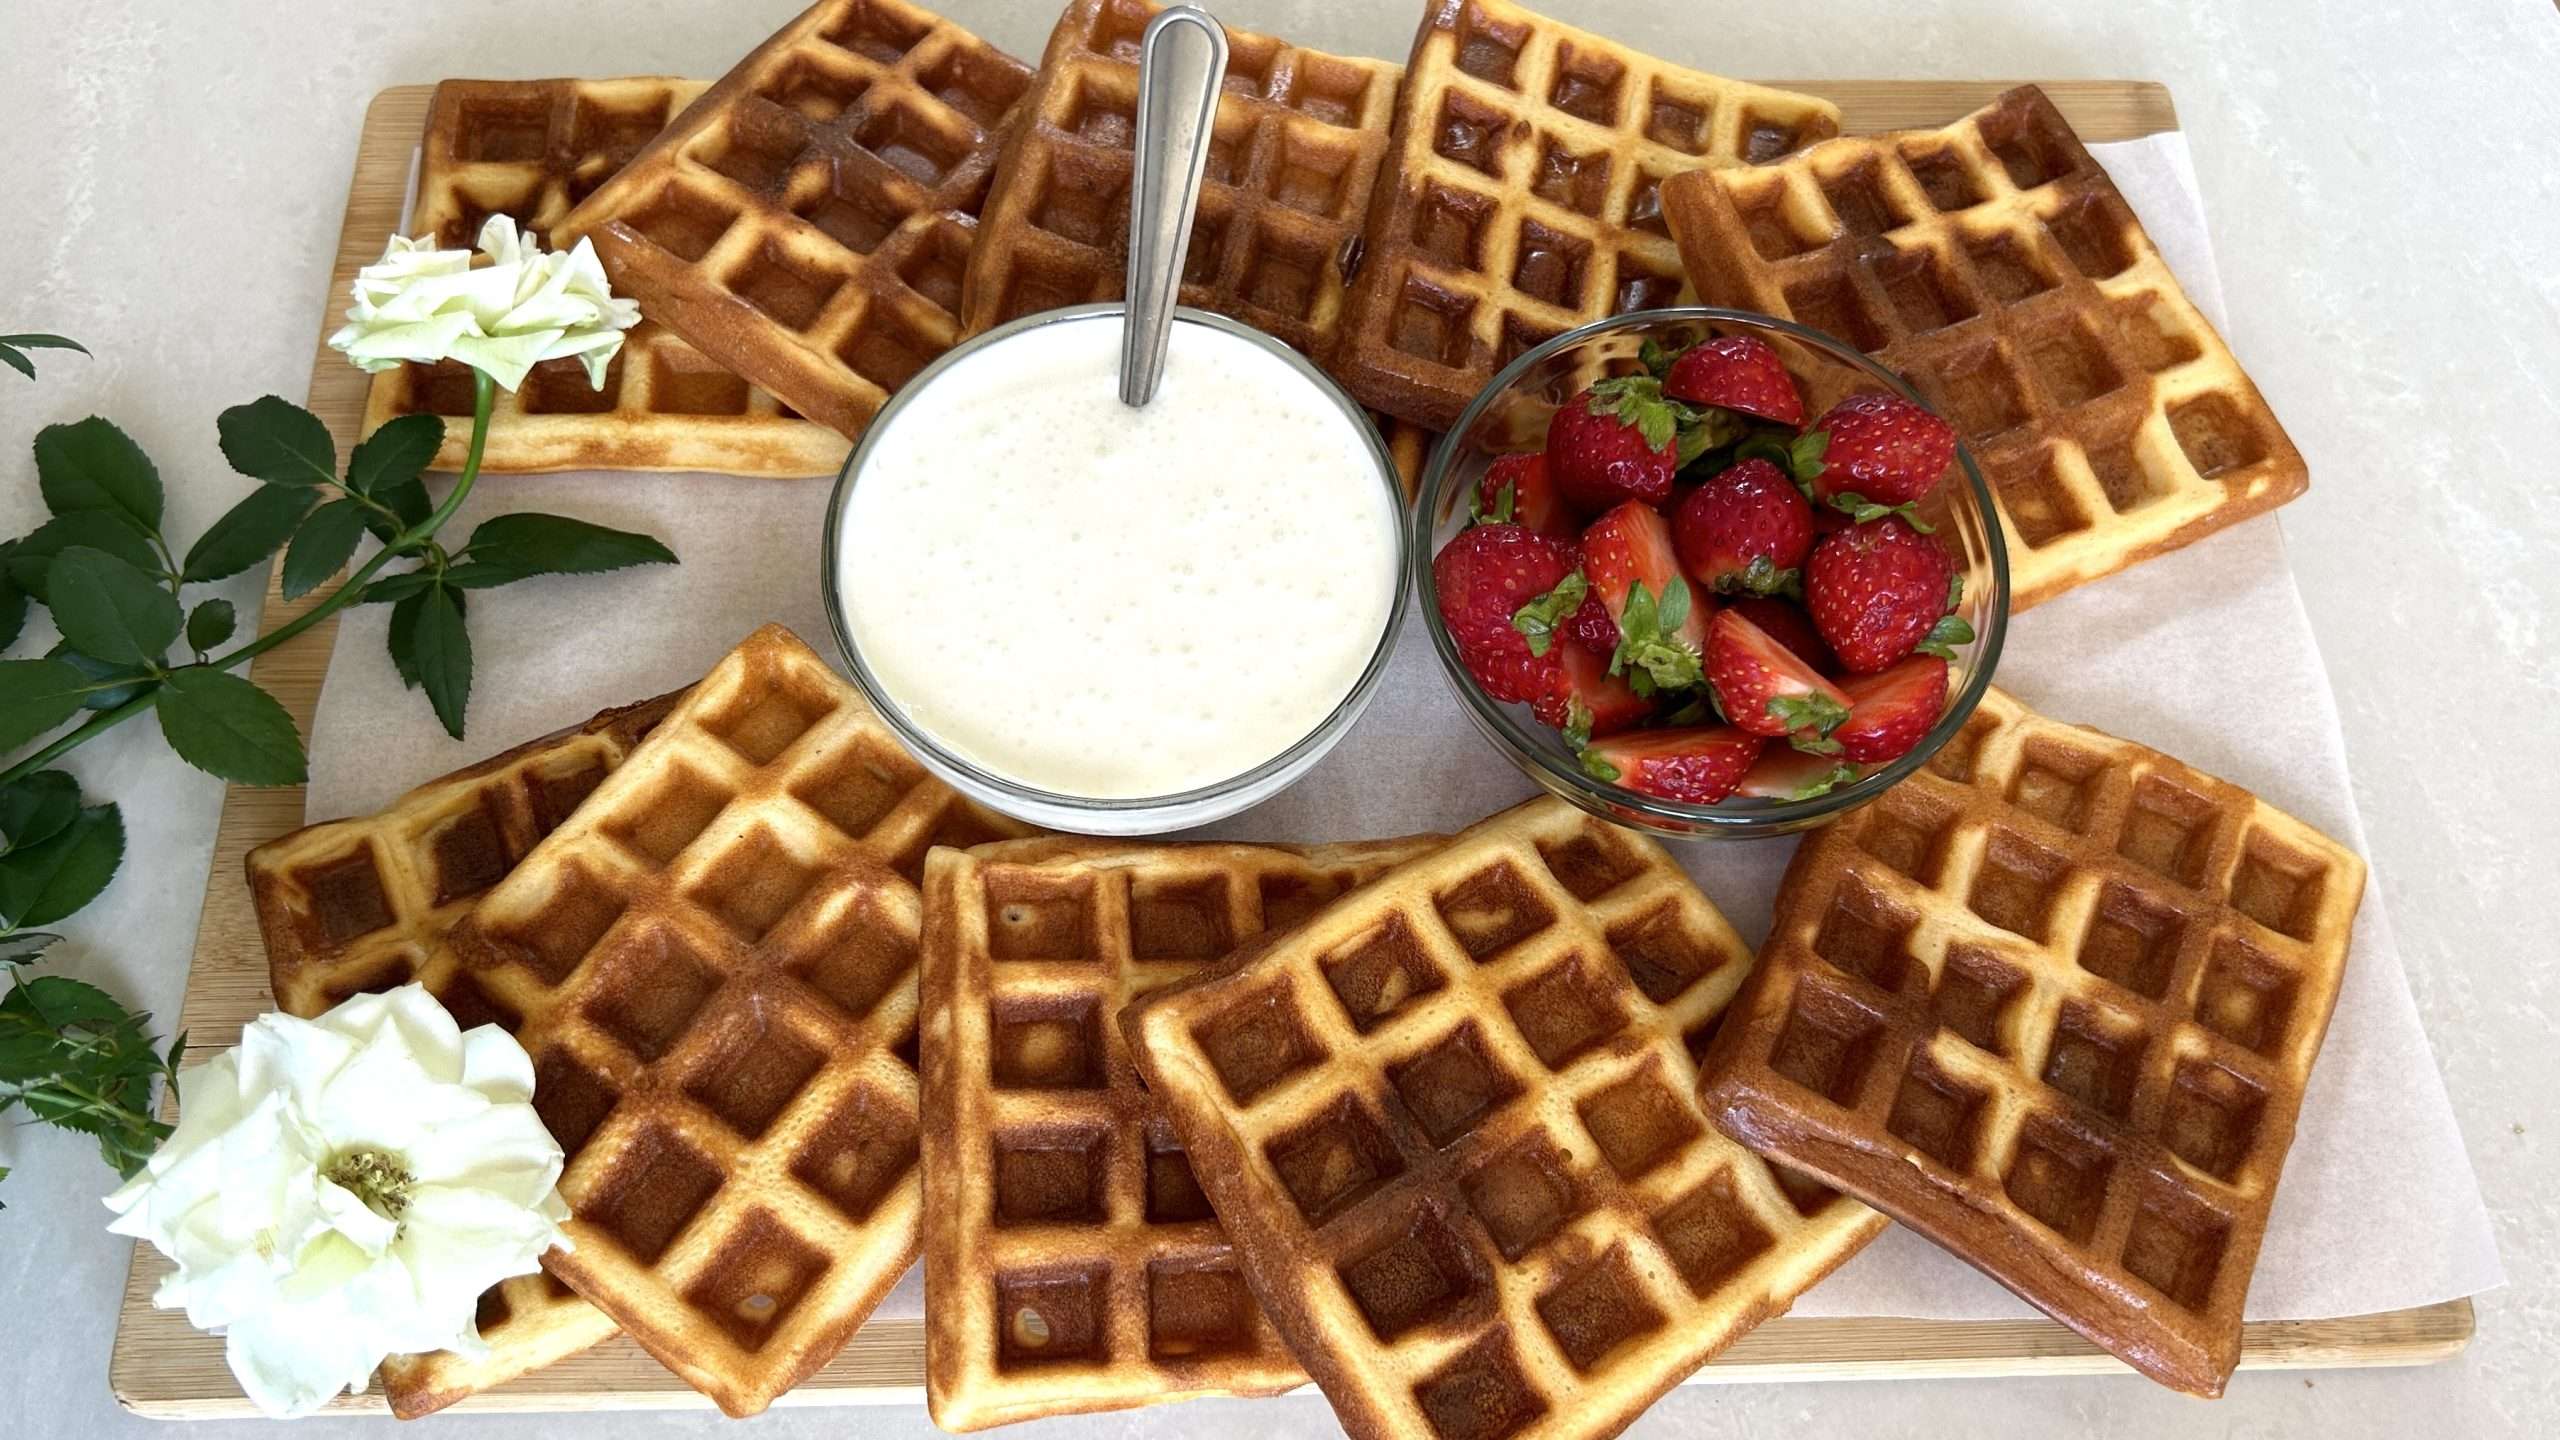
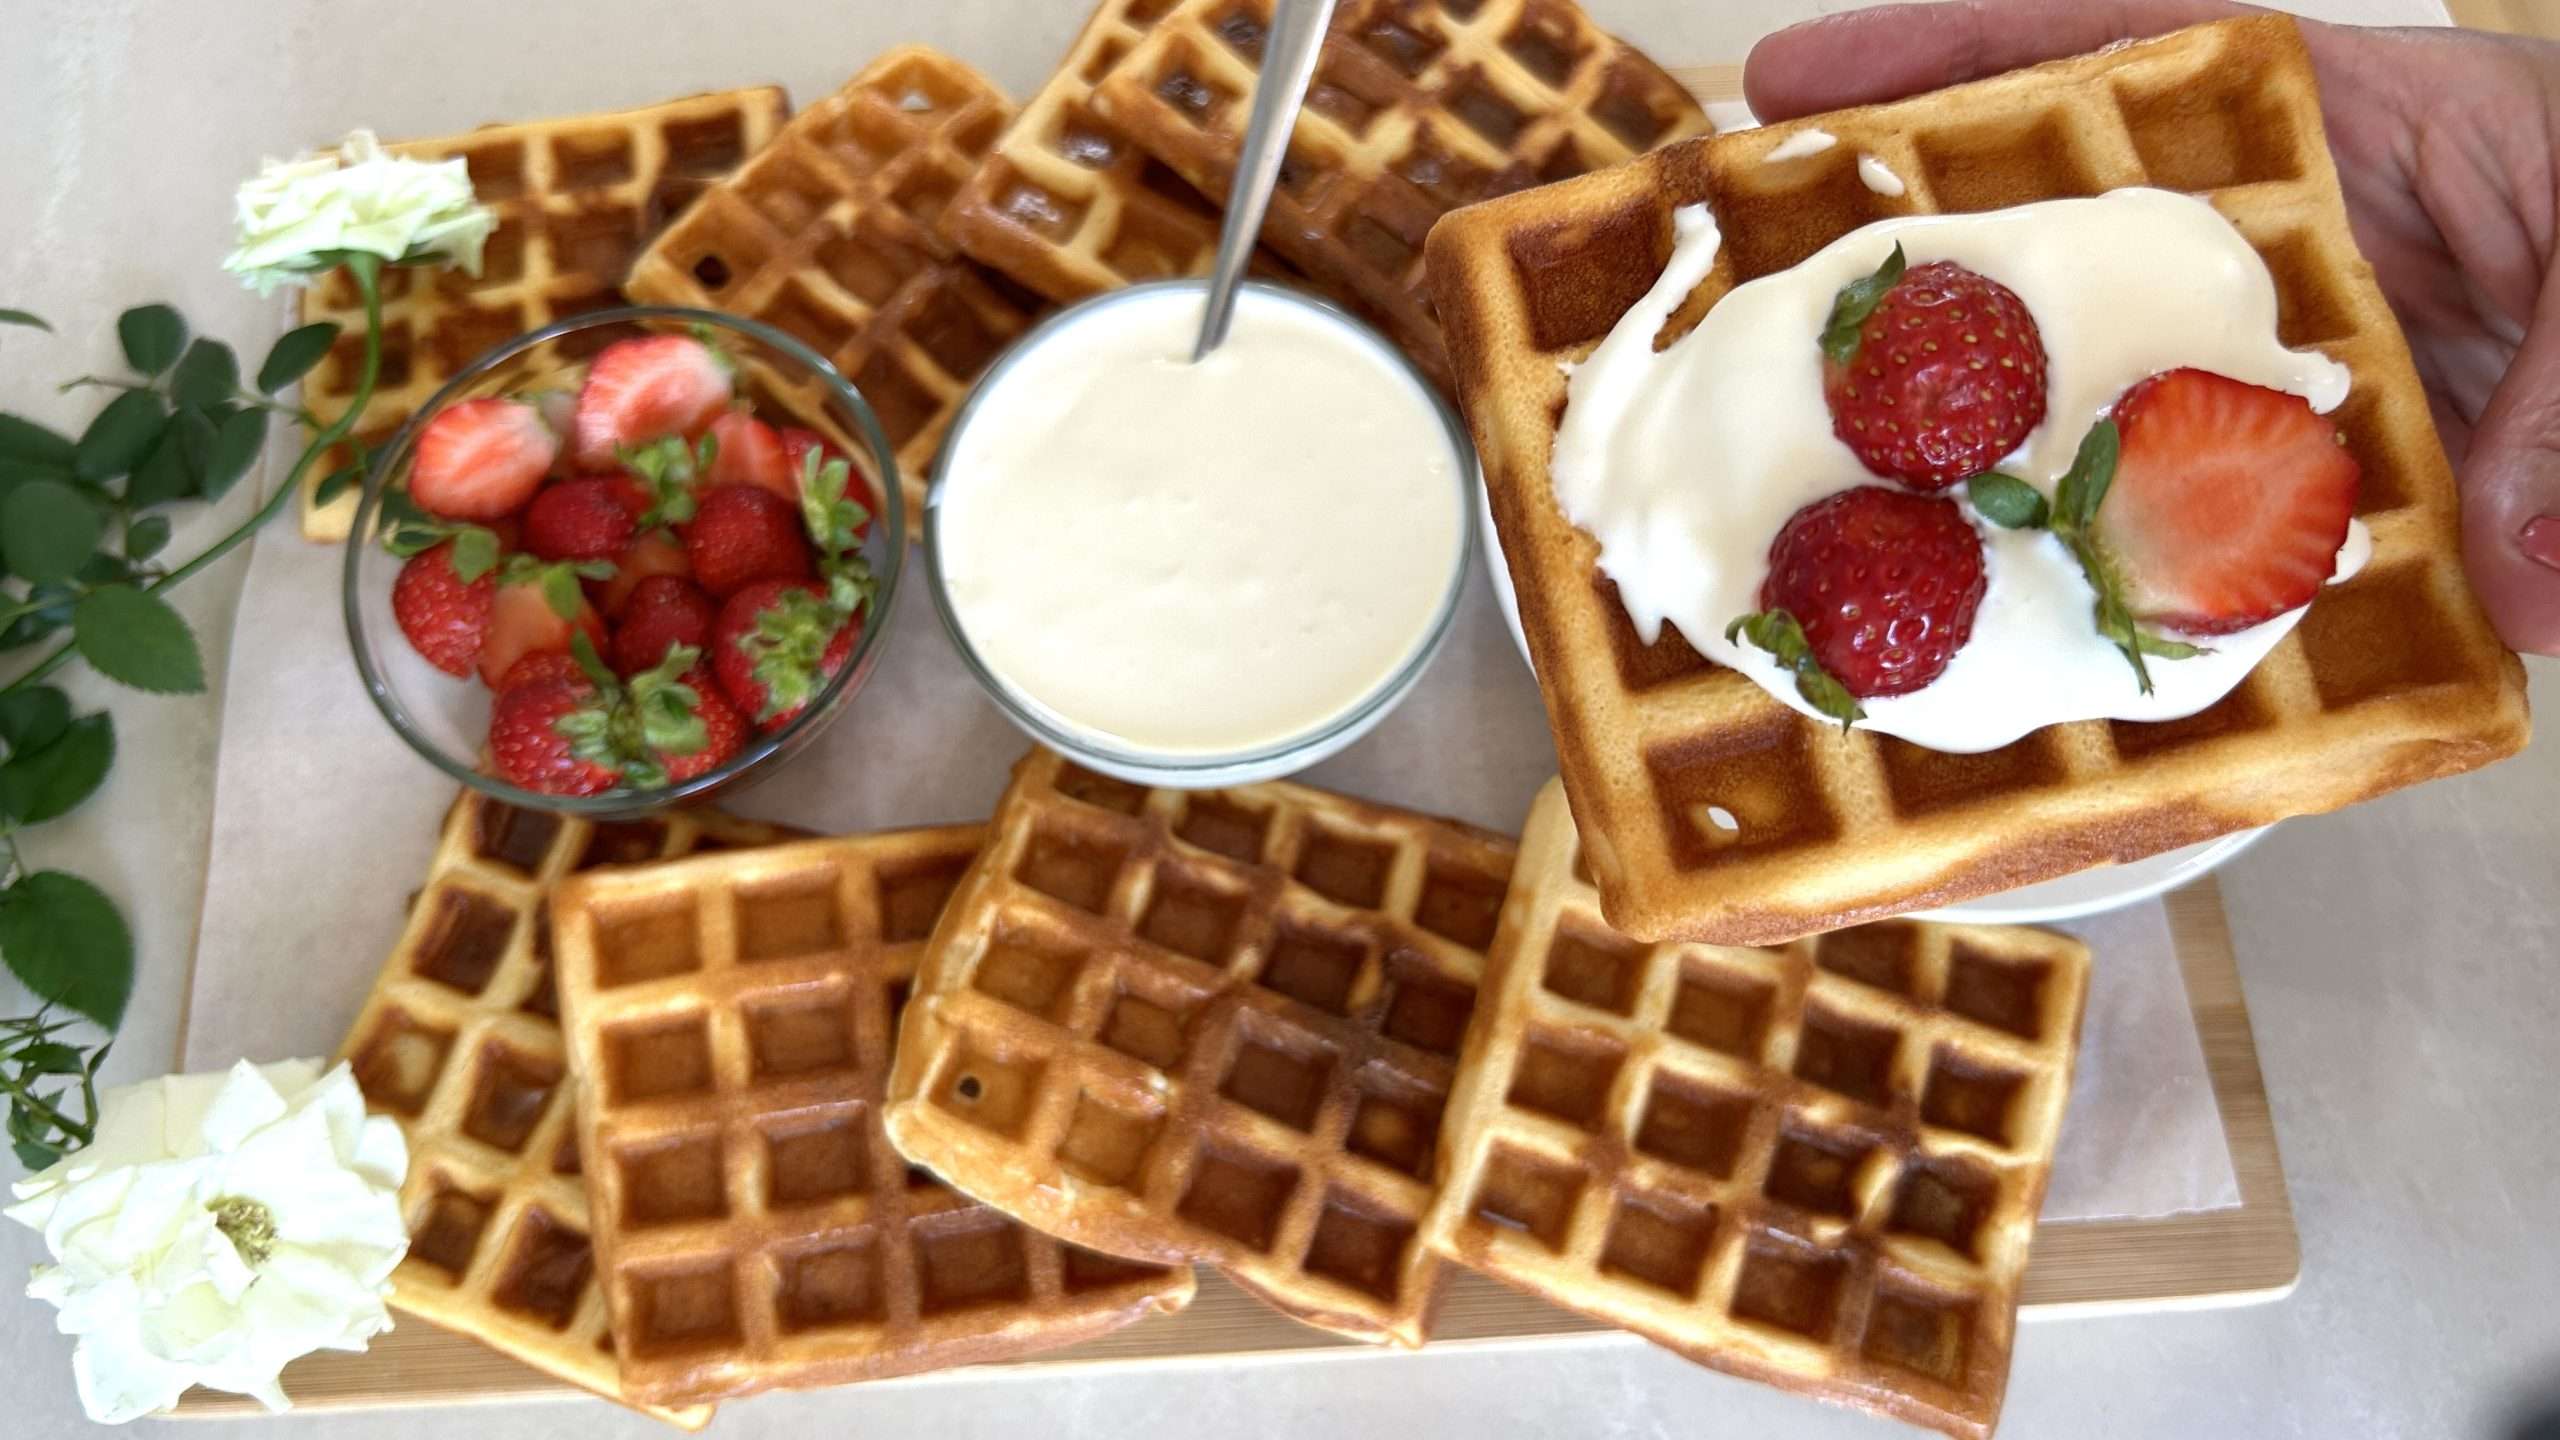
If you’re in the mood for something sweet but also looking for a treat that’s wholesome and satisfying, these coconut mini-cakes are exactly what you need. Light, fluffy, and naturally sweetened with maple syrup, these cakes are a delightful way to indulge without the guilt. With just a handful of ingredients, they come together quickly, making them perfect for busy mornings, afternoon snacks, or even as a guilt-free dessert after dinner. Each bite offers the perfect balance of sweetness and texture, with the eggs providing a soft and airy base, while the shredded coconut adds a subtle crunch and tropical flavor that feels like a mini escape with every bite. Whether you’re enjoying them fresh out of the oven or the next day, these little cakes will easily become a staple in your recipe rotation.
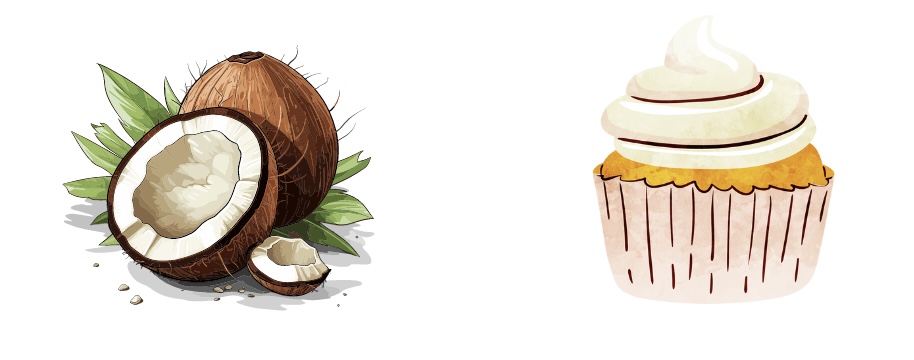
But beyond their delicious taste, these mini cakes pack a nutritional punch thanks to their star ingredient: coconut. Coconut is more than just a tropical delight—it’s a nutrient powerhouse. Rich in healthy fats, especially medium-chain triglycerides (MCTs), coconut can help boost your metabolism and provide sustained energy throughout the day. The high fiber content supports digestion and can help maintain a healthy weight by promoting feelings of fullness. Plus, coconut contains important minerals like manganese, which is essential for bone health and supports the metabolism of carbohydrates, proteins, and fats.
Including coconut in your regular diet can have numerous health benefits. It’s great for heart health, as the fats in coconut may improve cholesterol levels by increasing HDL (good) cholesterol while reducing LDL (bad) cholesterol. It’s also believed to have antioxidant properties, helping to reduce inflammation in the body and promote overall well-being. So, not only are you treating yourself to a tasty snack, but you’re also feeding your body with essential nutrients that support long-term health. These coconut mini cakes are a perfect way to enjoy something sweet while giving your body the nourishment it deserves. Plus, they’re gluten-free, making them a wonderful option for those with dietary restrictions.
So, the next time you’re looking for a treat that’s as delicious as it is nutritious, look no further than these mini coconut cakes—simple to make, packed with good-for-you ingredients, and sure to satisfy every craving!
Ingredients:
- 2 eggs
- 1/3 cup maple syrup (or equivalent sweetener of your choice)
- 1 cup (100 g) finely shredded coconut
- 1/4 tsp. vanilla extract
- 1/4 tsp. baking powder
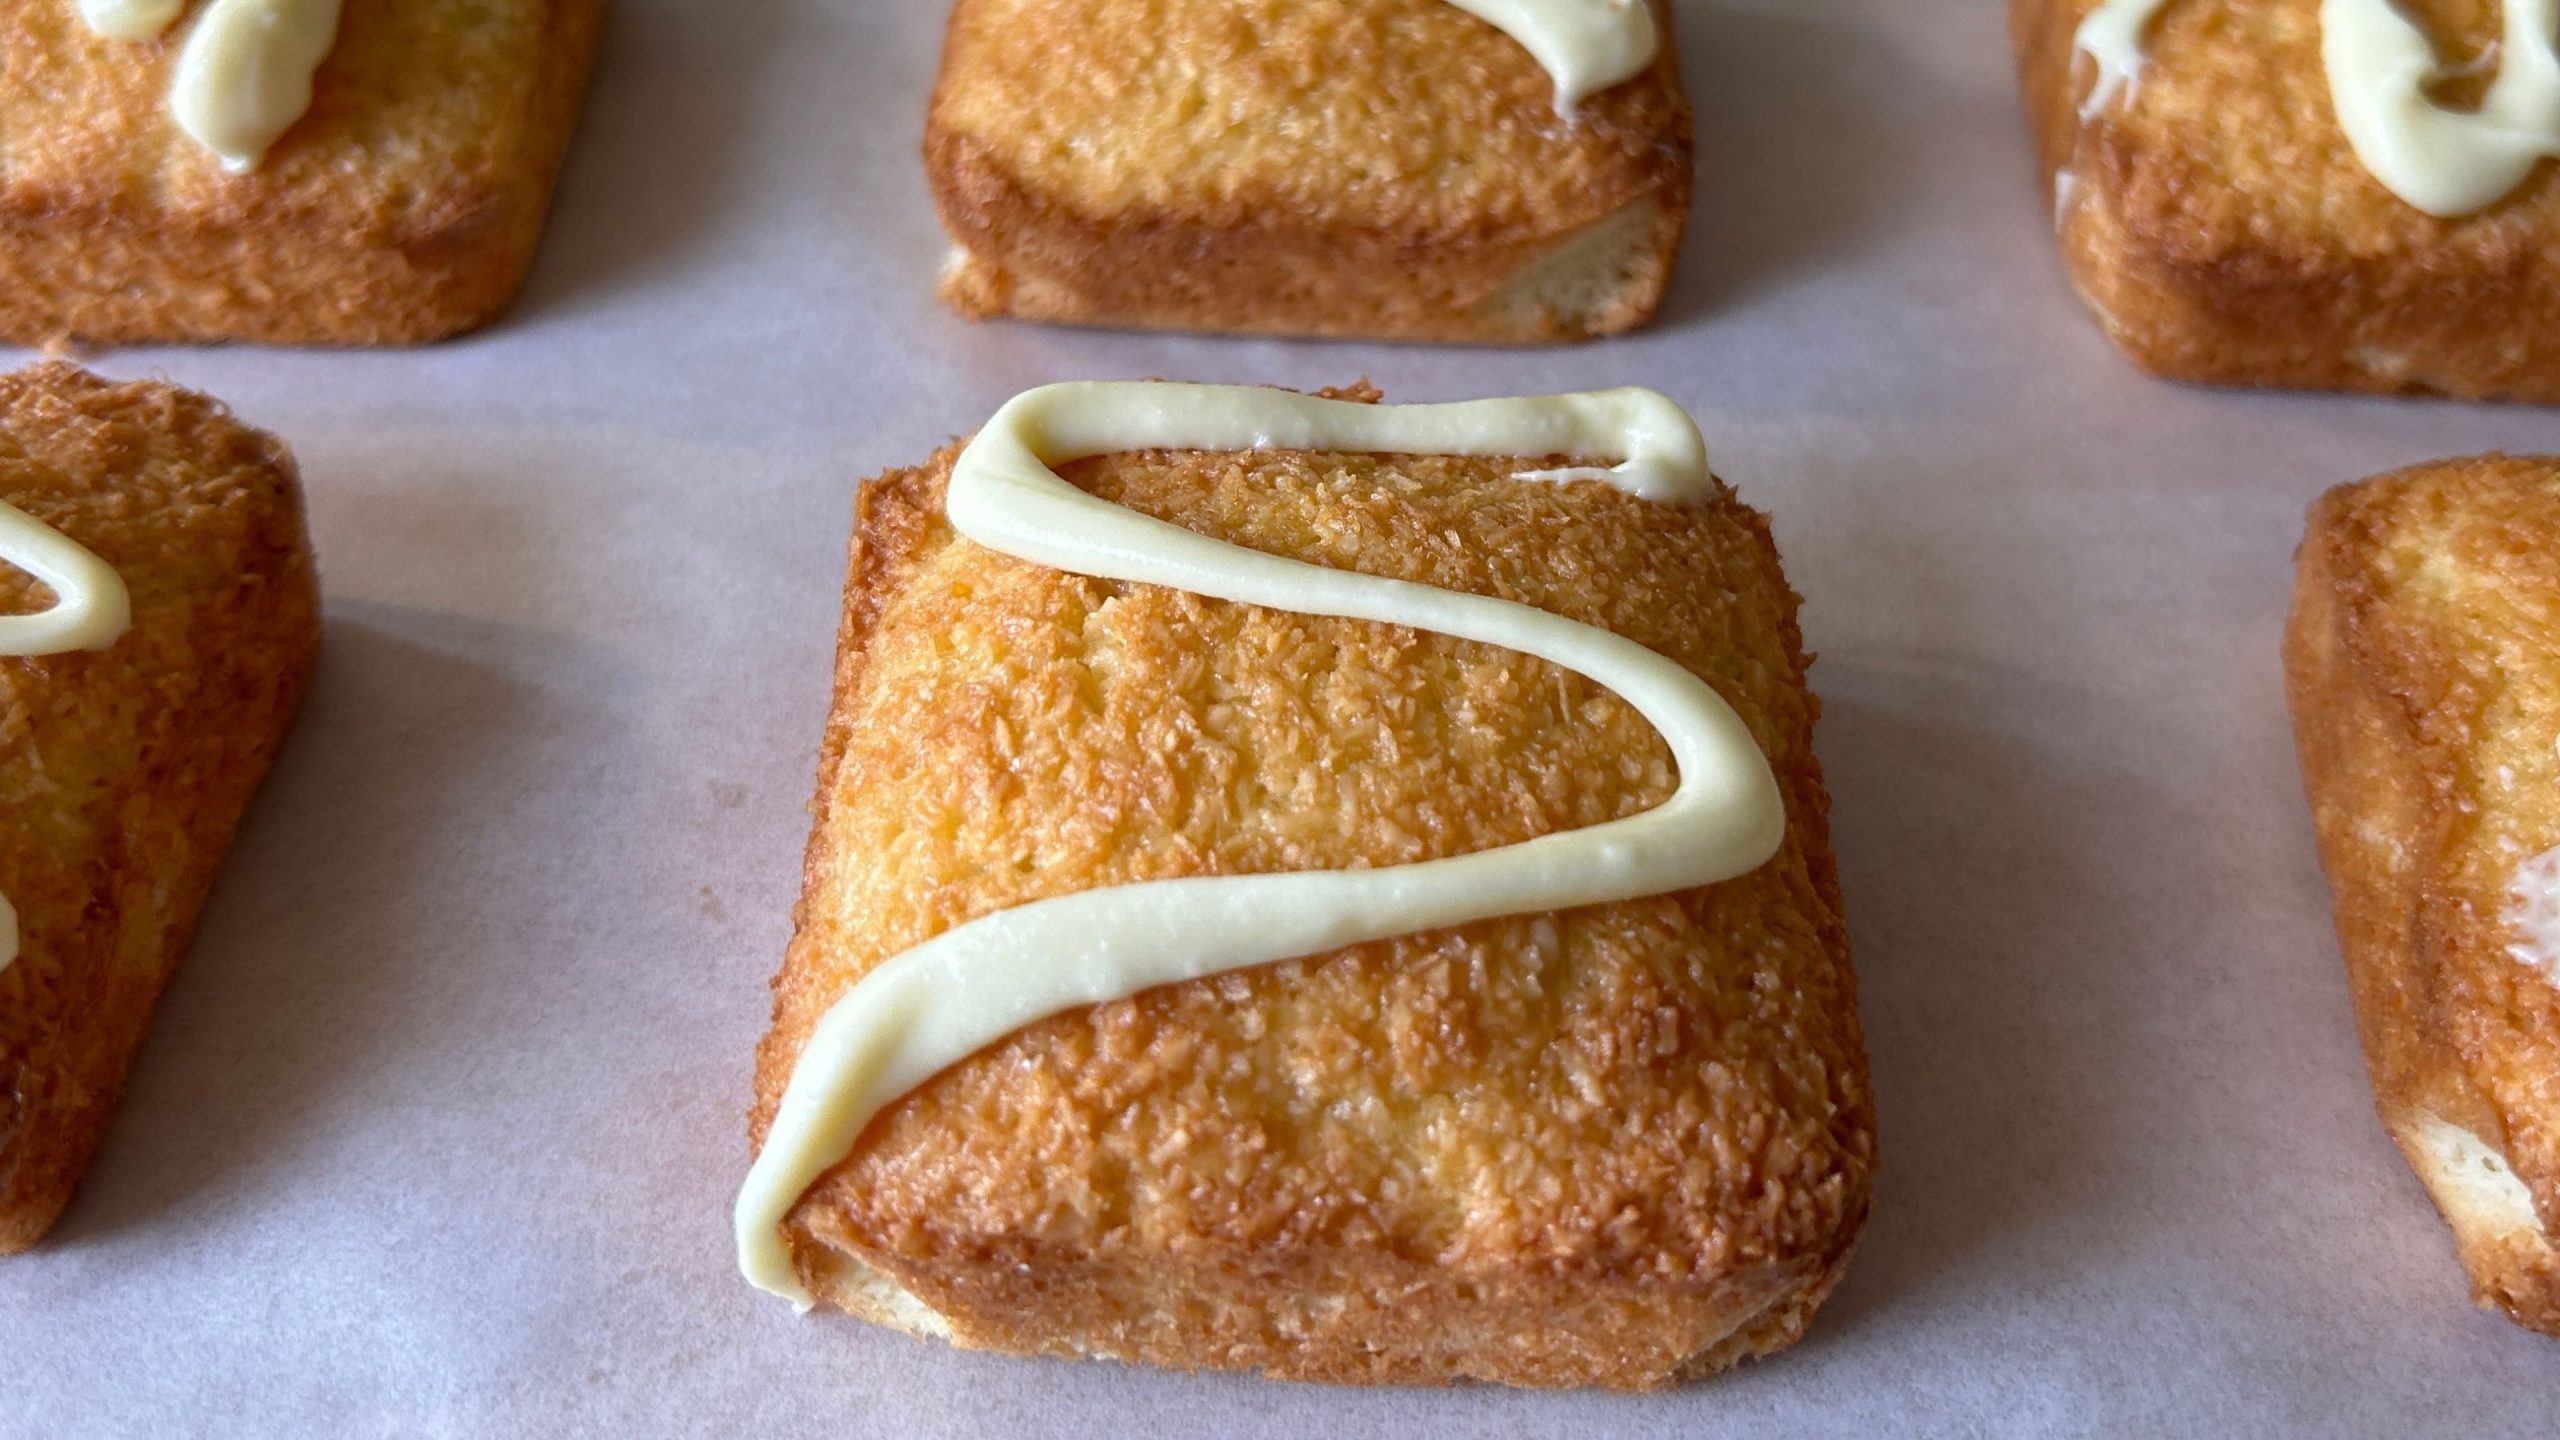
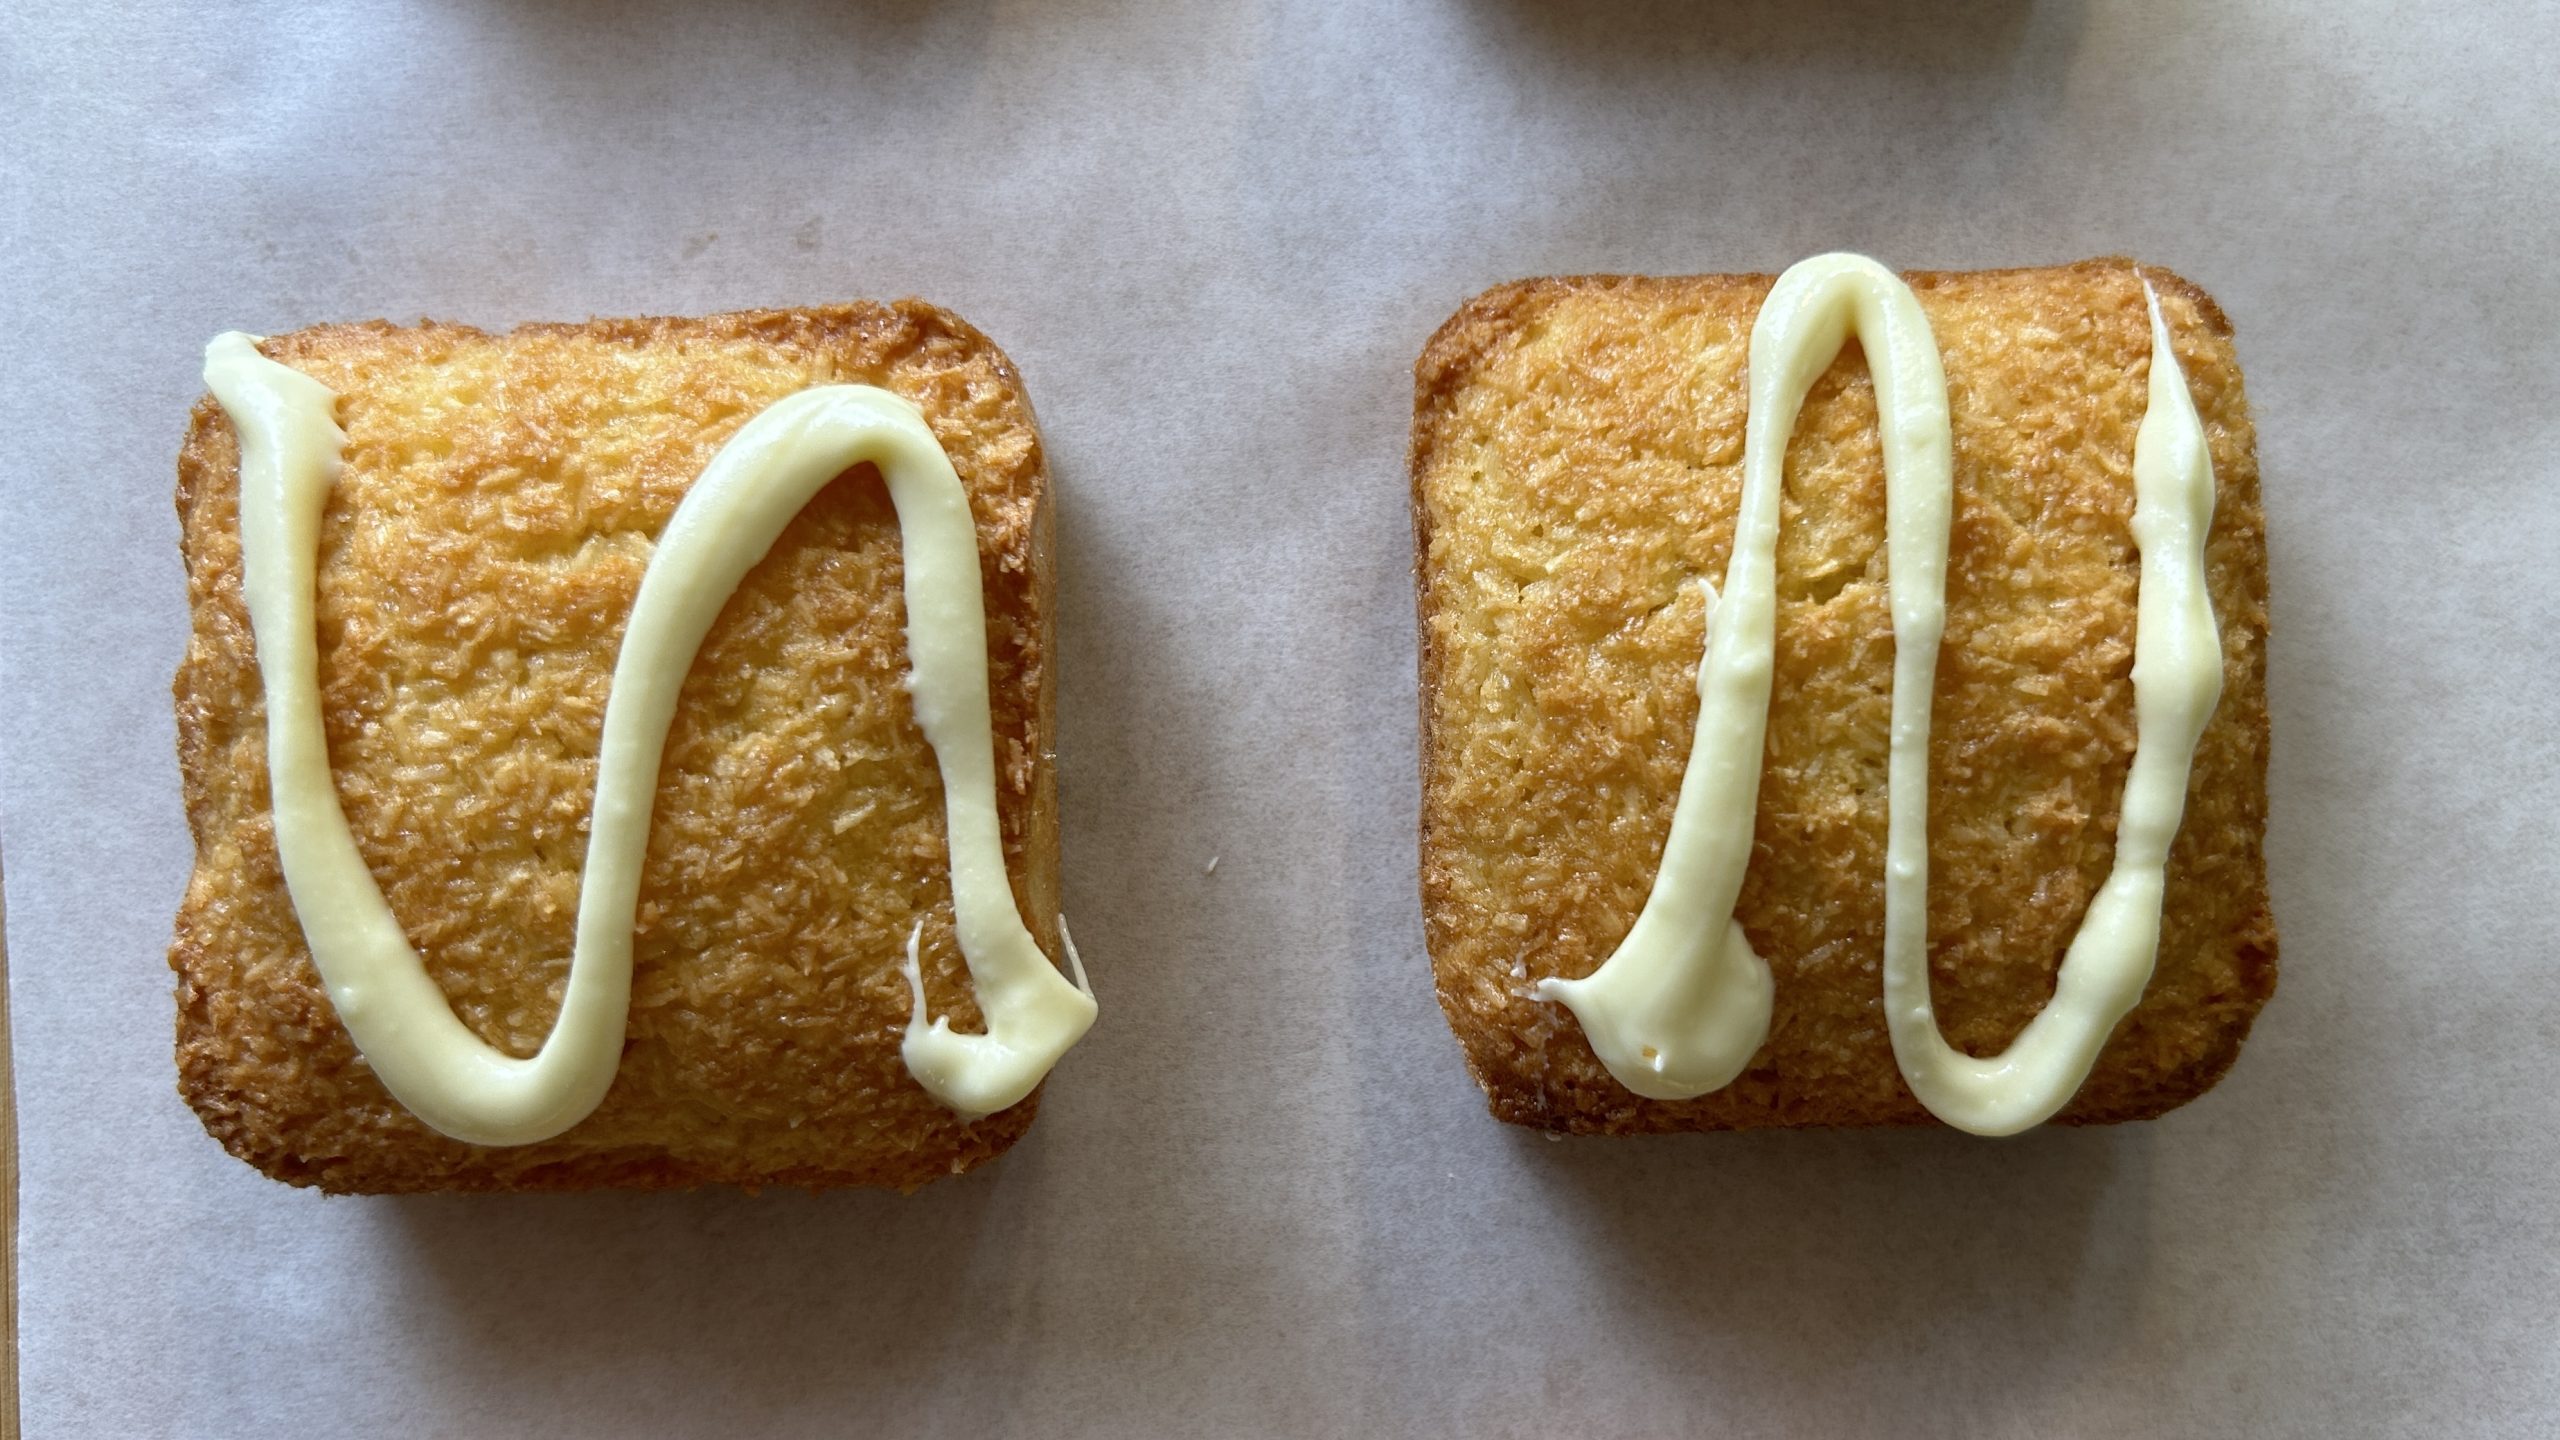
- 15 g white chocolate (optional, for topping)
Directions:
- Preheat your oven to 350°F (180°C).
- In a large mixing bowl, crack the eggs and add the maple syrup and vanilla extract.
- Whisk until fully combined, and the mixture becomes slightly frothy.
- Gradually add the finely shredded coconut to the egg mixture, stirring continuously until the batter becomes airy and sticky. Ensure all the coconut is evenly coated.
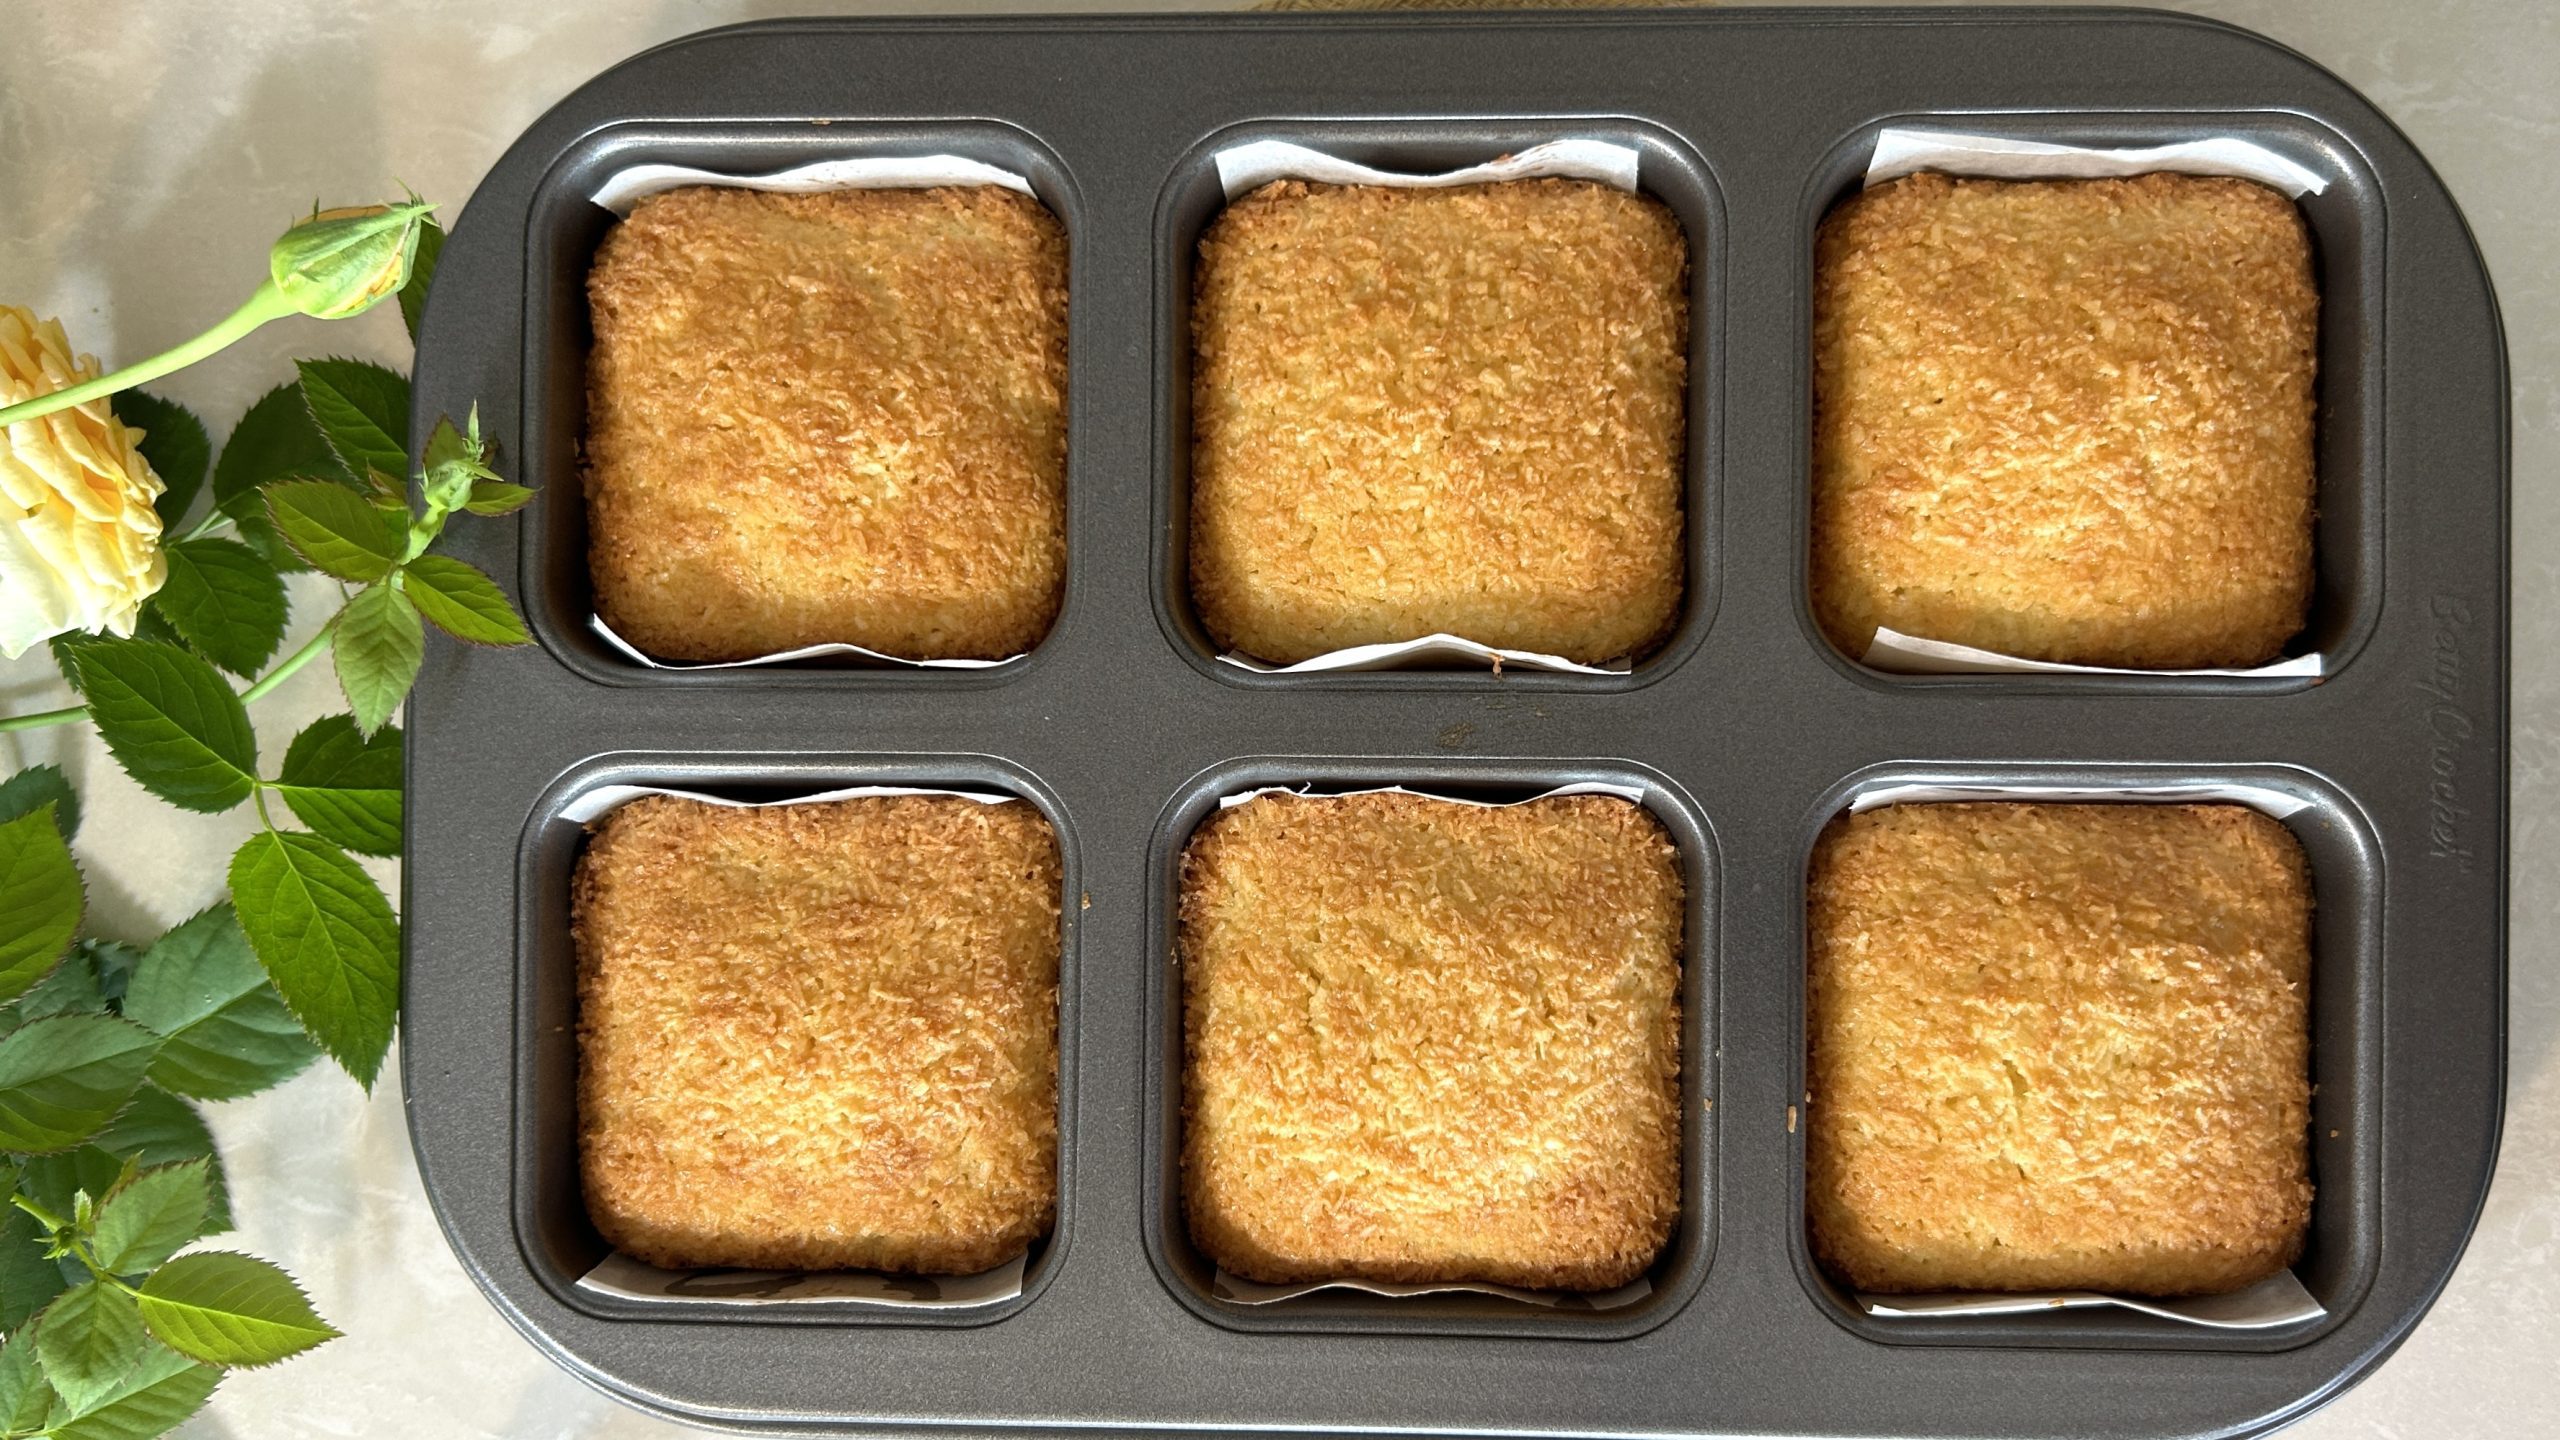
- Prepare the mini cake cups by lightly brushing them with oil to prevent sticking. Optionally, line each cup with parchment paper for easier removal.
- Spoon the coconut batter into the prepared mini cake cups, filling each cup evenly but not too full to allow for slight expansion. Use the back of a spatula to press gently to smooth the surface.
- Bake for 25 to 30 minutes or until the tops turn golden brown.
- Transfer the mini cakes onto a cooling rack and allow them to fully cool.
- If desired, garnish the cakes with a drizzle of melted white chocolate before serving.
Prep Time, Baking Information, and Servings:
- Prep Time: 15 minutes
- Baking Time: 30 minutes
- Servings: 6 servings
Nutritional Information (Per Serving):
- Energy: 190 calories
- Protein: 3.38 g
- Fat: 13.06 g
- Carbohydrates: 16.57 g
- Fiber: 2.9 g
Storage:
- Store the mini cakes in an airtight container at room temperature for up to 3 days.
- For longer storage, refrigerate for up to 1 week or freeze for up to 3 months.
Notes:
- These mini cakes are perfect for afternoon snacks or a breakfast treat.
- For a gluten-free and dairy-free option, you can omit the white chocolate or replace it with a dairy-free alternative.

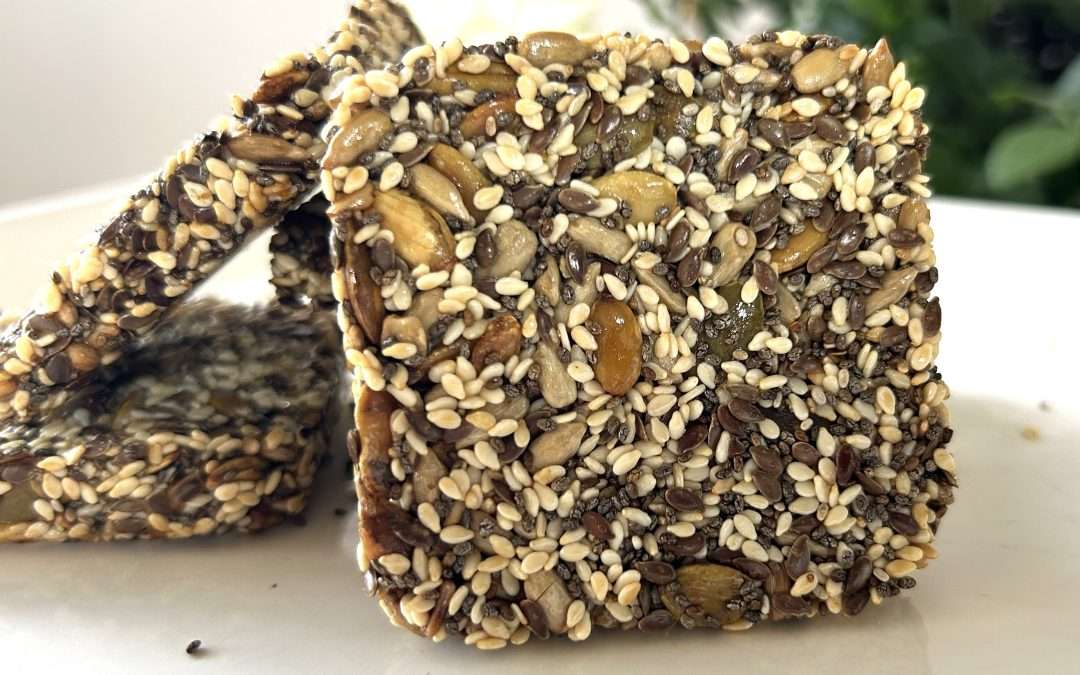

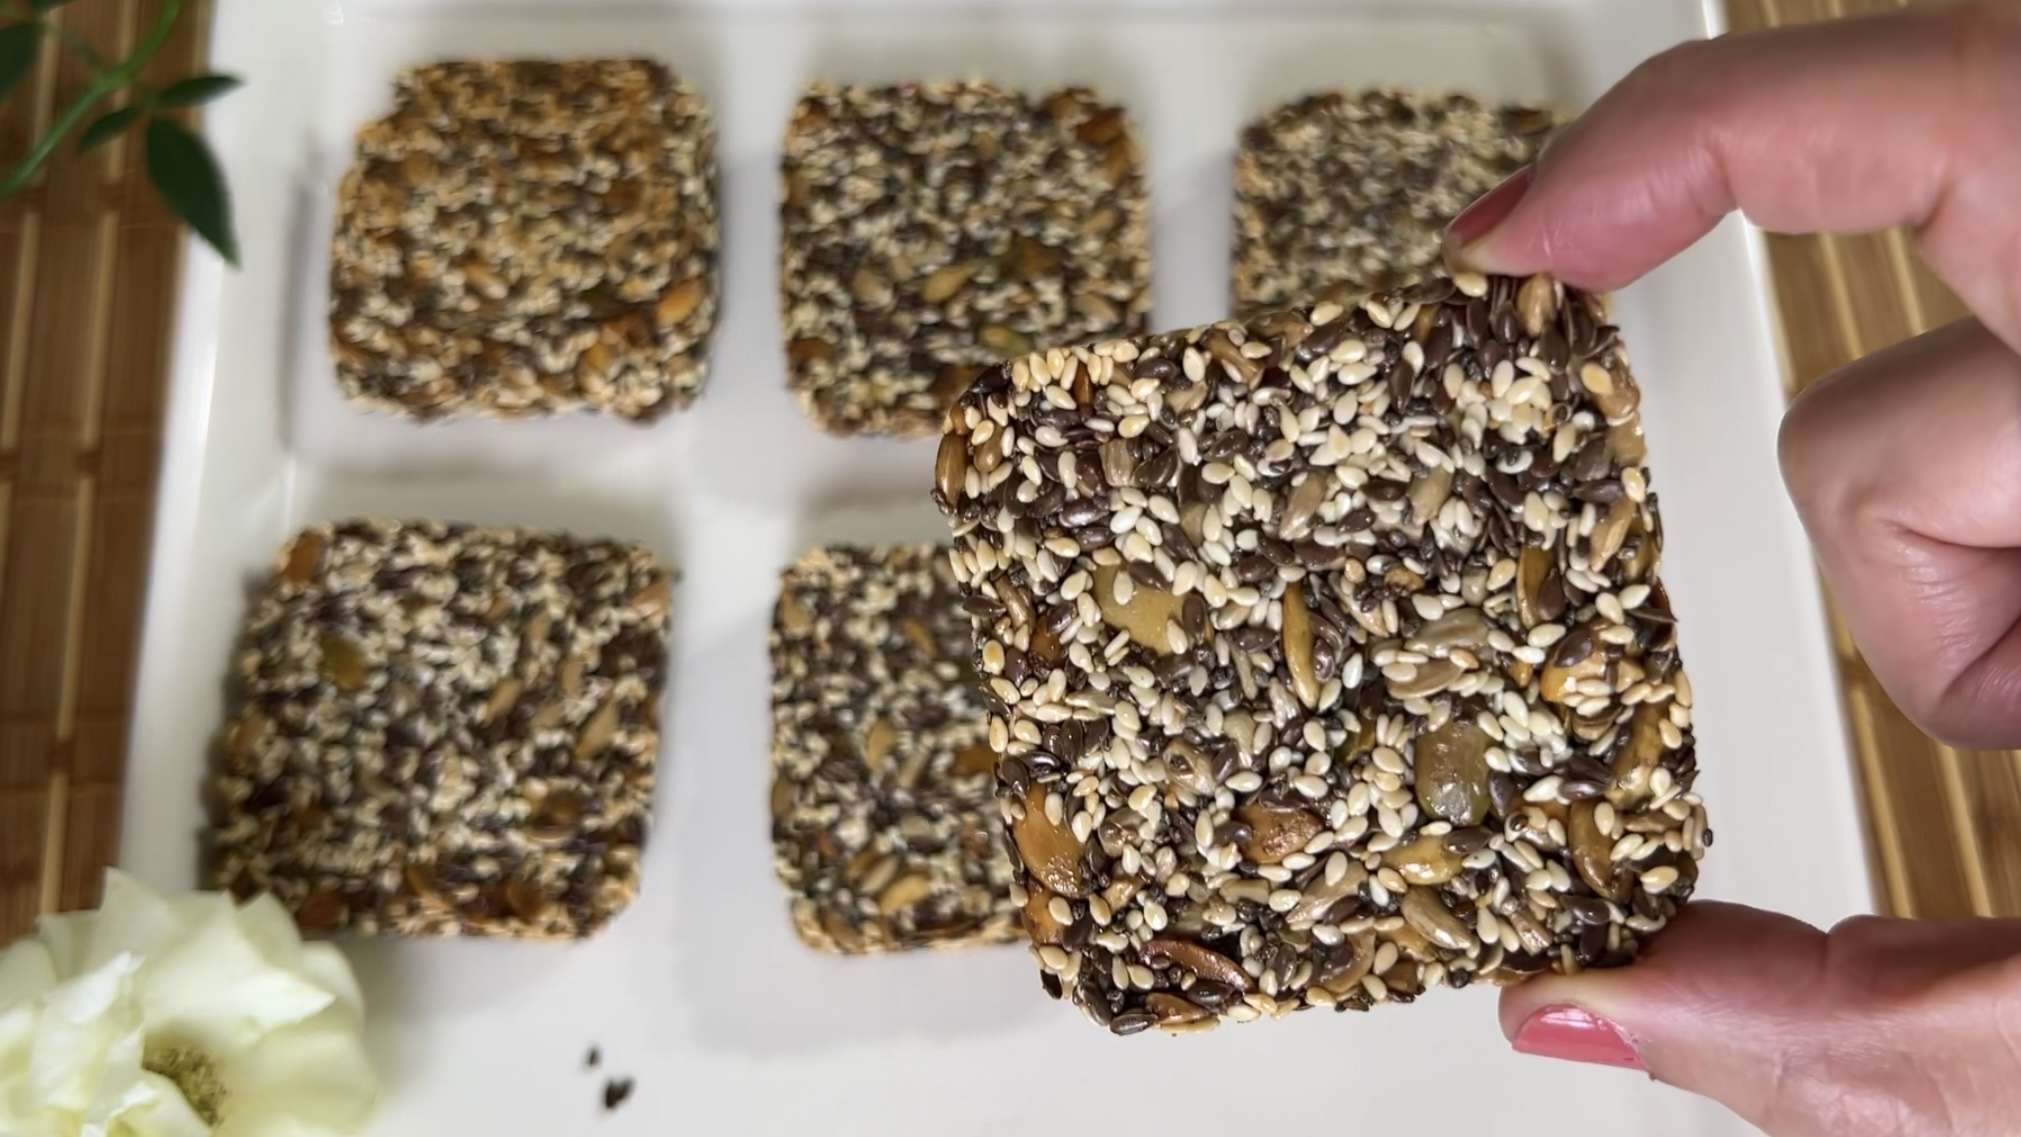 Let’s take a closer look at the benefits of each seed in this recipe: