Fruit Oat Bars

Fruit Oat Bars

Fruit Oat Bars

Don’t let overripe bananas go to waste! With this recipe, you can easily transform them into a delicious banana applesauce that forms the base of healthy and flavorful fruit and oat bars. This simple and wholesome treat is perfect for both kids and adults as a snack anytime and anywhere.

Bananas and oats are the stars of this recipe, each bringing their own set of nutritional benefits to the table. Bananas are rich in potassium, which is essential for maintaining healthy blood pressure levels, and they provide a good amount of fiber, which aids in digestion. Oats, on the other hand, are a fantastic source of complex carbohydrates and fiber, which help keep you full and provide sustained energy throughout the day. They also contain beta-glucan, a type of soluble fiber that has been shown to lower cholesterol levels.

Incorporating more fruits and whole grains like oats into your diet is a smart move for your overall health. These bars are not only nutritious but also a flavorful snack option that you can enjoy guilt-free. They are perfect for busy mornings, an afternoon pick-me-up, or even a light dessert. Enjoy!

Ingredients

1 1/2 cups (120 g) old-fashioned rolled oats
2 large overripe bananas (approximately 230 grams cleaned and cut)
3 large apples (approximately 400 grams cleaned and cut)
2 small sticks of cinnamon
Juice of half a lemon
1/4 cup of water
2 tbsp. of maple syrup (optional)


Directions

Banana Applesauce:

  1. Clean and cut overripe bananas and apples.
  2. Combine with cinnamon, lemon juice, and water in a saucepan.
  3. Simmer until soft, then mash into a smooth purée.
  4. Optionally, add maple syrup and simmer until thickened.
  5. Let cool before using in oat bars.

Fruit Oat Bars Part:
6. Roast the rolled oats on a hot pan for about 10 minutes or until fragrant.
7. Transfer a portion of the roasted oats to a blender, finely blend, and then return it to the working bowl.
8. Add the banana applesauce to the oats and stir to create a sticky mixture.
9. Spoon equal quantities of the mixture into a rectangular silicone cup or any preferred shape, shaping them into bars.
10. Press the mixture until it takes the form of a rectangle, similar to store-bought bars.
11. Let the bars sit in the fridge for an hour or until firm.
12. Serve and enjoy these healthy, homemade fruit and oat bars!

Yields: 11 Servings

Prep Time: 20 minutes

Cooking Time: 10 minutes pan cooking + 20 minutes pan cooking

Nutritional Information

Per 1 Serving:
Energy: 73 calories
Protein: 2.22 g
Fat: 0.89 g
Carbohydrates: 19.23 g
Fiber: 2.7 g


Storage

  • Store your fruit bars in an airtight container in the fridge for up to one week.
  • These bars are not only nutritious but also a flavorful snack option that you can enjoy guilt-free!


Coconut Cookies

Coconut Cookies

Coconut Cookies

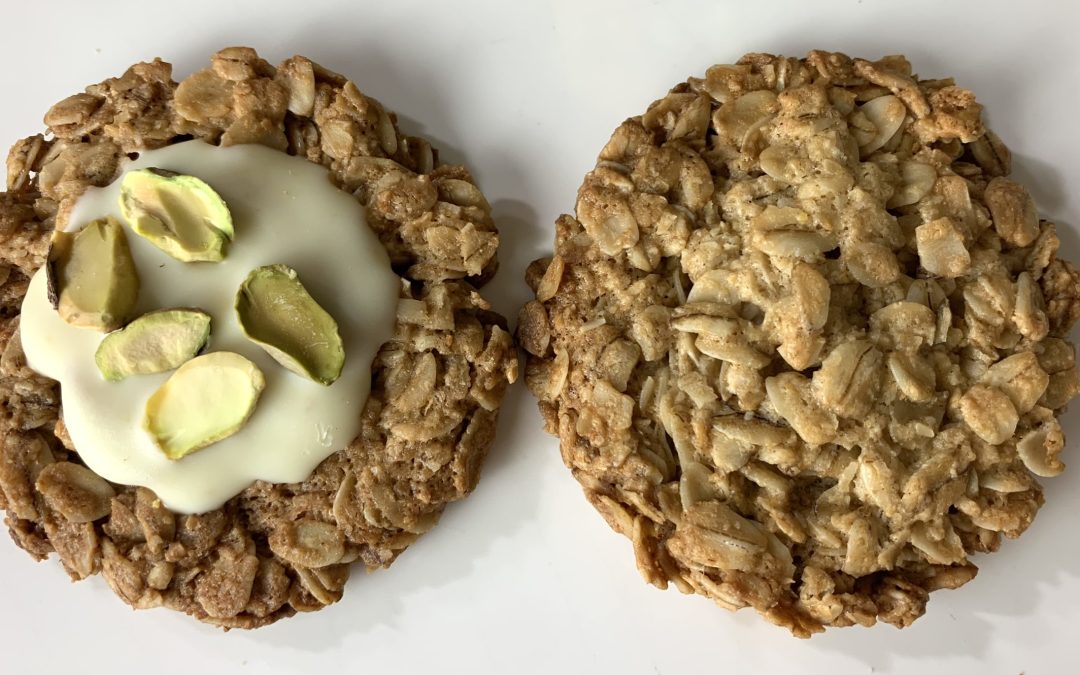
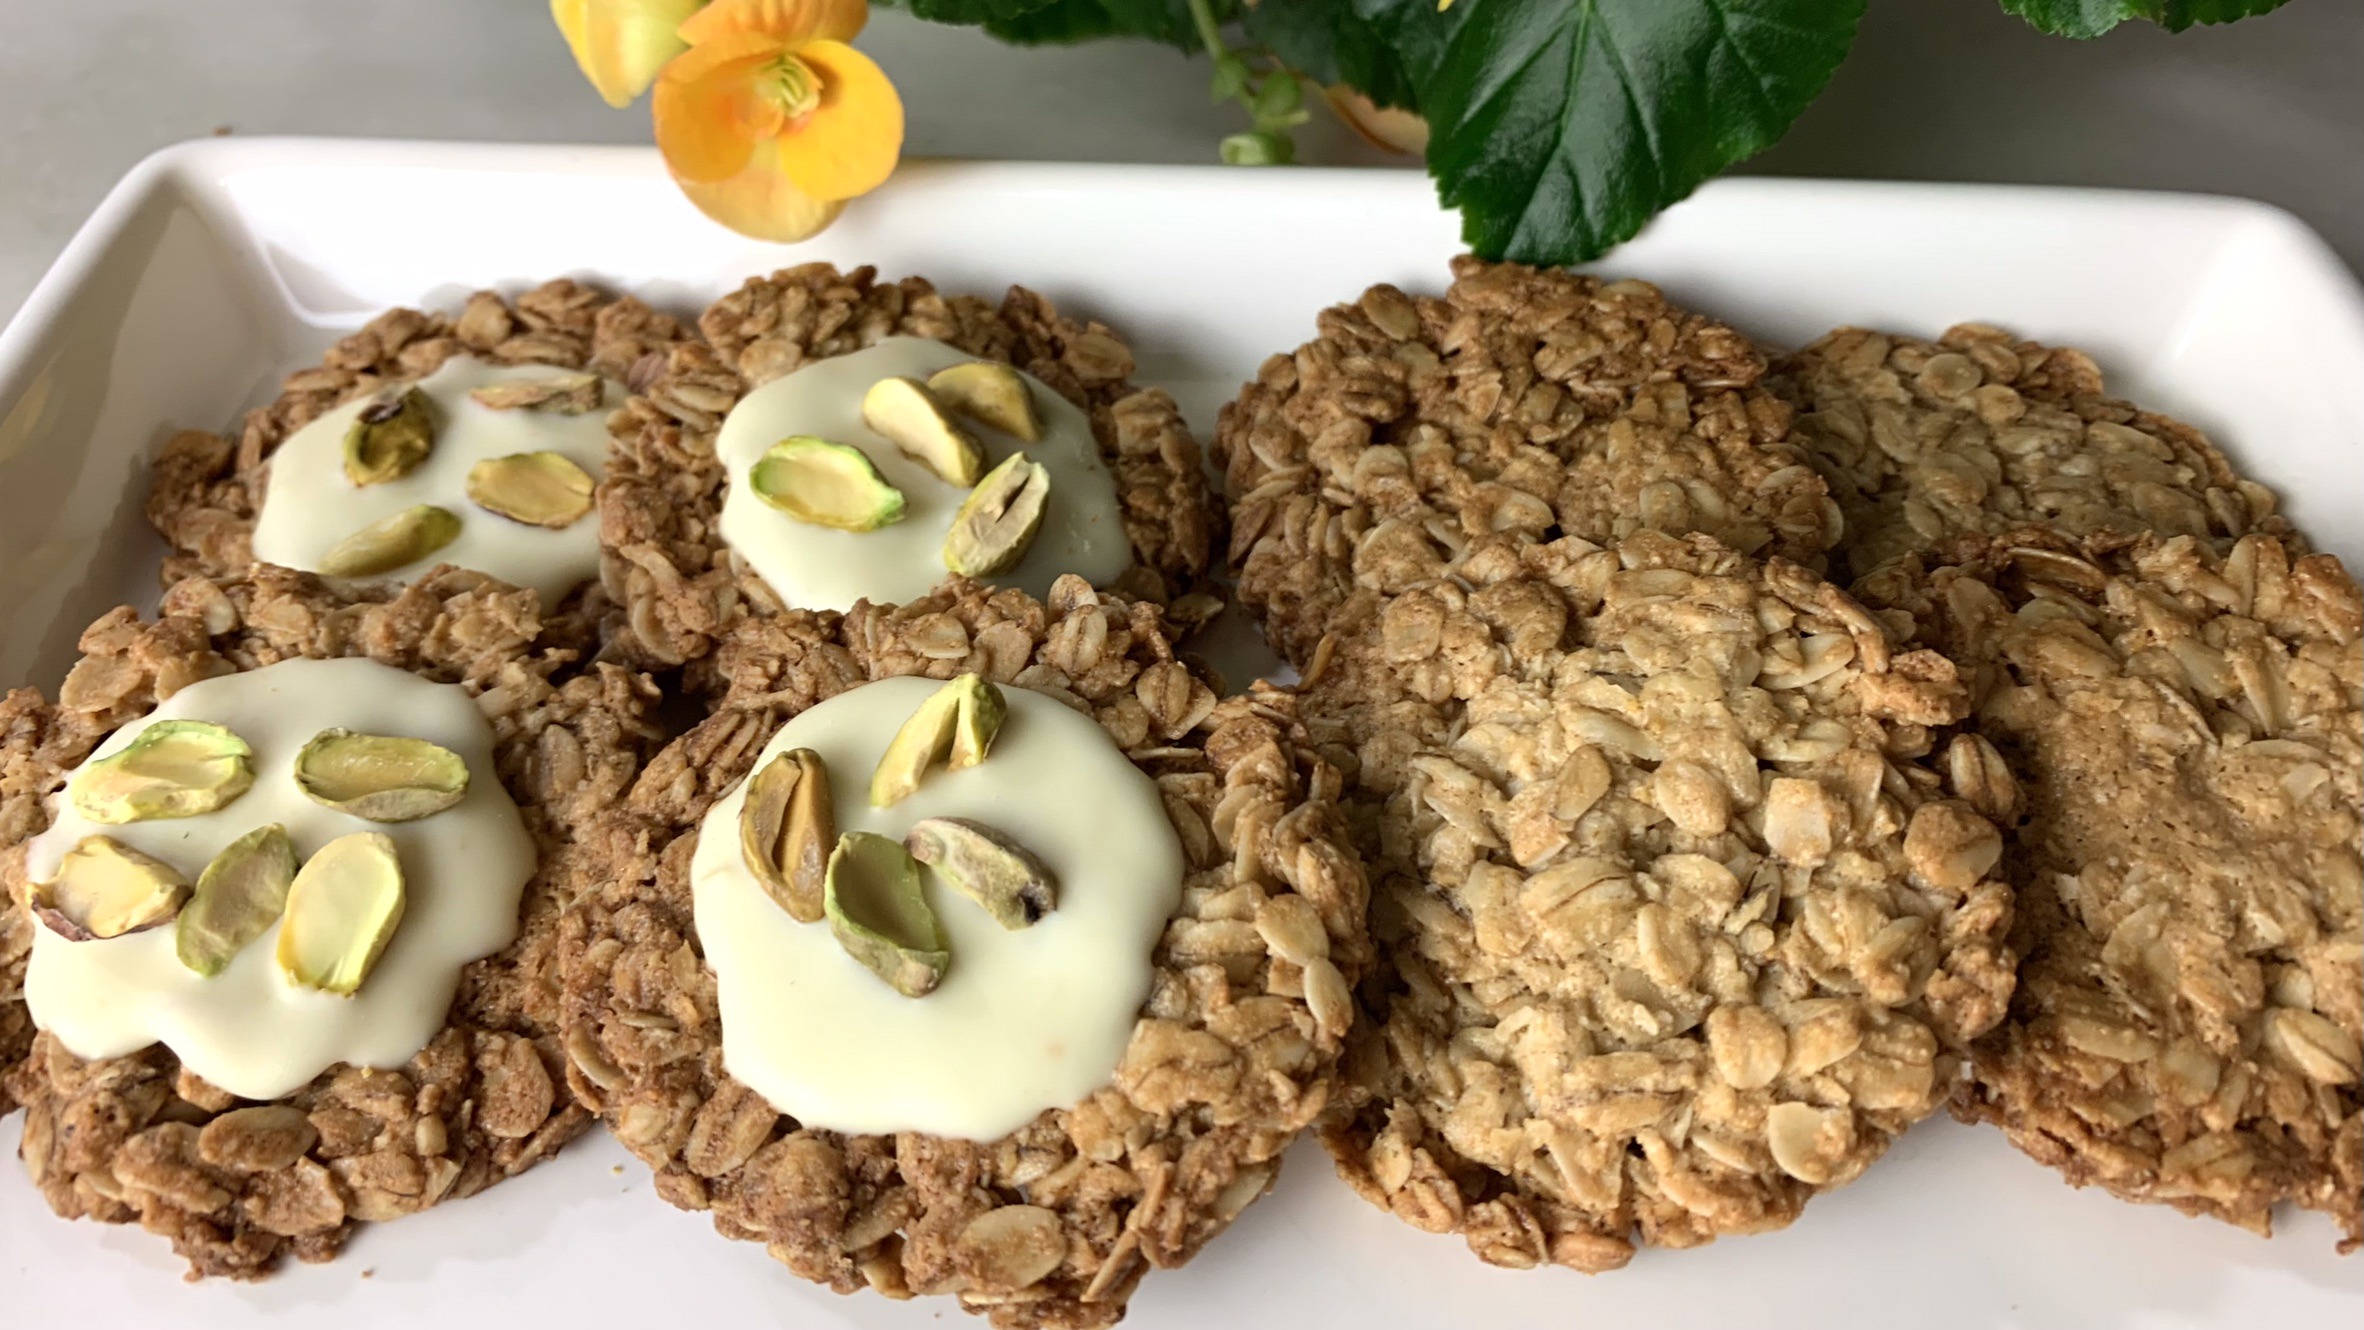
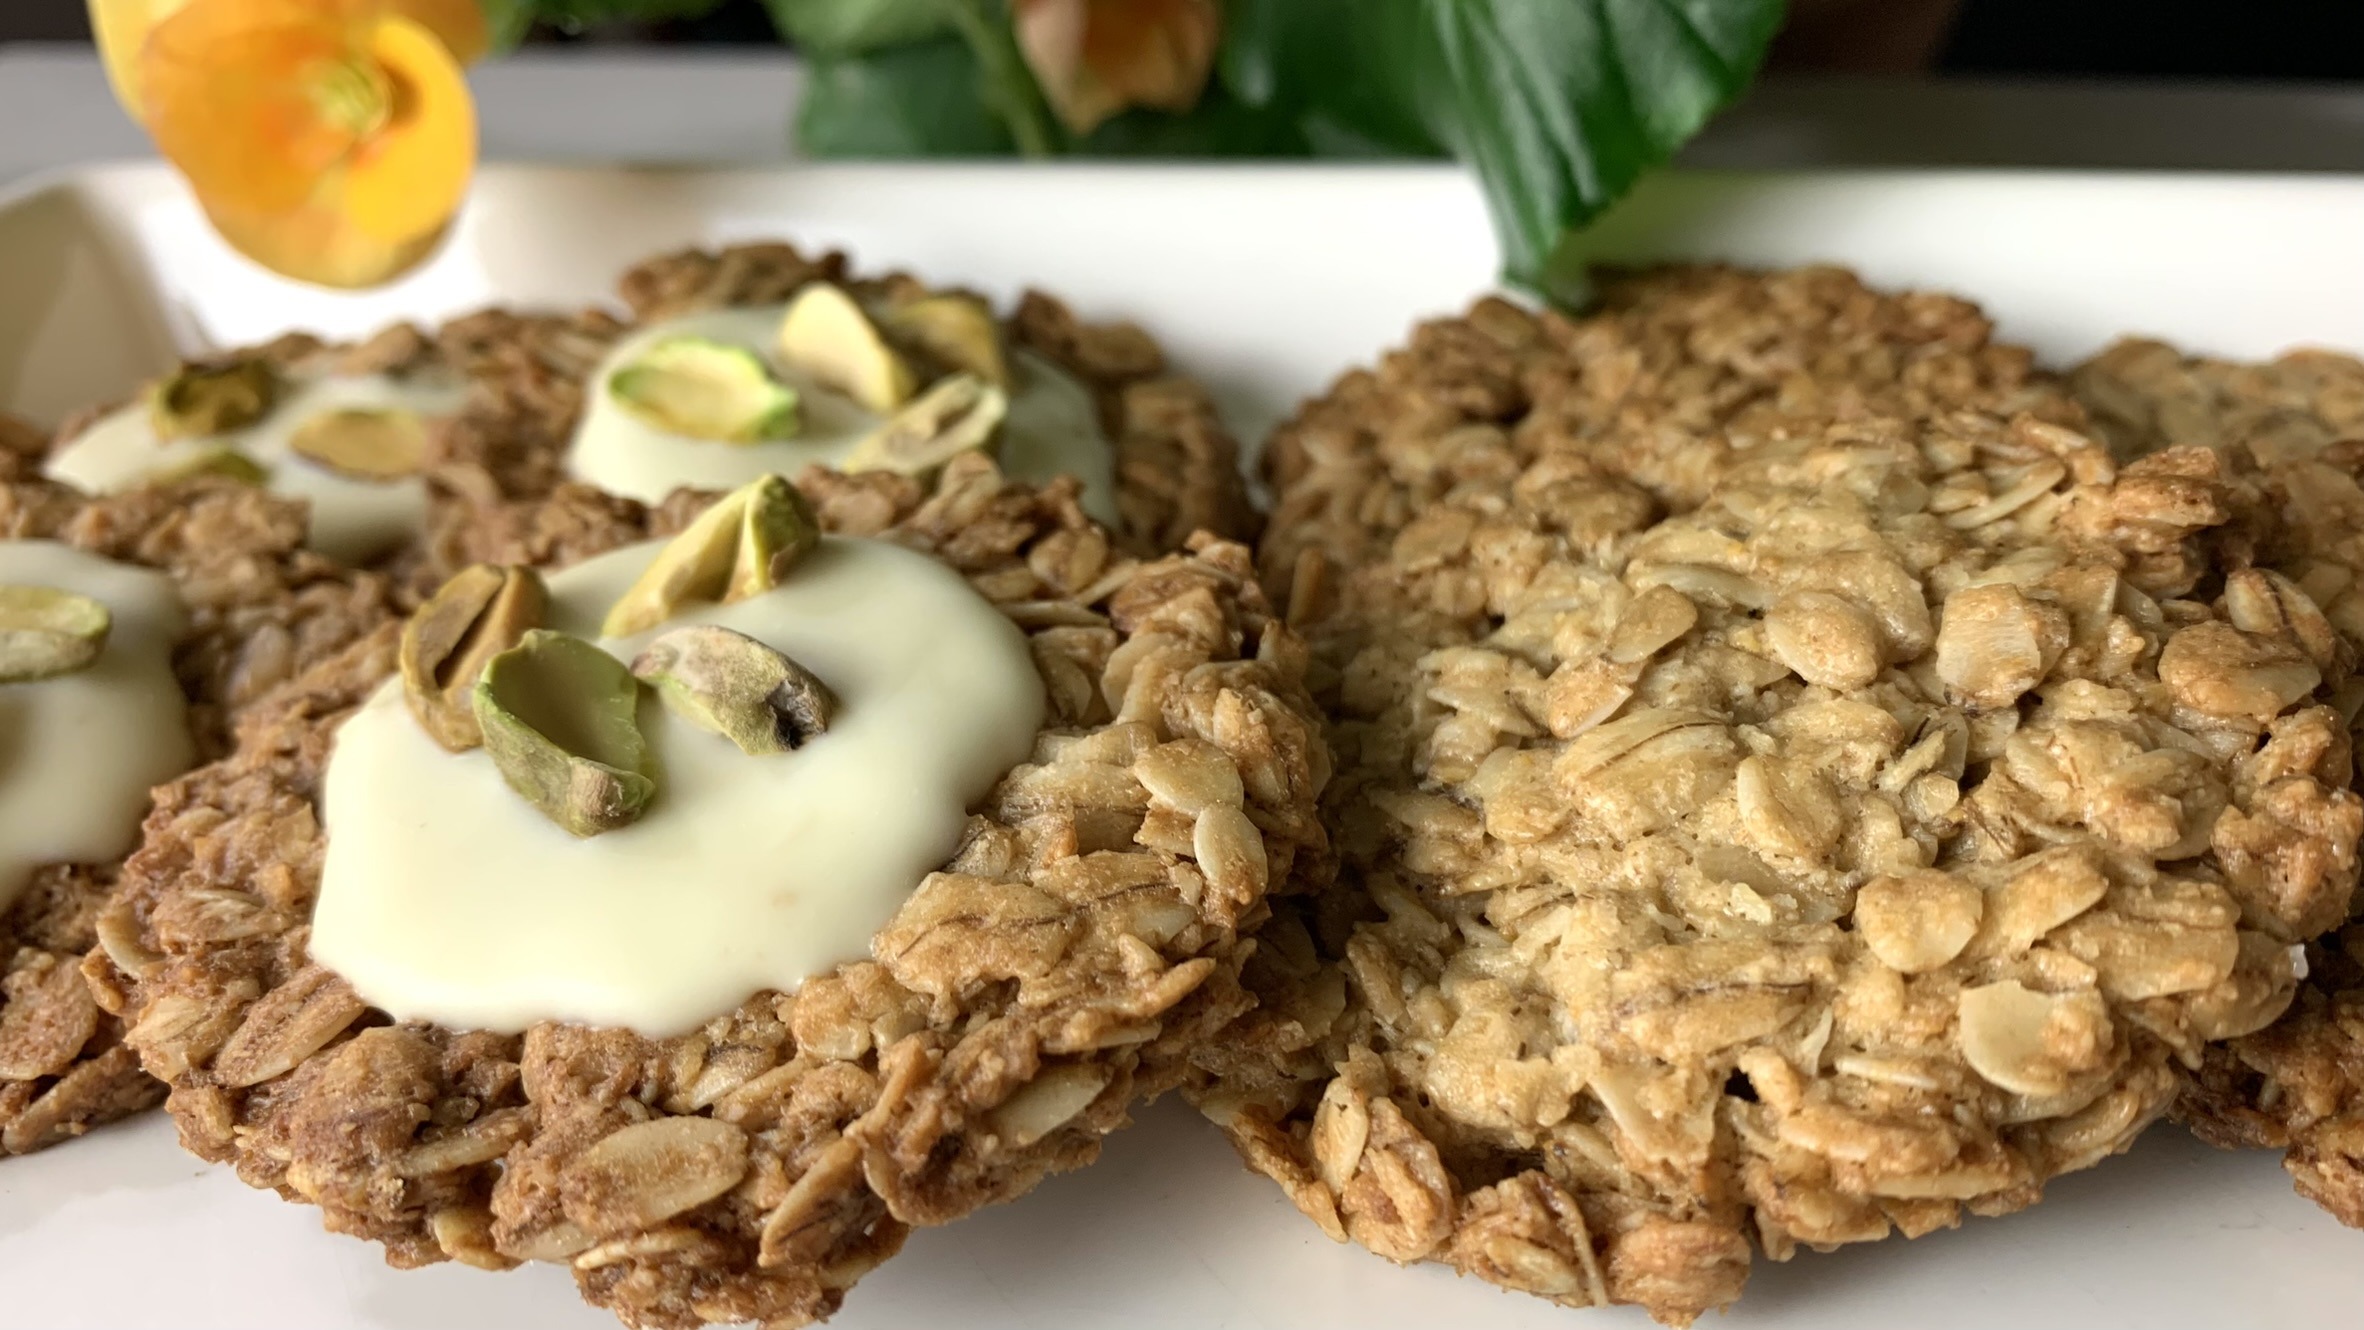
These 3-ingredient coconut cookies are a delightful treat you can whip up in no time, perfect for those moments when you’re craving something sweet but want to keep it simple. The combination of chewy coconut and zesty lemon makes each bite a little piece of heaven. Whether you’re serving them with tea or enjoying them as a snack, these cookies are bound to please.

What makes these cookies truly special is the coconut, a star ingredient that’s not just delicious but also incredibly good for you. Coconut is rich in fiber, which helps keep your digestive system running smoothly. It’s also packed with healthy fats known as medium-chain triglycerides (MCTs). These fats provide a quick source of energy and may even help boost metabolism, making coconut an excellent choice for those looking to maintain a healthy lifestyle.

Including coconut in your regular diet can also support heart health by improving cholesterol levels. It’s a versatile ingredient that adds both flavor and nutrition to your meals. So, not only are these cookies a tasty treat, but they’re also a smart choice for your well-being. Plus, with just three ingredients, they’re super easy to make, even on the busiest days.

Ingredients

1 cup (75 g) shredded coconut
1/4 cup maple syrup
2 egg whites
Zest of 1 lemon (optional)
1 tbsp. powdered sugar (optional)


Directions

  1. In a mixing bowl, combine the finely shredded coconut, the zest of a lemon, and maple syrup. Stir until thoroughly combined.
  2. In a separate bowl, whisk the egg whites until they form stiff peaks.
  3. Gradually fold the whipped egg whites into the coconut mixture, ensuring thorough incorporation. This will create a light and airy cookie batter.
  4. On a baking pan covered with parchment paper, use a spoon to scoop equal portions of the cookie mixture, shaping them into cookie shapes.
  5. To add an extra touch of sweetness and a lovely finish, sprinkle a little powdered sugar on top of each cookie (optional).
  6. Preheat your oven to 350°F (175°C) and bake the cookies for about 25 minutes, or until they turn golden brown on the edges.
  7. Once baked, remove the cookies from the oven and let them cool for a few minutes on a wire rack before enjoying.

Yields: 9 Cookies
Prep Time: 30 minutes
Baking Time: 25 minutes

Nutritional Information

Per 1 Cookie:
Energy: 85 calories
Protein: 1.38 g
Fat: 5.4 g
Carbohydrates: 8.78 g
Fiber: 1.4 g

Gluten-Free, Dairy-Free, Vegetarian

Storage

  • Store your coconut cookies in an airtight container at room temperature for up to one week.
  • Perfect for sharing with friends and family during gatherings.
  • Enjoy as a quick snack anytime you crave a burst of coconutty sweetness!
Peanut Butter & Oat Bars

Peanut Butter & Oat Bars

Peanut Butter & Oat Bars

Get ready to indulge in the perfect combination of taste and nutrition with our Peanut Butter & Oatmeal Bars! These no-bake bars are a fantastic choice for those who want a quick and delicious snack that doesn’t compromise on health. With a rich blend of peanut butter, rolled oats, and naturally sweet dates, these bars offer a satisfying bite that is both chewy and crunchy, making them an ideal treat for any time of day.

Oats, the star ingredient in these bars, are packed with essential nutrients that make them a powerhouse of health benefits. Rich in dietary fiber, oats help to keep your digestive system running smoothly and can contribute to lower cholesterol levels. They are also a great source of complex carbohydrates, providing sustained energy without causing spikes in blood sugar. Combined with the protein-packed peanut butter, these bars offer a balanced snack that will keep you full and energized.

Incorporating oats into your diet is an excellent way to ensure you’re getting a good dose of vitamins, minerals, and antioxidants. Whether you enjoy these bars as a pre-workout snack, a quick breakfast, or a midday pick-me-up, you’ll be nourishing your body with wholesome ingredients that promote overall well-being. Plus, with the added crunch of roasted peanuts and the indulgent layer of dark chocolate, these bars are bound to satisfy your sweet tooth while supporting your health goals.

This reimagined recipe brings the original elements together with a focus on nutritional benefits and the enjoyment of a healthy, homemade snack!

Ingredients

  • 1 1/2 cups (120 g) old-fashioned rolled oats
  • 2/3 cup (140 g) peanut butter (preferably unsweetened with just 1 ingredient)
  • 150 g pitted dates
  • 60 g roasted peanuts
  • 1/3 cup (90 g) melted dark chocolate
  • Kosher salt (optional, for sprinkling on top of the chocolate)

Directions

  1. Begin by roasting old-fashioned rolled oats in a pan over medium heat. Stir constantly and roast until the oats become fragrant, approximately 10 minutes.
  2. Transfer the roasted oats into a blender. Add peanut butter and pitted dates to the blender.
  3. Blend the mixture until it reaches a sticky and cohesive consistency, ensuring all ingredients are well combined.
  4. Prepare a 22 cm x 12 cm rectangular container, lining it with parchment paper for easy removal.
  5. Transfer the blended mixture into the container, using a spoon to press it down firmly, ensuring a smooth surface.
  6. Sprinkle roasted peanuts on top of the mixture, adding an extra crunch to the texture.
  7. For the finishing touch, add a layer of melted dark chocolate over the peanuts.
  8. Sprinkle kosher salt on top of the chocolate if desired.
  9. Place the container in the fridge and let it sit for about an hour or until the chocolate sets.
  10. Once the chocolate is set, cut into bars. We cut the mixture into 8 large bars for this recipe.

Prep Time: 30 minutes
Fridge Time: 1 hour
Servings: 8 bars

Nutritional Information (Per 1 Serving)

  • Energy: 327 calories
  • Protein: 9.58 g
  • Fat: 18.62 g
  • Carbohydrates: 34.67 g
  • Fiber: 5.8 g

Notes

  • Store the bars in an airtight container in the fridge for up to 1 week or freeze for up to 3 months for longer storage.
  • These bars make for a delightful snack on the go, a satisfying treat after a workout, or a wholesome dessert option after a meal.


Red Lentil Cupcakes

Red Lentil Cupcakes

Red Lentil Cupcakes

Welcome to our kitchen, where we love to innovate with unconventional yet nutritious recipes! These Red Lentil Cupcakes are a testament to our commitment to wholesome and delicious creations. Whether you’re exploring gluten-free options or simply seeking out new healthy treats, these amazing lentil cupcakes are a must-try. Bursting with flavor and packed with nutrition, they’re sure to become a favorite in your baking repertoire.

Red lentils, the star ingredient in this recipe, are not just a staple in savory dishes but are also a fantastic addition to baked goods. These tiny legumes are packed with plant-based protein and are an excellent source of iron, making them a great option for those looking to increase their intake of these vital nutrients. Additionally, red lentils are rich in dietary fiber, which promotes digestive health and helps maintain stable blood sugar levels. Incorporating red lentils into your diet can contribute to overall well-being and provide a satisfying, nutritious boost to your meals.

These Red Lentil Cupcakes are more than just a sweet treat; they’re a powerhouse of nutrition disguised as a dessert. With the natural sweetness of maple syrup and the bright citrus notes from fresh orange zest, these cupcakes offer a unique and delightful flavor profile.

Whether you enjoy them as a wholesome snack, a light dessert, or a delightful addition to your breakfast table, these lentil cupcakes are sure to impress.

Ingredients

  • 1 cup of red lentils (190 g)
  • 2 egg yolks
  • 2 egg whites (whisked until stiff)
  • 1/4 cup of Greek yogurt
  • 1/4 cup orange juice (squeezed from 1 orange)
  • 1/4 cup avocado oil
  • 1/4 cup maple syrup
  • Zest of 1 orange
  • 1/2 tbsp. baking powder
  • 20 g almond slices (for garnish)
  • 1/4 cup orange jam (for glazing, optional; you can use your preferred jam)

Directions

  1. Begin by soaking the red lentils for at least 4 hours or overnight in the fridge. After soaking, rinse and drain them thoroughly. Make sure to eliminate all the rinsing water from the lentils.
  2. In a blender, combine the soaked lentils, egg yolks, Greek yogurt, orange juice, avocado oil, and maple syrup. Blend the ingredients until you achieve a smooth mixture.
  3. Transfer the lentil mixture to a mixing bowl and add the zest of an orange for an extra burst of flavor. Also, add the baking powder and the stiffly beaten egg whites to the bowl.
  4. Gently stir the ingredients until you achieve a light and airy batter consistency.
  5. Pour the batter into silicone cupcake liners, or ensure to use high-quality liners that do not stick, and top each cupcake with almond slices or other nuts of your choice.
  6. Preheat your oven to 365°F (185°C) and bake the cupcakes for approximately 35 minutes or until they turn golden brown.
  7. Once baked, allow the cupcakes to cool on a wire rack.
  8. If desired, glaze the cupcakes with orange jam or your preferred choice of jam.

Prep Time & Baking Information

  • Prep Time: 30 minutes
  • Baking Time: 35 minutes
  • Servings: 10 cupcakes

Nutritional Information (Per 1 Serving)

  • Energy: 180 calories
  • Protein: 6.52 g
  • Fat: 8.05 g
  • Carbohydrates: 21.68 g
  • Fiber: 2.4 g

Storage and Recommendations

  • Store your cupcakes in an airtight container at room temperature for up to 2 days. For longer storage, keep them in the fridge for up to a week or in the freezer for up to 3 months.
  • Enjoy these unique cupcakes as a delightful snack, a wholesome dessert, or a delightful addition to your breakfast table.
Pumpkin Mini Cakes

Pumpkin Mini Cakes

Pumpkin Mini Cakes

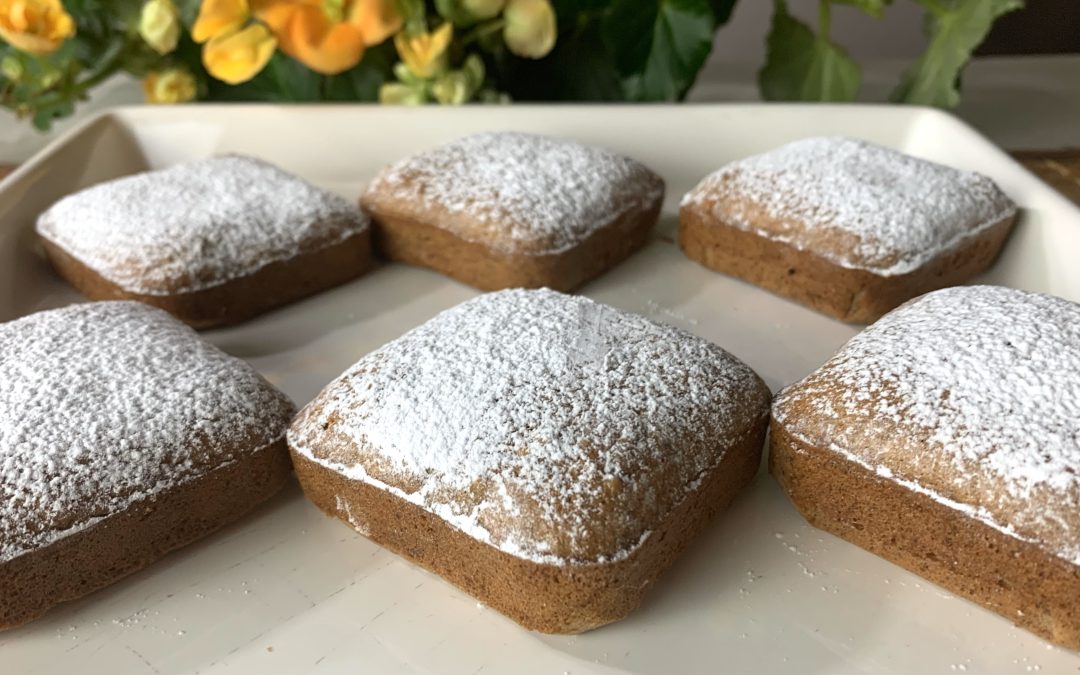
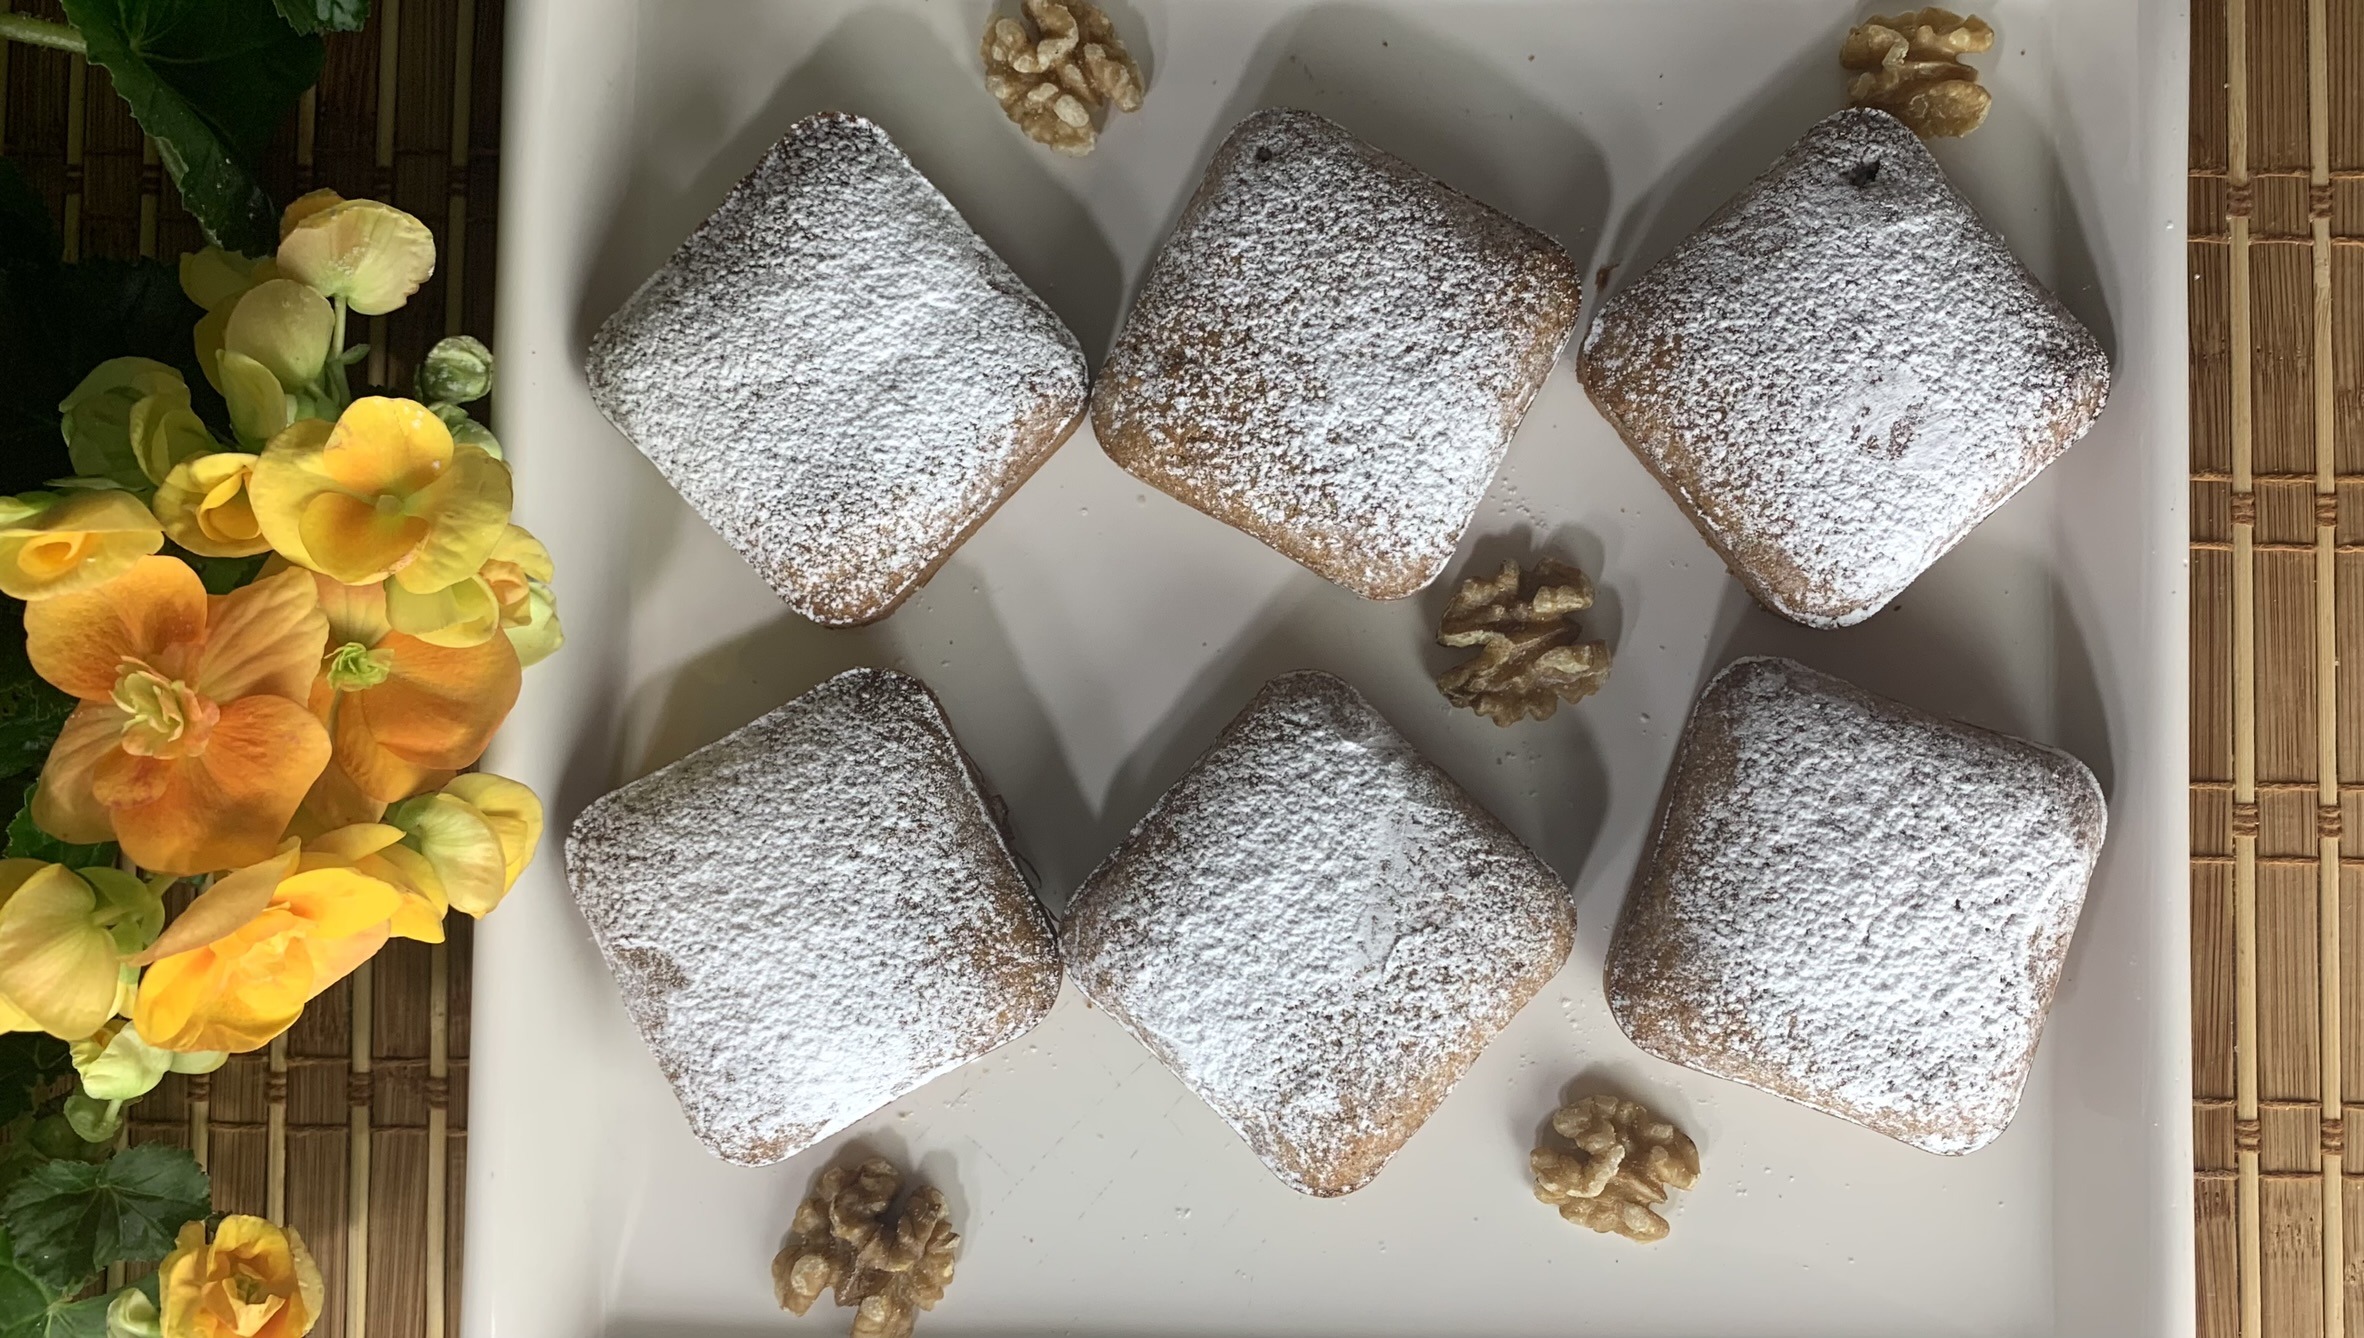
As the autumn leaves start to fall, there’s nothing quite like indulging in a treat that embodies the comforting flavors of the season. These Pumpkin & Oatmeal Mini Cakes are a delightful creation that combines the earthy sweetness of pumpkin with the hearty goodness of oats. Perfectly portioned and rich in flavor, these mini cakes are designed to bring a warm and cozy feeling with every bite. Topped with a luscious homemade maple caramel, they offer a luxurious treat that’s hard to resist.

Pumpkin is the star ingredient in these mini cakes, and for a good reason. Not only does it add a natural sweetness and moist texture, but it also comes packed with nutritional benefits. Pumpkin is rich in vitamins A and C, which are essential for maintaining healthy skin and boosting the immune system, especially during the colder months. Additionally, it’s high in fiber, which aids digestion and helps keep you feeling full and satisfied.

Incorporating pumpkin into your regular diet can contribute to overall well-being. Its antioxidant properties can help protect your body against free radicals, and the beta-carotene found in pumpkin has been linked to reducing the risk of certain cancers. With these mini cakes, you’re not just enjoying a delicious dessert; you’re also treating your body to a nutritious and wholesome ingredient that’s perfect for this time of year.

I hope you enjoy making these delicious Pumpkin & Oatmeal Mini Cakes! If you need any further adjustments or have additional recipes to work on, feel free to ask!

Ingredients

  • 1 cup oat flour
  • 1 egg
  • 1/2 cup pumpkin purée (approximately 250 g fresh pumpkin, steamed and blended)
  • 1/4 cup maple syrup
  • 1/4 cup avocado oil (or any other neutral oil)
  • 1/2 tbsp. baking powder
  • 1/4 tsp. pumpkin spice
  • 15 g pecan halves for garnish (2 halves per mini cake)
  • 1/4 cup homemade maple caramel (optional)
  • A bit of oil for greasing the pan cups

Directions

  1. Preheat the oven to 350°F (175°C) and grease a mini cake pan, lining with parchment paper.
  2. Prepare pumpkin purée if not using store-bought, by steaming and blending fresh pumpkin. Set aside to cool and thicken.
  3. In a mixing bowl, combine the egg, pumpkin purée, maple syrup, and avocado oil, stirring until all ingredients are thoroughly mixed.
  4. Gradually add the oat flour, baking powder, and pumpkin spice to the mixture, stirring until just combined. Be careful not to over-mix.
  5. Fill the cups of your greased and lined baking pan with the batter, and garnish each mini cake with two pecan halves.
  6. Bake in the preheated oven for approximately 30 minutes, or until the cakes turn golden brown.
  7. Once baked, remove the mini cakes from the oven and allow them to cool before serving.
  8. Serve the mini cakes with a drizzle of homemade maple caramel, if desired.

Prep Time: 30 minutes
Baking Time:
30 minutes
Servings:
6 Mini Cakes

Nutritional Information

  • Per 1 Cookie:
    • Energy: 281 calories
    • Protein: 6.18 g
    • Fat: 17.74 g
    • Carbohydrates: 26.75 g
    • Fiber: 1.8 g

Storage

  • Store your mini cakes in an airtight container in the fridge for up to 1 week for optimal freshness.

Notes

  • Enjoy these delightful treats as a breakfast option, a satisfying snack, or a sweet ending to any meal.
  • These mini cakes are naturally gluten-free, making them an ideal treat for those with dietary restrictions.