Sugar Free Granola
Sugar Free Granola

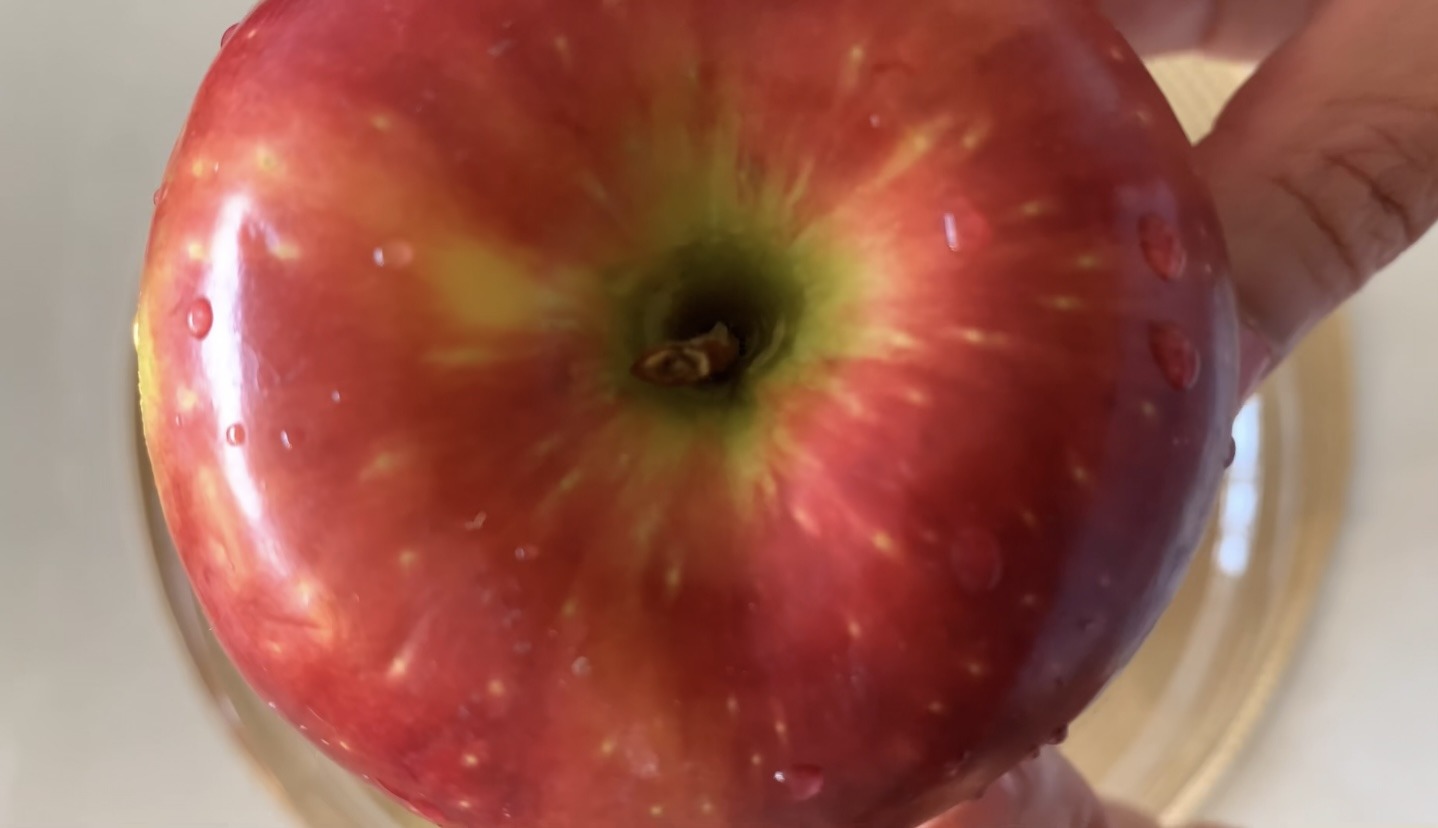
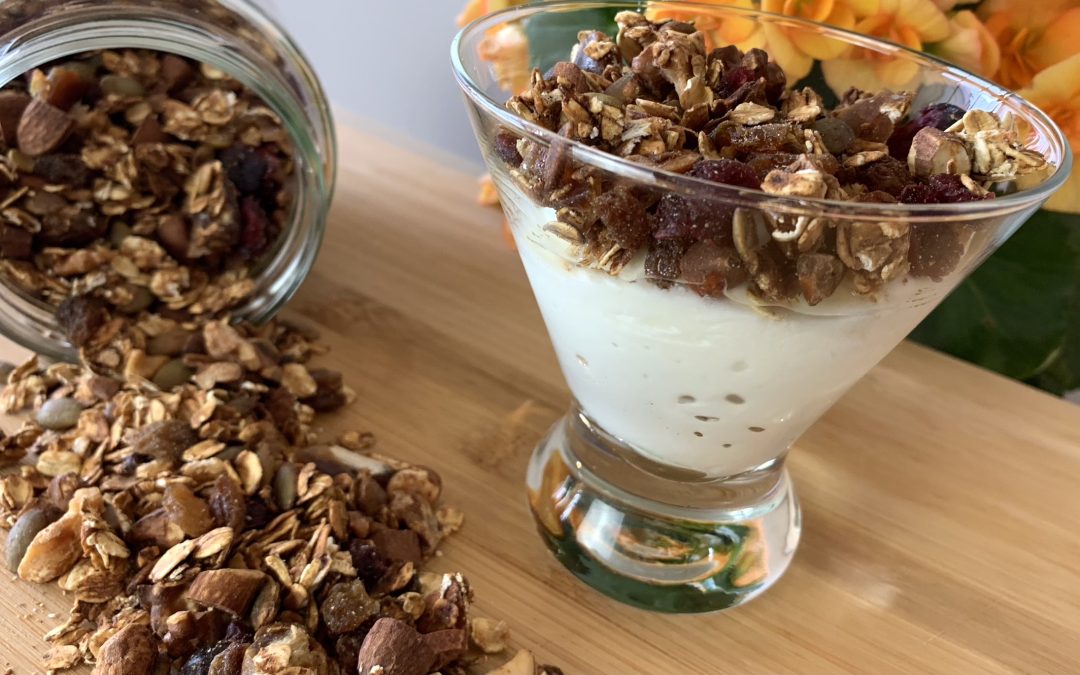
This wholesome and nutritious granola recipe is a perfect choice for those looking for a healthier alternative to store-bought options. Instead of using butter, oil, or traditional sweeteners like maple syrup or honey, this recipe utilizes homemade applesauce as a natural binder. The result is a light and crunchy granola that’s both calorie-wise and packed with a variety of wholesome ingredients.
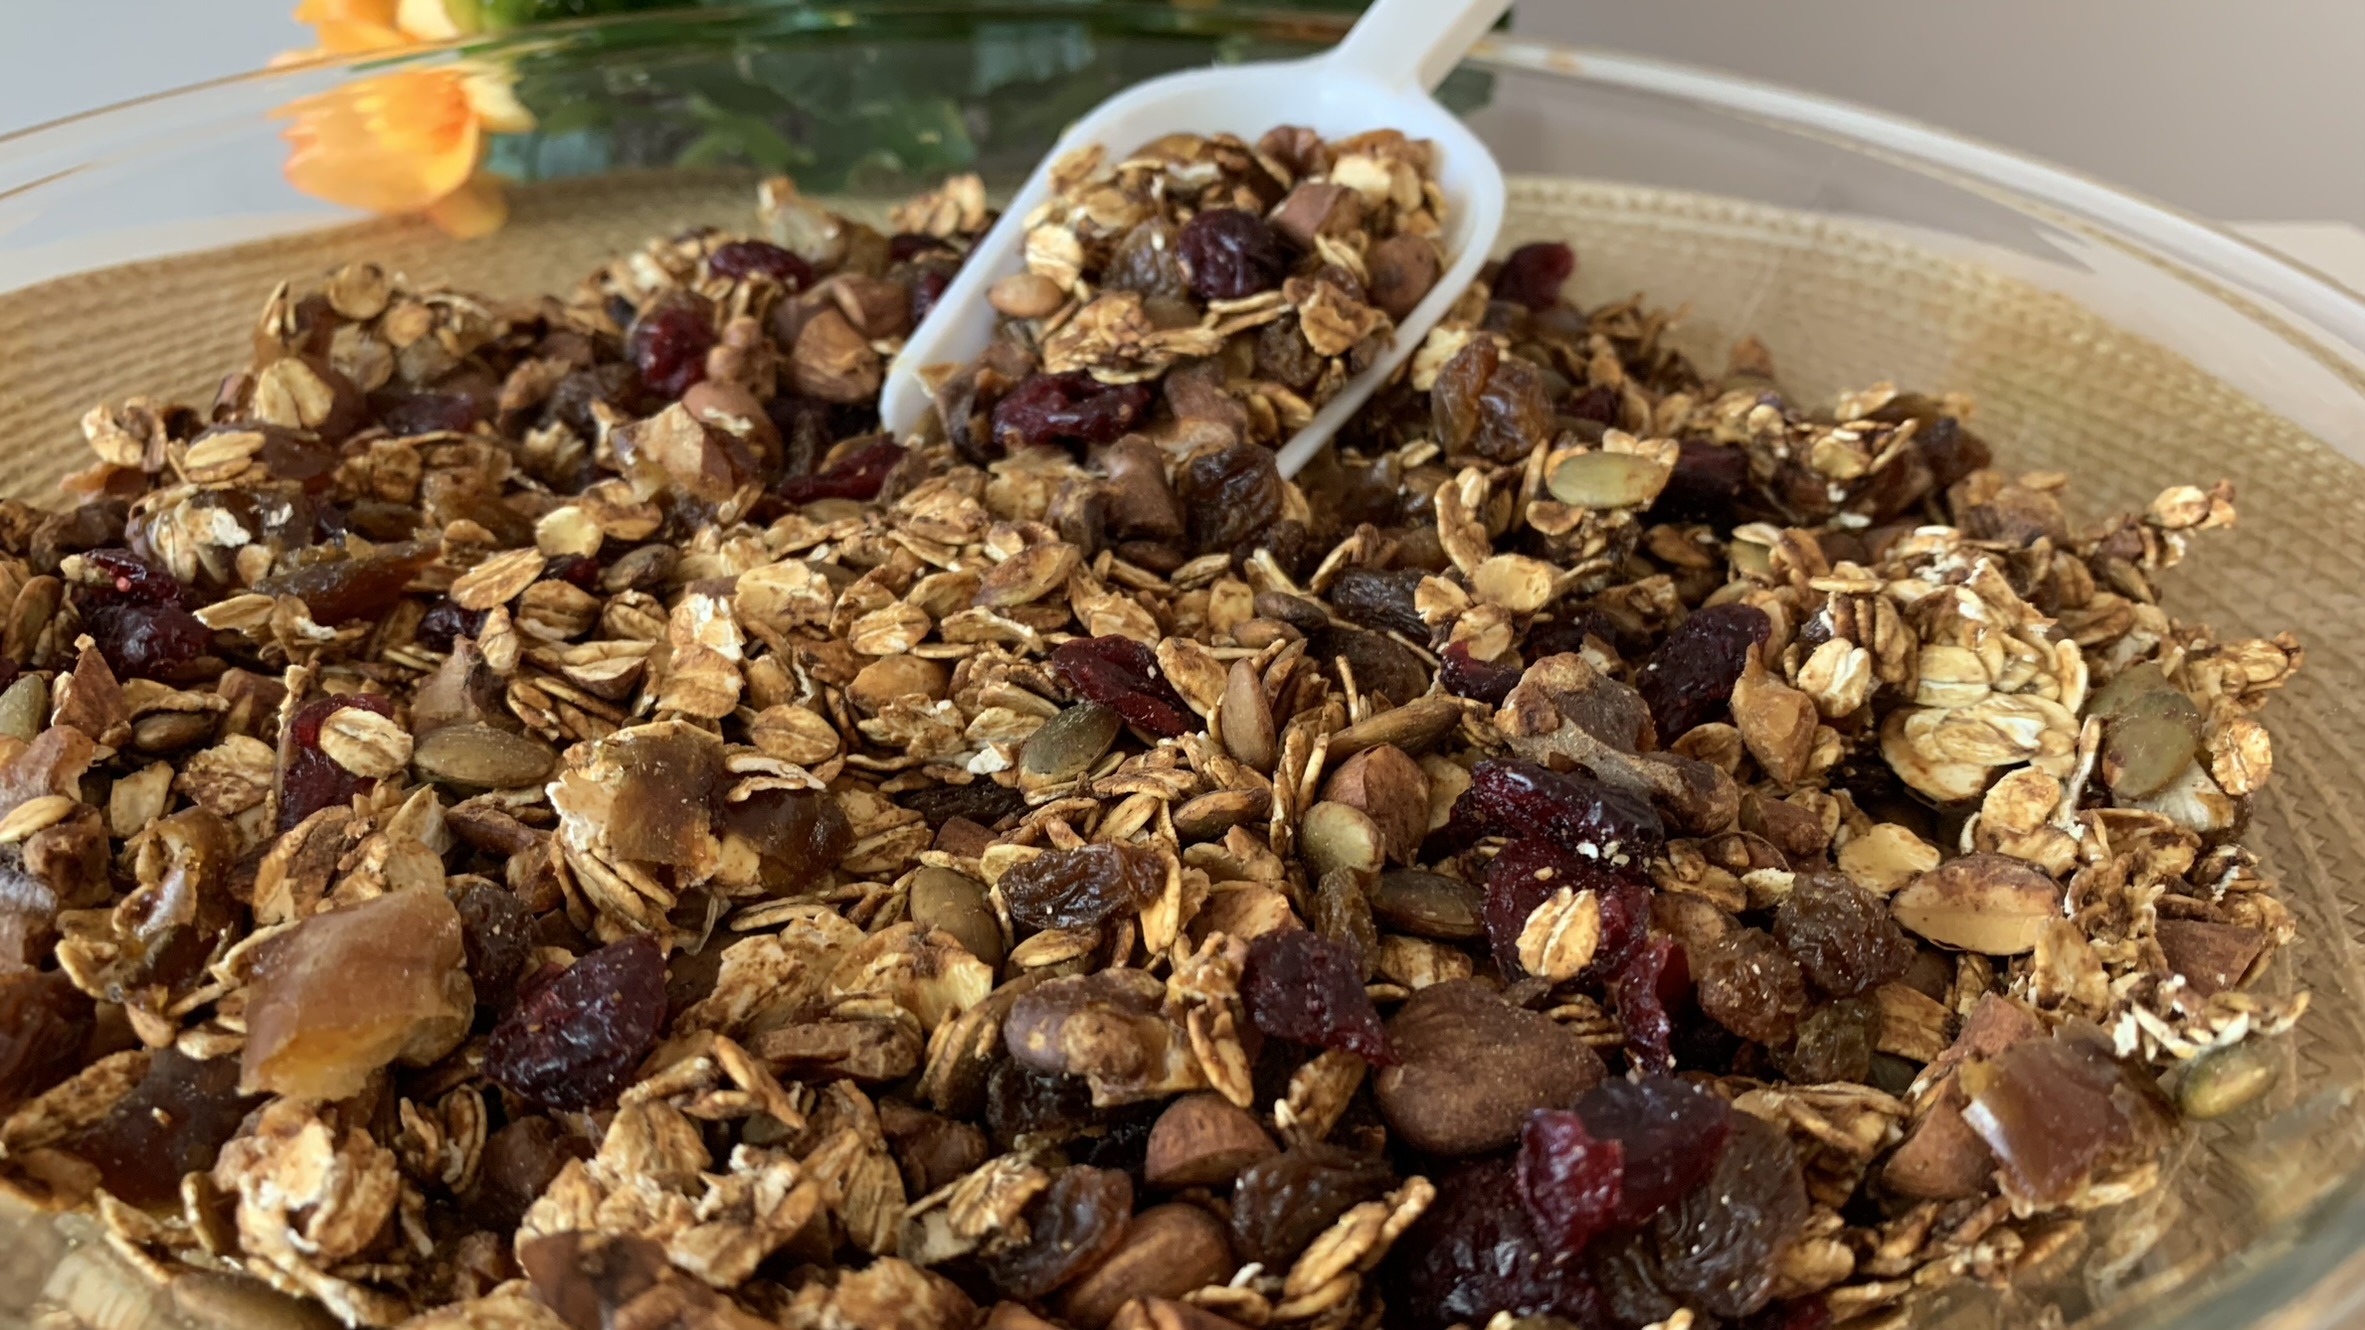
Oats are the main ingredient in this recipe, providing a rich source of fiber, protein, and essential nutrients like manganese and phosphorus. Oats support heart health and help maintain stable blood sugar levels. Combined with the natural sweetness of dried fruits and the crunch of nuts and seeds, this granola is not only delicious but also nourishing.
Enjoy this granola as a healthy breakfast or a snack option throughout the day. It’s easy to make and can be stored for up to a month, ensuring you have a tasty and nutritious option on hand whenever you need it.
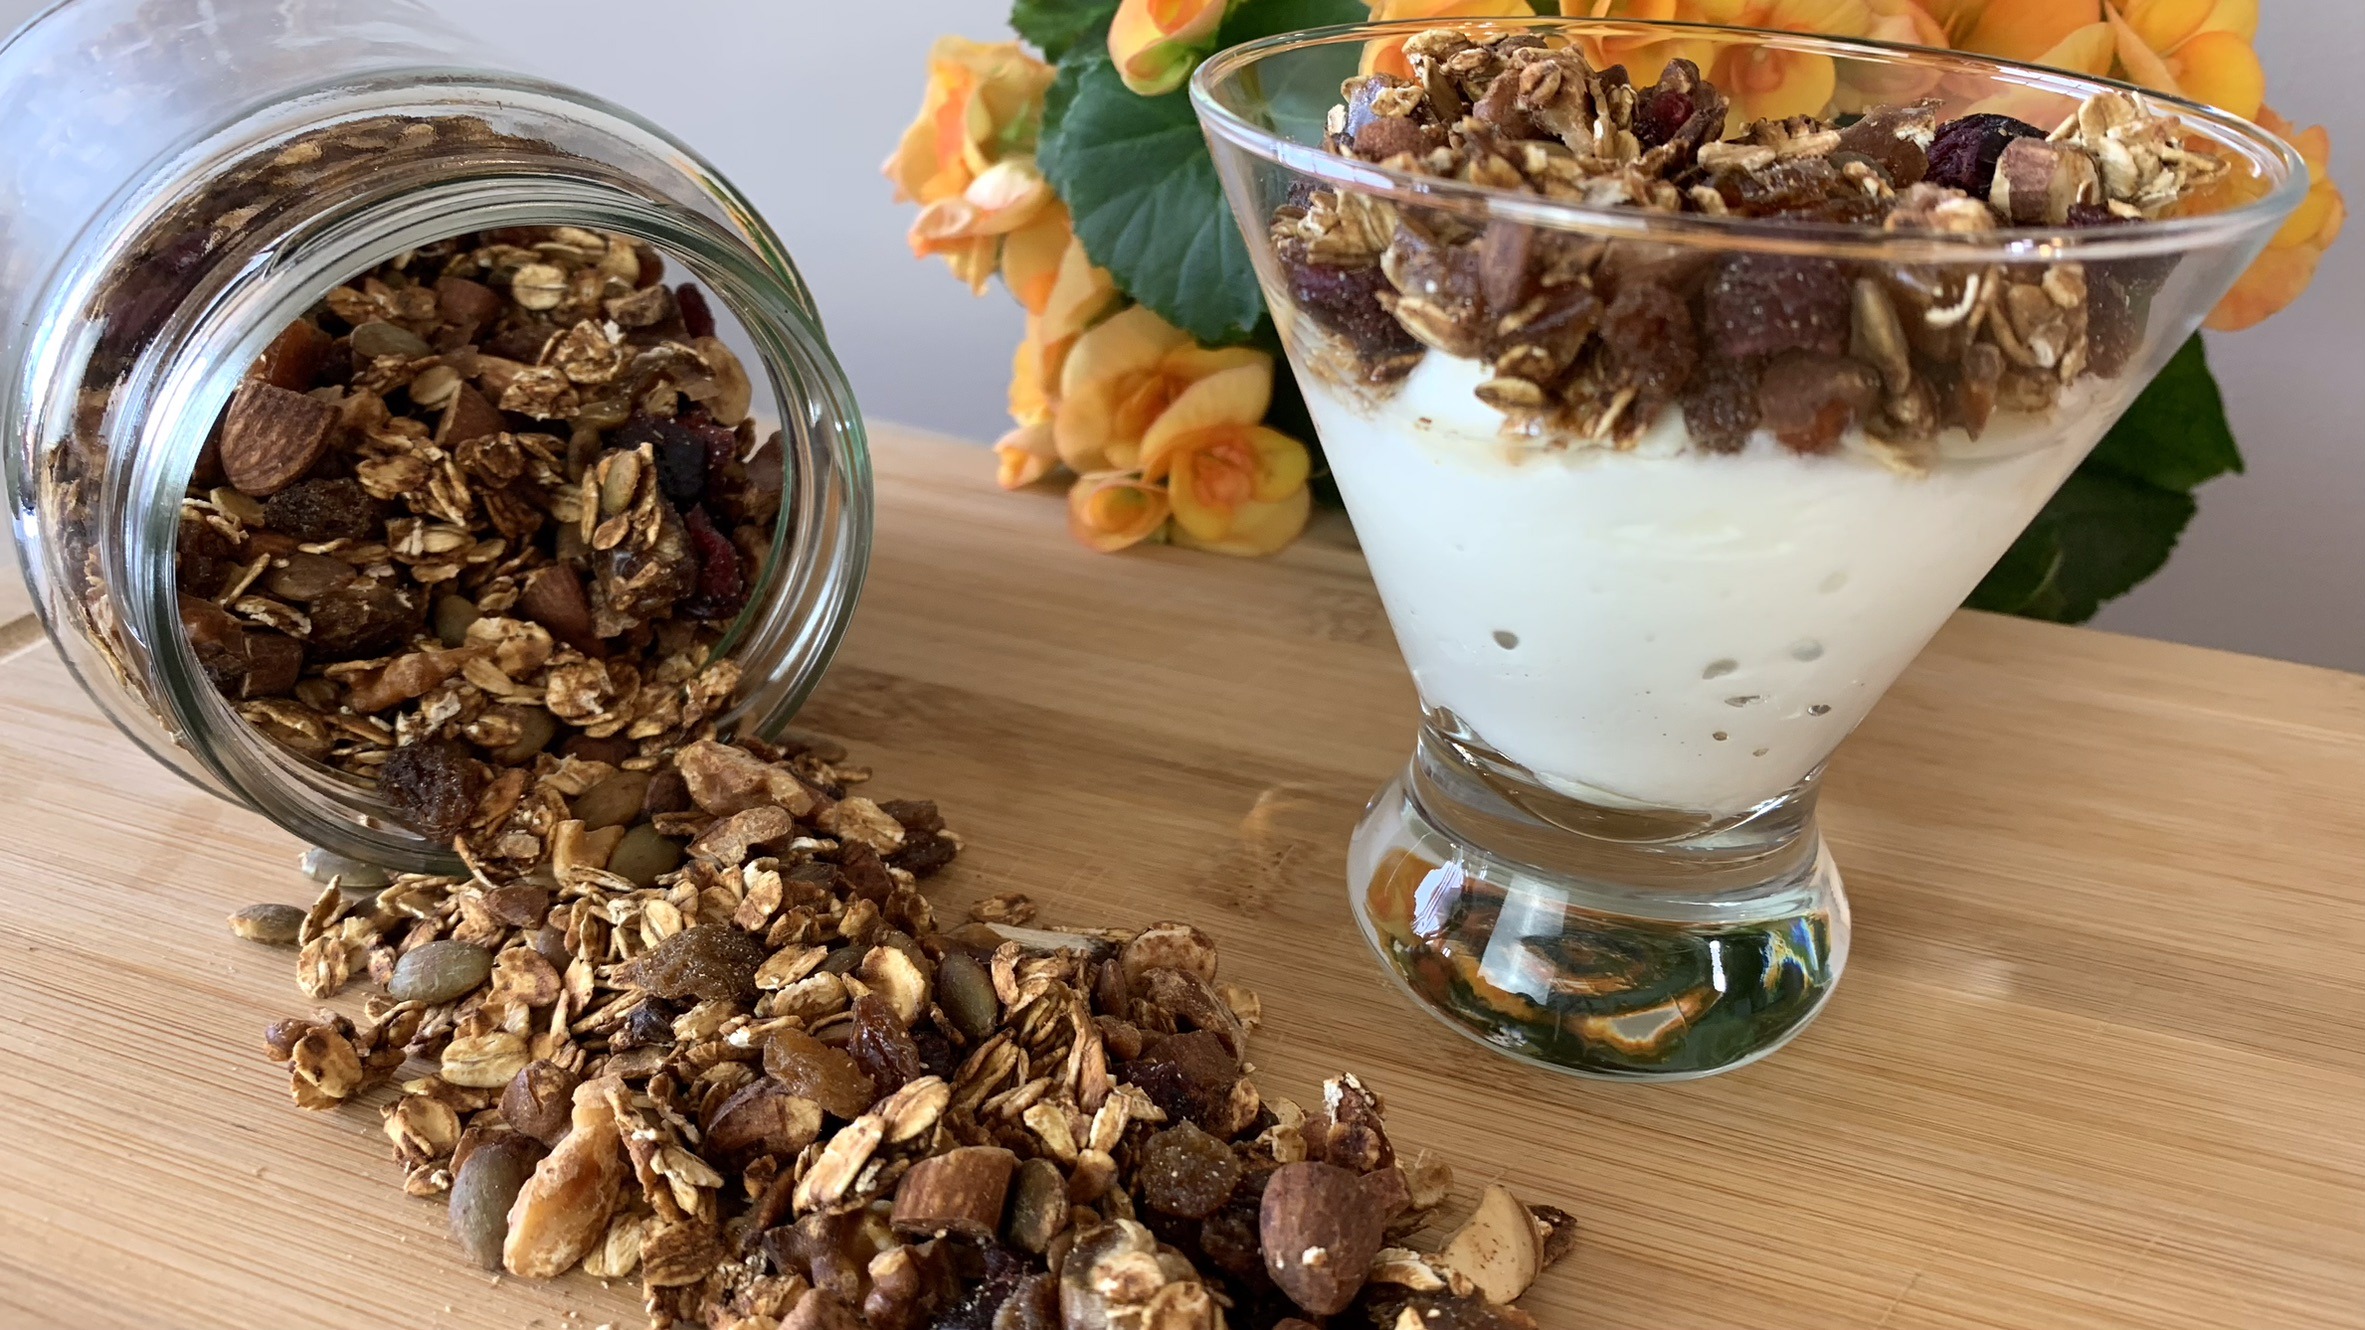
This Sugar-Free Granola is a delightful way to start your day or keep your energy up between meals. With its natural sweetness and satisfying crunch, it’s bound to become your new favorite granola recipe!
Ingredients
- 1 ½ cups rolled oats (120 g)
- ¼ cup chopped almonds (35 g)
- ¼ cup chopped walnuts (35 g)
- ¼ cup pumpkin seeds (35 g)
- ¼ cup pitted dates (50 g)
- ¼ cup raisins (35 g)
- ¼ cup dried cranberries (35 g)
- 2 tbsp. applesauce (add by small quantities while stirring until the oats get sticky but not wet or saggy)
Directions
- Preheat your oven to 350°F (176°C) and line a baking sheet with parchment paper.
- In a large mixing bowl, combine the rolled oats, chopped walnuts, chopped almonds, and pumpkin seeds.
- Gradually add homemade applesauce, one tablespoon at a time, and use a fork (or your hands) to thoroughly incorporate it into the mixture. Add only small quantities while stirring until the oats get sticky but not wet or saggy.
- Transfer the granola mixture onto the prepared baking sheet. Spread it out evenly, ensuring a thin and even layer to allow for even cooking.
- Bake for approximately 30 minutes in total. After 15 minutes of baking, stir the granola thoroughly to prevent uneven browning. Return to the oven and bake for another 15 minutes.
- Remove the granola from the oven and immediately pour it over chopped dates, dried cranberries, and raisins. Mix well while the granola is still hot to get it sticky and naturally sweet.
- Once cooled, transfer the granola into a clean glass container.
Prep Time and Servings
- Makes: 10 Servings
- Prep Time: 30 minutes
- Baking Time: 30 minutes
Nutritional Information (Per 1 Serving)
- Energy: 147 calories
- Protein: 4.58 g
- Fat: 6.66 g
- Carbohydrates: 19.45 g
- Fiber: 2.9 g
Storage and Recommendations
- Store your granola in an airtight container in the fridge for up to 1 month for optimal freshness.
- Enjoy this crunchy and healthy treat as a nutritious breakfast or snack option.