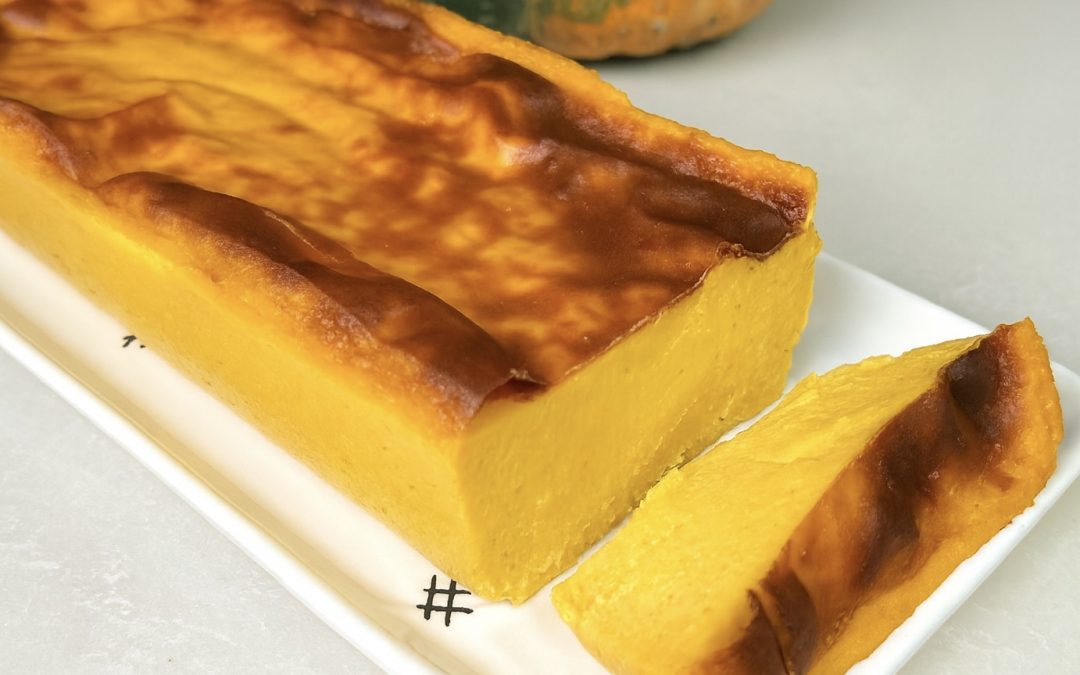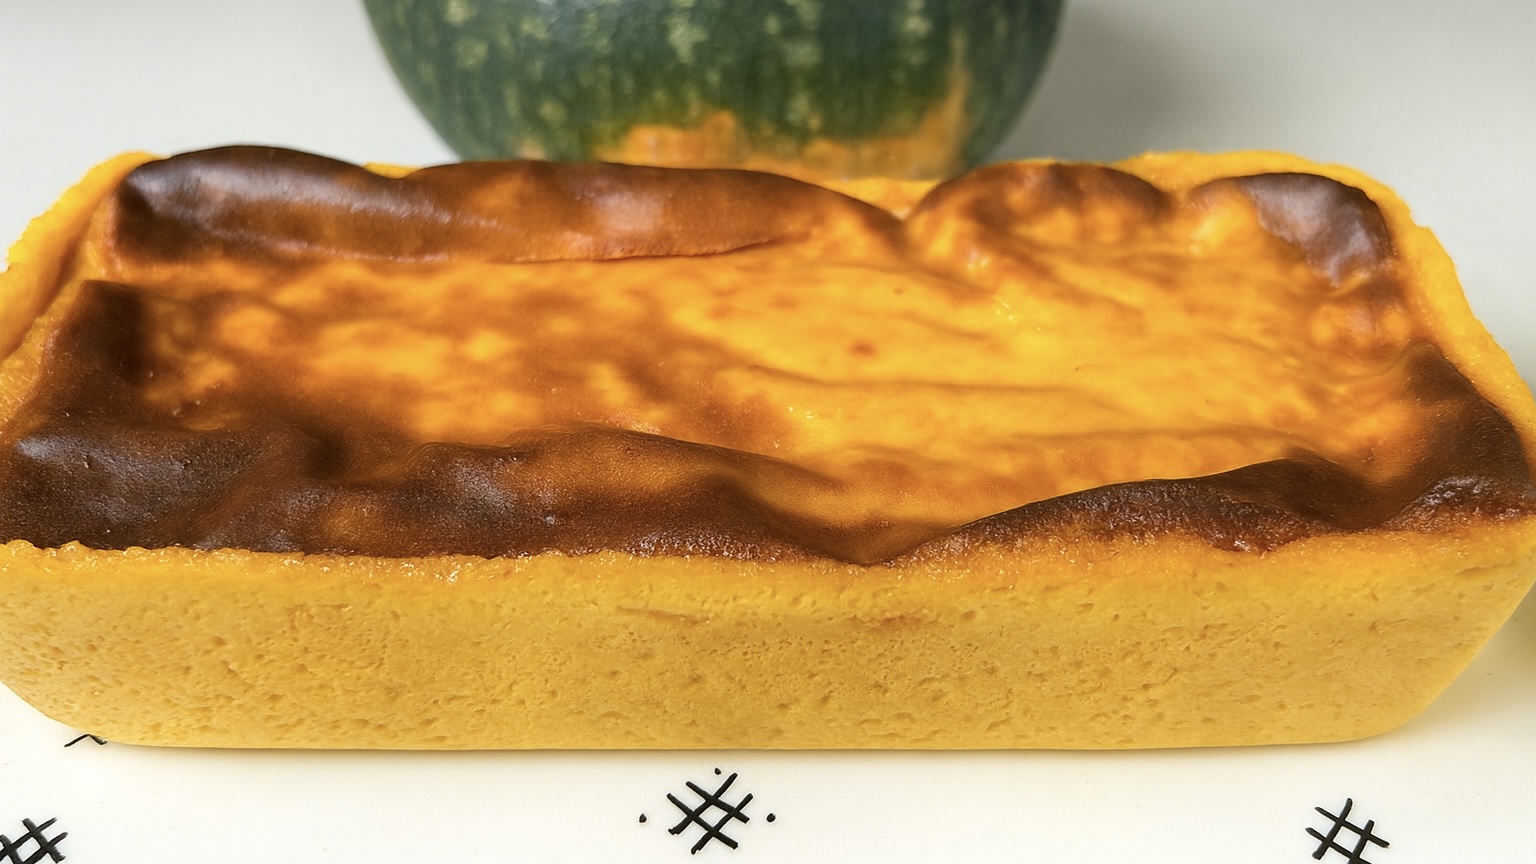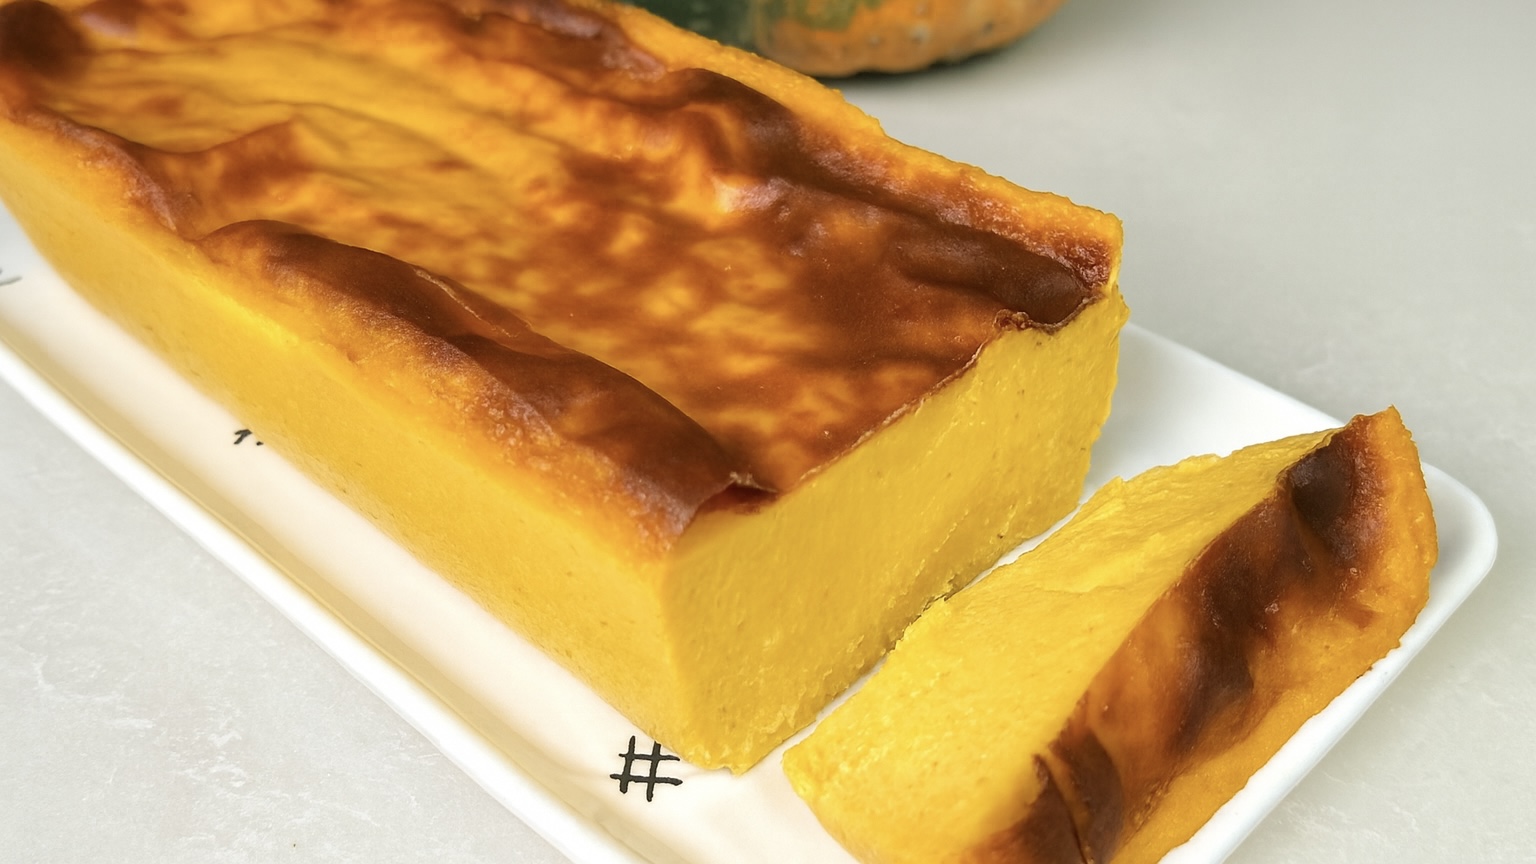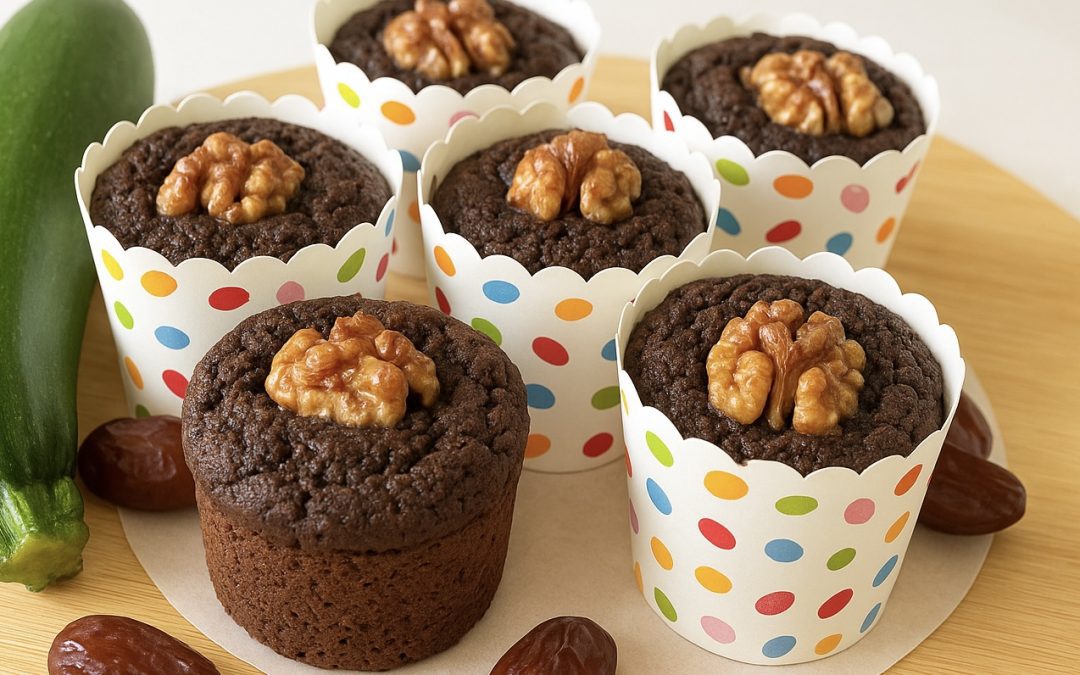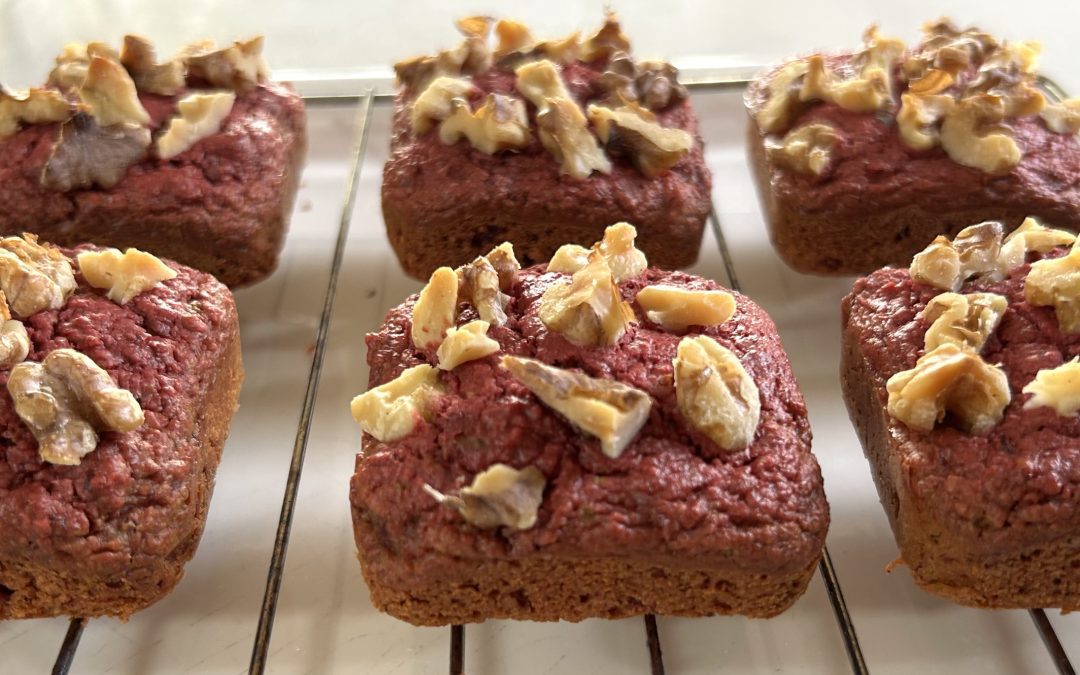
Beet & Oat Mini Cakes
Beet & Oat Mini Cakes
If you’ve been following my kitchen adventures for a while, you already know that I love sneaking whole foods, especially veggies, into my sweet treats. There’s something so satisfying about creating desserts that feel indulgent yet still nourish your body with real ingredients. And today, I’m sharing one of my favorite wholesome creations: Beet & Oat Mini Cakes.
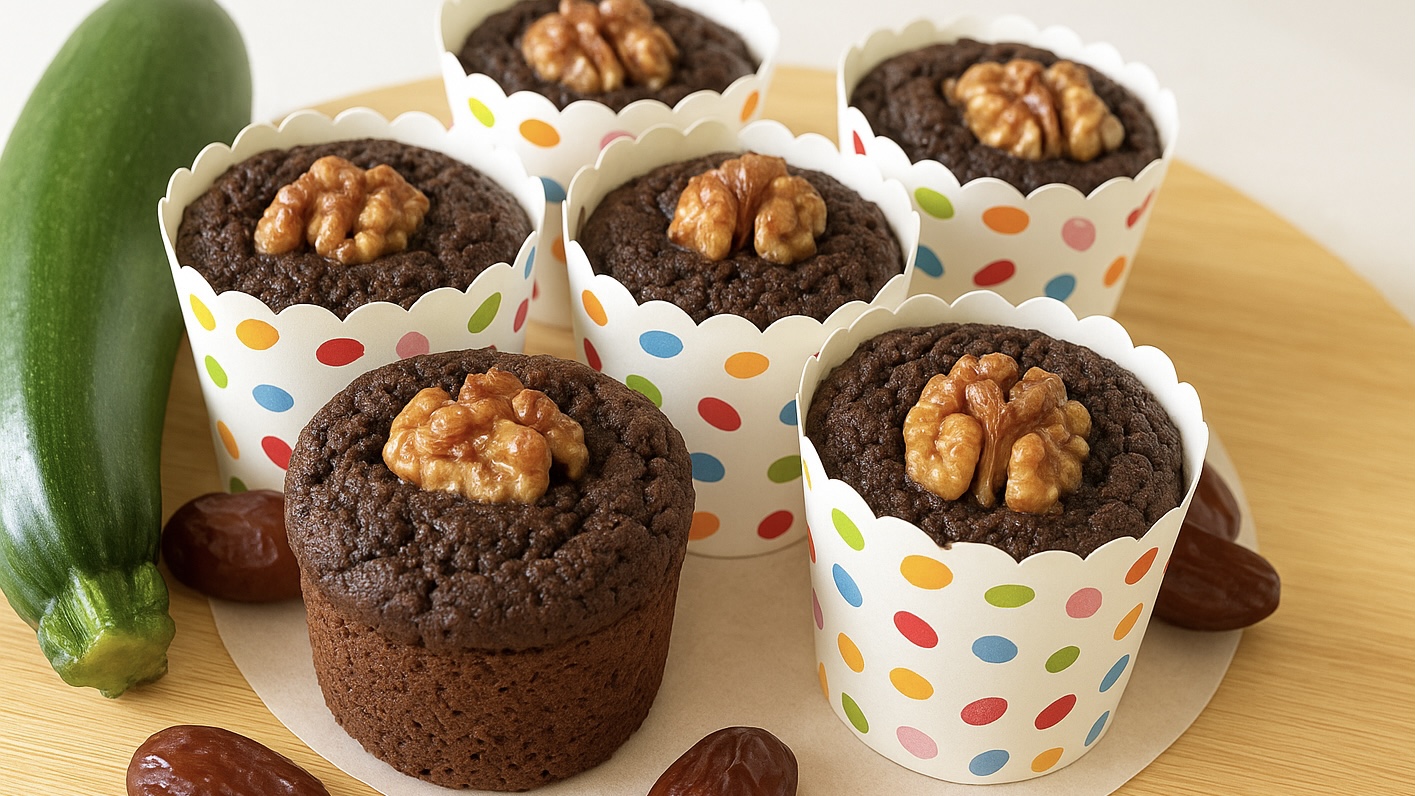
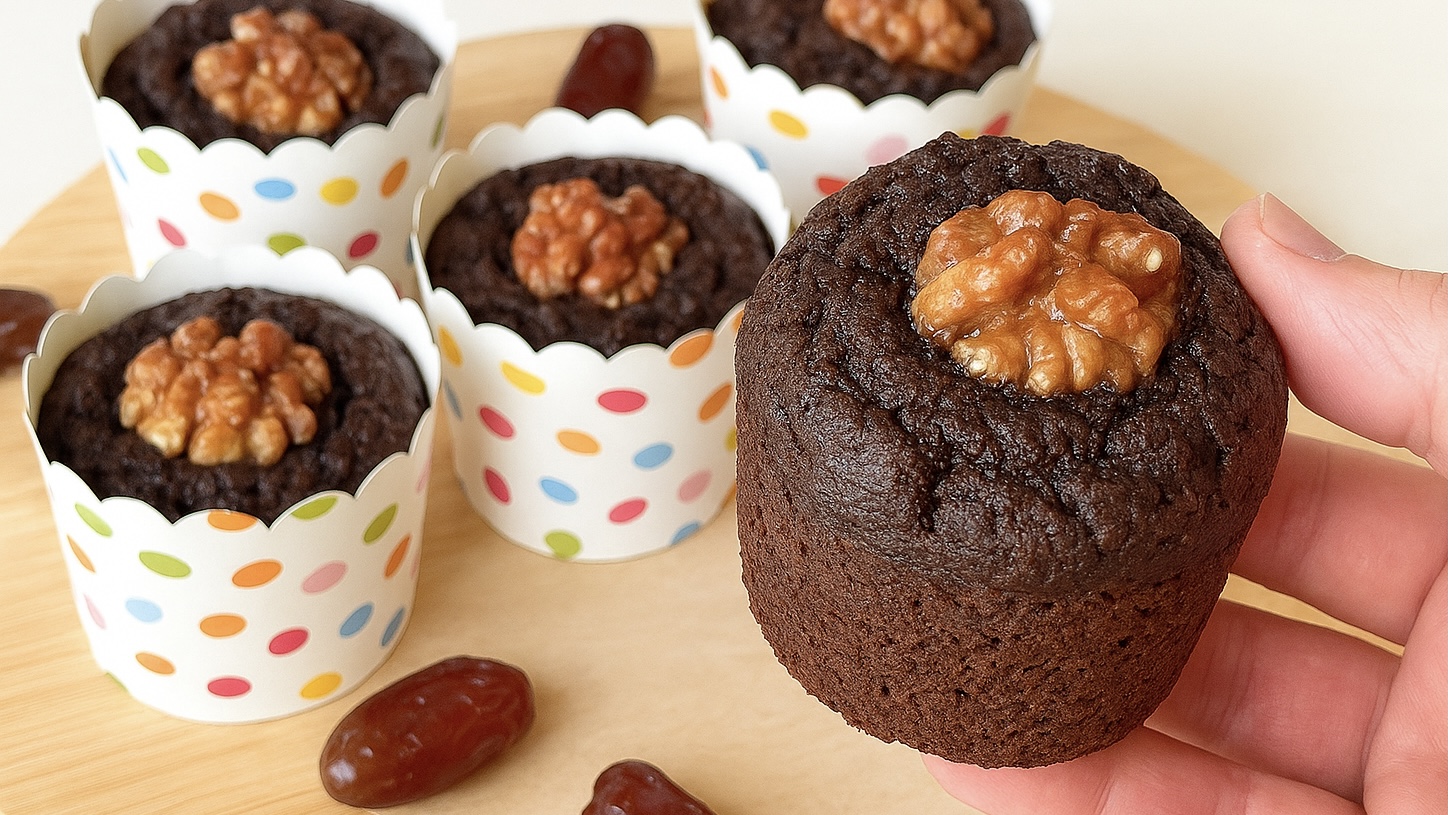
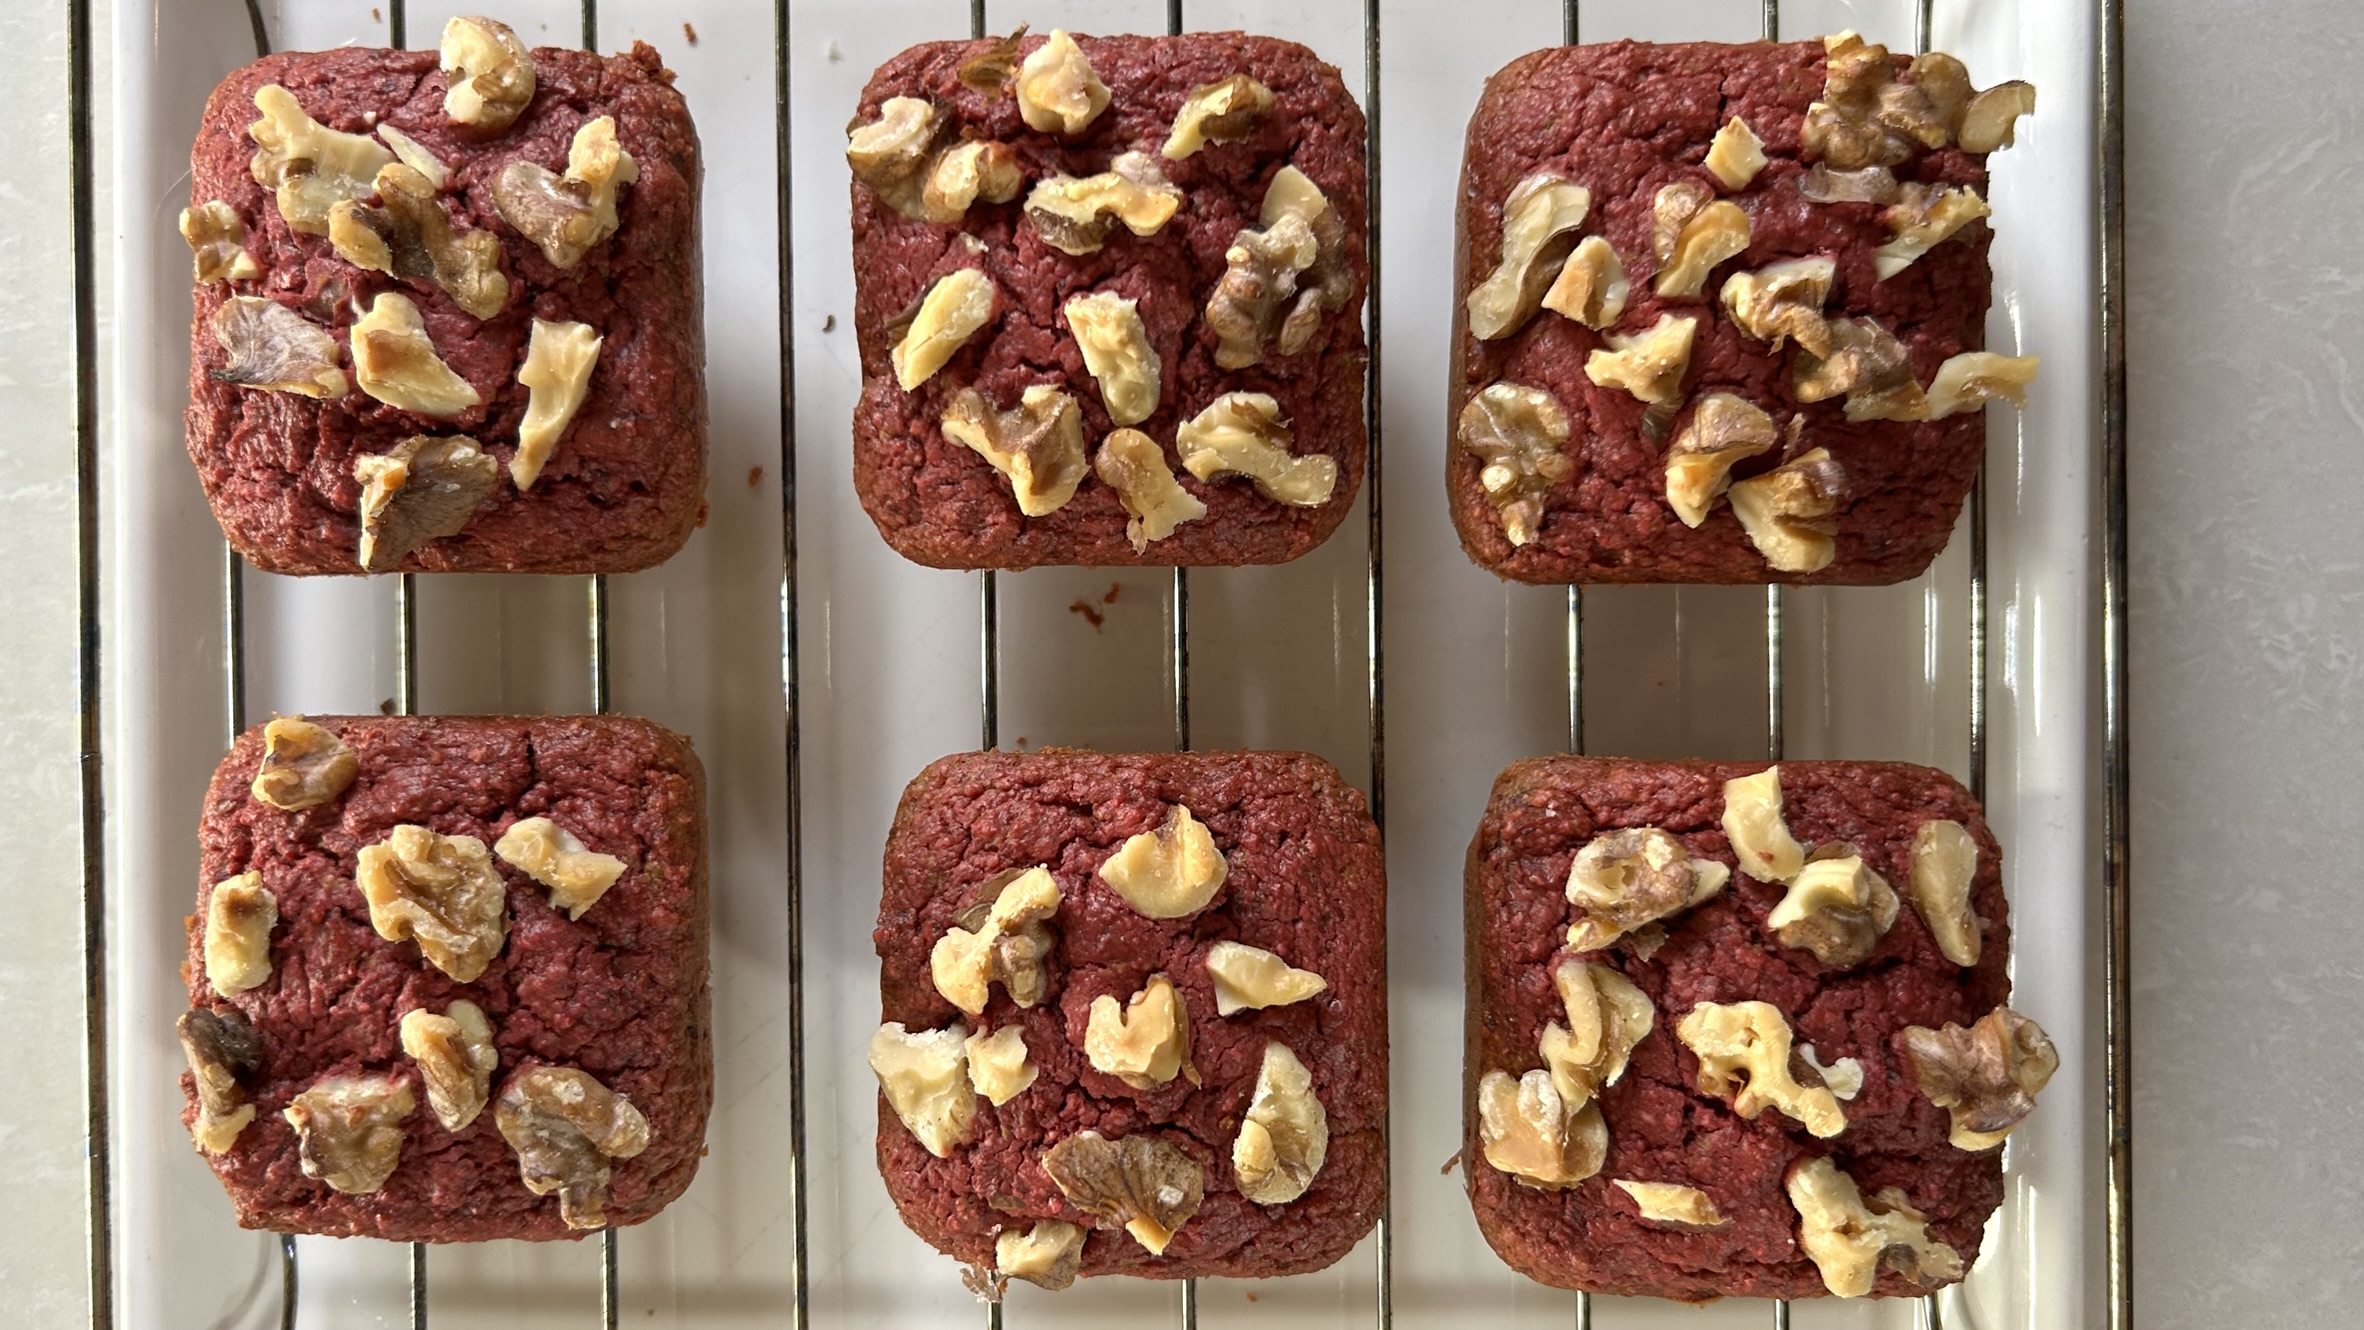
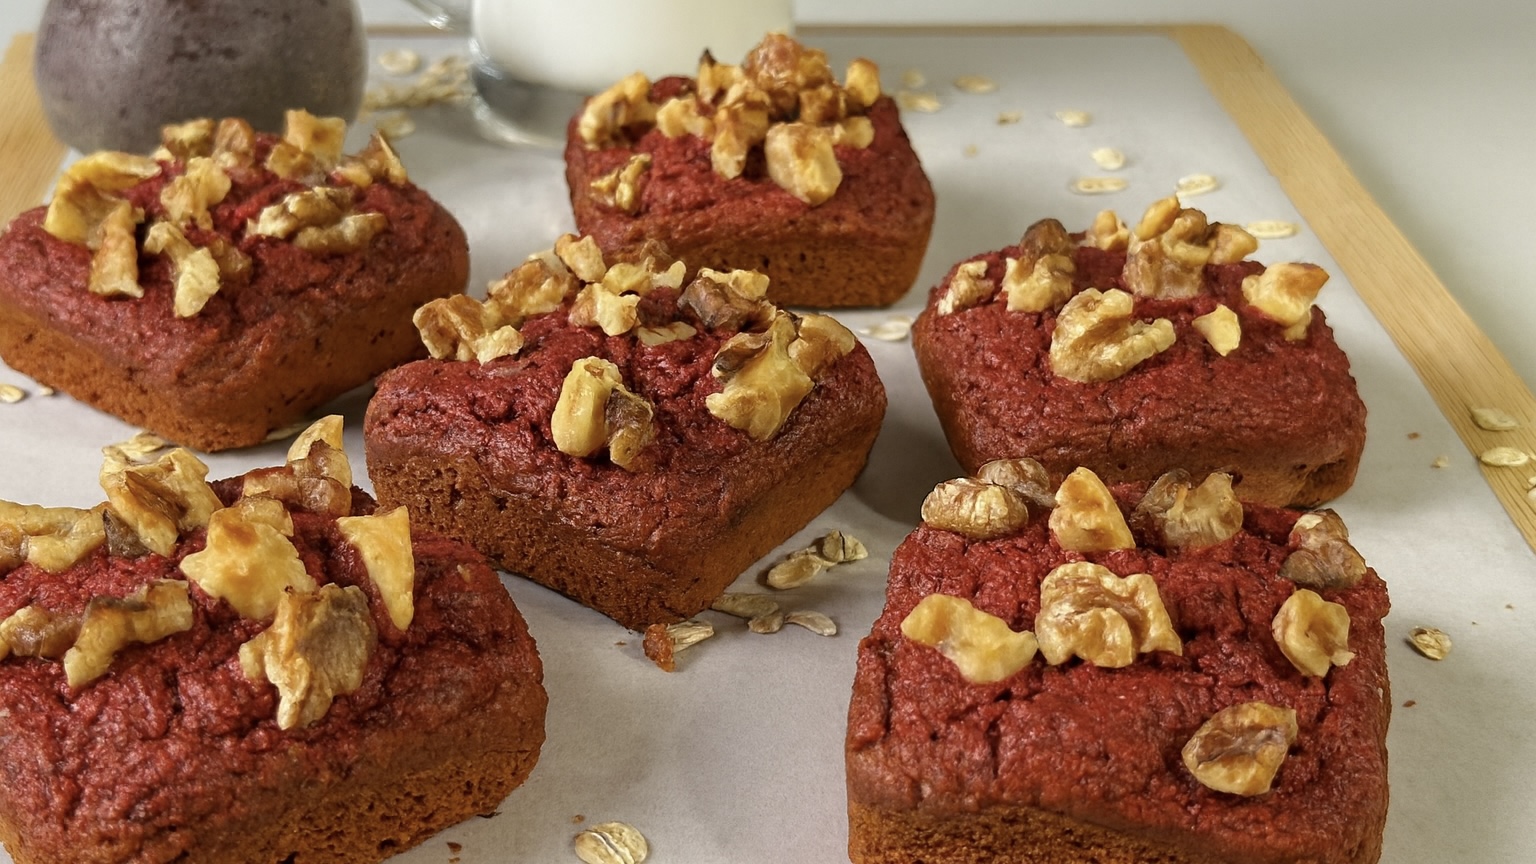
These little cakes look vibrant and playful, and the best part? They’re naturally gluten-free, dairy-free, vegan, and made with nothing but simple pantry staples. The beets give them the most stunning color and a gentle sweetness that pairs beautifully with creamy peanut butter, cozy pumpkin pie spice, and the rustic flavor of oats. They’re soft, moist, perfectly tender, and incredibly easy to make, even on a busy day.
Let’s talk about the magic ingredient behind these mini cakes: beets.
Beets are one of the most nutrient-dense vegetables you can bake with. They’re rich in antioxidants, folate, potassium, nitrates, and fiber, all of which support healthy blood flow, energy production, digestion, and overall wellness. Their natural sugars caramelize beautifully during baking, giving these mini cakes a lovely softness without needing refined ingredients. Beets also offer natural anti-inflammatory benefits and help support stamina, making them an ingredient truly worth including in your regular diet.
Paired with oat flour, another nutritional powerhouse known for its beta-glucan fiber, slow-release carbohydrates, and essential minerals like magnesium and iron, these mini cakes become a nourishing treat that satisfies the body as much as it satisfies the craving for something sweet.
These Beet & Oat Mini Cakes are the perfect example of how real, whole foods can transform simple ingredients into something comforting, beautiful, and incredibly delicious.
Ingredients
-
1 medium beet, cleaned, peeled, and shredded (about 90 g)
-
⅓ cup (80 g) peanut butter
-
¼ cup maple syrup or sweetener of choice
-
¼ cup non-dairy milk
-
1 cup (80 g) oat flour
-
1 tsp baking powder
-
¼ tsp pumpkin pie spice
-
30 g walnuts or any nut/seed/chocolate chips for topping (optional)
Directions
- Preheat your oven to 350°F (180°C). Prepare a mini cake tray by lining it with paper liners or lightly greasing each cavity.
- Clean, peel, and finely shred the beet.
- In a mixing bowl, stir together the peanut butter and maple syrup until smooth and blended.
- Pour the non-dairy milk into the mixture and mix until the liquid is fully incorporated.
- Add the shredded beet to the bowl and gently fold to distribute it evenly throughout the batter.
- Add the oat flour, baking powder, and pumpkin pie spice. Mix until just combined, avoid over-mixing to keep the cakes soft and tender.
- Divide the batter evenly among the mini cake cups.
- Add walnuts or any nuts/seeds/chocolate chips on top if you want extra crunch and richness.
- Bake for 25 minutes, or until a toothpick inserted into the center comes out clean.
- Let the mini cakes cool slightly before transferring them to a cooling rack.
- Enjoy warm or completely cooled, delicious either way!
Servings, Prep Time & Baking Info
-
Servings: 6 mini cakes
-
Prep time: 20 minutes
-
Baking time: 25 minutes
-
Total time: ~45 minutes
Nutritional Information (Per Serving)
-
Energy: 212 calories
-
Protein: 6.53 g
-
Fat: 11.47 g
-
Carbohydrates: 23.4 g
-
Fiber: 2.8 g
Storage
-
Store at room temperature in an airtight container for 1–2 days.
-
Refrigerate for up to 1 week for maximum freshness.
-
Freeze for up to 3 months; thaw at room temperature.
Recommendations
-
Swap walnuts for pecans, almonds, pumpkin seeds, sunflower seeds, or chocolate chips depending on your preference.
-
For sweeter cakes, add an extra tablespoon of maple syrup.
-
For a breakfast version, pair with yogurt or a drizzle of nut butter.