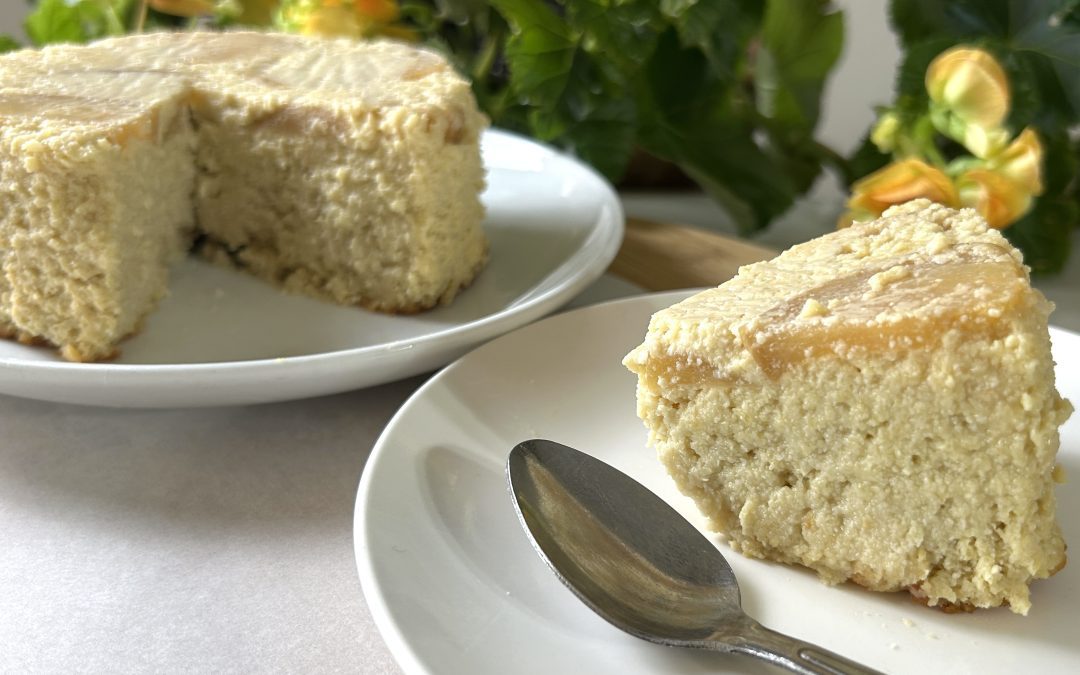
Gluten-Free Apple Cake
Gluten-Free Apple Cake
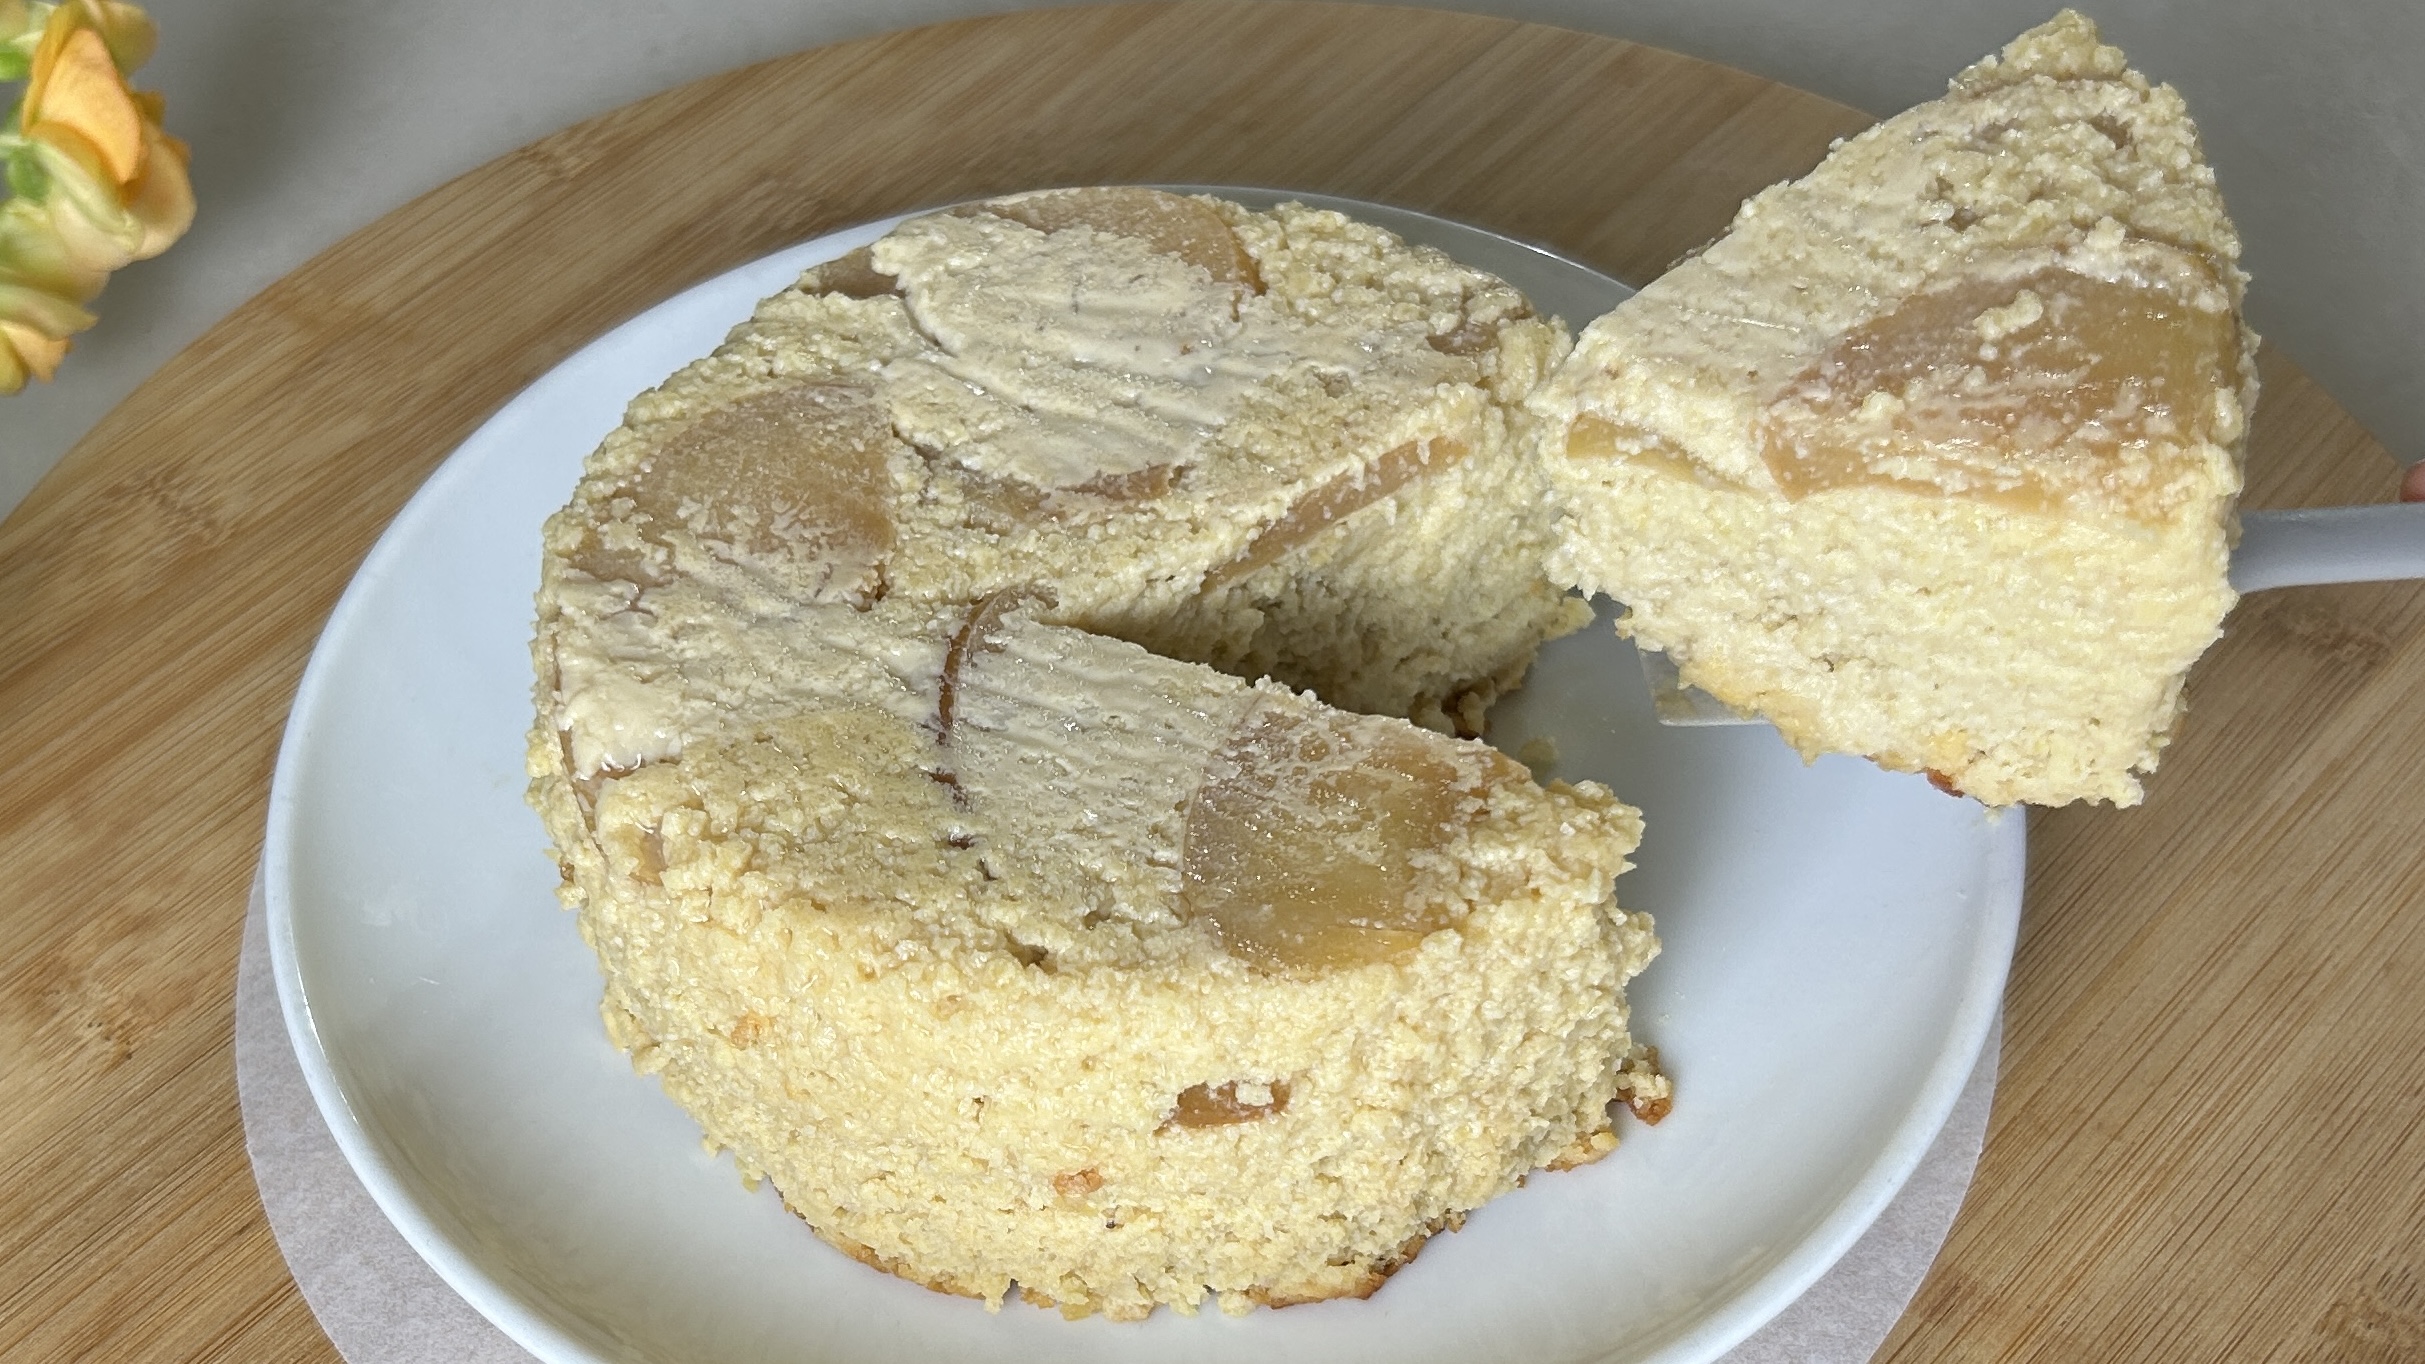
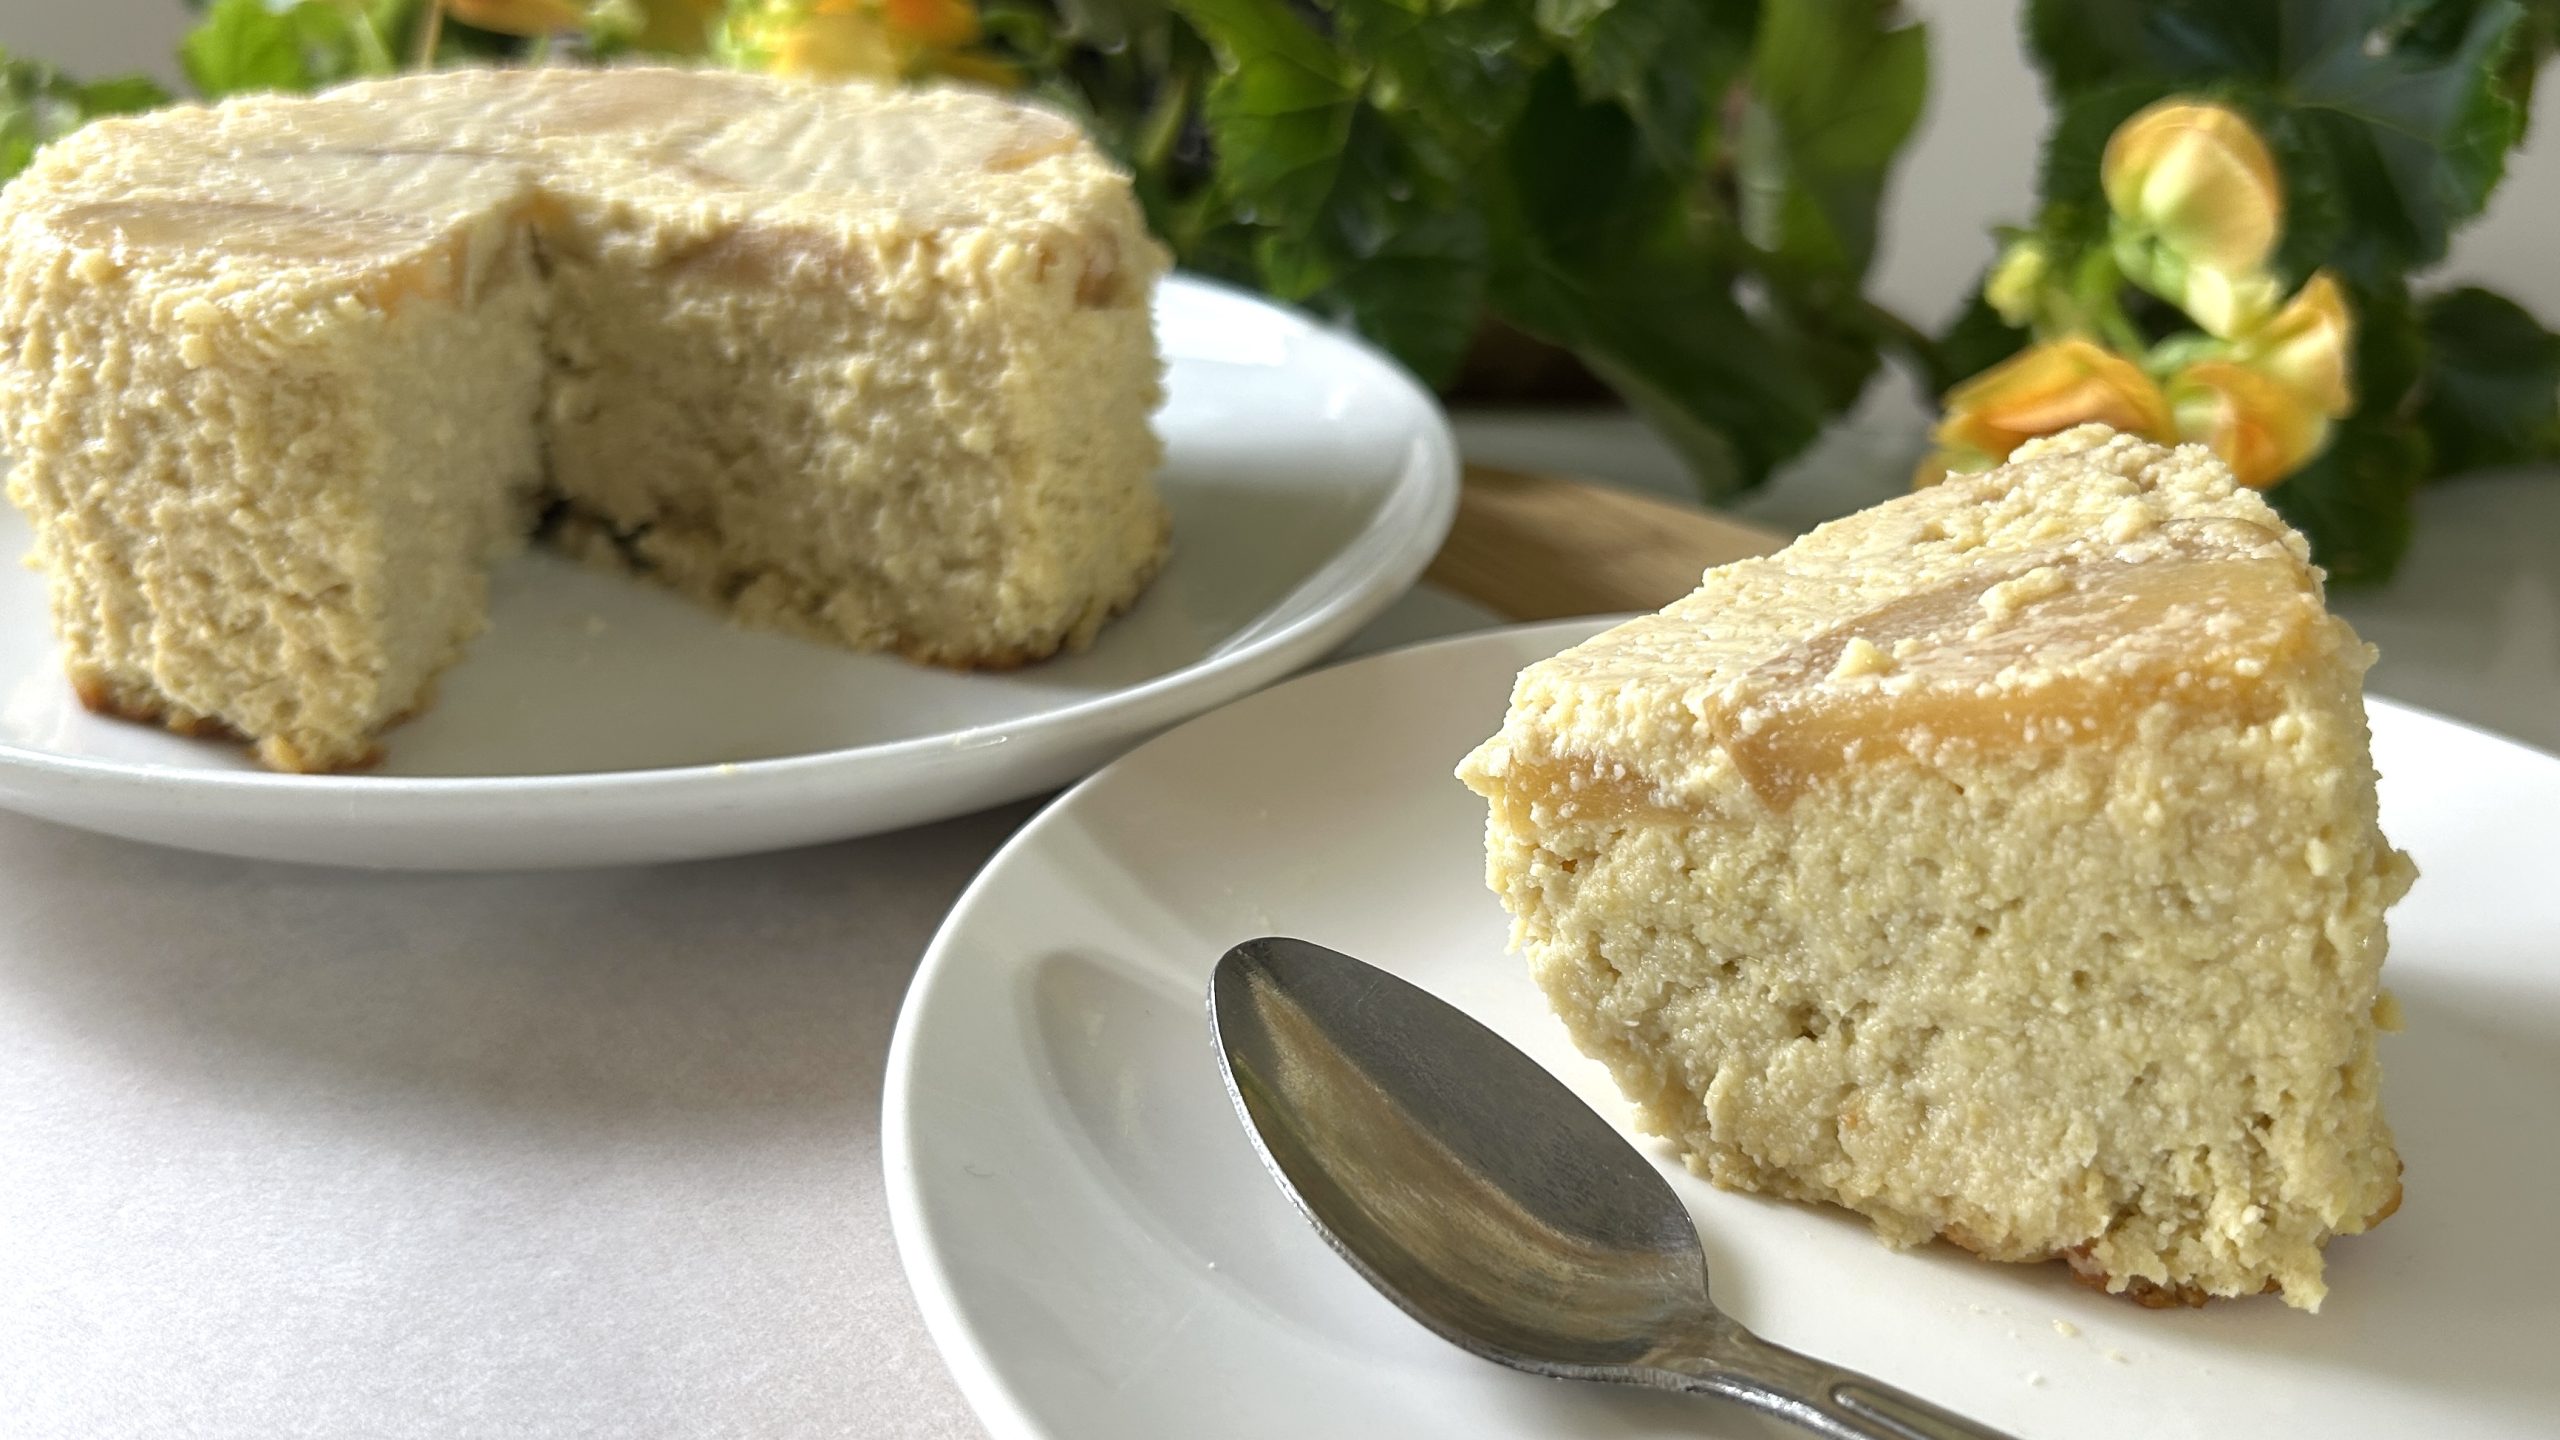
Welcome back! Today, we’re exploring a recipe that’s as comforting as a warm hug: Gluten-Free Apple Cake. This dessert is a delightful blend of flavors and textures, combining the natural sweetness of apples with the richness of almond flour. Imagine biting into a cake that feels like a hybrid between a moist, delicate custard and a soft, fluffy cake. It’s perfect for any time of the day—whether as a wholesome breakfast, a light afternoon snack, or a post-dinner indulgence. Best of all, it’s made with simple, wholesome ingredients that you probably already have in your pantry.
Now, let’s talk about the shining star of this recipe: apples. They’re not just a delicious fruit; they’re a nutritional powerhouse that deserves a spot in everyone’s regular diet. Apples are rich in dietary fiber, which promotes healthy digestion and helps keep you feeling full longer. They’re also packed with vitamin C, a key nutrient that supports your immune system and boosts collagen production for healthy skin. Additionally, apples are loaded with antioxidants like quercetin and polyphenols, which combat oxidative stress and may lower the risk of chronic diseases.
But the magic doesn’t stop there. Almond flour, another key ingredient in this recipe, is a fantastic source of protein, heart-healthy fats, and vitamin E. It’s naturally gluten-free and lower in carbohydrates, making it an excellent alternative to traditional flours for those seeking a nutrient-dense, lower-carb option. Together, apples and almond flour create a dessert that’s not only flavorful but also nourishing, proving that treats don’t have to compromise on health.
So, why should this apple cake be a regular in your kitchen? Because it’s more than just a dessert—it’s a way to incorporate wholesome, nutrient-rich ingredients into your life while satisfying your sweet cravings. Whether you’re hosting a gathering, enjoying a quiet evening at home, or looking for a healthy option to share with family, this cake is sure to become a favorite.
Let’s get baking and create a dessert that’s as good for the soul as it is for the body!
Ingredients
- 3 large apples (630 g)
- 1 cup (120 g) almond flour
- 2 eggs
- ¼ cup coconut oil
- ¼ cup maple syrup (optional)
- 1 tsp. baking powder
- 7.5 g vanilla sugar (or vanilla extract)
- 80 g apple slices (for decoration)
Directions
- Peel and core the apples, then cut them into large chunks.
- Place the apple chunks into a food processor and pulse briefly to shred them into small pieces.
- Add almond flour, eggs, coconut oil, maple syrup (if using), baking powder, and vanilla sugar or extract to the shredded apples.
- Blend the mixture in the food processor until smooth and well combined.
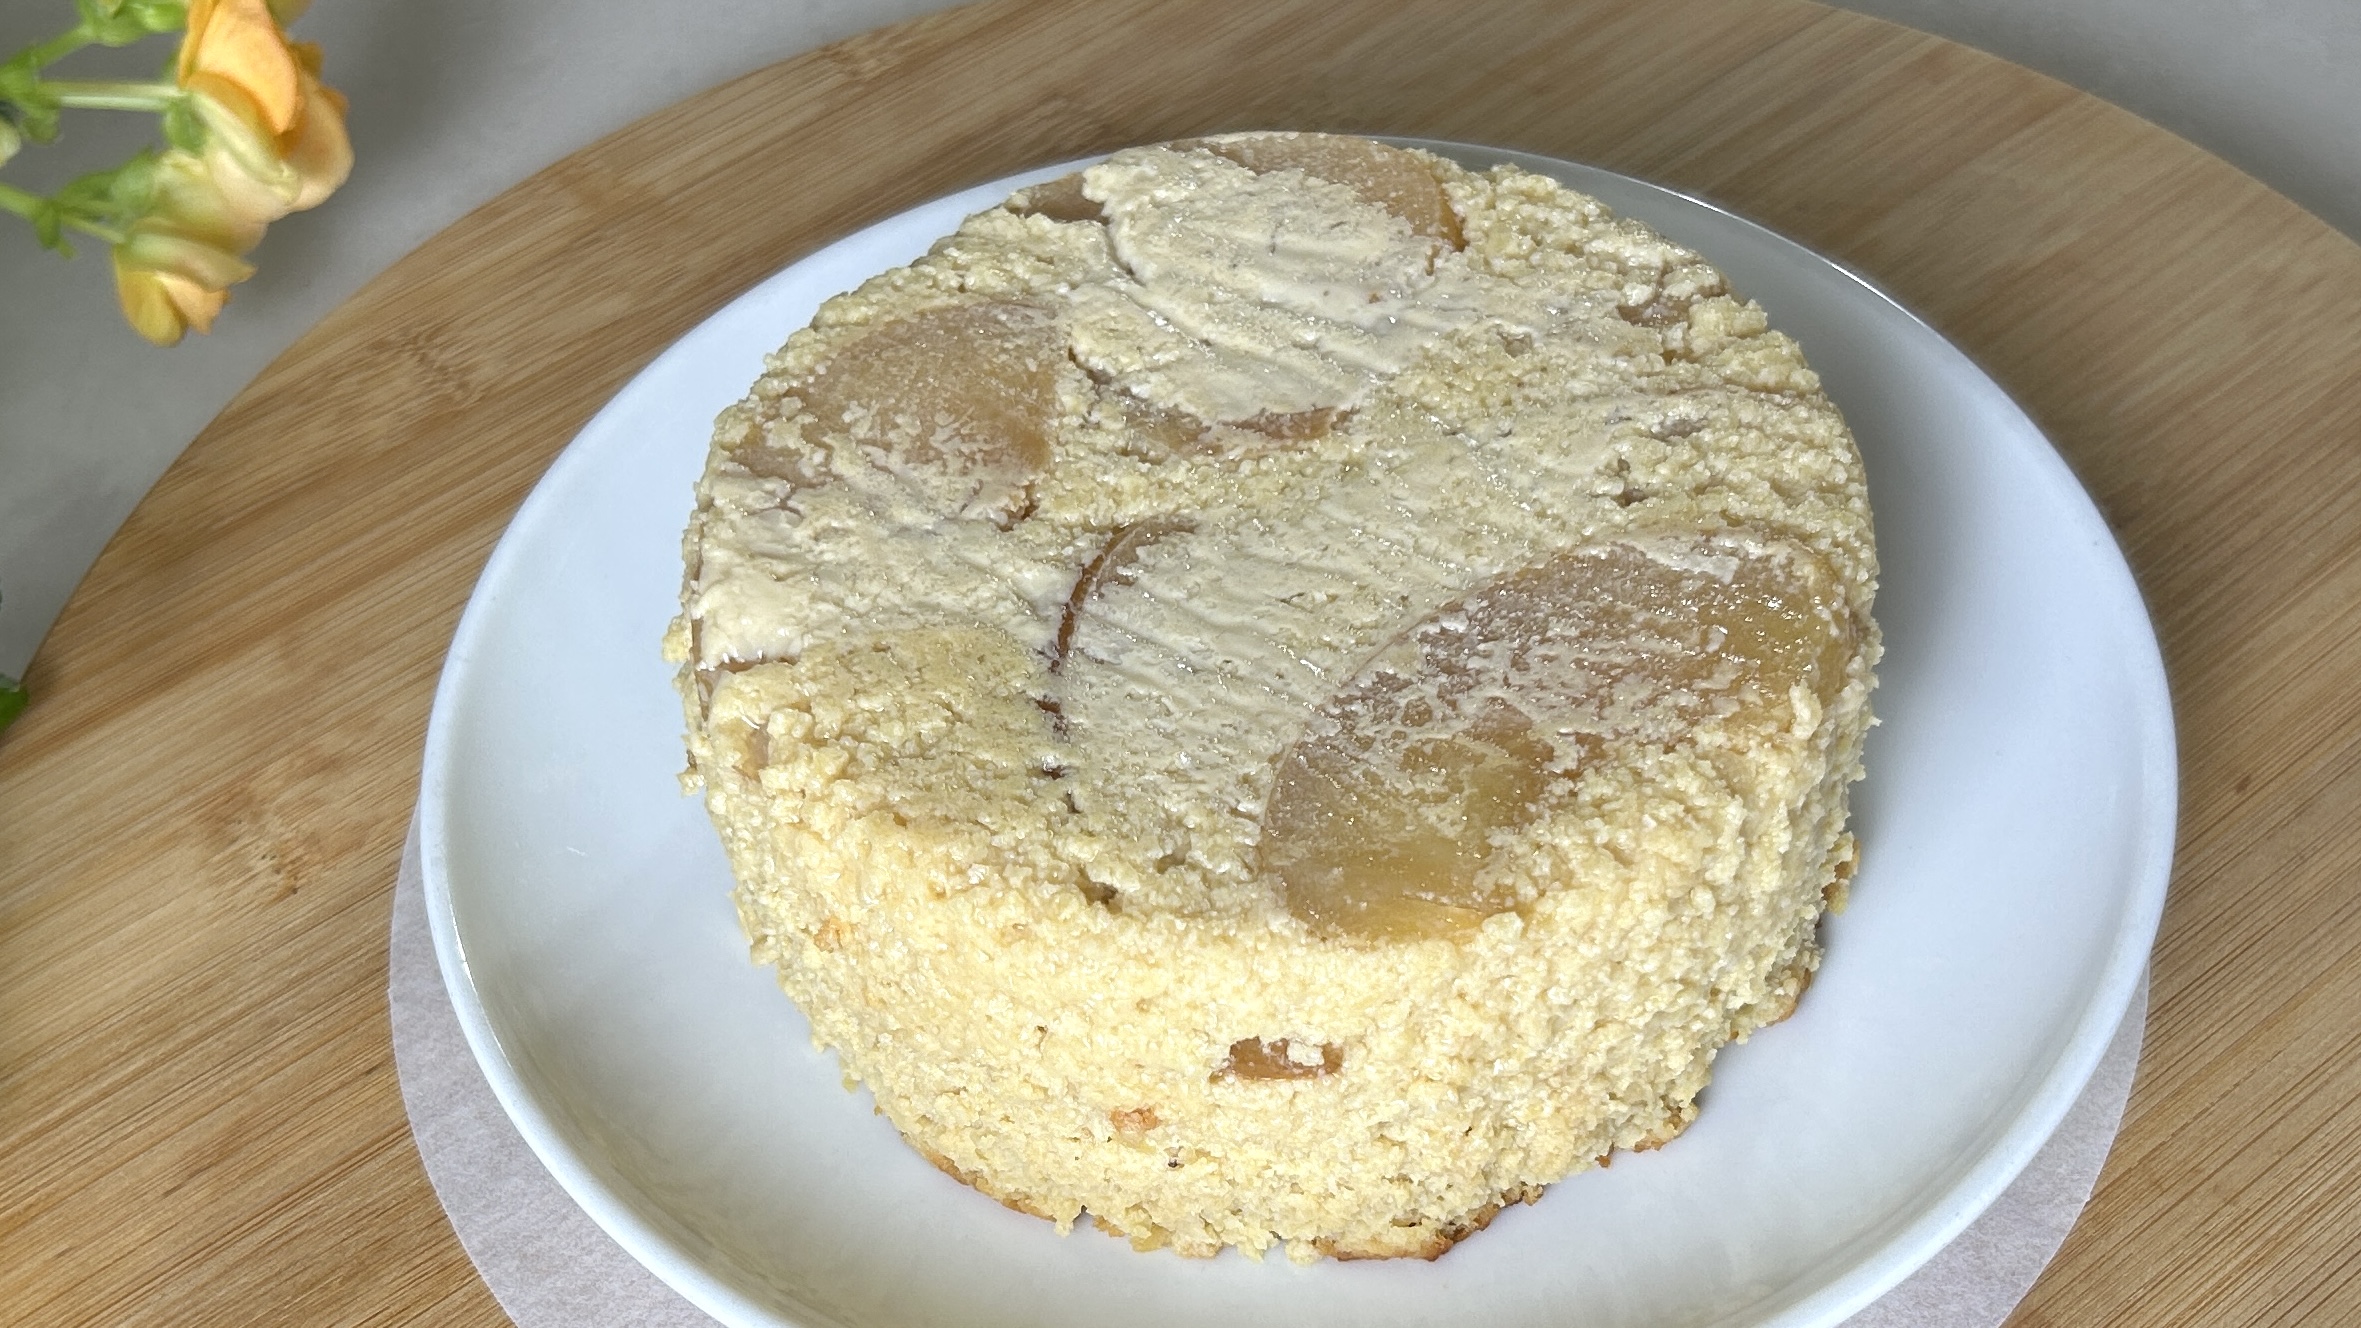
- Prepare a 25 cm circular baking pan by brushing it with coconut oil and lining the base with parchment paper.
- Arrange the reserved apple slices in a single layer at the bottom of the pan for decoration.
- Pour the batter evenly over the apple slices, gently shaking the pan to distribute it smoothly.
- Preheat your oven to 365°F (185°C) and bake for 45 minutes, or until the edges are golden and the center is set.
- Allow the cake to cool completely—it will deflate slightly as it cools.
- Refrigerate for at least 2 hours before serving to enhance its custard-like texture.
Prep Time: 20 minutes
Baking Time: 45 minutes
Cooling Time: 2 hours in the fridge
Servings: 6
Nutritional Information (Per Serving)
- Energy: 321 calories
- Protein: 6.68 g
- Fat: 21.38 g
- Carbohydrates: 30.41 g
- Fiber: 4.8 g
Storage
- Store leftovers in an airtight container in the fridge for up to 5 days.
- This cake tastes even better the next day as the flavors meld together.
- Serve with a dollop of ice cream, Greek yogurt, or a drizzle of maple syrup for added indulgence.