Wholesome Zucchini Cupcakes
Wholesome Zucchini Cupcakes

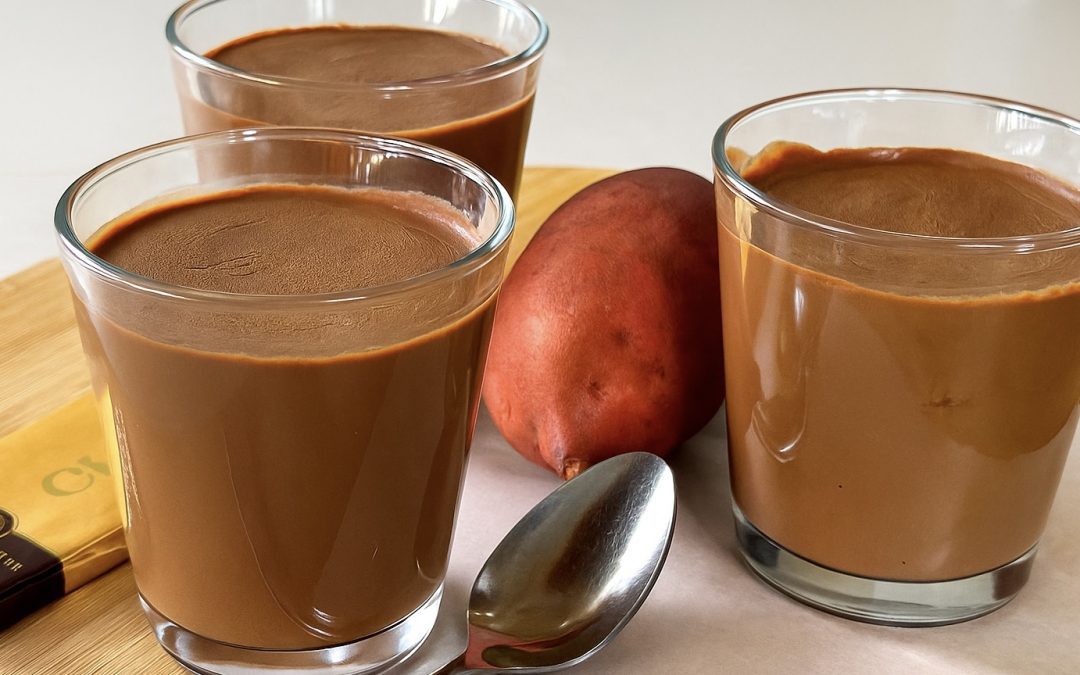
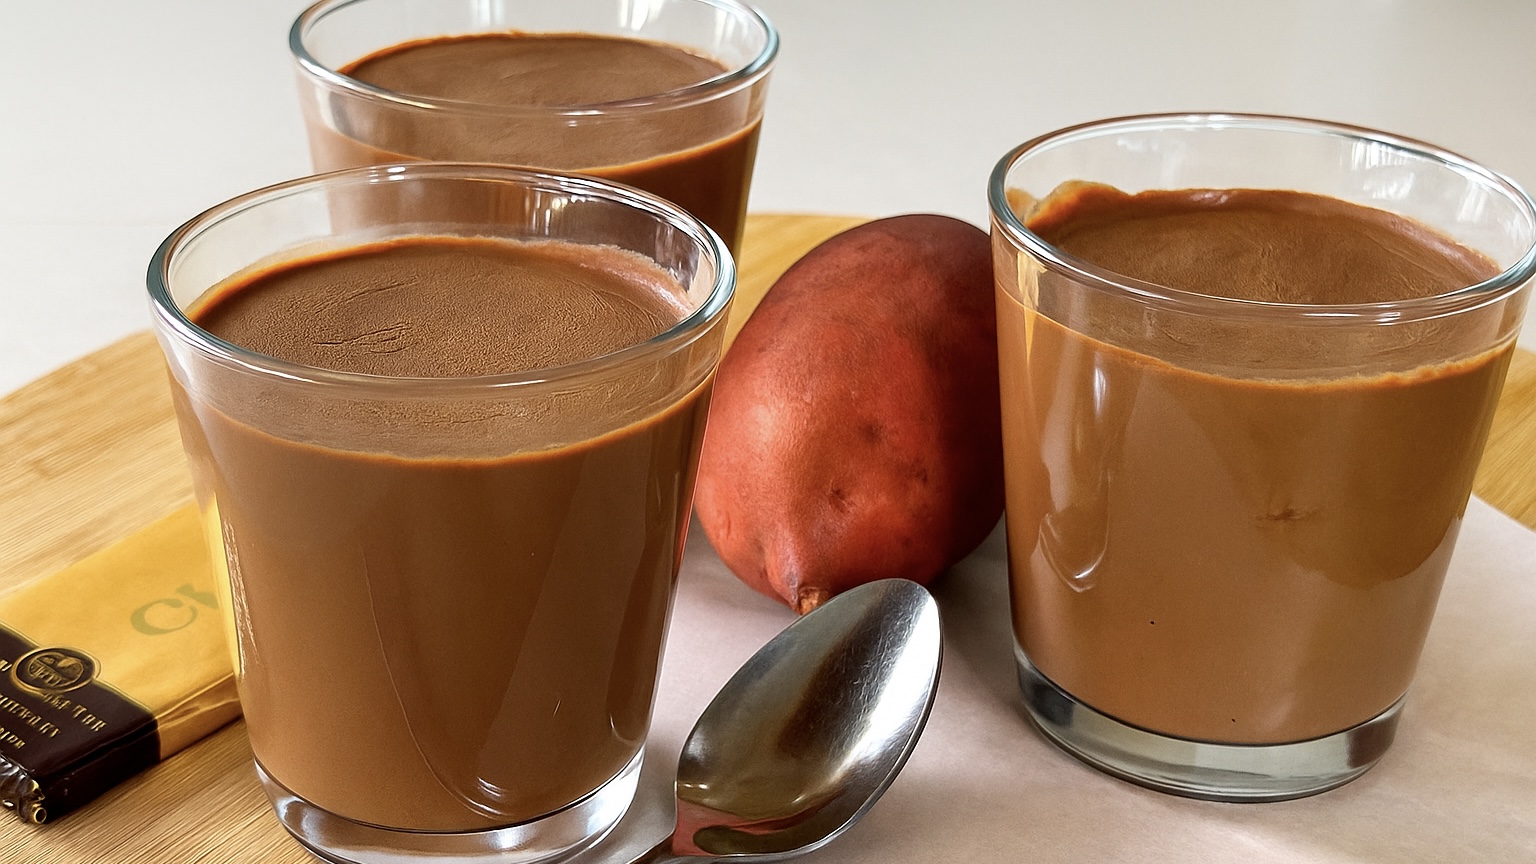
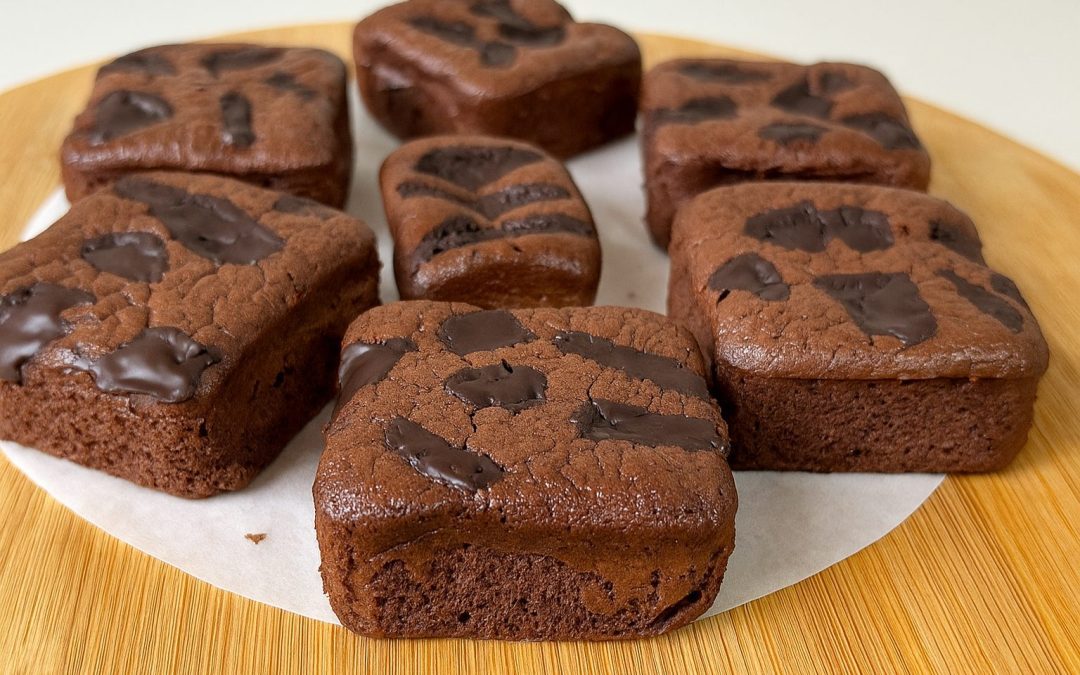
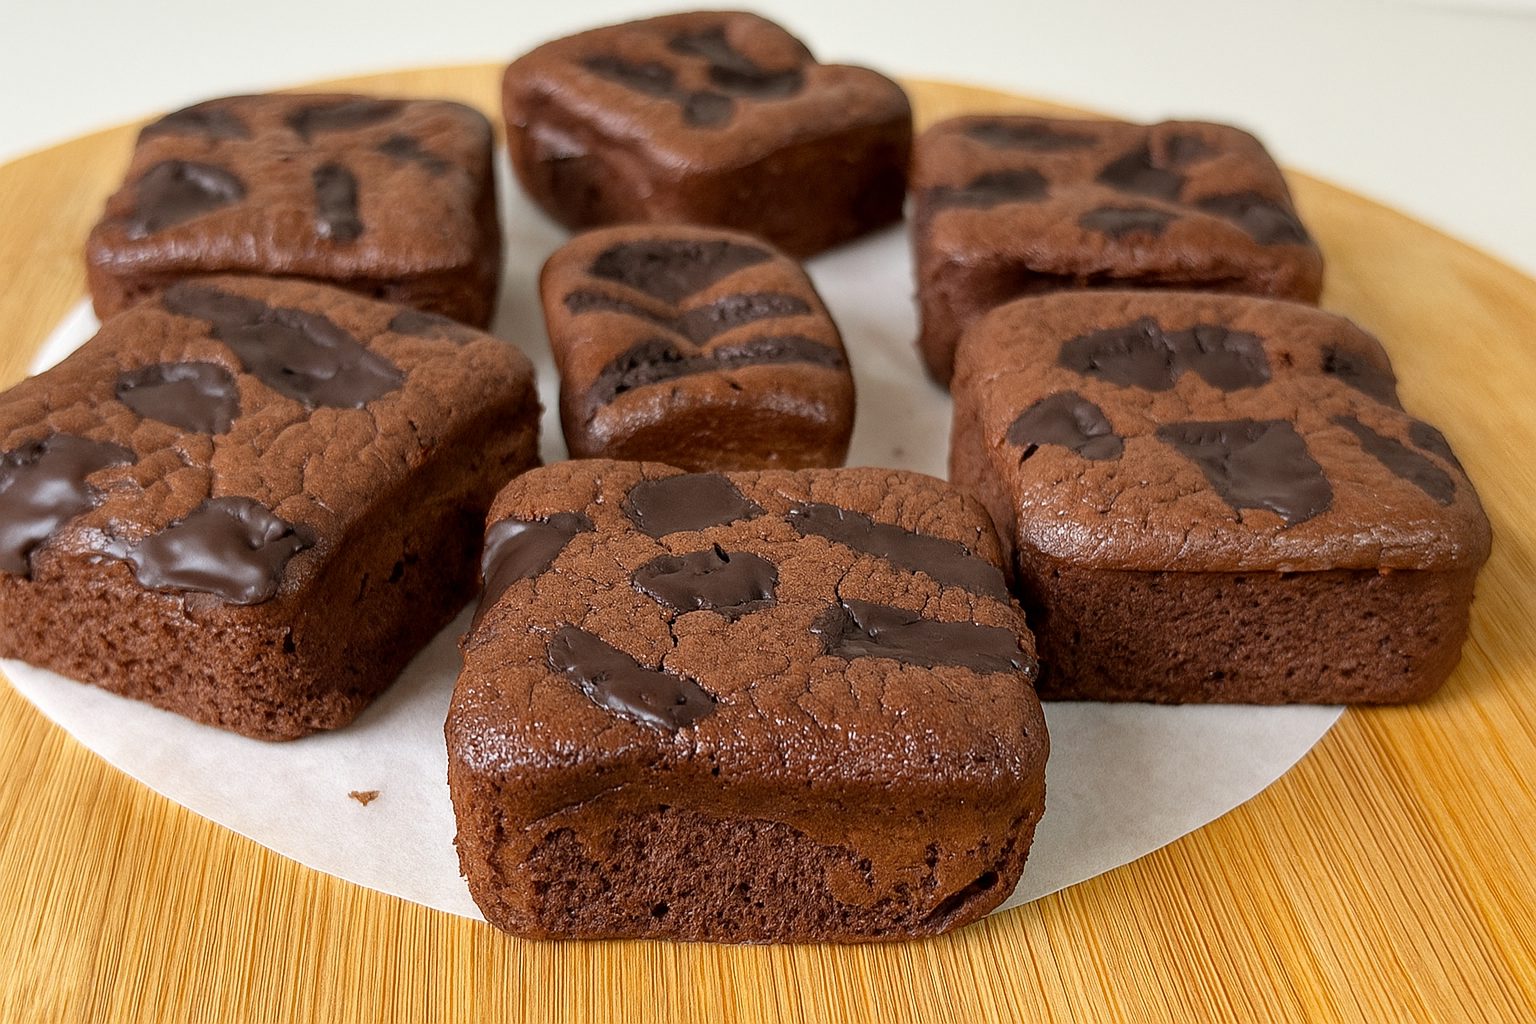
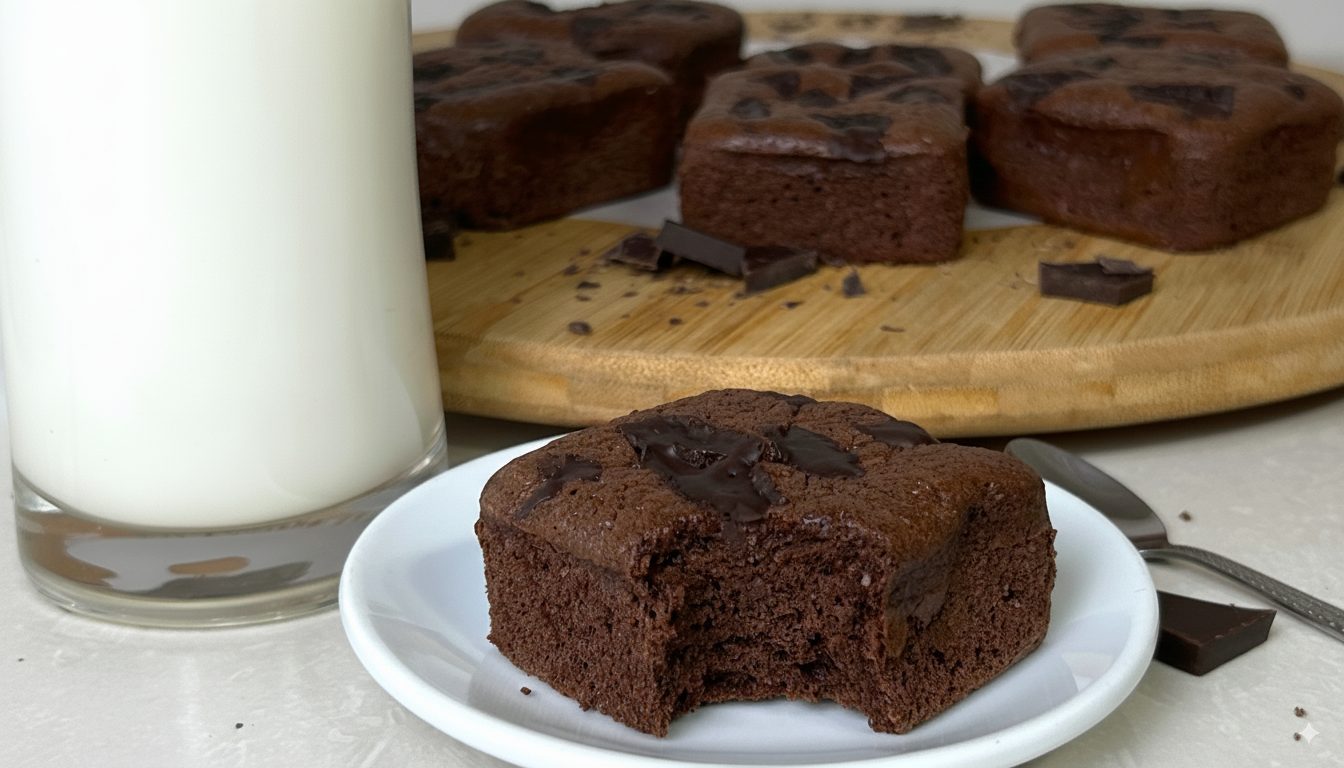
There’s something so satisfying about pulling a tray of warm, chocolatey cupcakes out of the oven, that comforting smell, the soft texture, the melt-in-your-mouth richness. But these are not your average cupcakes. These are Wholesome Zucchini Cupcakes, moist, decadent, and made without a single grain of refined sugar or butter. The magic? It’s all in the simplicity of real food.
You see, I love recipes that surprise you, the kind where you take a bite and think, “Wait… there’s zucchini in this?” These cupcakes are that kind of delicious twist. The combination of naturally sweet dates, earthy cocoa, and finely shredded zucchini creates something truly special: indulgent, yet nourishing. They’re sweet enough to feel like dessert, but healthy enough to enjoy as a snack or even breakfast with a cup of coffee. You can bake them for your family, share them with friends, or keep them all to yourself (no judgment here).
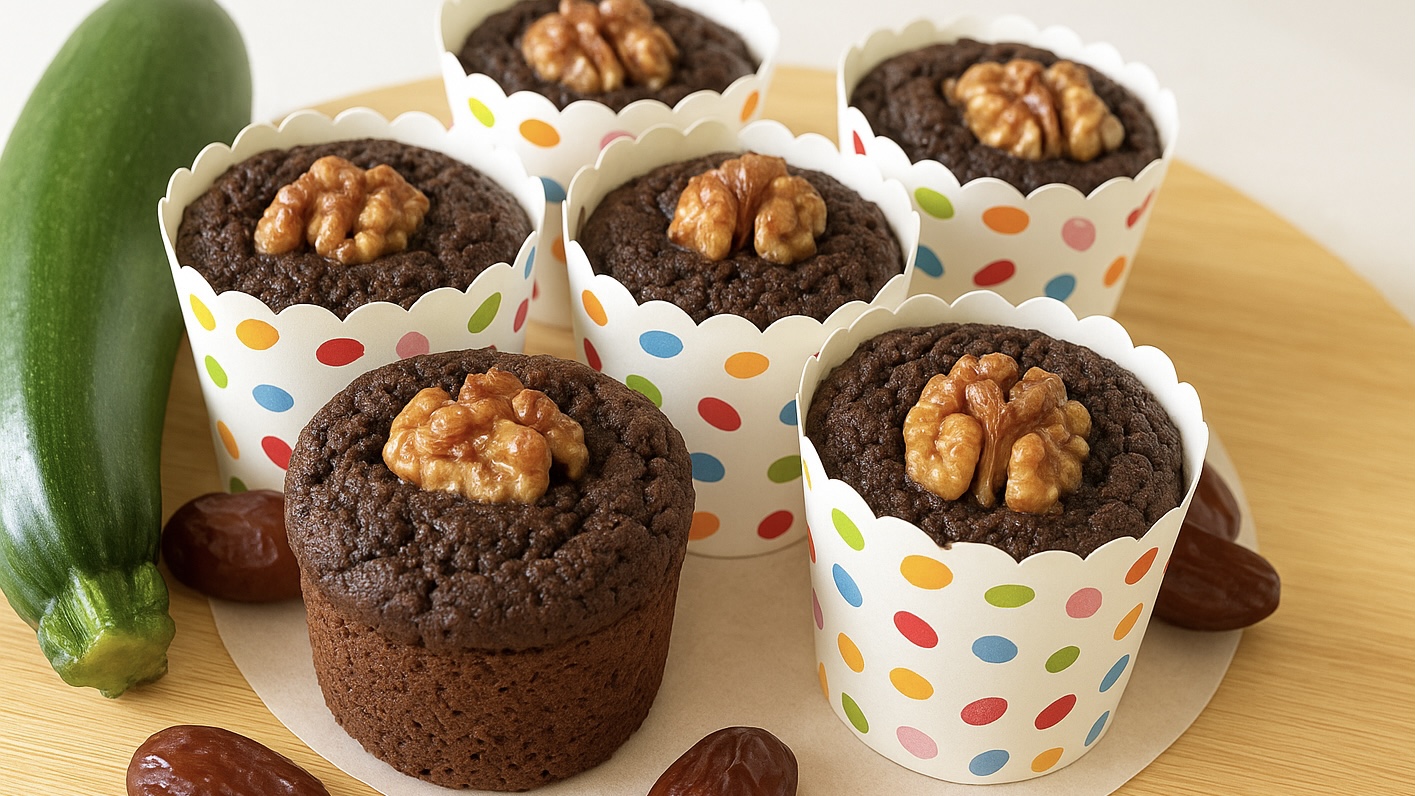
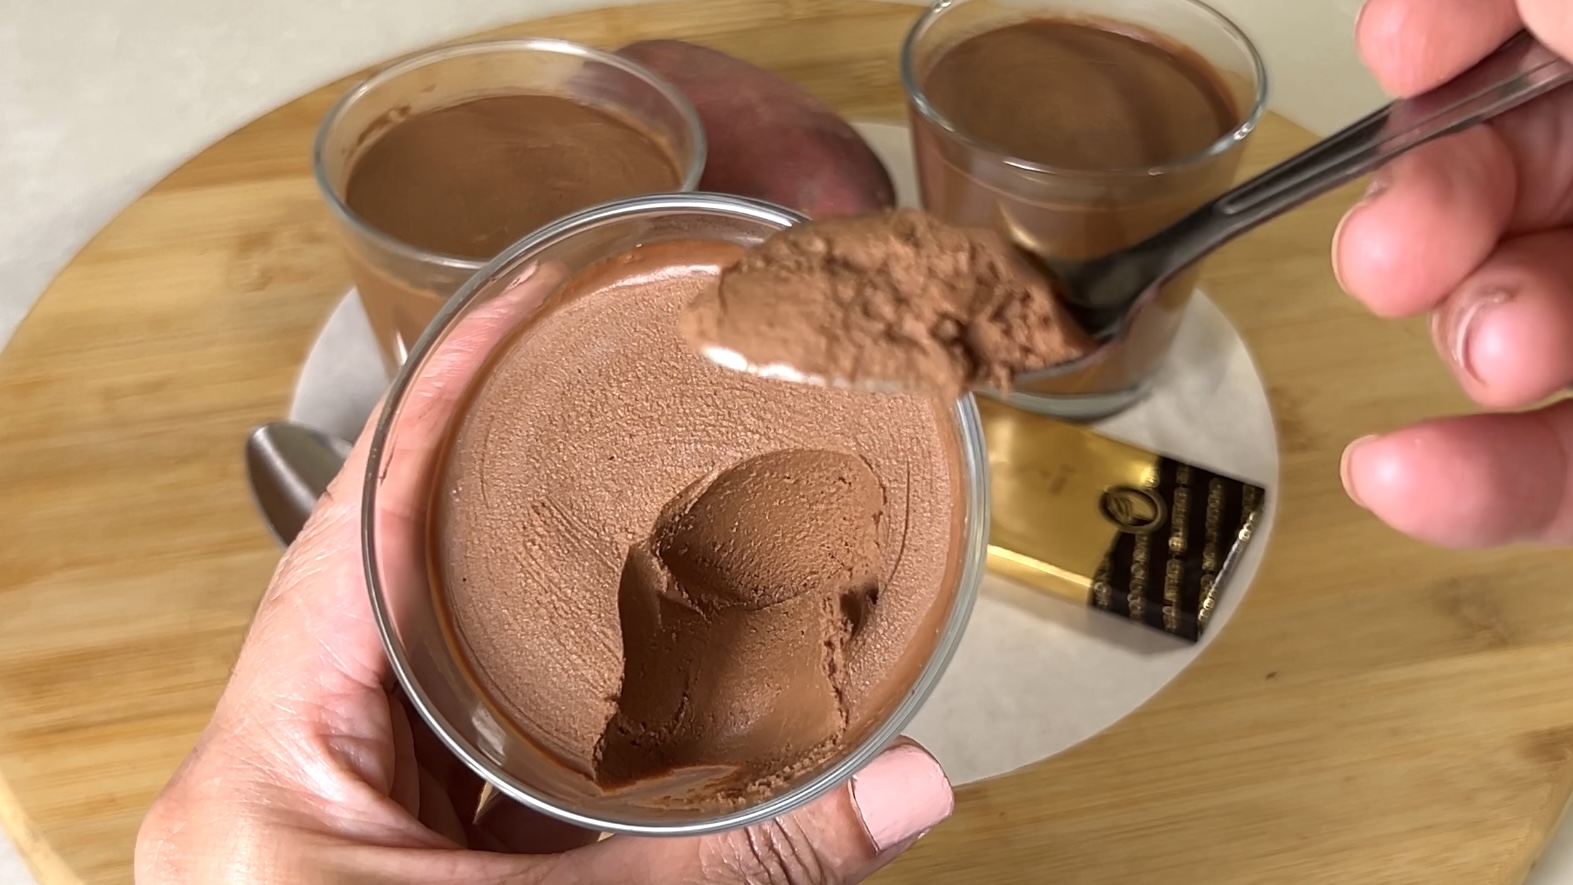
What I love most about this recipe is how it captures the heart of wholesome baking, using simple ingredients that make you feel good from the inside out. The zucchini keeps them incredibly soft and tender, while dates bring that deep caramel-like sweetness and a good dose of fiber and minerals. Every bite feels rich and satisfying, yet light at the same time, proof that you don’t need refined sugar or heavy butter to make something truly indulgent.
Let’s take a moment to appreciate zucchini — one of the most underestimated vegetables out there. It’s low in calories but full of hydration, fiber, and antioxidants that help support digestion, heart health, and overall wellness. It’s also rich in potassium, vitamin C, and manganese, nutrients that play a key role in energy production and keeping your immune system strong. When you use zucchini in baking, it adds natural moisture and a soft crumb without altering the flavor, meaning you get a deliciously tender cupcake that’s also quietly doing your body some good.
So whether you’re trying to make your desserts a little healthier or just looking for a creative way to use up that zucchini in your fridge, these cupcakes are the answer. They’re proof that when natural ingredients meet creativity, something truly wholesome (and chocolatey!) happens in the kitchen.
Ingredients (for 6 cupcakes)
-
150 g pitted dates
-
150 ml hot milk (about ⅔ cup; any plant-based milk works)
-
200 g zucchini (about half a large zucchini), finely shredded
-
2 eggs
-
3 tbsp olive oil
-
1¼ cups (100 g) oat flour
-
3 tbsp (15 g) unsweetened cocoa powder
-
½ tbsp baking powder
-
6 walnut halves (about 15 g), or other garnish of choice
Directions
- Place the pitted dates in a small bowl and cover them with hot milk. Let them soak for 10 to 15 minutes until soft.
- While the dates are soaking, clean and finely shred the zucchini. Set aside.
- Once the dates are soft, blend them with the milk using a hand or regular blender until smooth and creamy.
- Pour the date mixture into a large mixing bowl.
- Add the eggs and olive oil, mixing gently until combined.
- Stir in the shredded zucchini until evenly distributed.
- Add the oat flour, cocoa powder, and baking powder. Mix just enough to combine all ingredients smoothly without overmixing.
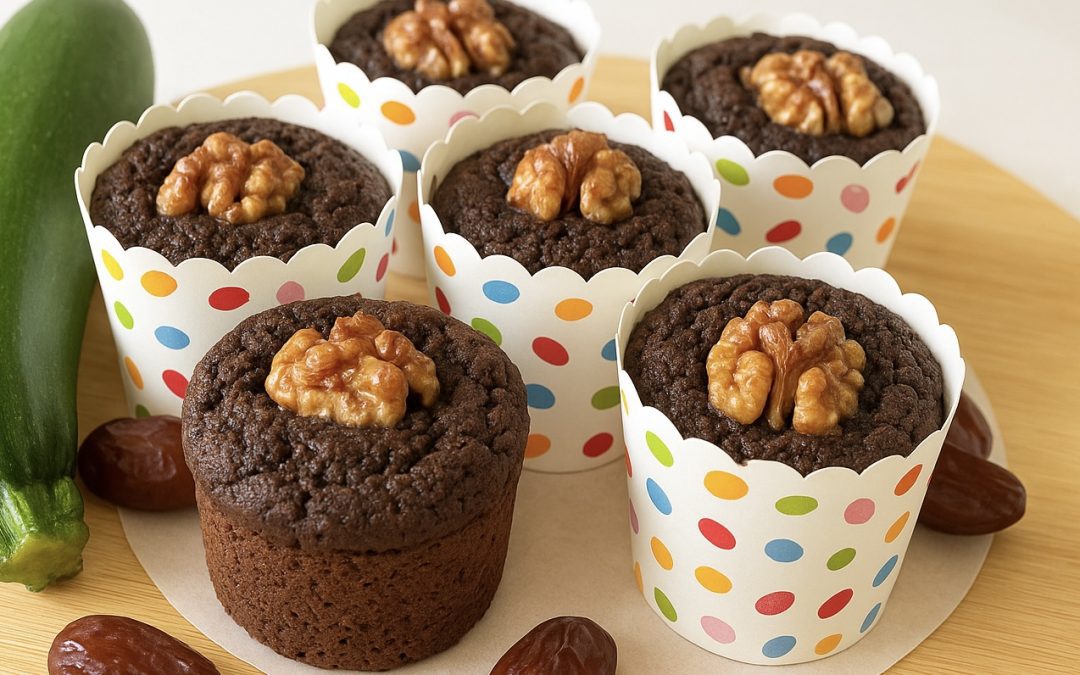
- Line a muffin tray with paper cupcake liners or grease it lightly. Distribute the batter evenly among the liners, about two ice cream scoops per cupcake.
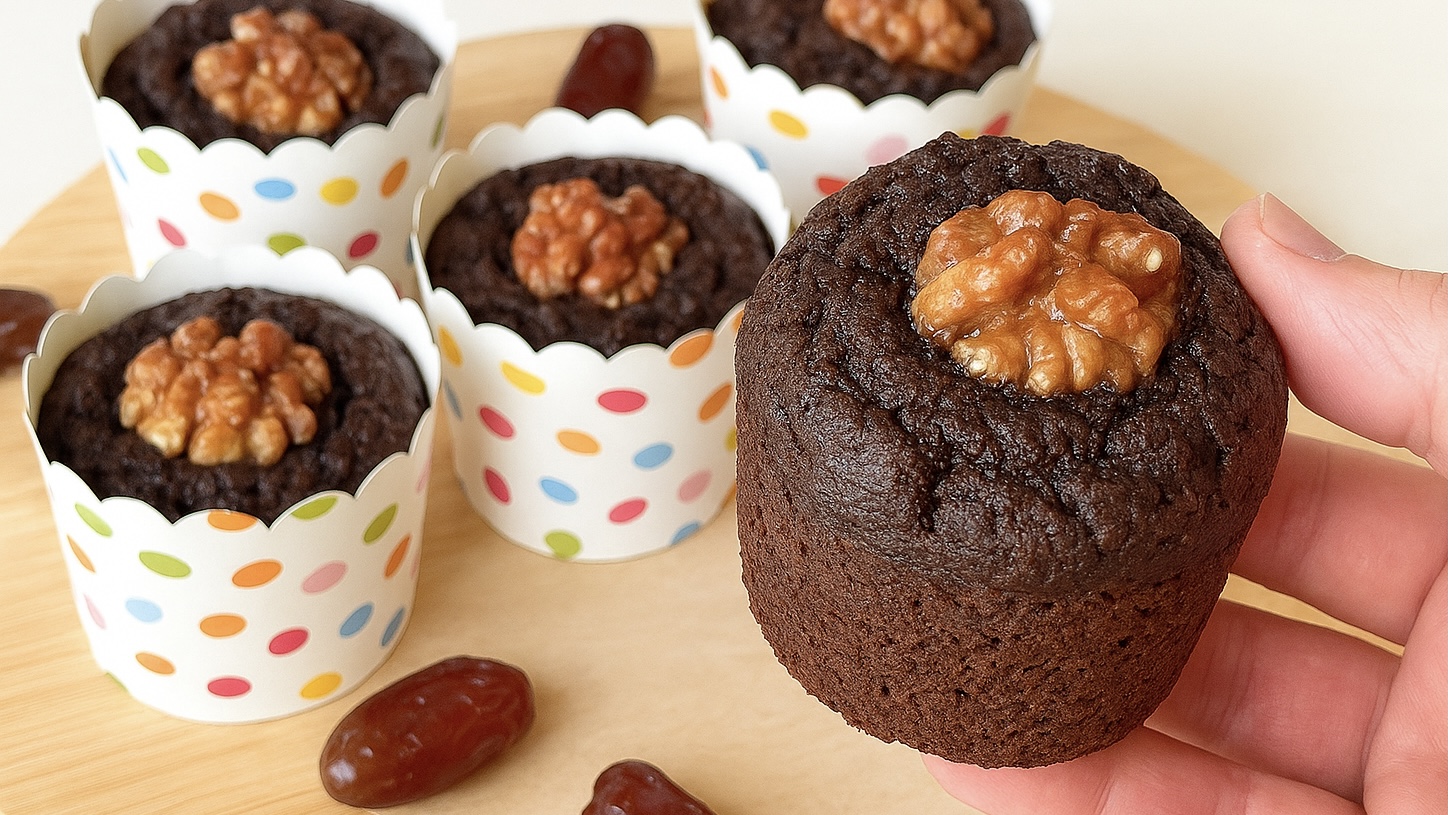
- Garnish the top of each cupcake with a walnut half or your favorite topping.
- Bake in a preheated oven at 350°F (180°C) for 35–40 minutes, or until a toothpick inserted in the center comes out clean.
- Allow the cupcakes to cool slightly before transferring them to a rack. Serve warm or at room temperature.
Prep Time
• 20 minutes preparation
• 15 minutes soaking
• 40 minutes baking
• Makes 6 cupcakes
Nutritional Information (per cupcake)
• Energy: 270 calories
• Protein: 7.68 g
• Fat: 12.68 g
• Carbohydrates: 34.89 g
• Fiber: 3.8 g
Naturally gluten-free if you use certified gluten-free oats, dairy-free if you use a vegan milk, and refined sugar-free.
Storage and Notes
• Store cupcakes in an airtight container at room temperature for up to 2 days.
• Refrigerate for up to 5 days to maintain freshness.
• Freeze the cupcakes for up to 3 months; thaw them in the fridge before serving.
• Top with dark chocolate chips, chopped nuts, or shredded coconut for extra texture.
• For an extra indulgent twist, drizzle a little melted dark chocolate on top once they’ve cooled.
• These cupcakes taste even better the next day as the flavors deepen.