Folded Sushi Wrap
Folded Sushi Wrap

If you love sushi but don’t always love the rolling, precision, or time-consuming process that usually comes with making it at home, this Folded Sushi Wrap might become your newest obsession. Somewhere between a sushi hand roll, a breakfast wrap, an omelette sandwich, and a trendy folded tortilla wrap, this creative recipe transforms classic sushi flavors into something incredibly easy, satisfying, portable, and fun to make.
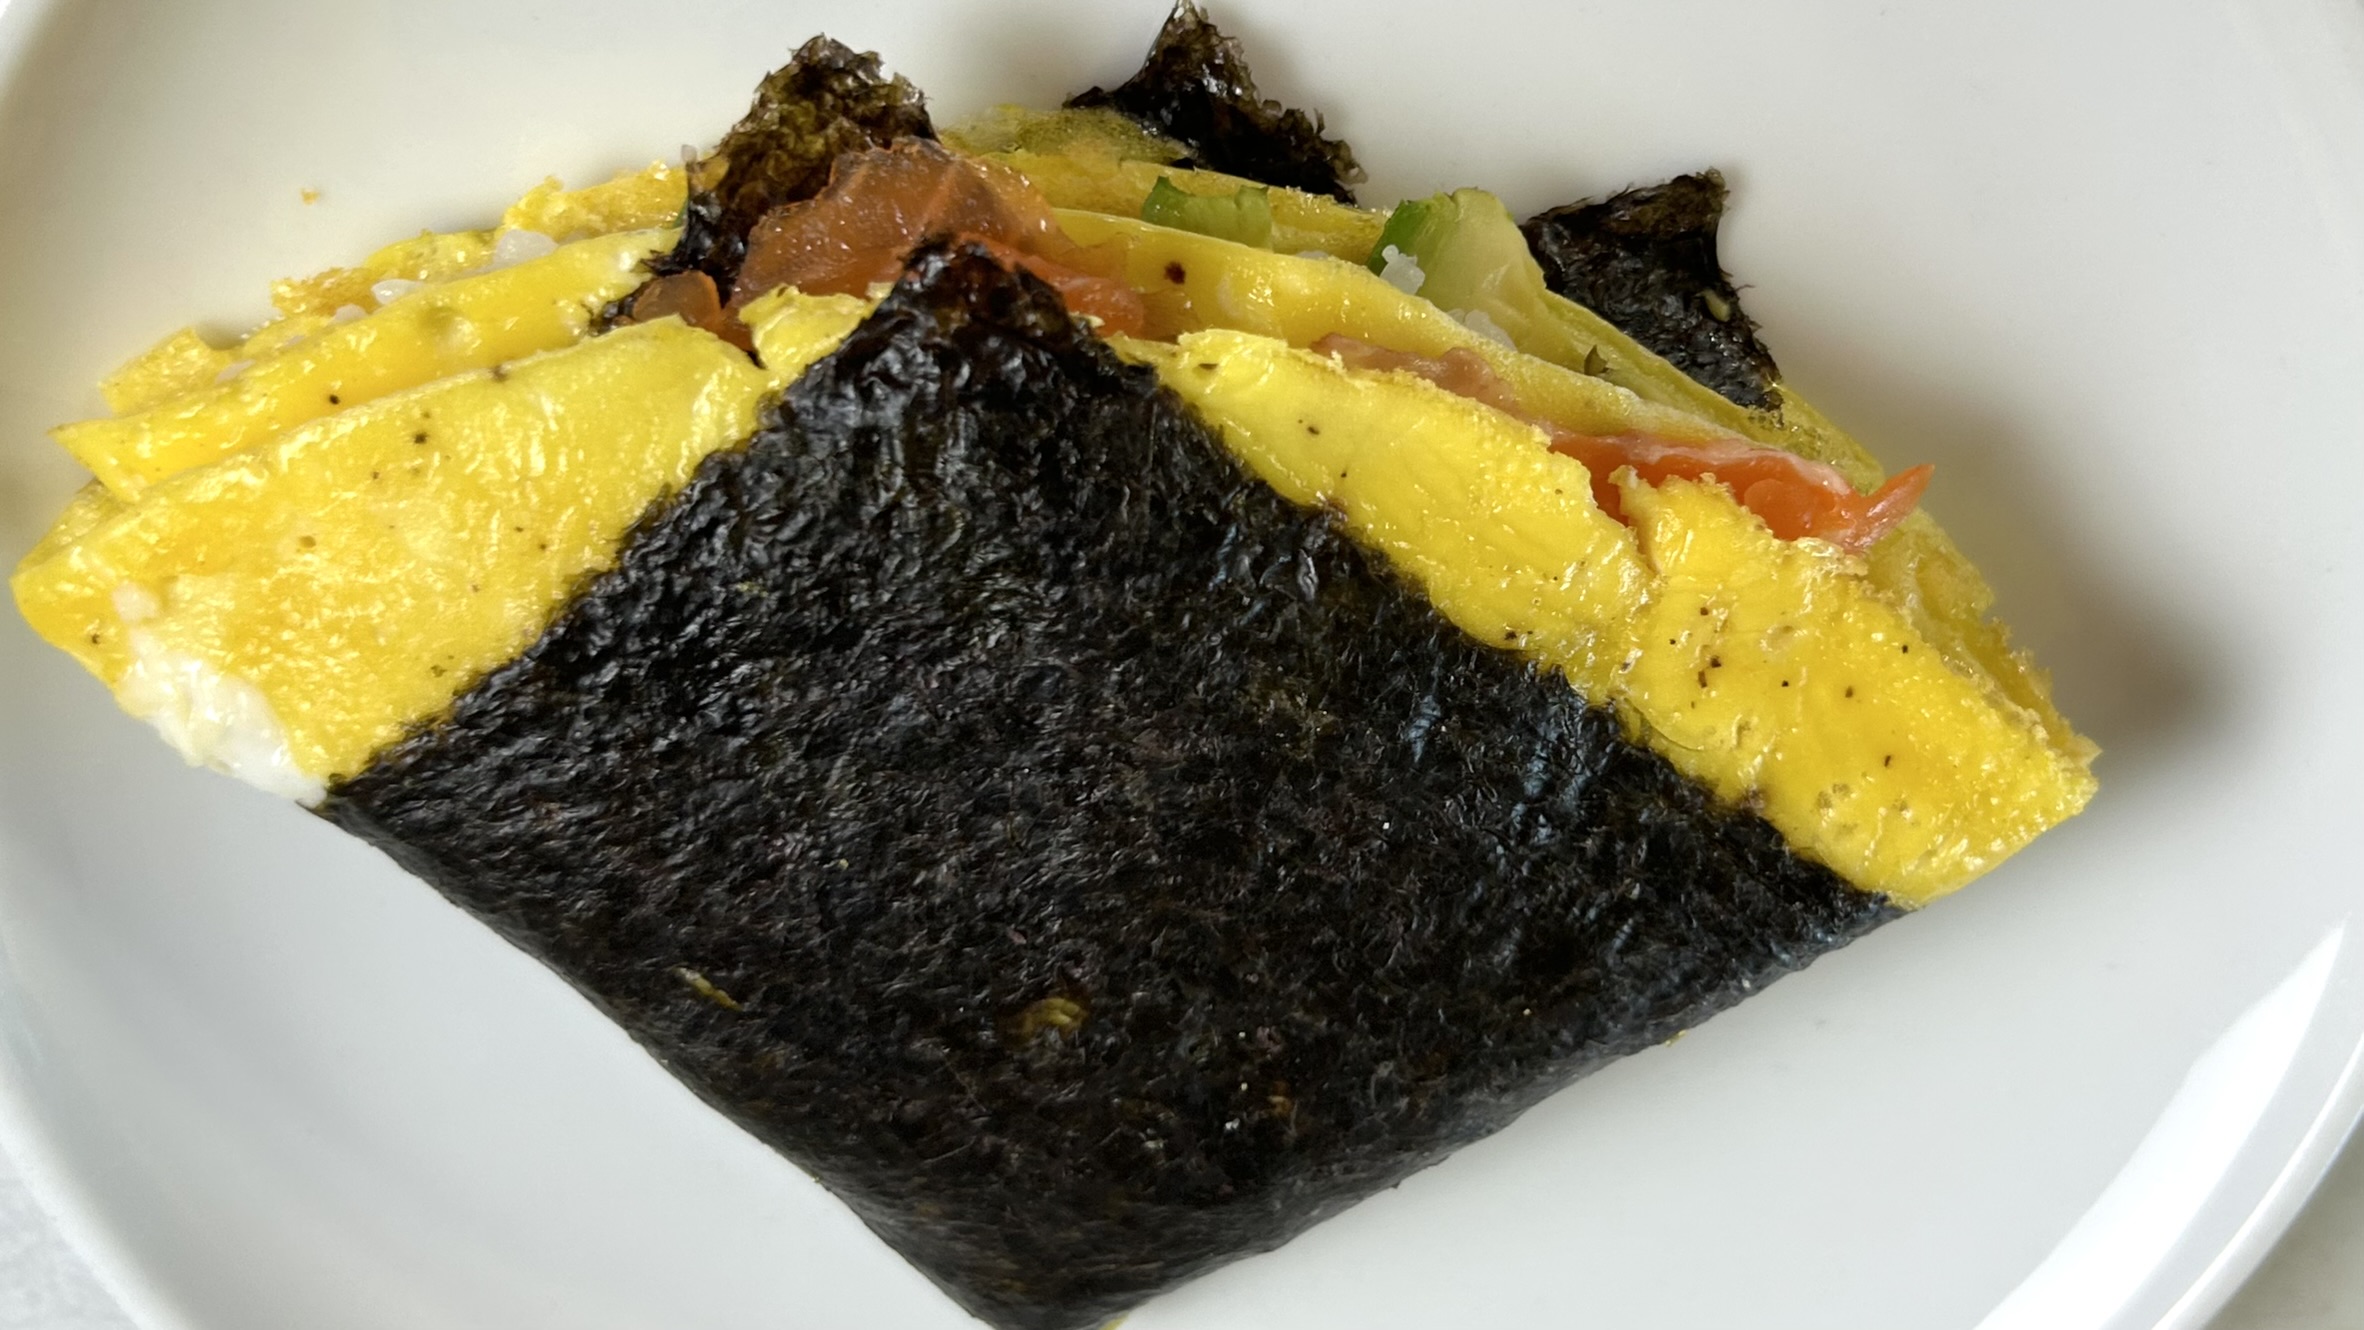
This recipe is proof that homemade sushi-inspired meals don’t need to feel intimidating. Instead of carefully rolling rice inside seaweed with a bamboo mat, everything is layered into sections over a soft egg omelette lined with nori, then folded into a compact layered wrap. The result is a beautiful sushi-style sandwich packed with creamy avocado, tender smoked salmon, crunchy cucumber, fluffy eggs, and soft sushi rice in every bite.
What makes this recipe especially exciting is how approachable and customizable it is. It captures all the fresh, savory, slightly smoky flavors people love about sushi while simplifying the entire process into something beginner-friendly. It’s perfect for busy lunches, quick dinners, savory breakfasts, meal-prep ideas, or even healthy snacks when you want something nourishing but still comforting and flavorful.
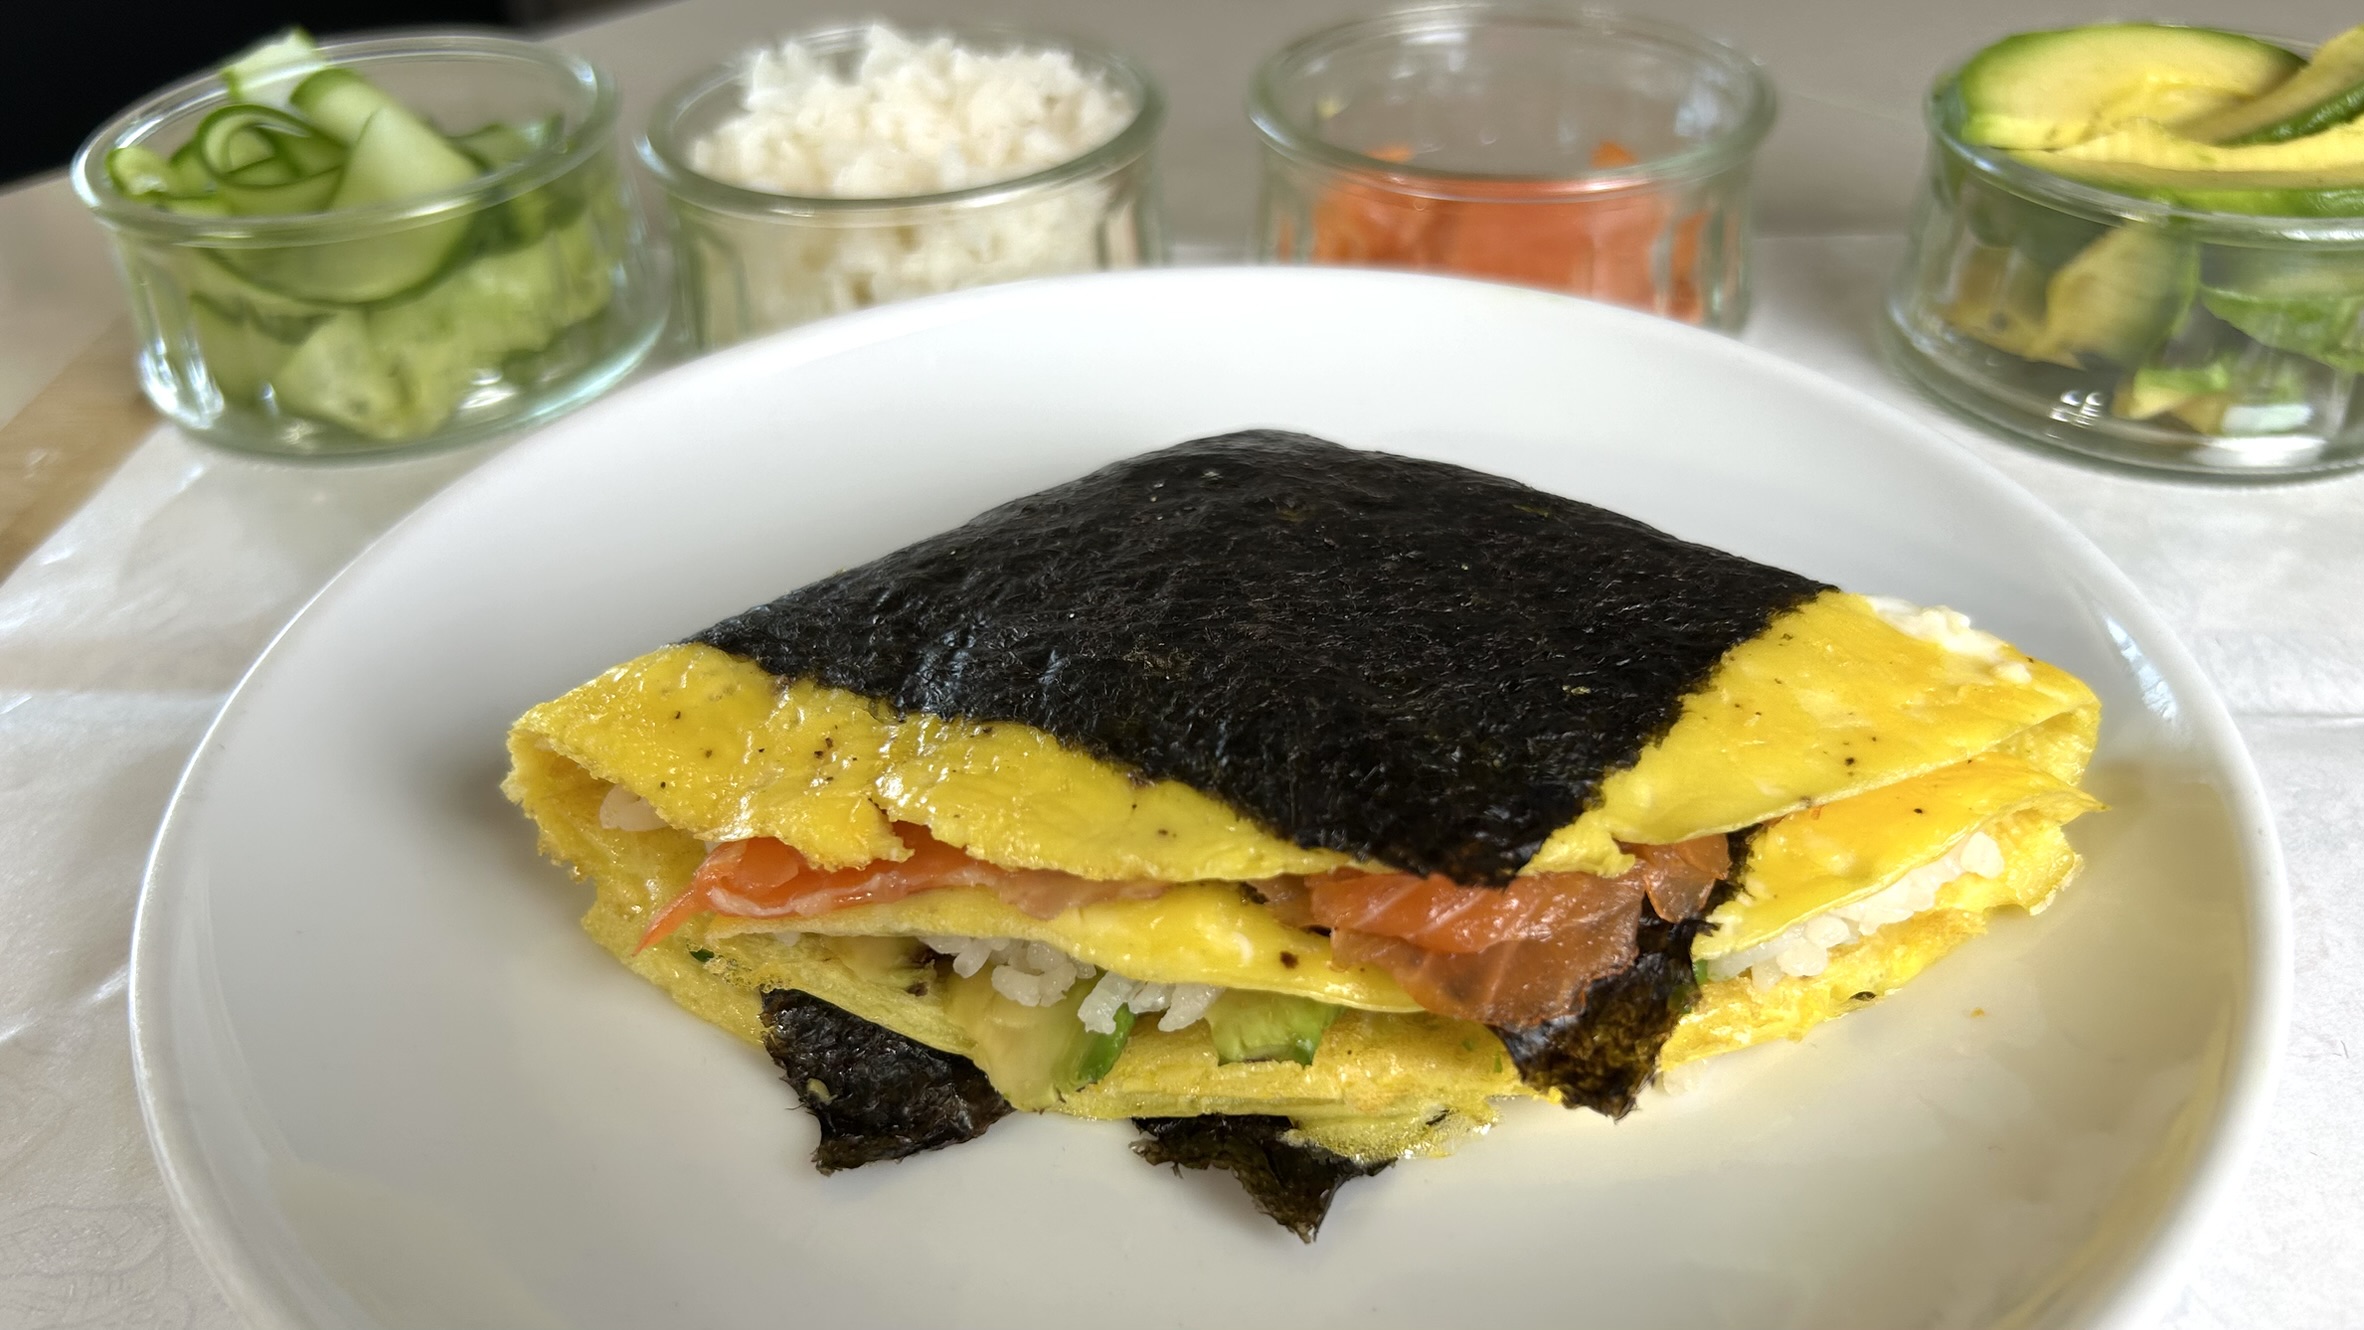
The textures are honestly what make this wrap unforgettable. You get the richness of avocado, the delicate smoky flavor of salmon, the refreshing crunch of cucumber, the softness of rice, and the savory umami from the nori and eggs all layered together in one compact wrap. Every bite feels balanced, fresh, creamy, and satisfying without feeling heavy.
Another reason this recipe stands out is how versatile it can be. You can switch the fillings depending on what you have at home or your favorite sushi-inspired combinations. Add spicy mayo, tofu, shrimp, tuna, cream cheese, pickled vegetables, sesame seeds, or even sriracha for endless variations. Once you try the folding technique, you’ll probably start using it for many other wraps too.
And while the focus here is definitely the creativity, convenience, and flavor of the recipe, this wrap also happens to be protein-rich, made with wholesome ingredients, and satisfying enough to keep you full for hours. It’s one of those recipes that feels playful and modern while still being nutritious and balanced.
Smoked salmon is one of the star ingredients in this recipe, and it brings far more than just flavor. Salmon is naturally rich in high-quality protein and omega-3 fatty acids, which are important for brain health, heart health, and reducing inflammation in the body. It’s also an excellent source of vitamin D, selenium, and B vitamins that support energy production and overall wellness. Including salmon regularly in your diet can help support healthy skin, cognitive function, and balanced nutrition while providing satisfying protein that keeps meals filling and nourishing. Combined with avocado, eggs, cucumber, and seaweed, this wrap becomes a delicious way to enjoy nutrient-dense ingredients in an easy everyday meal.
Ingredients
- 2 eggs
- Salt, to taste
- Ground black pepper, to taste
- 1 tsp. oil
- 1 sushi nori sheet
- 50 g cooked sushi rice
- ¼ avocado (~25 g flesh), sliced
- 20 g smoked salmon
- 10 g cucumber, sliced
- Japanese mayonnaise sauce, optional
Directions
- Crack the eggs into a bowl and season with salt and ground black pepper. Beat thoroughly until smooth and fully combined.
- Lightly oil a nonstick pan using a brush or paper towel and place it over low-medium heat.
- Pour the beaten eggs into the pan and allow the omelette to cook gently.
- While the top of the omelette is still slightly wet, place the sushi nori sheet directly over the eggs with the rough side touching the omelette and the smooth side facing upward.
- Continue cooking until the omelette is fully set and no longer wet on top.
- Transfer the omelette onto a large plate or clean working surface with the omelette side facing upward.
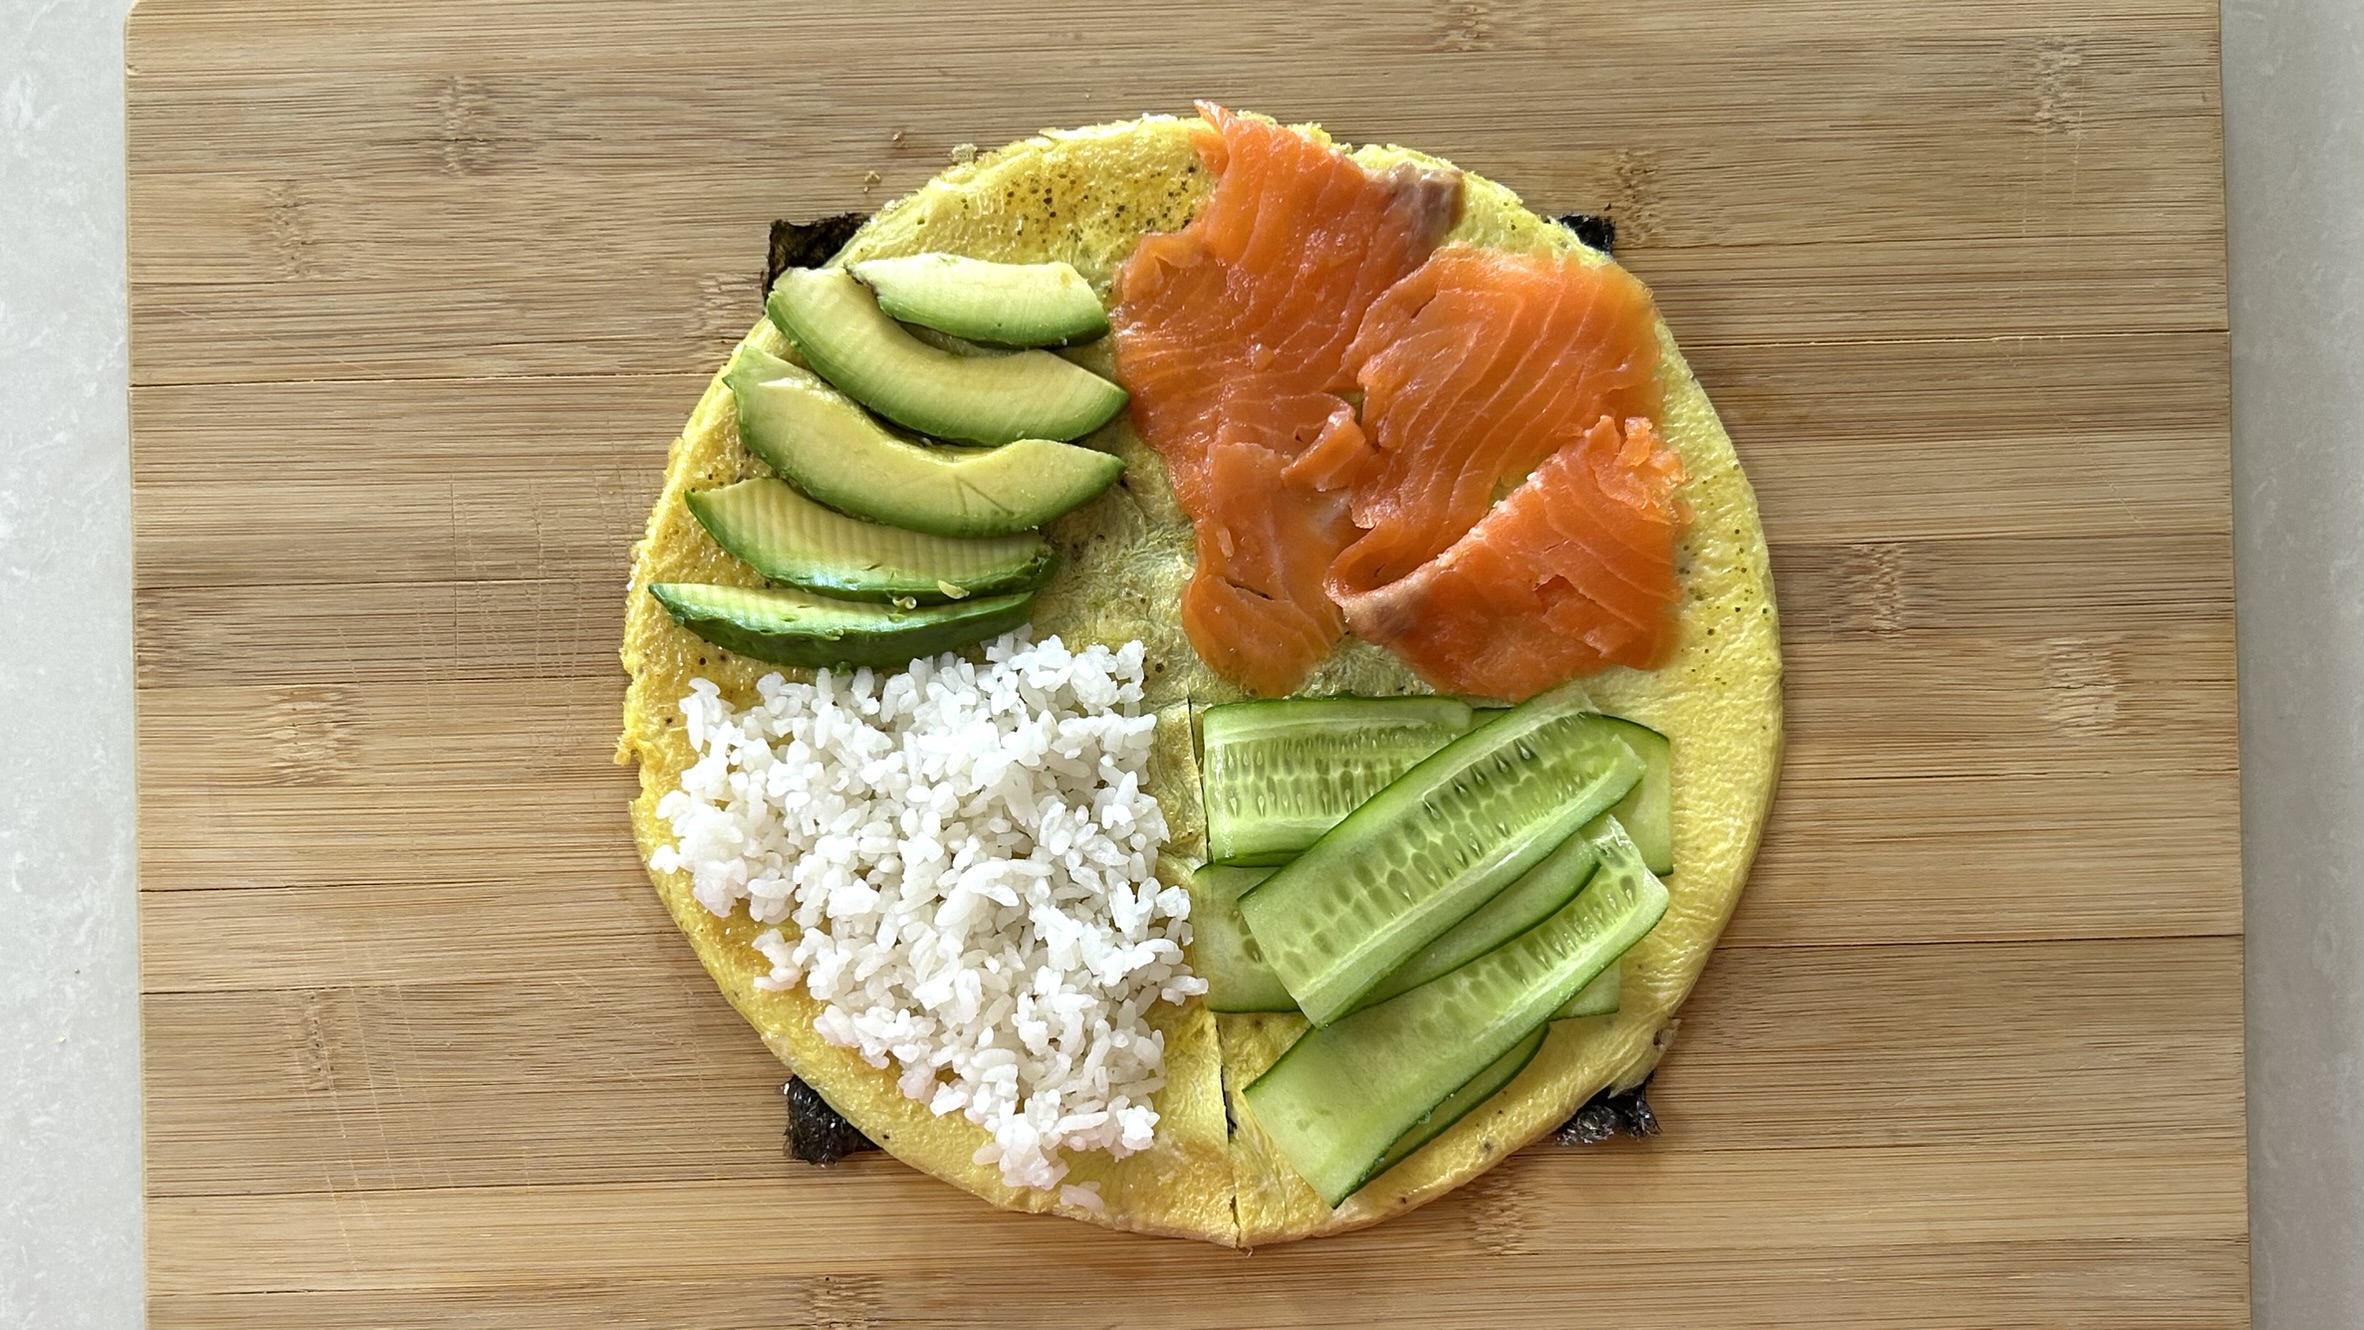
- Using a knife or scissors, make a slit from the bottom edge toward the center of the wrap, stopping halfway through, just like the classic folded tortilla wrap technique.
- Divide the fillings between the four sections (sushi rice in one section, avocado in another, smoked salmon in another, and cucumber in the last section)
- If desired, drizzle Japanese mayonnaise over the rice or salmon section for extra creaminess and flavor.
- Begin folding, fold the rice section over the avocad, fold both over the salmon, and finally fold everything over the cucumber section.
- Serve immediately while fresh and enjoy your easy sushi-inspired folded wrap.
Prep Time, Cooking Time & Servings
- Prep Time: 15 minutes
- Pan Cooking Time: 5 minutes
- Total Time: 20 minutes
- Servings: 1 serving
Nutritional Information (Per Serving)
- Energy: 318 calories
- Protein: 20.2 g
- Fat: 19.84 g
- Carbohydrates: 13.61 g
- Fiber: 2.2 g
Storage
- This wrap is best enjoyed freshly made for the best texture and flavor.
- If needed, store it tightly wrapped in the refrigerator for up to 1 day.
- Avoid storing too long as the nori can soften from moisture over time.
Recommendations & Variations
- Add spicy mayo or sriracha for extra flavor.
- Sprinkle sesame seeds on top before serving.
- Serve with pickled ginger or soy sauce for a more authentic sushi-inspired experience.
- Replace smoked salmon with tuna, shrimp, tofu, or crab for different variations.
- Add cream cheese for a richer sushi-wrap flavor.
- Use brown rice or cauliflower rice depending on your preference.