Mediterranean Salad
Mediterranean Salad

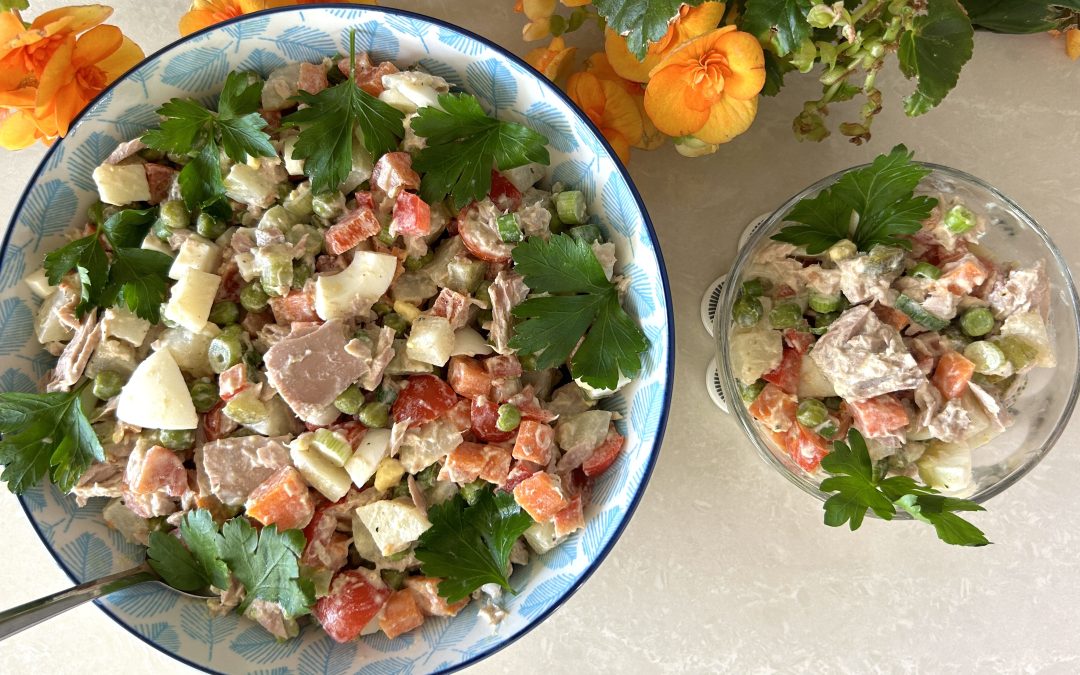
Mediterranean cuisine is celebrated for its vibrant flavors, fresh ingredients, and wholesome nutrition, and this Mediterranean salad is a true reflection of that tradition. This dish offers a delightful balance of textures and tastes, making it an ideal choice for a refreshing and satisfying meal. The salad combines the crispness of fresh vegetables with the tenderness of steamed potatoes, carrots, and green peas, creating a harmony of flavors that is both nourishing and delicious.
What makes this salad truly special is its versatility. Whether you’re looking for a light lunch, a side dish for dinner, or a nutritious option for meal prep, this salad fits the bill. The addition of protein-rich ingredients like boiled eggs and tuna not only enhances the nutritional profile but also makes the salad more filling, perfect for those who want a complete meal in one bowl. The creamy homemade vinaigrette, made with tahini or mayonnaise, olive oil, and apple cider vinegar, ties all the ingredients together, providing a tangy and rich flavor that complements the fresh and cooked components beautifully.
Moreover, this Mediterranean salad is highly customizable. You can easily adjust the ingredients to suit your taste preferences or dietary needs. Add more veggies, swap out the tuna for chickpeas or grilled chicken, or experiment with different herbs and spices to make this salad your own.
It’s a versatile dish that can be enjoyed year-round, whether you’re looking to cool down on a hot summer day or want a colorful addition to your winter meal rotation. With its blend of flavors, textures, and nutrients, this Mediterranean salad is sure to become a favorite in your kitchen.
Ingredients
For the salad part:
- 200 g potato (steamed)
- 100 g carrot (steamed)
- 100 g green peas (steamed)
- 90 g red pepper
- 90 g cherry tomatoes
- 30 g green onion
- 35 g pickles
- 2 boiled eggs
- 1 can tuna (160 g, drained)
For the vinaigrette:
- 1/3 cup tahini sauce or a healthy mayonnaise of your choice
- 2 tbsp. extra virgin olive oil
- 2 tbsp. apple cider vinegar
- 1 tsp salt
- Black pepper to taste
- 10 parsley leaves for garnish (optional)
Directions
- Clean and chop the potato and carrot into small pieces.
- Transfer to a steamer and add frozen green peas.
- Steam for 15 minutes or until tender.
- Allow the veggies to cool before transferring them to a mixing bowl.
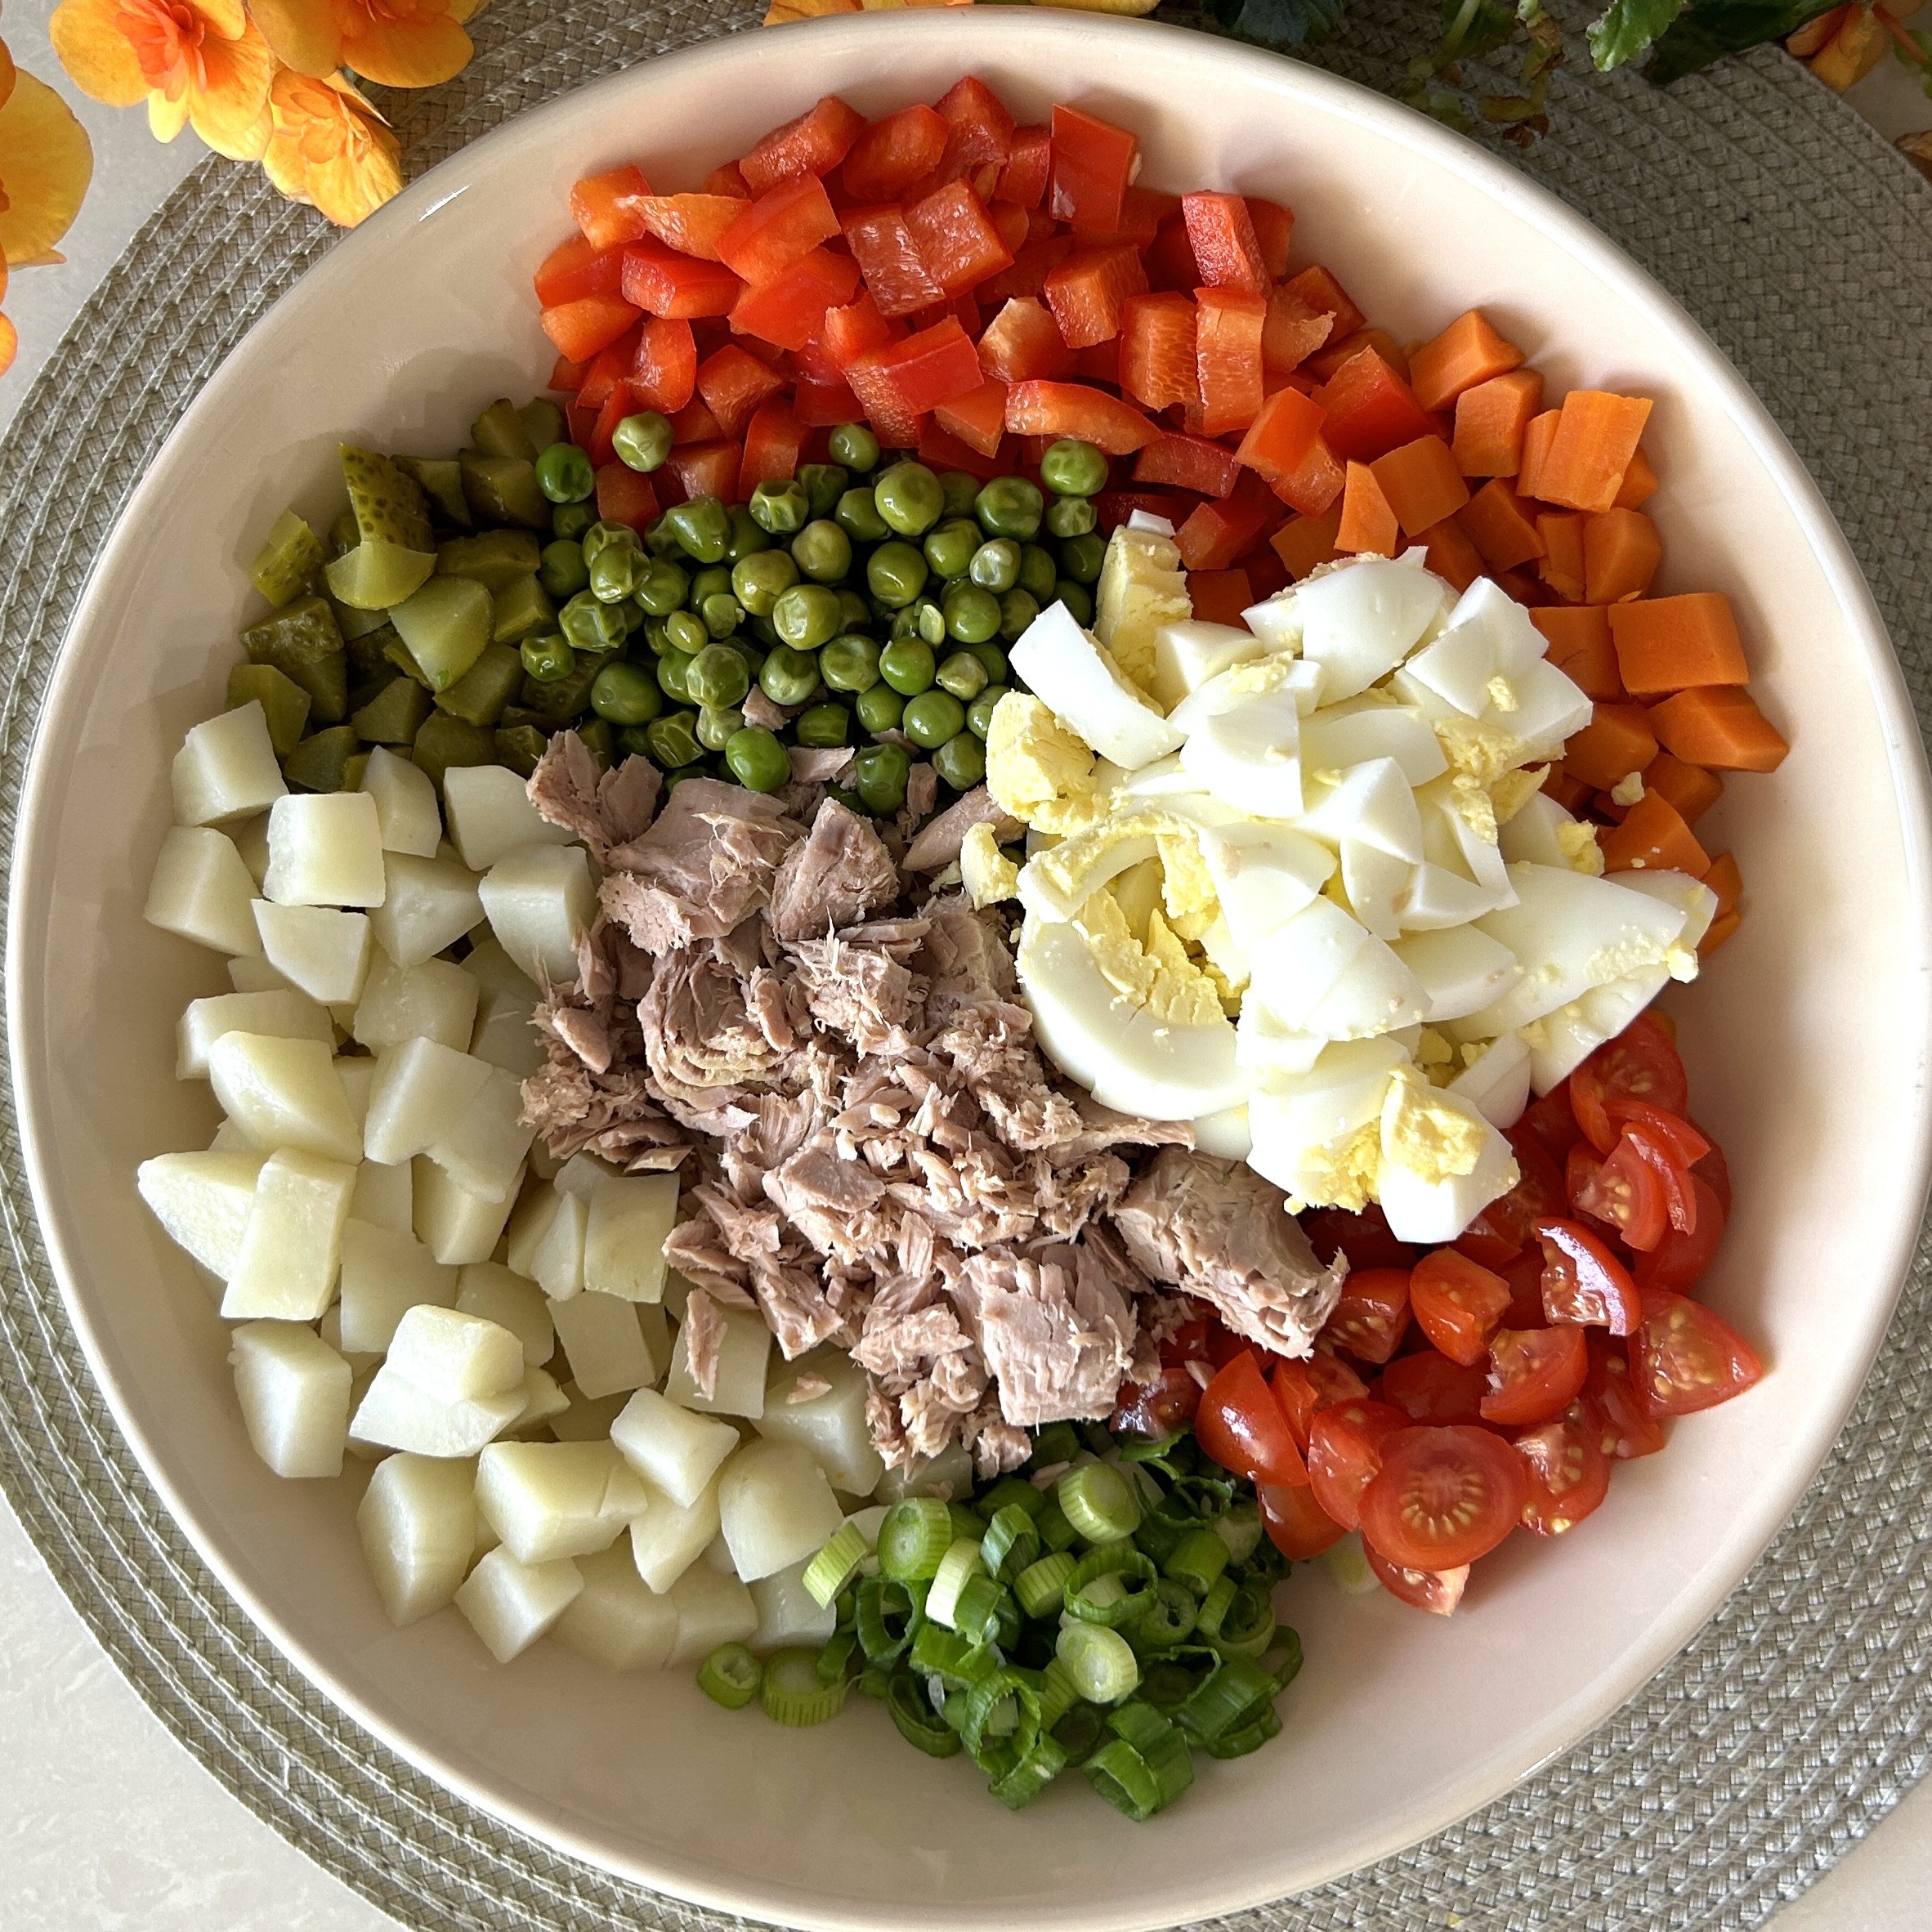
- Dice the tomato, red pepper, green onion, and pickles into small pieces. Set aside.
- Boil 2 eggs, peel, and chop into small pieces.
- Drain the can of tuna from its water and set aside.
- In a small bowl, mix tahini or mayonnaise, extra virgin olive oil, apple cider vinegar, salt, and black pepper.
- Stir until well combined.
- In a large mixing bowl, add the cooled, cooked veggies, diced fresh veggies, boiled eggs, and tuna.
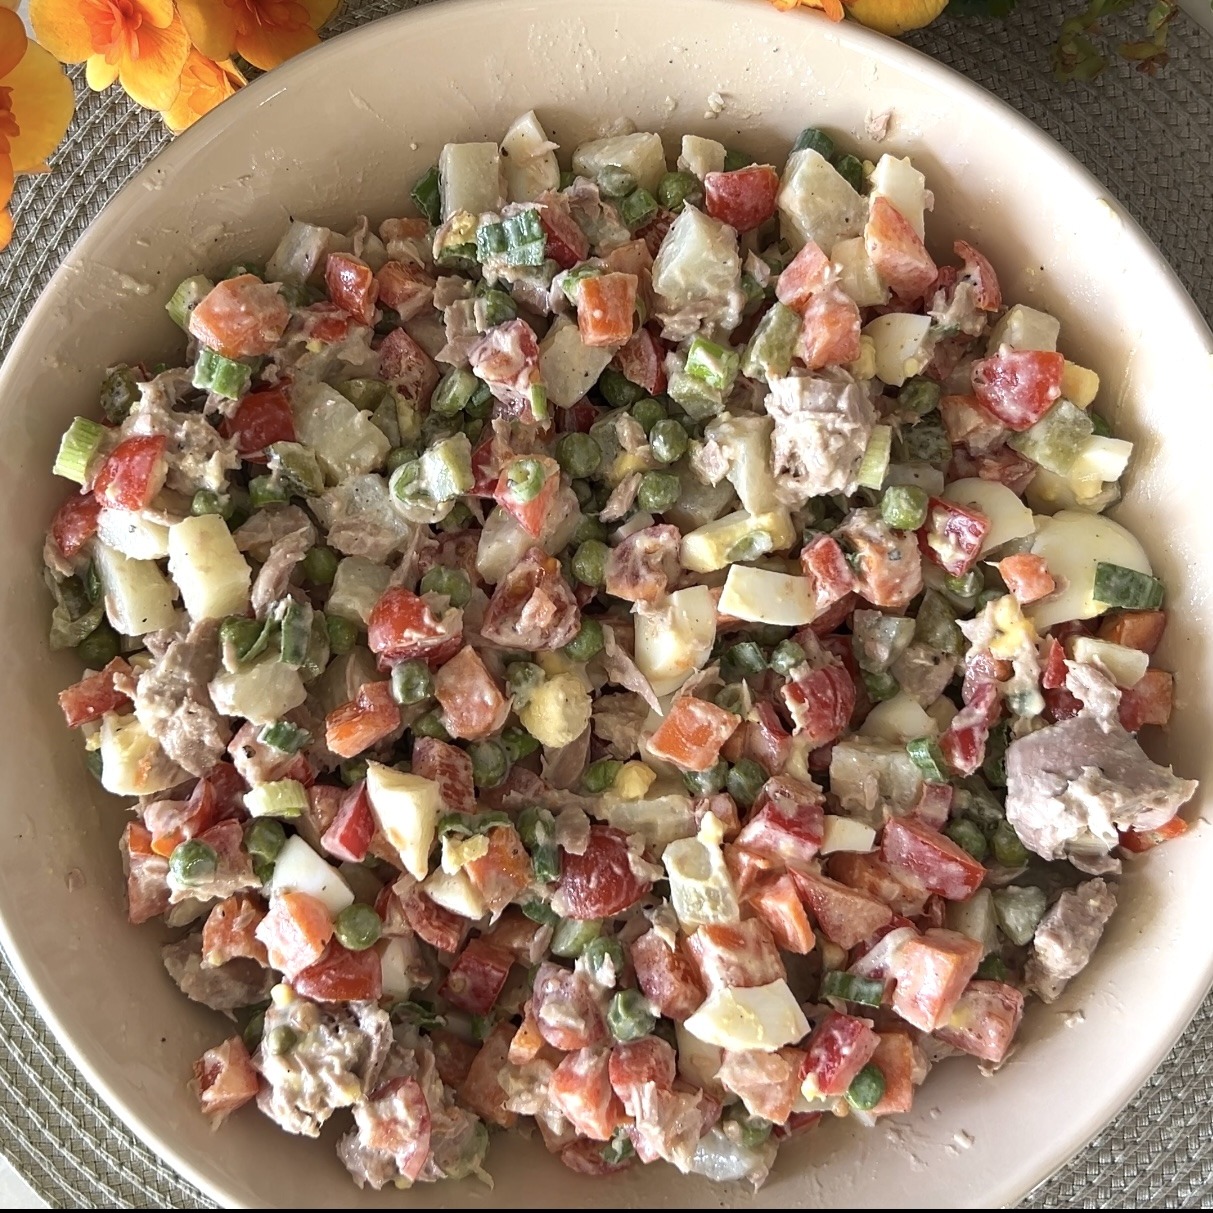
- Pour the vinaigrette over the salad.
- Using a spoon or salad tongs, gently toss the salad until all ingredients are well coated with the vinaigrette and evenly distributed.
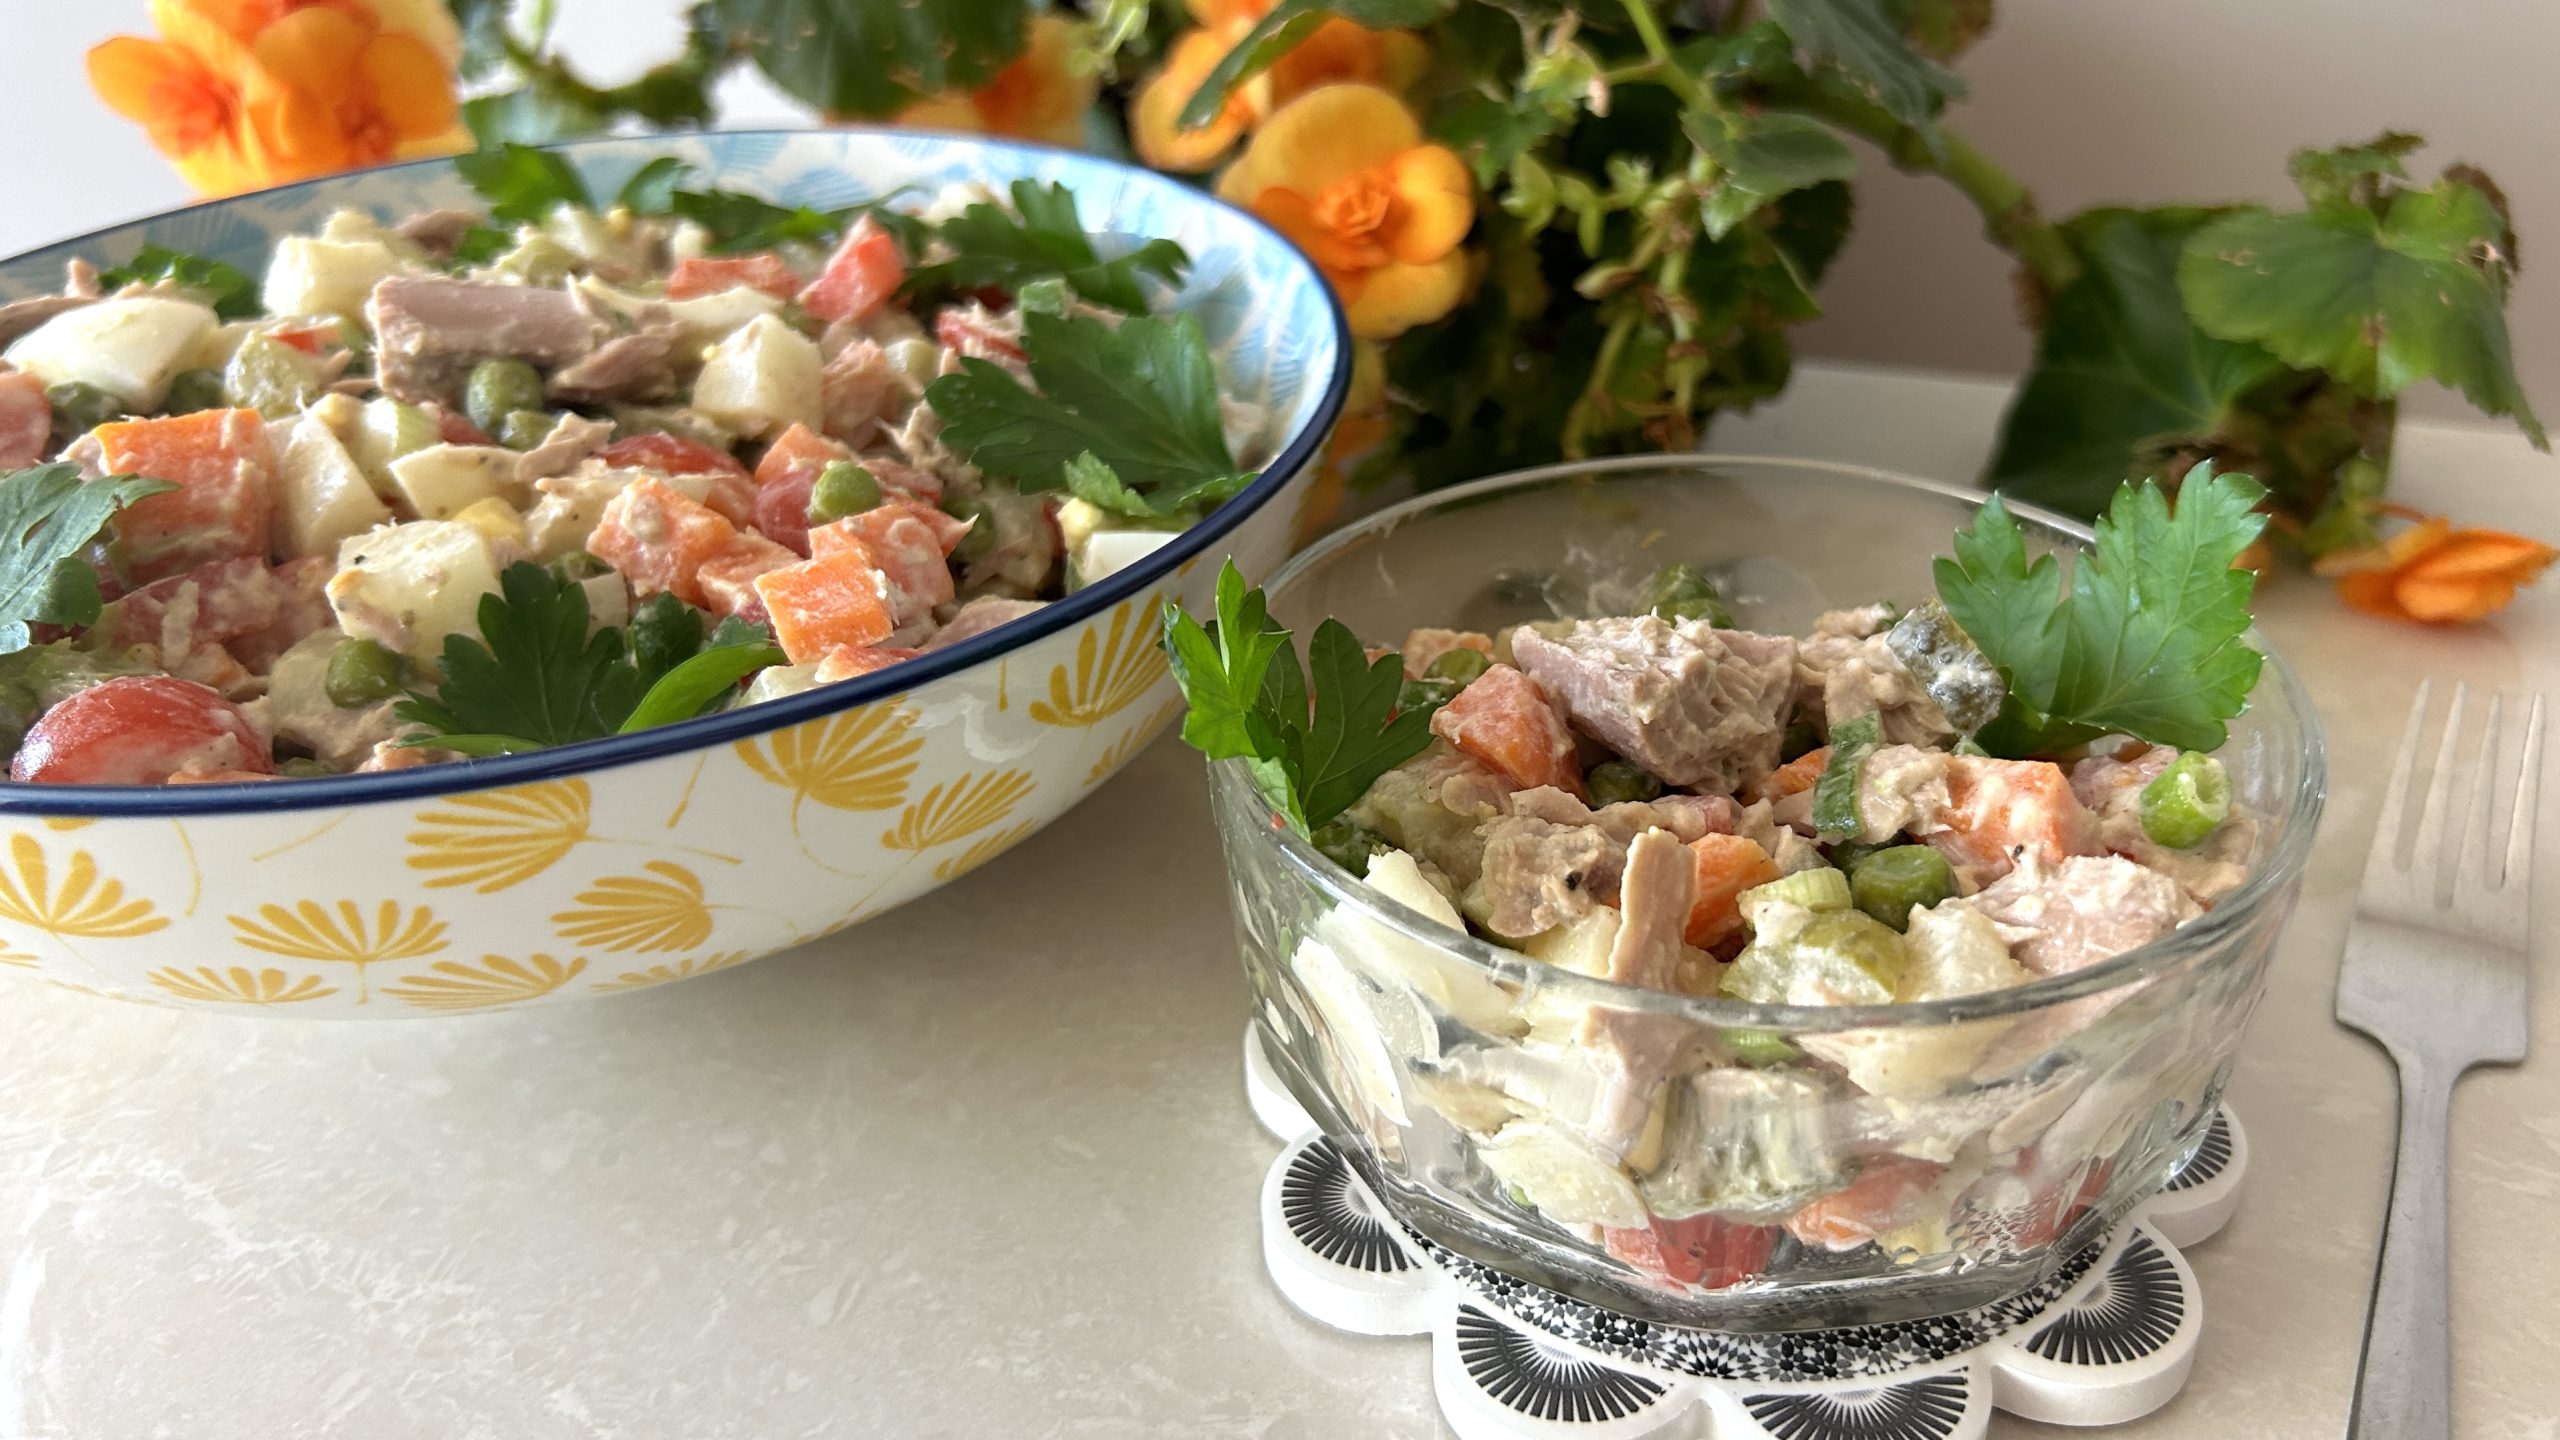
- Transfer the salad to a serving plate. Garnish with some fresh parsley leaves.
- Serve and enjoy fresh.
Prep Time: 30 minutes
Servings: 4
Nutrition (Per 1 Serving)
- Energy: 290 calories
- Protein: 14.33 g
- Fat: 17.83 g
- Carbohydrates: 18.86 g
- Fiber: 3.9 g
Notes
- Store leftovers in an airtight container in the fridge for up to 2 days. Yet, it is recommended to consume the salad while fresh.
- Customize your salad by adding your favorite vegetables, seasoning, and herbs.
- Enjoy this dish on hot days or anytime of the year.