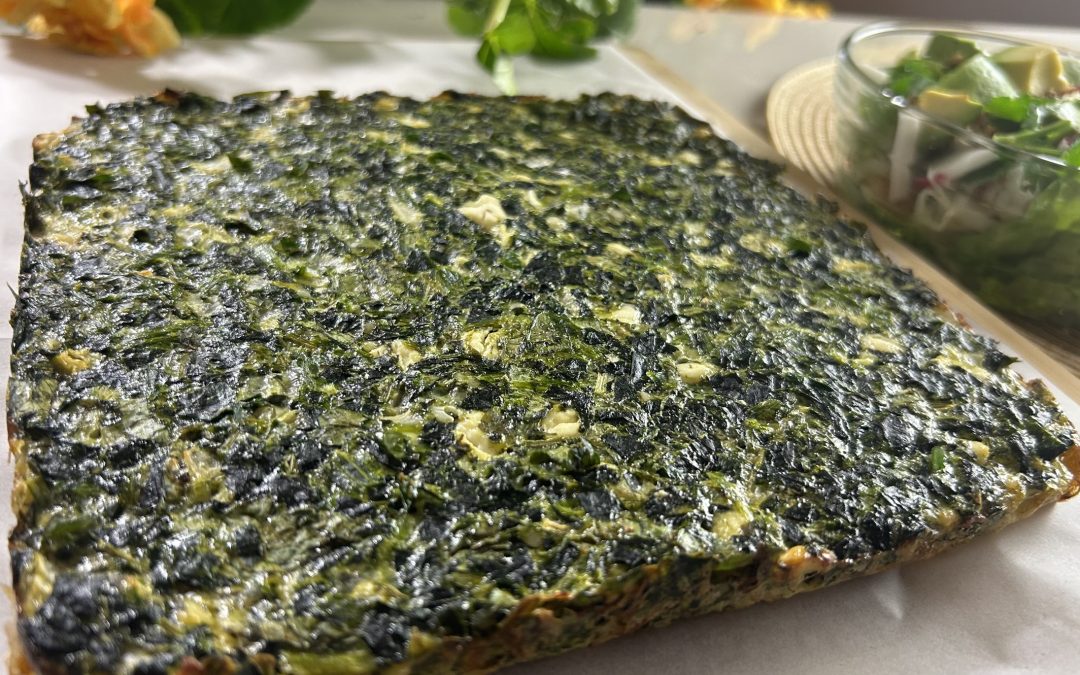
Spinach & Feta Cheese Frittata
Spinach & Feta Cheese Frittata
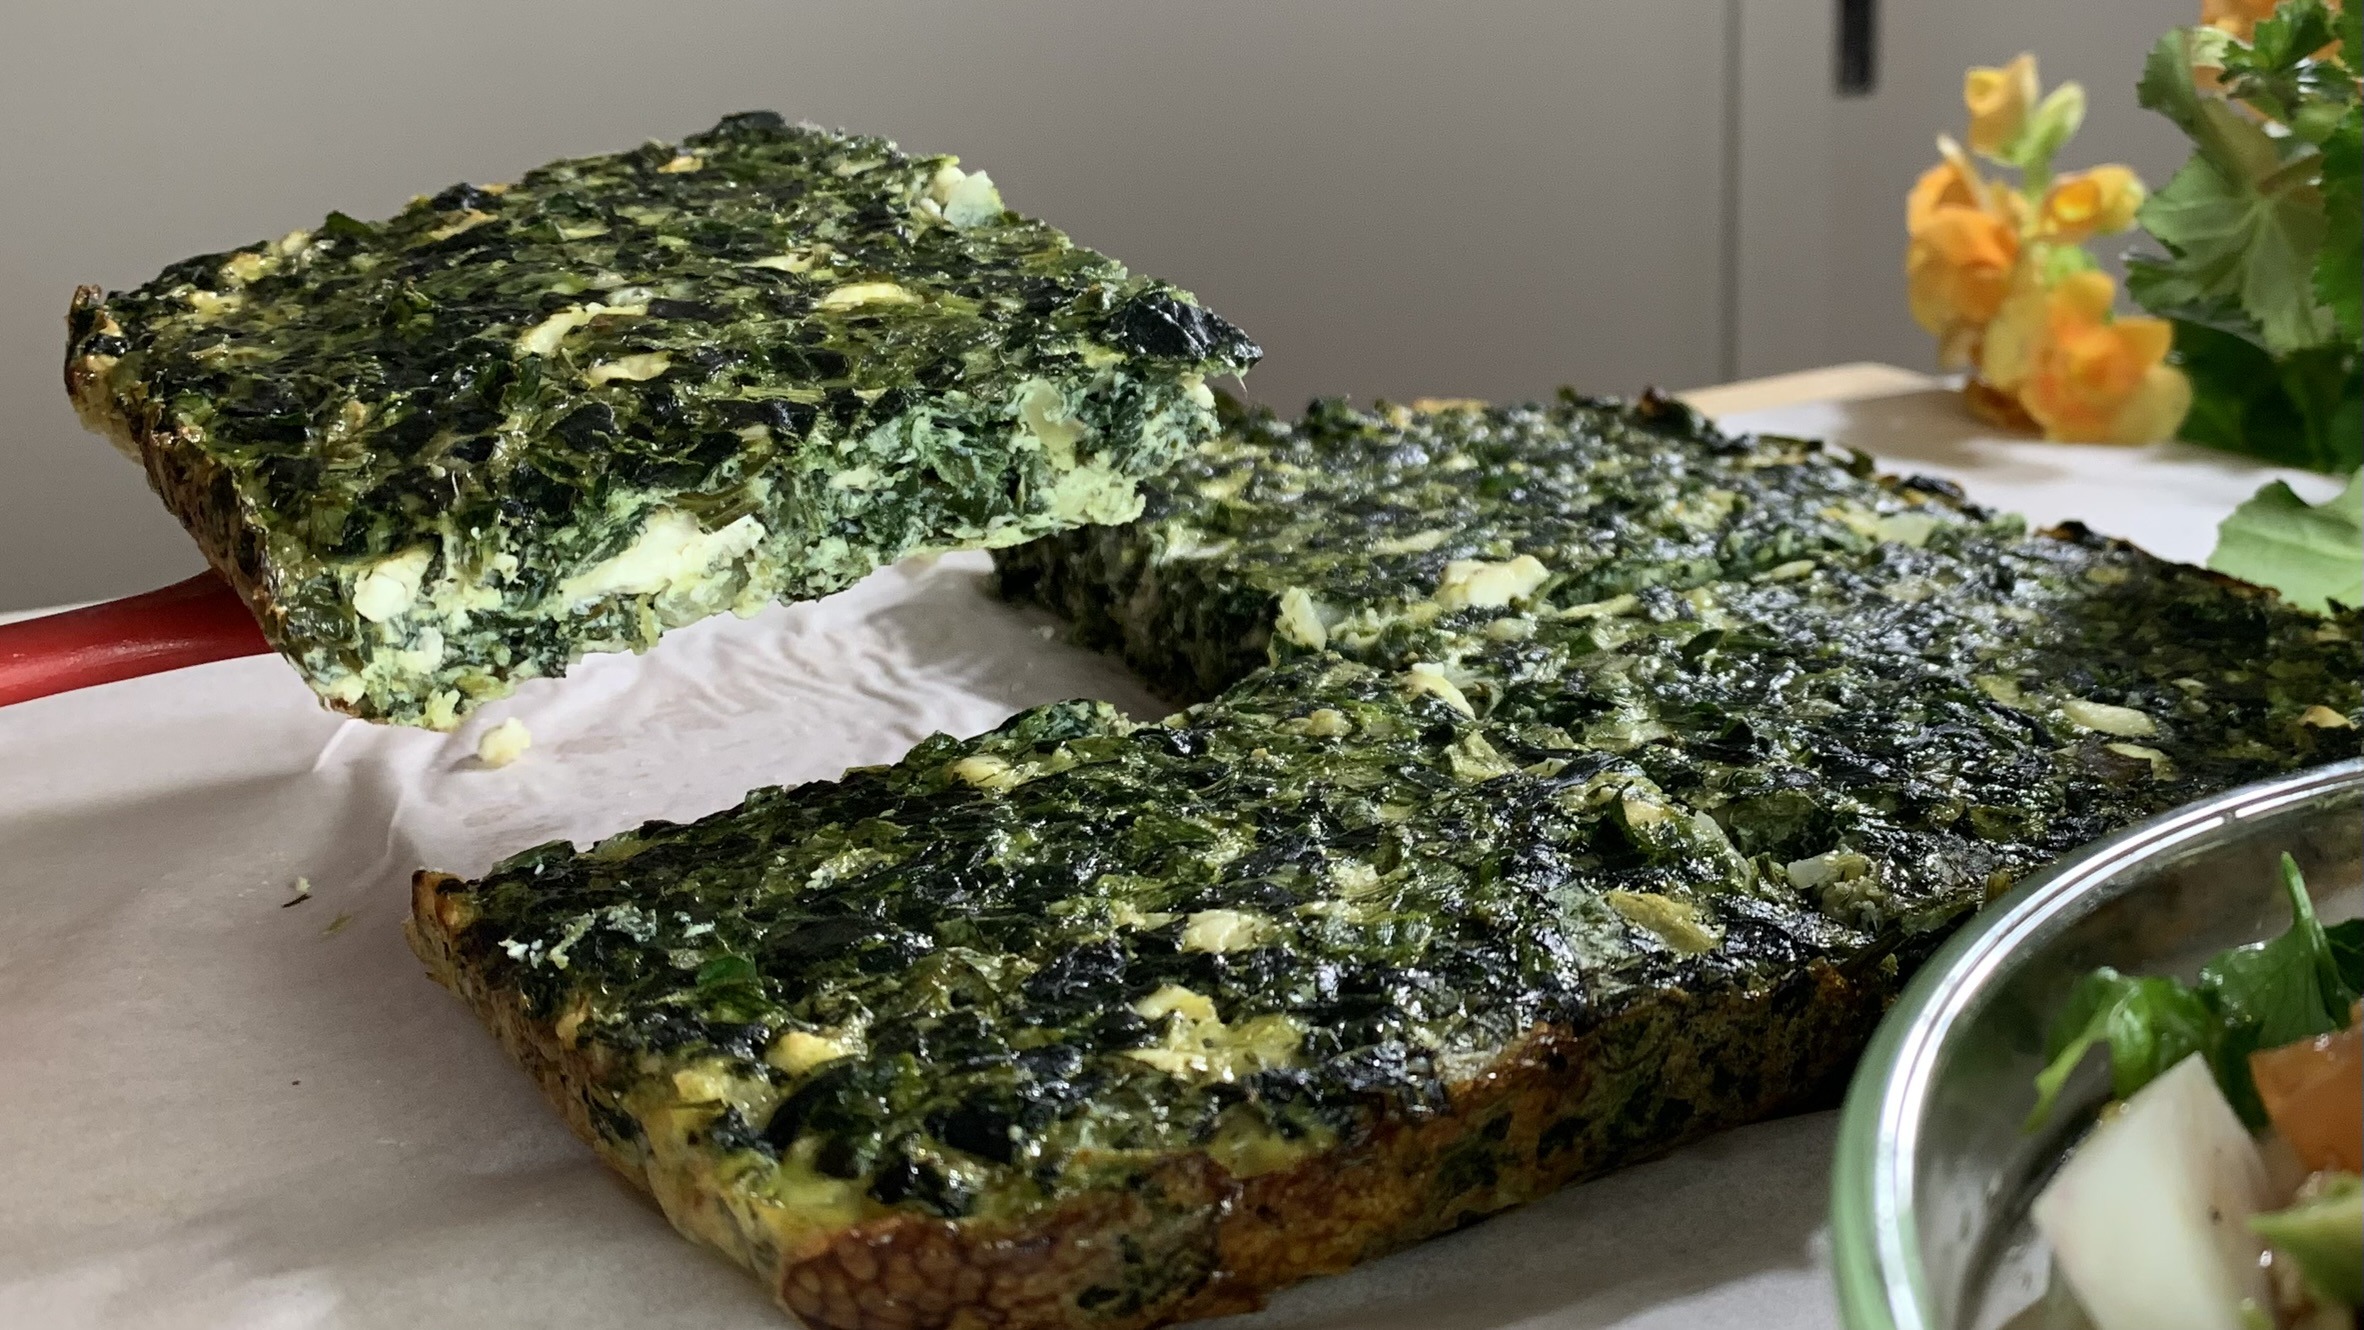
This spinach and feta cheese frittata is a quick, easy, and delicious masterpiece that effortlessly combines nutrition and flavor. Perfect for breakfast or a swift dinner, this recipe is an excellent choice for you and your loved ones.
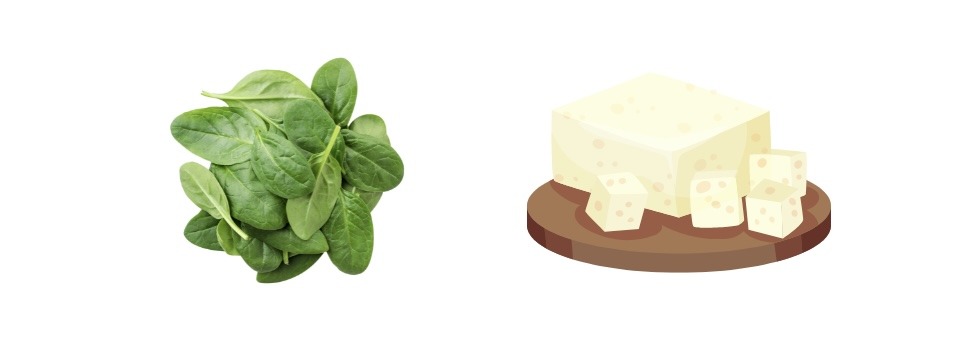
Spinach is the star of this recipe, packed with nutrients like iron, calcium, and vitamins A and C. It’s a fantastic leafy green that supports bone health, boosts the immune system, and provides antioxidants to protect your cells from damage. Paired with feta cheese, which offers a tangy richness and a good source of protein and calcium, this frittata is both nourishing and flavorful.
 |
 |
Whether you’re looking for a nutritious meal to start your day or a satisfying dish for dinner, this Spinach & Feta Cheese Frittata is sure to please. It’s not only delicious but also packed with essential nutrients that make it a healthy choice for any time of the day.
This Spinach & Feta Cheese Frittata is a wonderful way to enjoy the nutritious benefits of spinach and the rich, savory flavor of feta cheese. It’s perfect for any meal of the day and sure to become a favorite in your household. Enjoy!
Ingredients
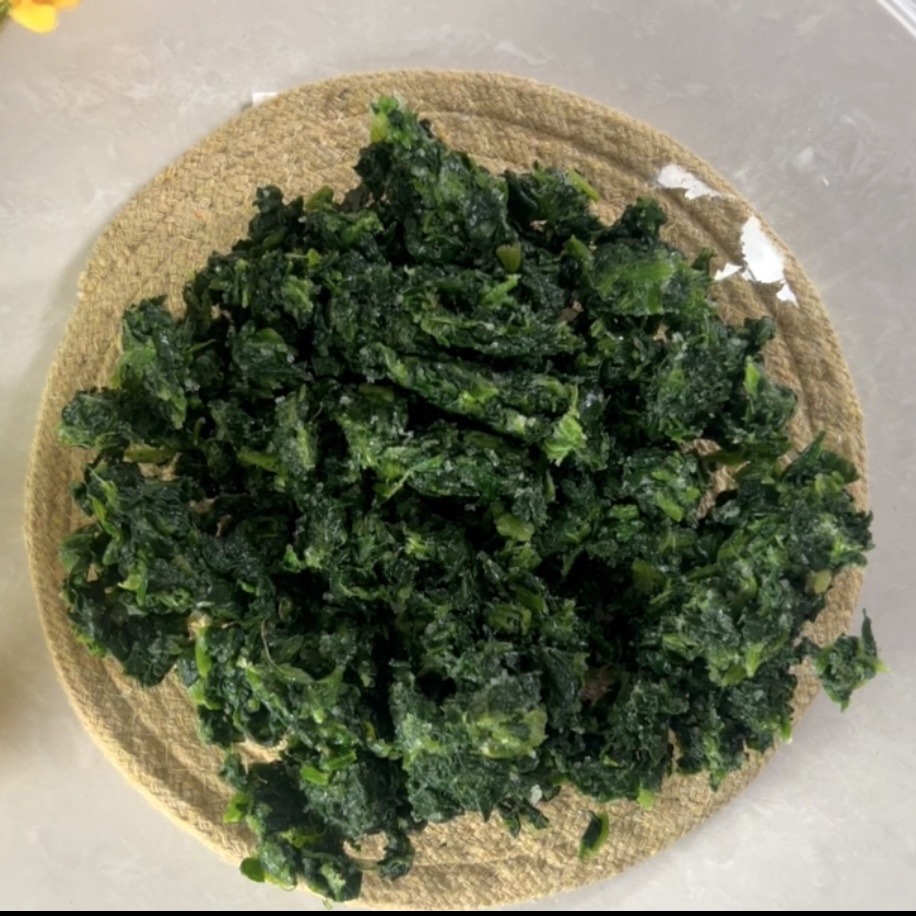
300 g thawed frozen spinach
1 medium onion (80 g)
Medium bunch of fresh parsley (50 g)
100 g feta cheese
4 large eggs
2 tbsp olive oil
1 tbsp dried dill (or use fresh dill for more flavor)
1/2 tsp salt
Ground black pepper, to taste
Directions
- Preheat your oven to 365°F (185°C).
- Thaw and squeeze the frozen spinach to remove excess moisture.
- Finely chop the onion and parsley.
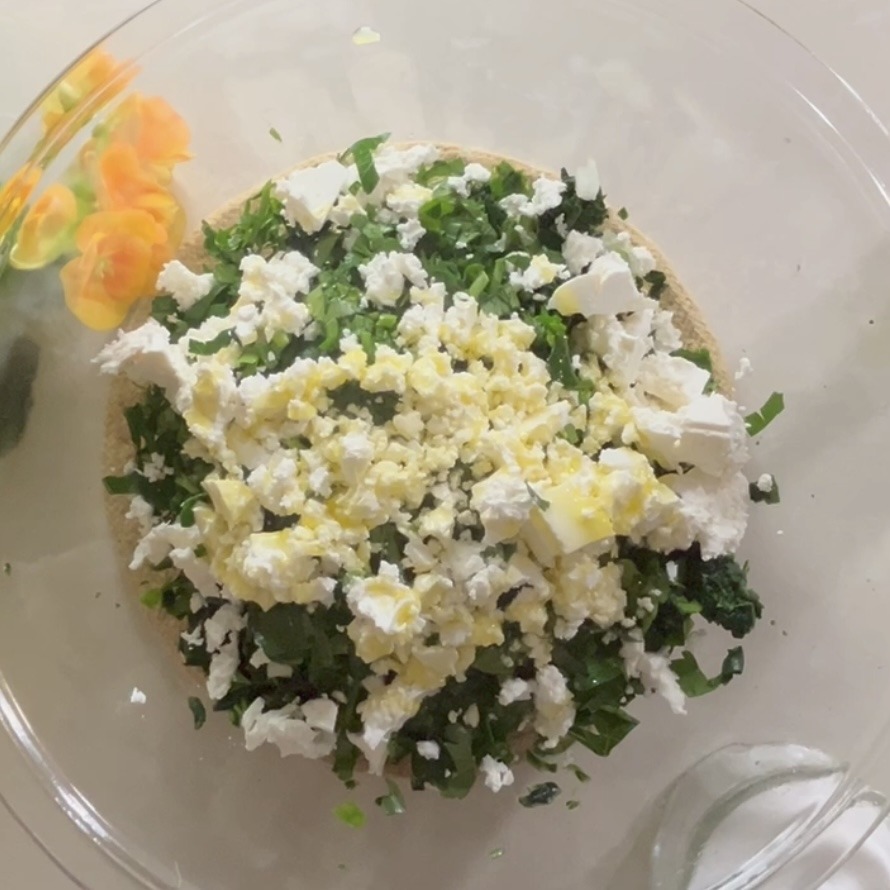
- In a large bowl, combine the squeezed spinach, finely chopped onion, parsley, and crumbled feta cheese.
- In a separate bowl, beat the eggs until well mixed.
- Add the beaten eggs to the spinach mixture. Drizzle in the olive oil and season with salt and ground black pepper. Add the dried or fresh dill and stir thoroughly to ensure all ingredients are harmoniously combined.
- Line a baking pan with parchment paper to prevent sticking.
- Pour the prepared mixture into the lined baking pan, spreading it out evenly.
- Place the pan in the preheated oven and bake for 45 minutes, or until the frittata is set and has a delightful golden hue on top.
- Allow the frittata to cool slightly before slicing and serving.
Yields: 4 Servings
Prep Time: 30 minutes
Baking Time: 45 minutes
Nutritional Information
Per 1 Serving:
Energy: 235 calories
Protein: 13.35 g
Fat: 17.61 g
Carbohydrates: 7.75 g
Fiber: 3.1 g
Storage
- Store leftover frittata in an airtight container in the refrigerator for up to 3 days.
- Reheat in the microwave or oven until warm before serving.
- For added flavor, consider using fresh dill instead of dried. Pair it with a fresh green salad or some crusty bread for a complete meal.