Cauliflower Omelet
Aug 20, 2024
Cauliflower Omelet

Good morning! If you’re looking to kickstart your day with a nutritious and satisfying meal, this Cauliflower Omelet is exactly what you need. Combining the rich flavors of eggs and tahini with the wholesome goodness of cauliflower, this omelet is not only delicious but also packed with nutrients that will keep you fueled and energized throughout the day.
Cauliflower is a low-calorie vegetable that’s high in fiber and loaded with vitamins C and K, which are essential for maintaining a healthy immune system and strong bones. When you blend cauliflower into this omelet, you’re adding a boost of nutrients without sacrificing taste or texture. The eggs provide high-quality protein that helps build and repair tissues, while tahini—made from sesame seeds—adds a creamy texture along with a dose of healthy fats and minerals like magnesium and iron.

This omelet is incredibly versatile, so you can easily customize it with your favorite vegetables and herbs for extra flavor and nutrition. It’s perfect for breakfast, but it’s also hearty enough for a light lunch or dinner. Whether you’re sticking to a healthy eating plan or just want a quick and easy meal, this Cauliflower Omelet is sure to become a go-to recipe in your kitchen.

So, let’s get cooking and enjoy this nutritious and flavorful dish!
Ingredients:
- 2 large eggs
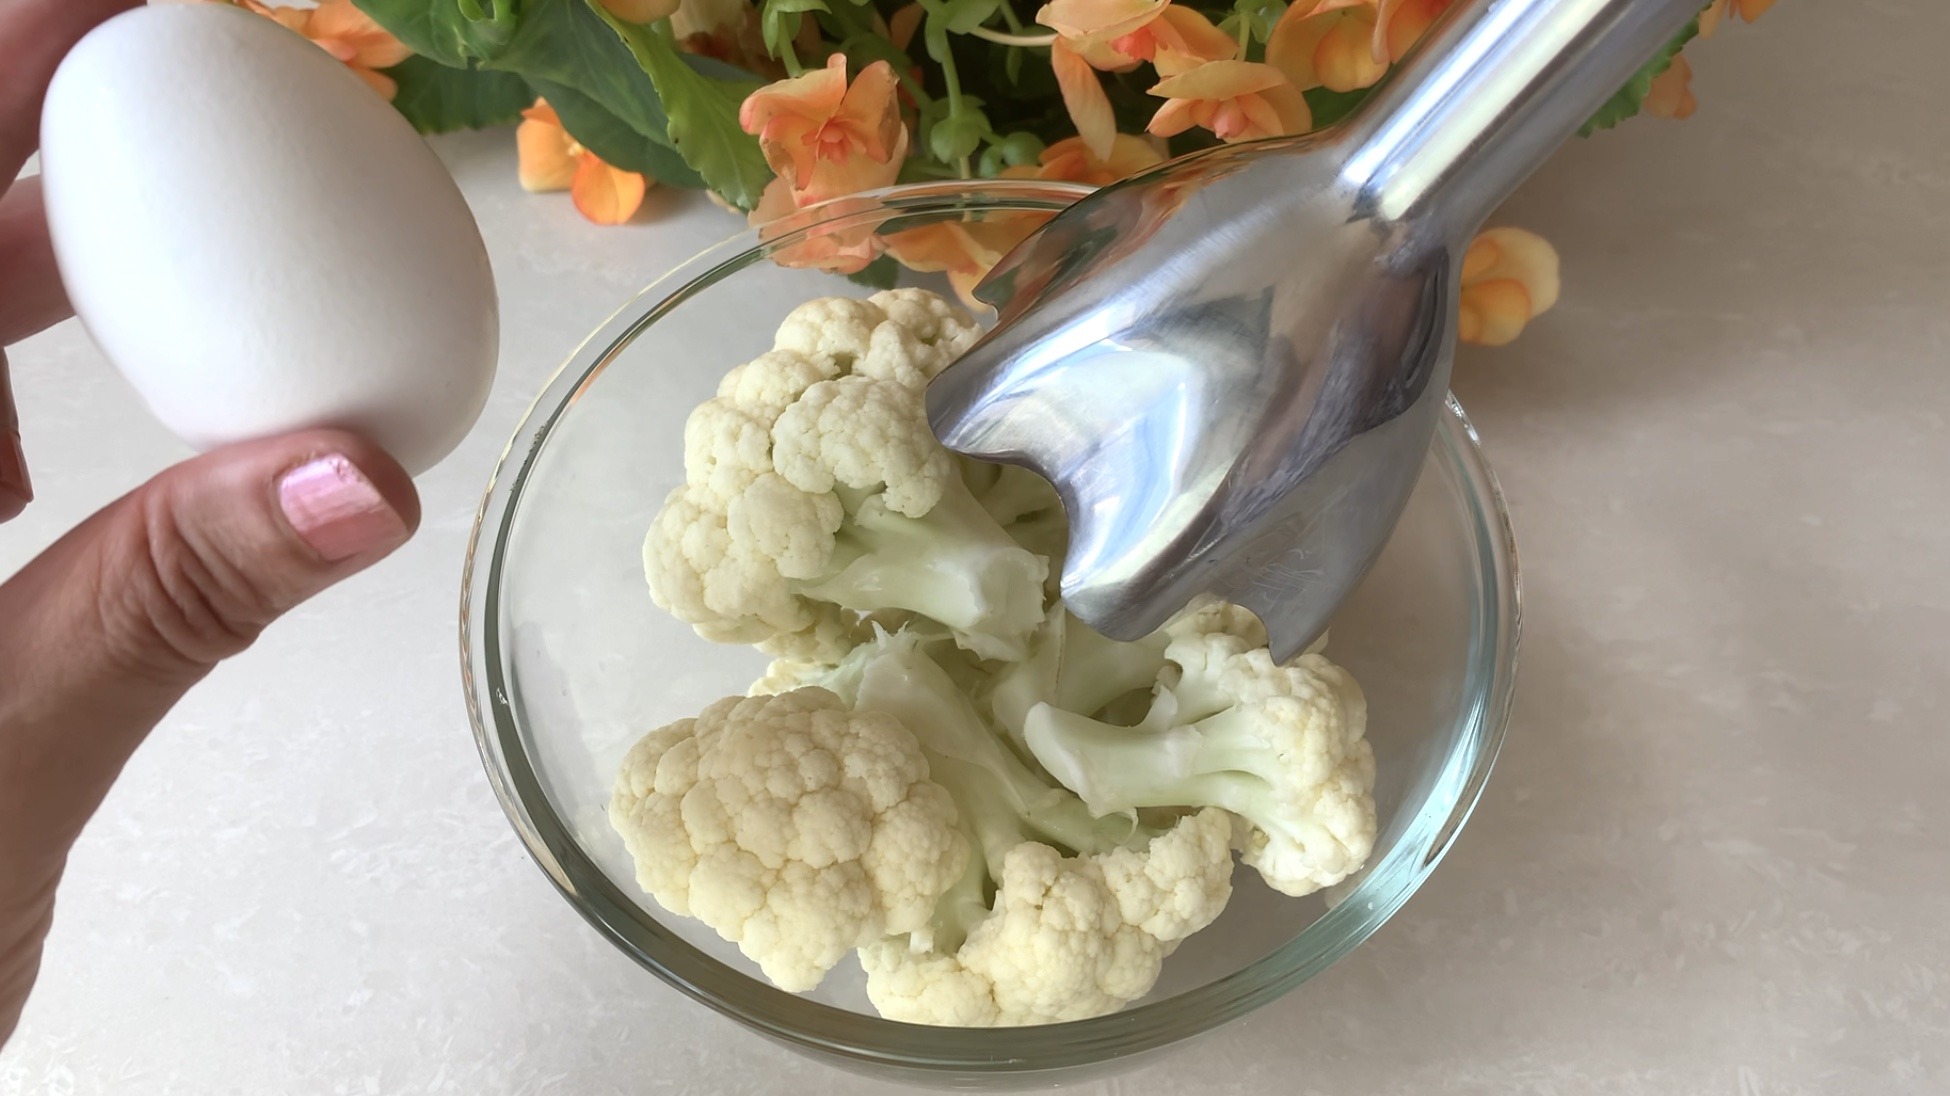
- 100 g cauliflower florets
- 1 tbsp. tahini
- ⅛ tsp. salt
- Black pepper to taste
- 20 parsley leaves for garnish (optional)
- 1 tsp. olive oil to brush onto the pan
Directions:
- Wash the cauliflower florets and pat them dry with a paper towel. Break the florets into small pieces for even blending.
- Using a hand blender, blend cauliflower florets, eggs, and tahini until smooth and creamy.
- Heat a non-stick pan over medium heat and brush it lightly with olive oil or other oil.
- Pour approximately a ¼ cup or an ice scoop of batter onto the heated pan, spreading it evenly to form a thin omelet.
- Garnish with parsley leaves if desired, and season with black pepper to taste.
- Cover the pan and cook the omelet for 1 to 1:30 minutes until the edges begin to lift and the bottom turns lightly golden.
- Carefully flip the omelet using a spatula and cook the other side for an additional 1 minute, ensuring both sides are evenly cooked and golden brown.
- Serve hot and enjoy as a nutritious breakfast, light lunch, or dinner, accompanied by your favorite side dishes.
Prep Time, Cooking Information, and Servings:
- Prep Time: 20 minutes
- Cooking Time: 30 minutes
- Servings: 9
Nutritional Information (Per Serving):
- Energy: 69 calories
- Protein: 4.26 g
- Fat: 4.94 g
- Carbohydrates: 2.22 g
- Fiber: 0.8 g
Storage and Particular Recommendations:
- Enjoy the cauliflower and tahini omelet fresh off the pan for the best taste and texture. However, if you have leftovers, store them in an airtight container in the fridge for up to 3 days.
- Experiment with different vegetable combinations to create your own omelet variations! This dish is versatile and can be easily customized to suit your preferences.