Chocolate Turtles
Chocolate Turtles
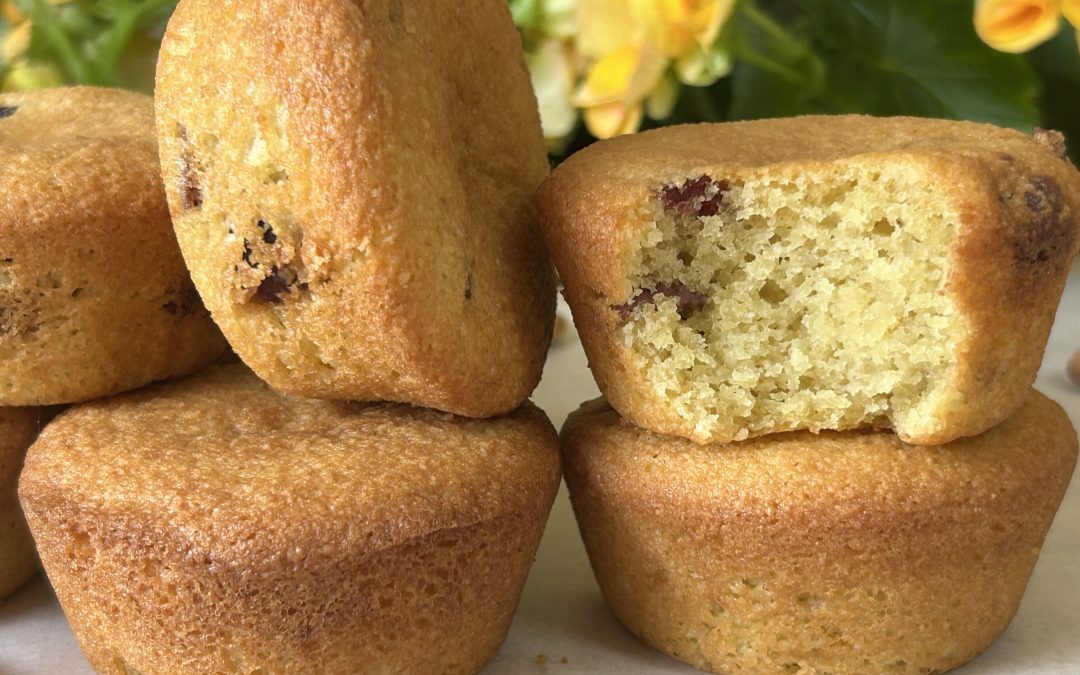
Who can resist the magic of homemade chocolate turtles? These little bites of joy are the perfect marriage of crunchy pecans, gooey caramel, and rich dark chocolate—a timeless classic that never disappoints. Making them at home is surprisingly simple, and the best part? You only need four wholesome ingredients to create this indulgent yet nutritious treat!
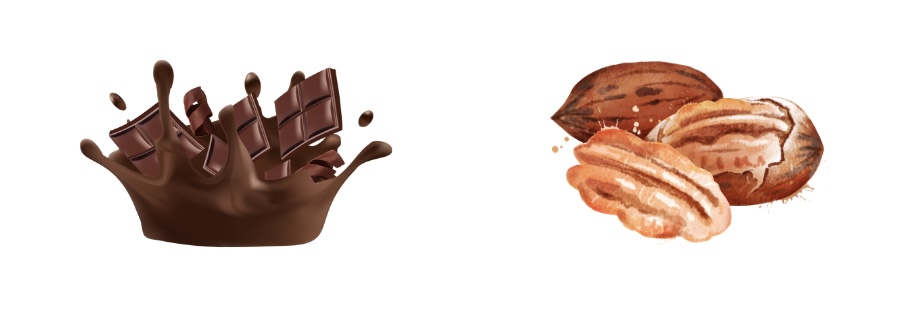
The true star of this recipe is pecans, which not only provide that signature crunch but also bring a host of nutritional benefits. Pecans are packed with heart-healthy monounsaturated fats, helping to support cholesterol balance and overall cardiovascular health. They are also a fantastic source of zinc and magnesium, two essential minerals that contribute to immune function, brain health, and muscle relaxation. Additionally, pecans contain powerful antioxidants, which protect cells from damage and reduce inflammation. Including pecans in your diet can help support long-term wellness while adding a delightful richness to your meals and snacks!
Paired with maple syrup caramel, a refined sugar-free alternative, and dark chocolate, known for its polyphenols and flavonoids that promote heart health, this treat is not only delicious but also nourishing. These homemade turtles make a wonderful gift, a special snack, or a dessert you’ll find hard to resist!
Ingredients
- 40 g pecans
- ½ cup maple syrup
- 30 g unsalted butter (vegan or not, room temperature)
- 85 g dark chocolate (70% or higher)
- Pinch of kosher salt (optional)
Directions
- Preheat the oven to 350°F (180°C). Spread the pecans on a baking tray and roast them for 5 minutes. Let them cool.
- In a saucepan over medium-high heat, simmer the maple syrup while stirring continuously until it reduces by half and thickens.
- Add the butter and stir vigorously for 1-2 minutes until fully incorporated. The caramel will continue to thicken as it cools.
- Quickly spoon small portions of the caramel onto a parchment-lined baking tray, shaping them into small circles.
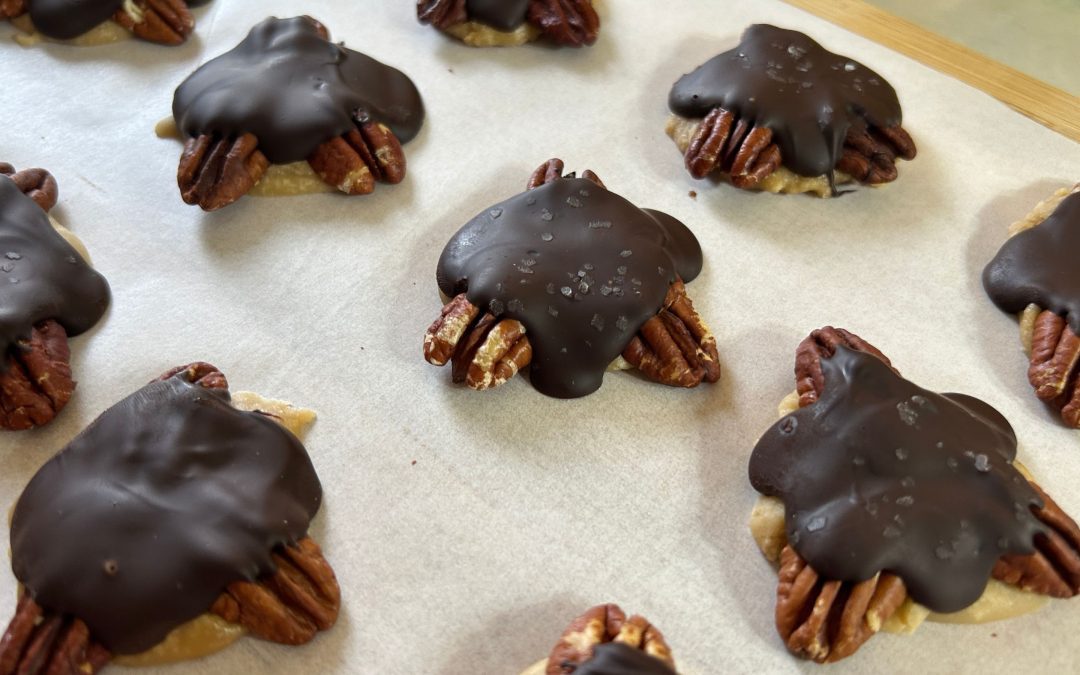
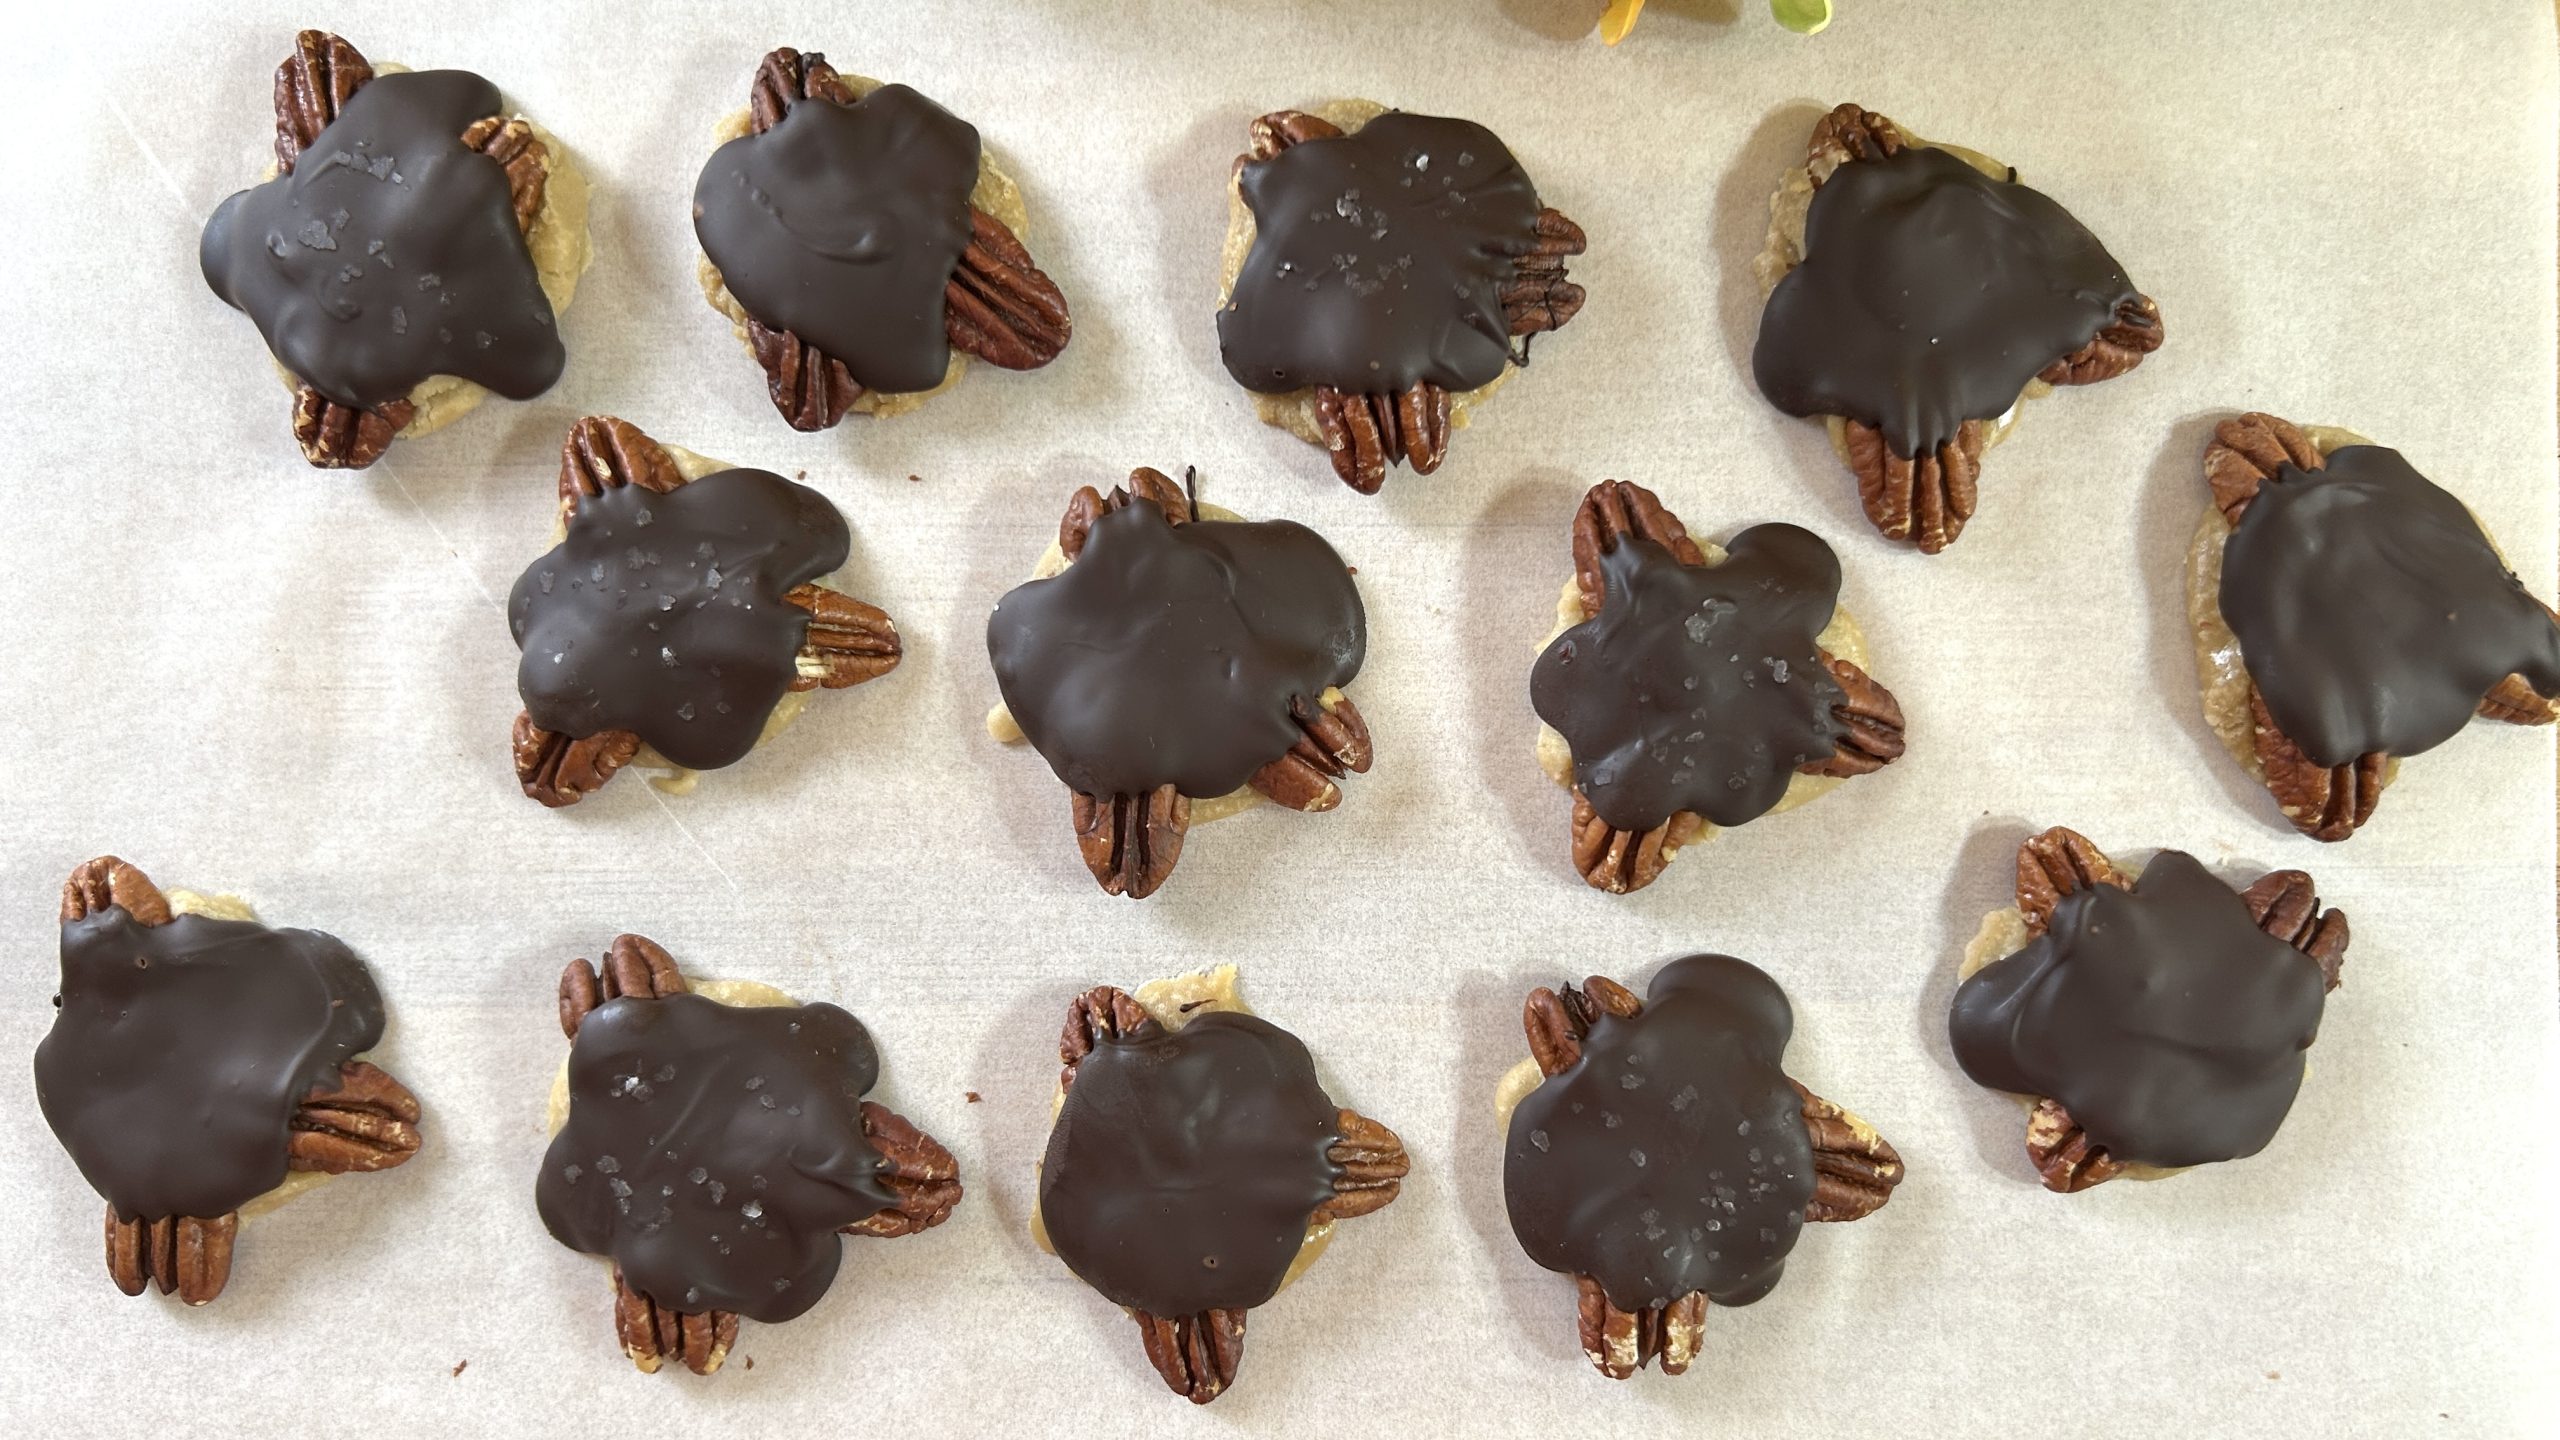
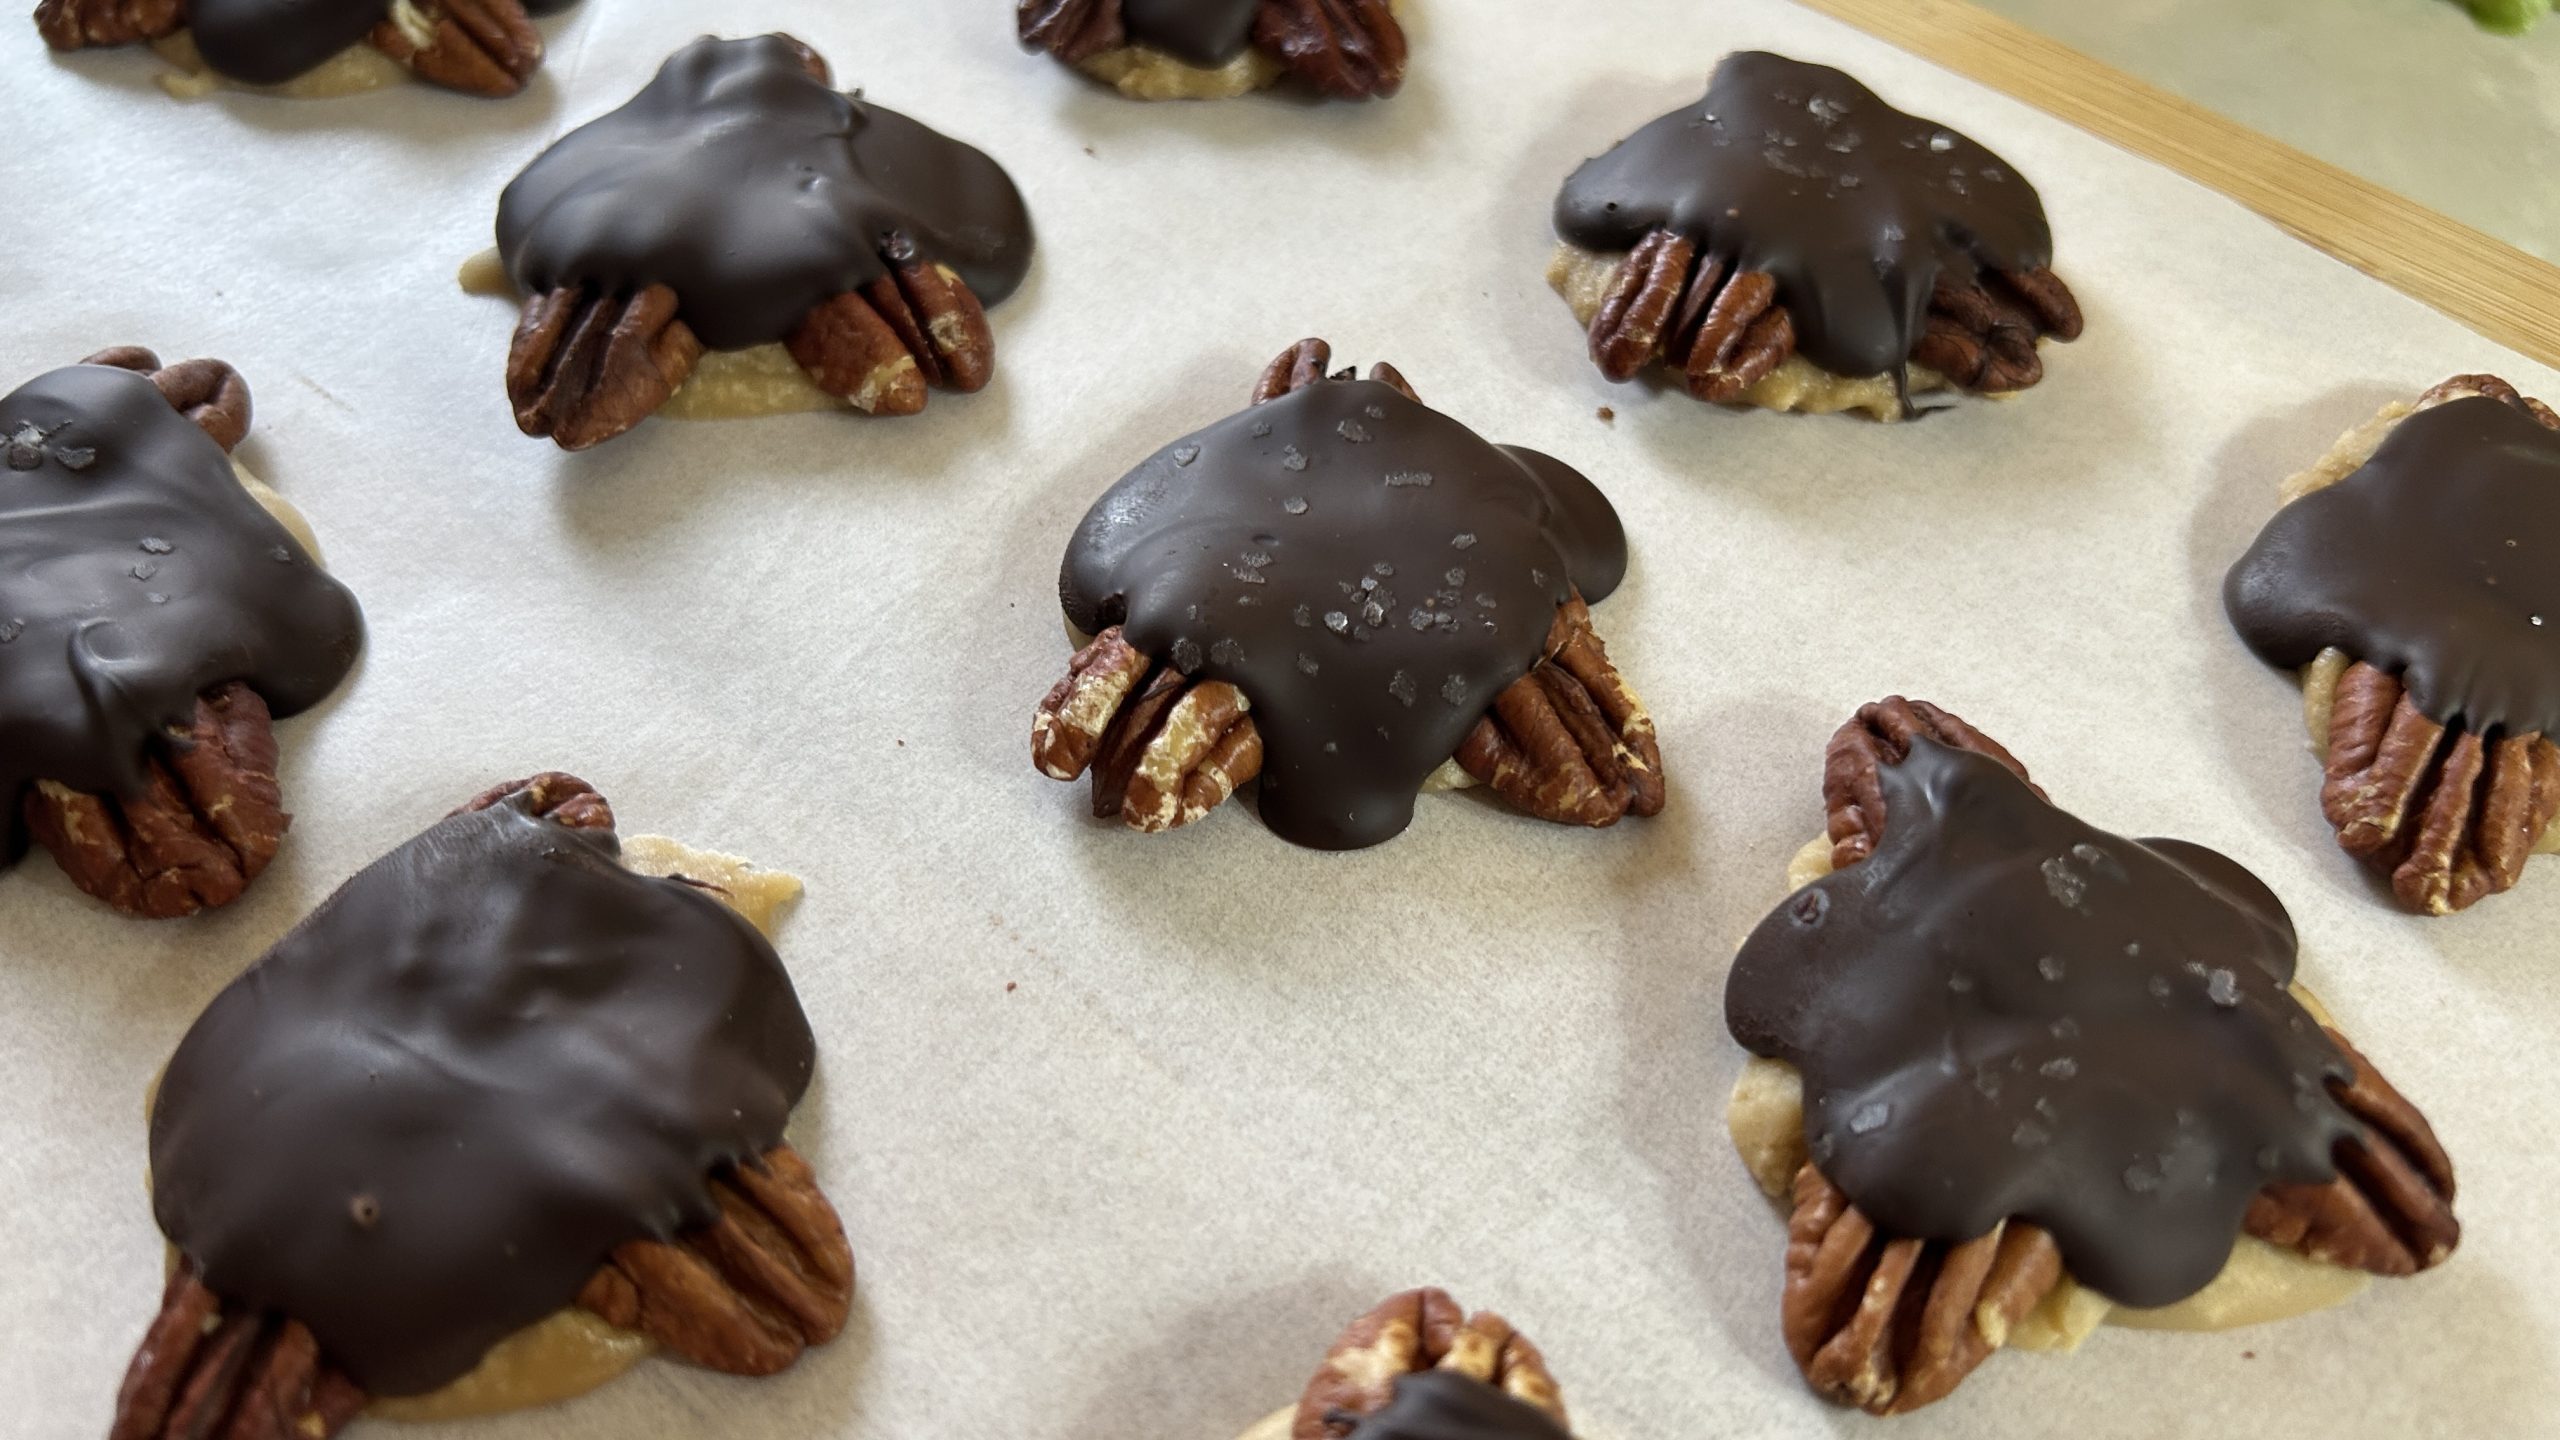
- Insert three roasted pecans into each caramel circle, arranging them like a turtle (one head, two feet).
- If the caramel hardens too much, reheat on low heat and stir until spoonable again.
- Melt the dark chocolate using a double boiler or microwave.
- Spoon a small amount of melted chocolate over each caramel-pecan cluster, covering the center. Sprinkle a pinch of kosher salt if desired.
- Refrigerate for at least 30 minutes until fully set. Enjoy your homemade chocolate turtles!
Prep Time: 30 minutes
Baking Time: 5 minutes
Chilling Time: 30 minutes
Servings: 14
Nutritional Information (Per Serving)
- Energy: 101 calories
- Protein: 0.76 g
- Fat: 6.39 g
- Carbohydrates: 10.73 g
- Fiber: 0.9 g
Storage
- Store in an airtight container in the fridge for up to 2 weeks.
- For a firmer texture, keep them in the freezer for up to 3 months.
- Use dairy-free butter to make them completely dairy-free.