Pistachio Chocolates
Pistachio Chocolates

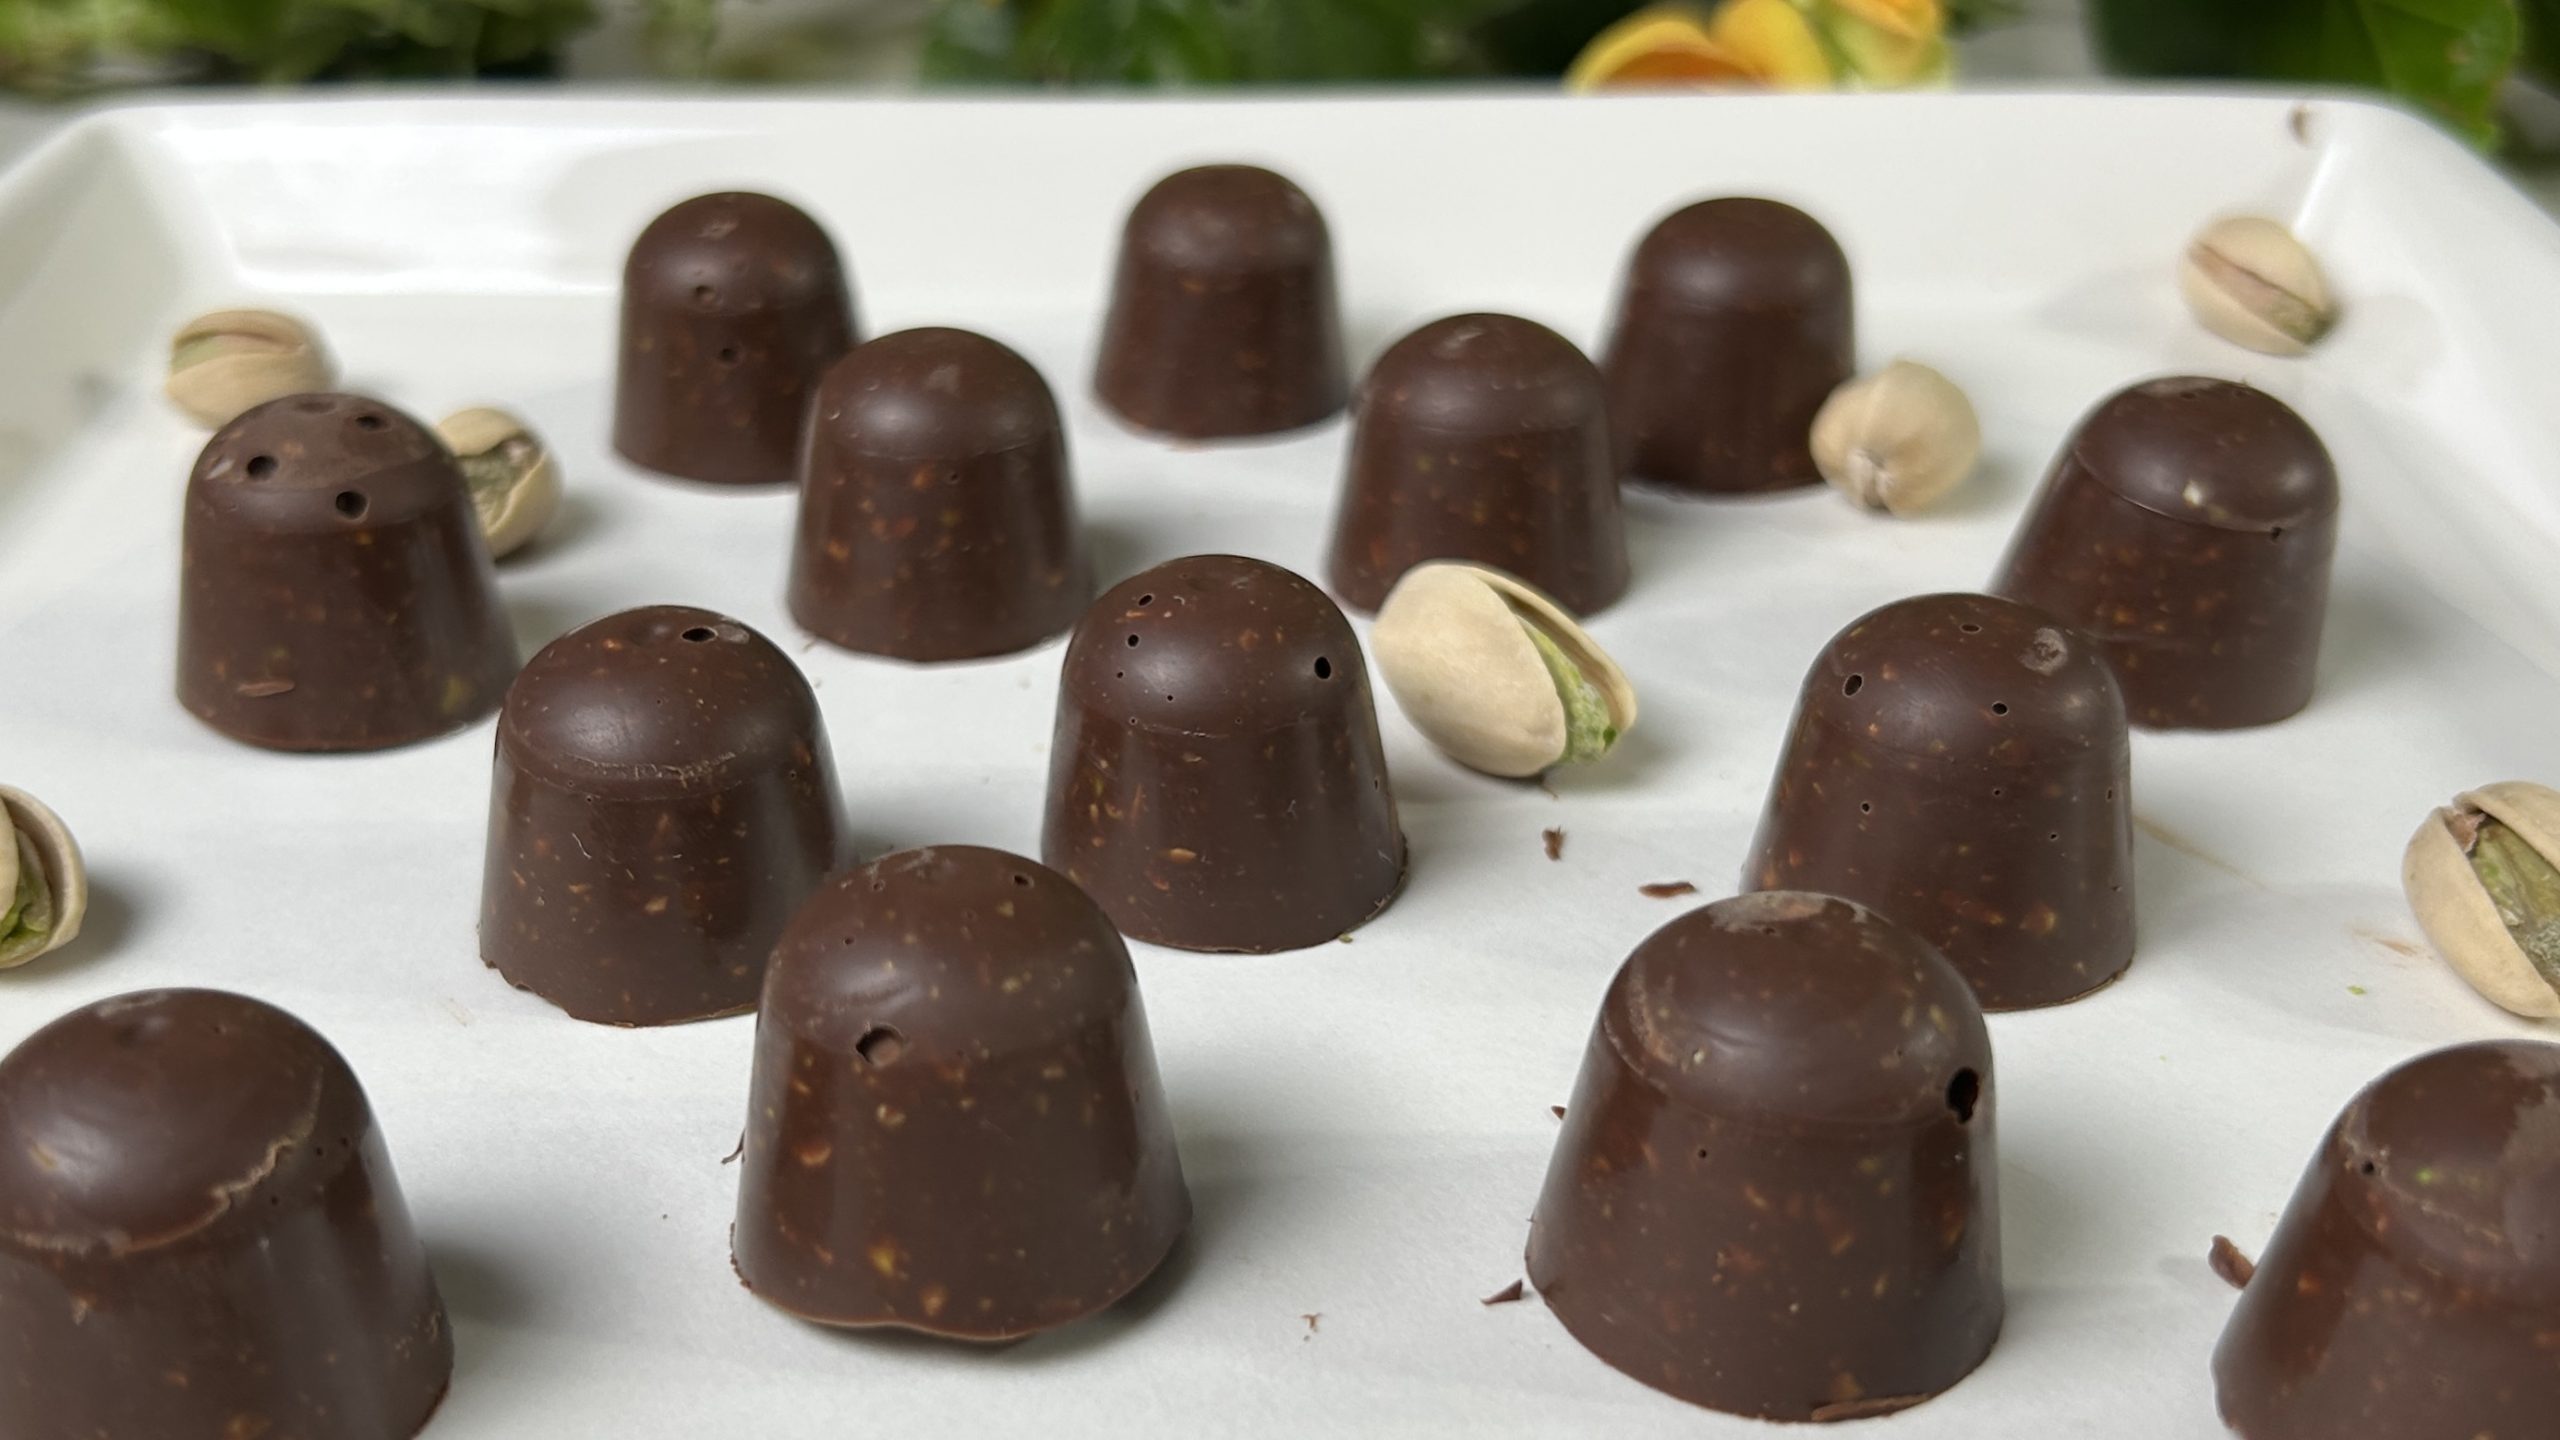
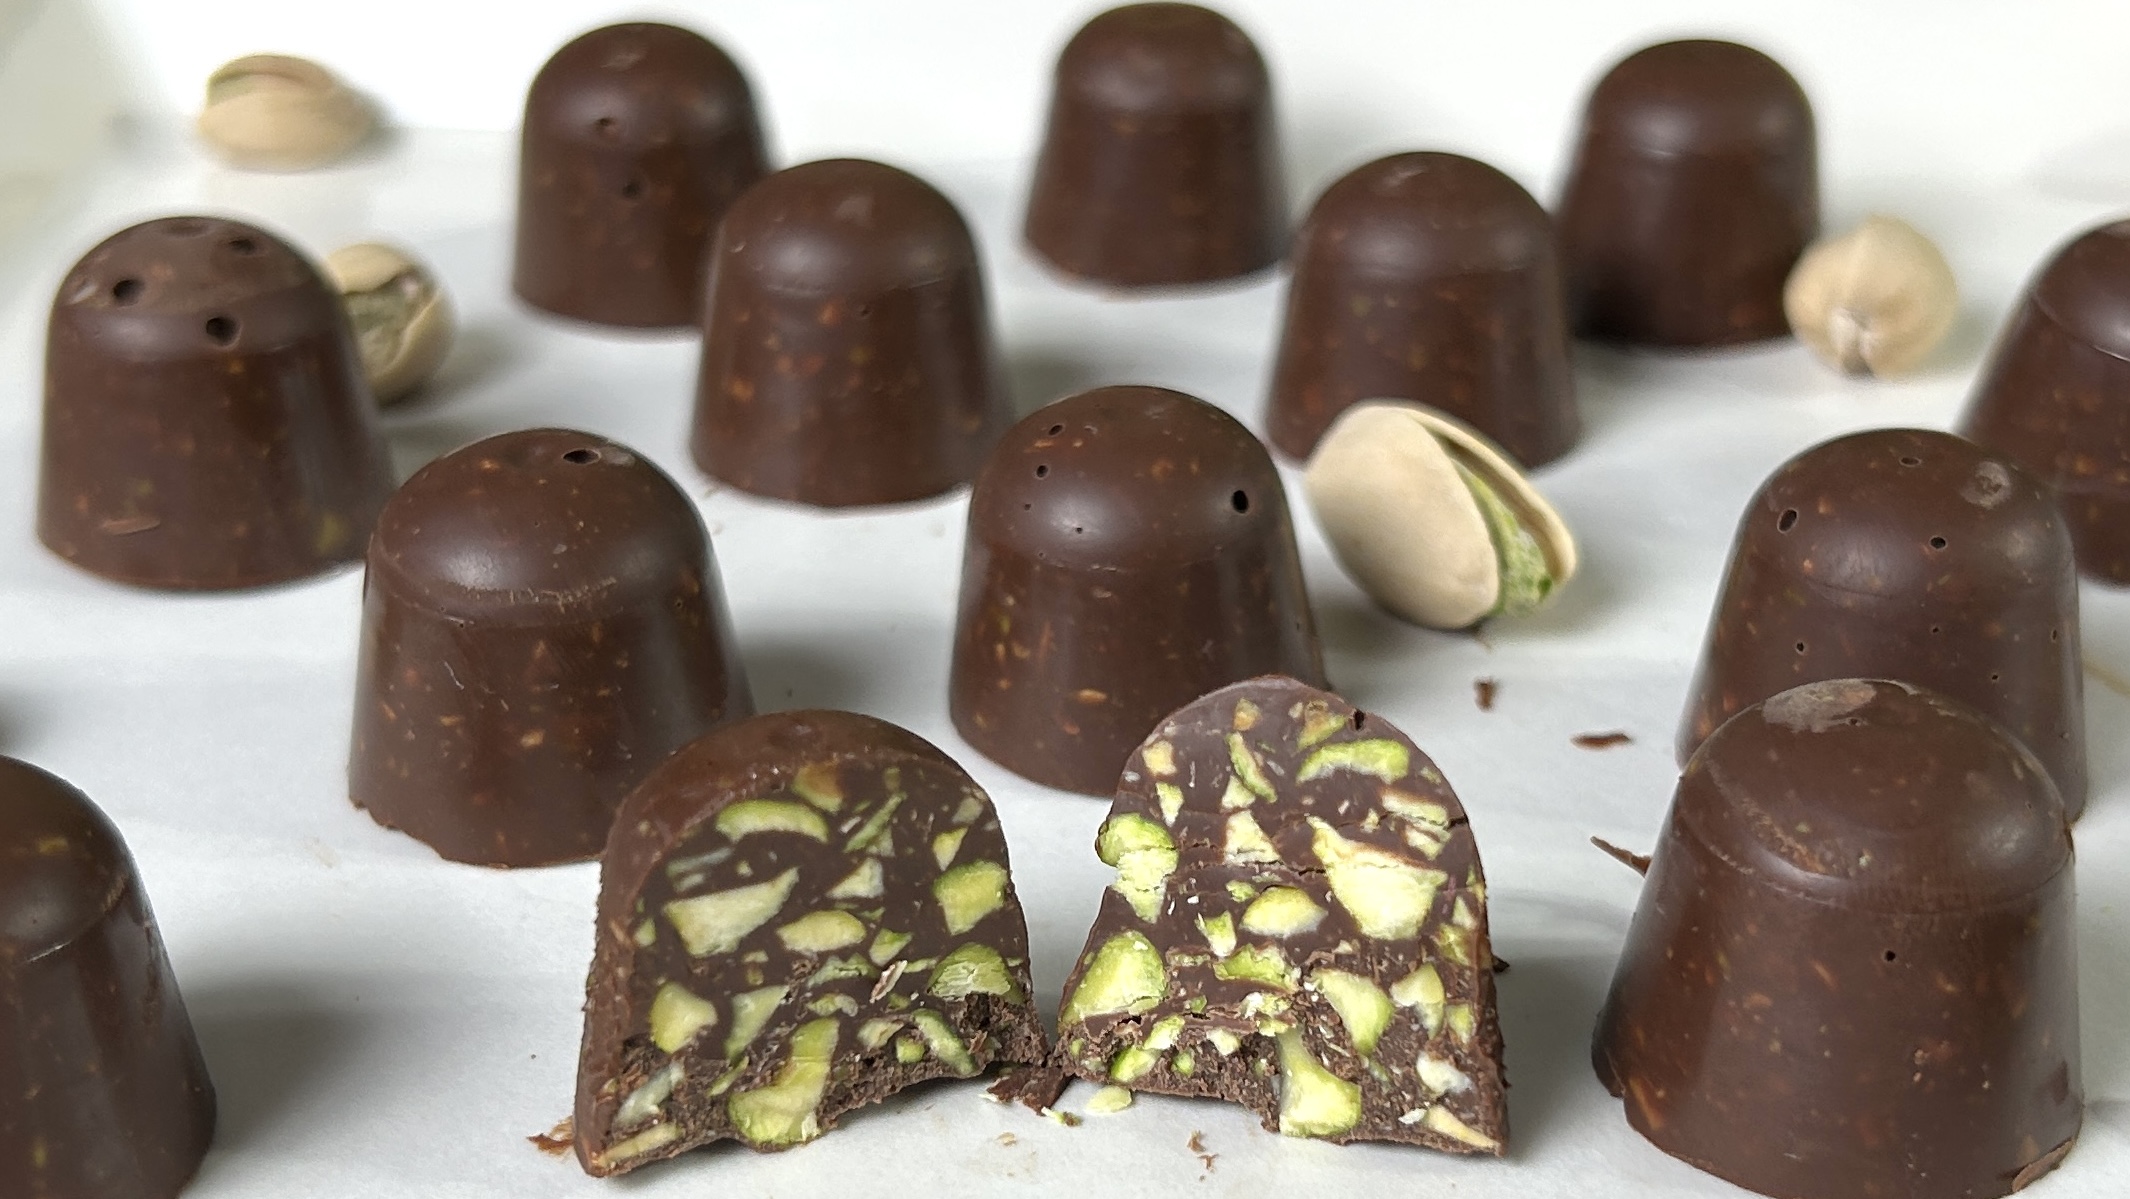
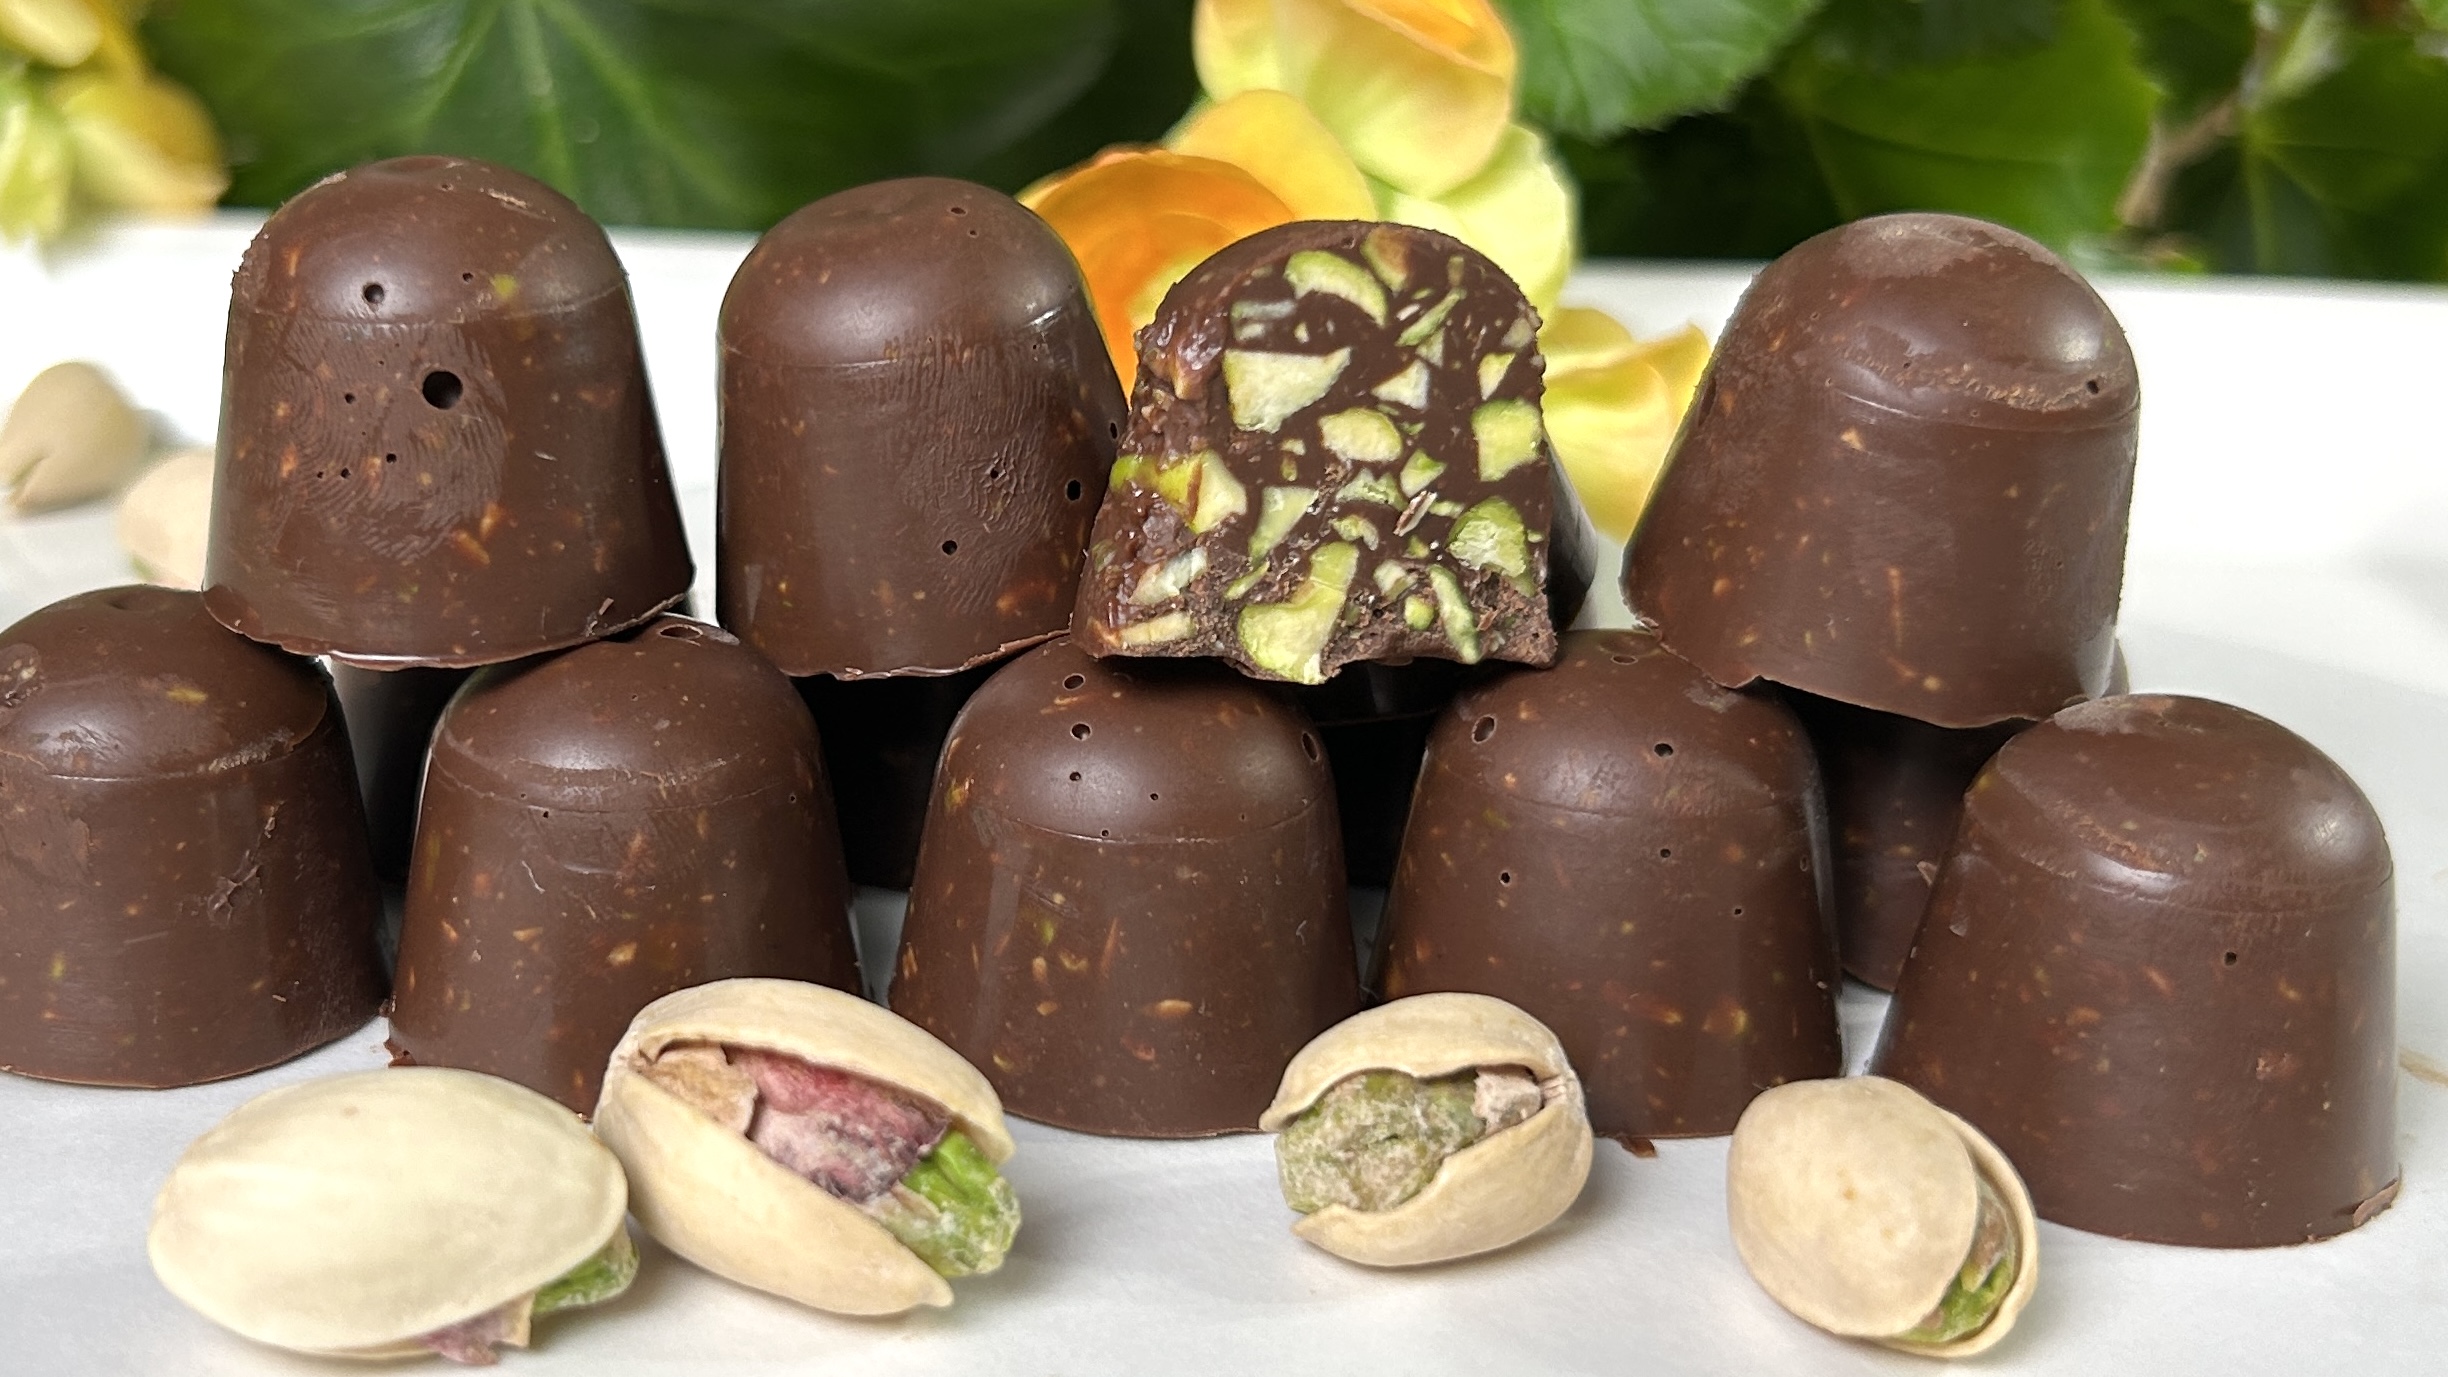
Who doesn’t love the combination of rich chocolate and the satisfying crunch of nuts? These pistachio chocolates are not only indulgent and easy to make but also packed with nutritional goodness. With just two core ingredients, dark chocolate and roasted pistachios, this recipe delivers a delightful balance of flavors and textures that will elevate any occasion. Perfect for gifting, snacking, or satisfying a late-night craving, these chocolates bring joy with every bite.
Let’s talk about pistachios, the true stars of this recipe. Often referred to as “green gold,” pistachios are tiny, nutrient-dense marvels that have been enjoyed for centuries. These nuts are brimming with heart-healthy monounsaturated fats, fiber for gut health, and plant-based protein to keep you energized. What’s more, pistachios are a fantastic source of antioxidants, vitamins like B6 for brain health, and minerals such as magnesium and potassium that support muscle and nerve function. Adding pistachios to your regular diet can contribute to balanced blood sugar levels, improved digestion, and even a boost in mood and energy.
Pairing these powerhouse nuts with dark chocolate takes the nutritional value a step further. Dark chocolate is celebrated for its high antioxidant content, which helps combat oxidative stress and inflammation in the body. It’s also rich in minerals like iron, magnesium, and copper, essential for overall well-being. Together, dark chocolate and pistachios create a treat that’s as nourishing as it is indulgent.
This recipe isn’t just about creating something delicious—it’s about crafting a wholesome snack that you can feel good about enjoying. So whether you’re treating yourself or sharing with loved ones, these pistachio chocolates are sure to make a lasting impression!
Ingredients:
- 1 cup (100 g) roasted pistachios (salted or unsalted), yielding ½ cup (50 g) cleaned pistachios
- 100 g dark chocolate or your chocolate of choice
- 1 tsp coconut oil for smoothness (optional)
Directions:
- Remove the shells from roasted pistachios. If using salted pistachios, taste-test to ensure they complement your chocolate.
- Coarsely chop the cleaned pistachios using a sharp knife and set them aside.
- Melt dark chocolate in a double boiler or microwave, stirring every 30 seconds to prevent burning.
- Stir in 1 teaspoon of coconut oil if desired for a smoother consistency.
- Once the chocolate is fully melted, let it cool slightly to avoid cooking the pistachios when mixed.
- Gradually mix the chopped pistachios into the melted chocolate, ensuring even coating.
- Prepare a silicone chocolate mold in your desired shape. Spoon approximately half a tablespoon of the chocolate mixture into each cavity of the mold.
- Gently tap the mold to remove air bubbles and smooth the surface.
- Refrigerate the mold for at least 1 hour or until the chocolates are firm.
- Carefully remove the chocolates from the mold and enjoy!
Prep Time:
- 20 minutes preparation
- 1 hour refrigeration
- Yields 14 servings
Nutritional Information (Per Serving):
- Energy: 66 calories
- Protein: 1.3 g
- Fat: 4.97 g
- Carbohydrates: 4.33 g
- Fiber: 1.1 g
Storage:
- Store in an airtight container in the refrigerator for up to 2 weeks.
- For longer storage, you can keep the chocolates in the freezer for up to 3 months.
- These chocolates make excellent gifts, wrap them in a decorative box for a thoughtful homemade present!