Vegan Brownies
Vegan Brownies

You’ll be amazed at how just a few simple, plant-based ingredients can create the most delectable vegan brownies! These treats are irresistibly soft, chocolatey, and naturally sweetened, making them a perfect go-to snack or even a quick breakfast option. With the delightful combination of ripe bananas, creamy peanut butter, and oat flour, you’re looking at a treat that’s not only indulgent but also nutritious, packed with fiber, protein, and healthy fats to keep you energized throughout the day.

What makes these brownies truly special is their ability to deliver a wholesome snack with minimal effort, using ingredients you likely already have at home. You can easily whip these up in a pinch, and the results are fantastic every time! Whether you’re in the mood for a quick pick-me-up, or looking to enjoy a more guilt-free dessert, these vegan brownies are bound to become a staple in your kitchen.

Now, let’s talk about the key ingredient: oats. Oats are a wonderful grain to incorporate into your diet regularly. Rich in beta-glucan, a type of soluble fiber, oats can help lower cholesterol levels, improve heart health, and provide long-lasting energy without spiking your blood sugar. They are also a great source of essential vitamins and minerals like manganese, magnesium, and iron. For anyone dealing with iron deficiency or looking to boost their iron intake, oats are a solid plant-based option to support a healthy, balanced diet. Incorporating oats into your diet is a smart choice for sustained energy and overall well-being.
Ingredients:
- 2 ripe bananas (320 g)
- 1/3 cup (90 g) unsweetened peanut butter
- 4 tbsp (20 g) sifted cocoa powder
- 1/4 cup (25 g) oat flour
- 1 tsp. baking powder
- 20 g chocolate chips (optional)
Directions:
- Preheat your oven to 350°F (175°C).
- In a large mixing bowl, mash the ripe bananas with a fork until they’re fully puréed and smooth.
- Add the unsweetened peanut butter and sifted cocoa powder, stirring until the mixture is smooth and well combined.
- Add the oat flour and baking powder, and gently stir until just combined. Be careful not to overmix the batter.
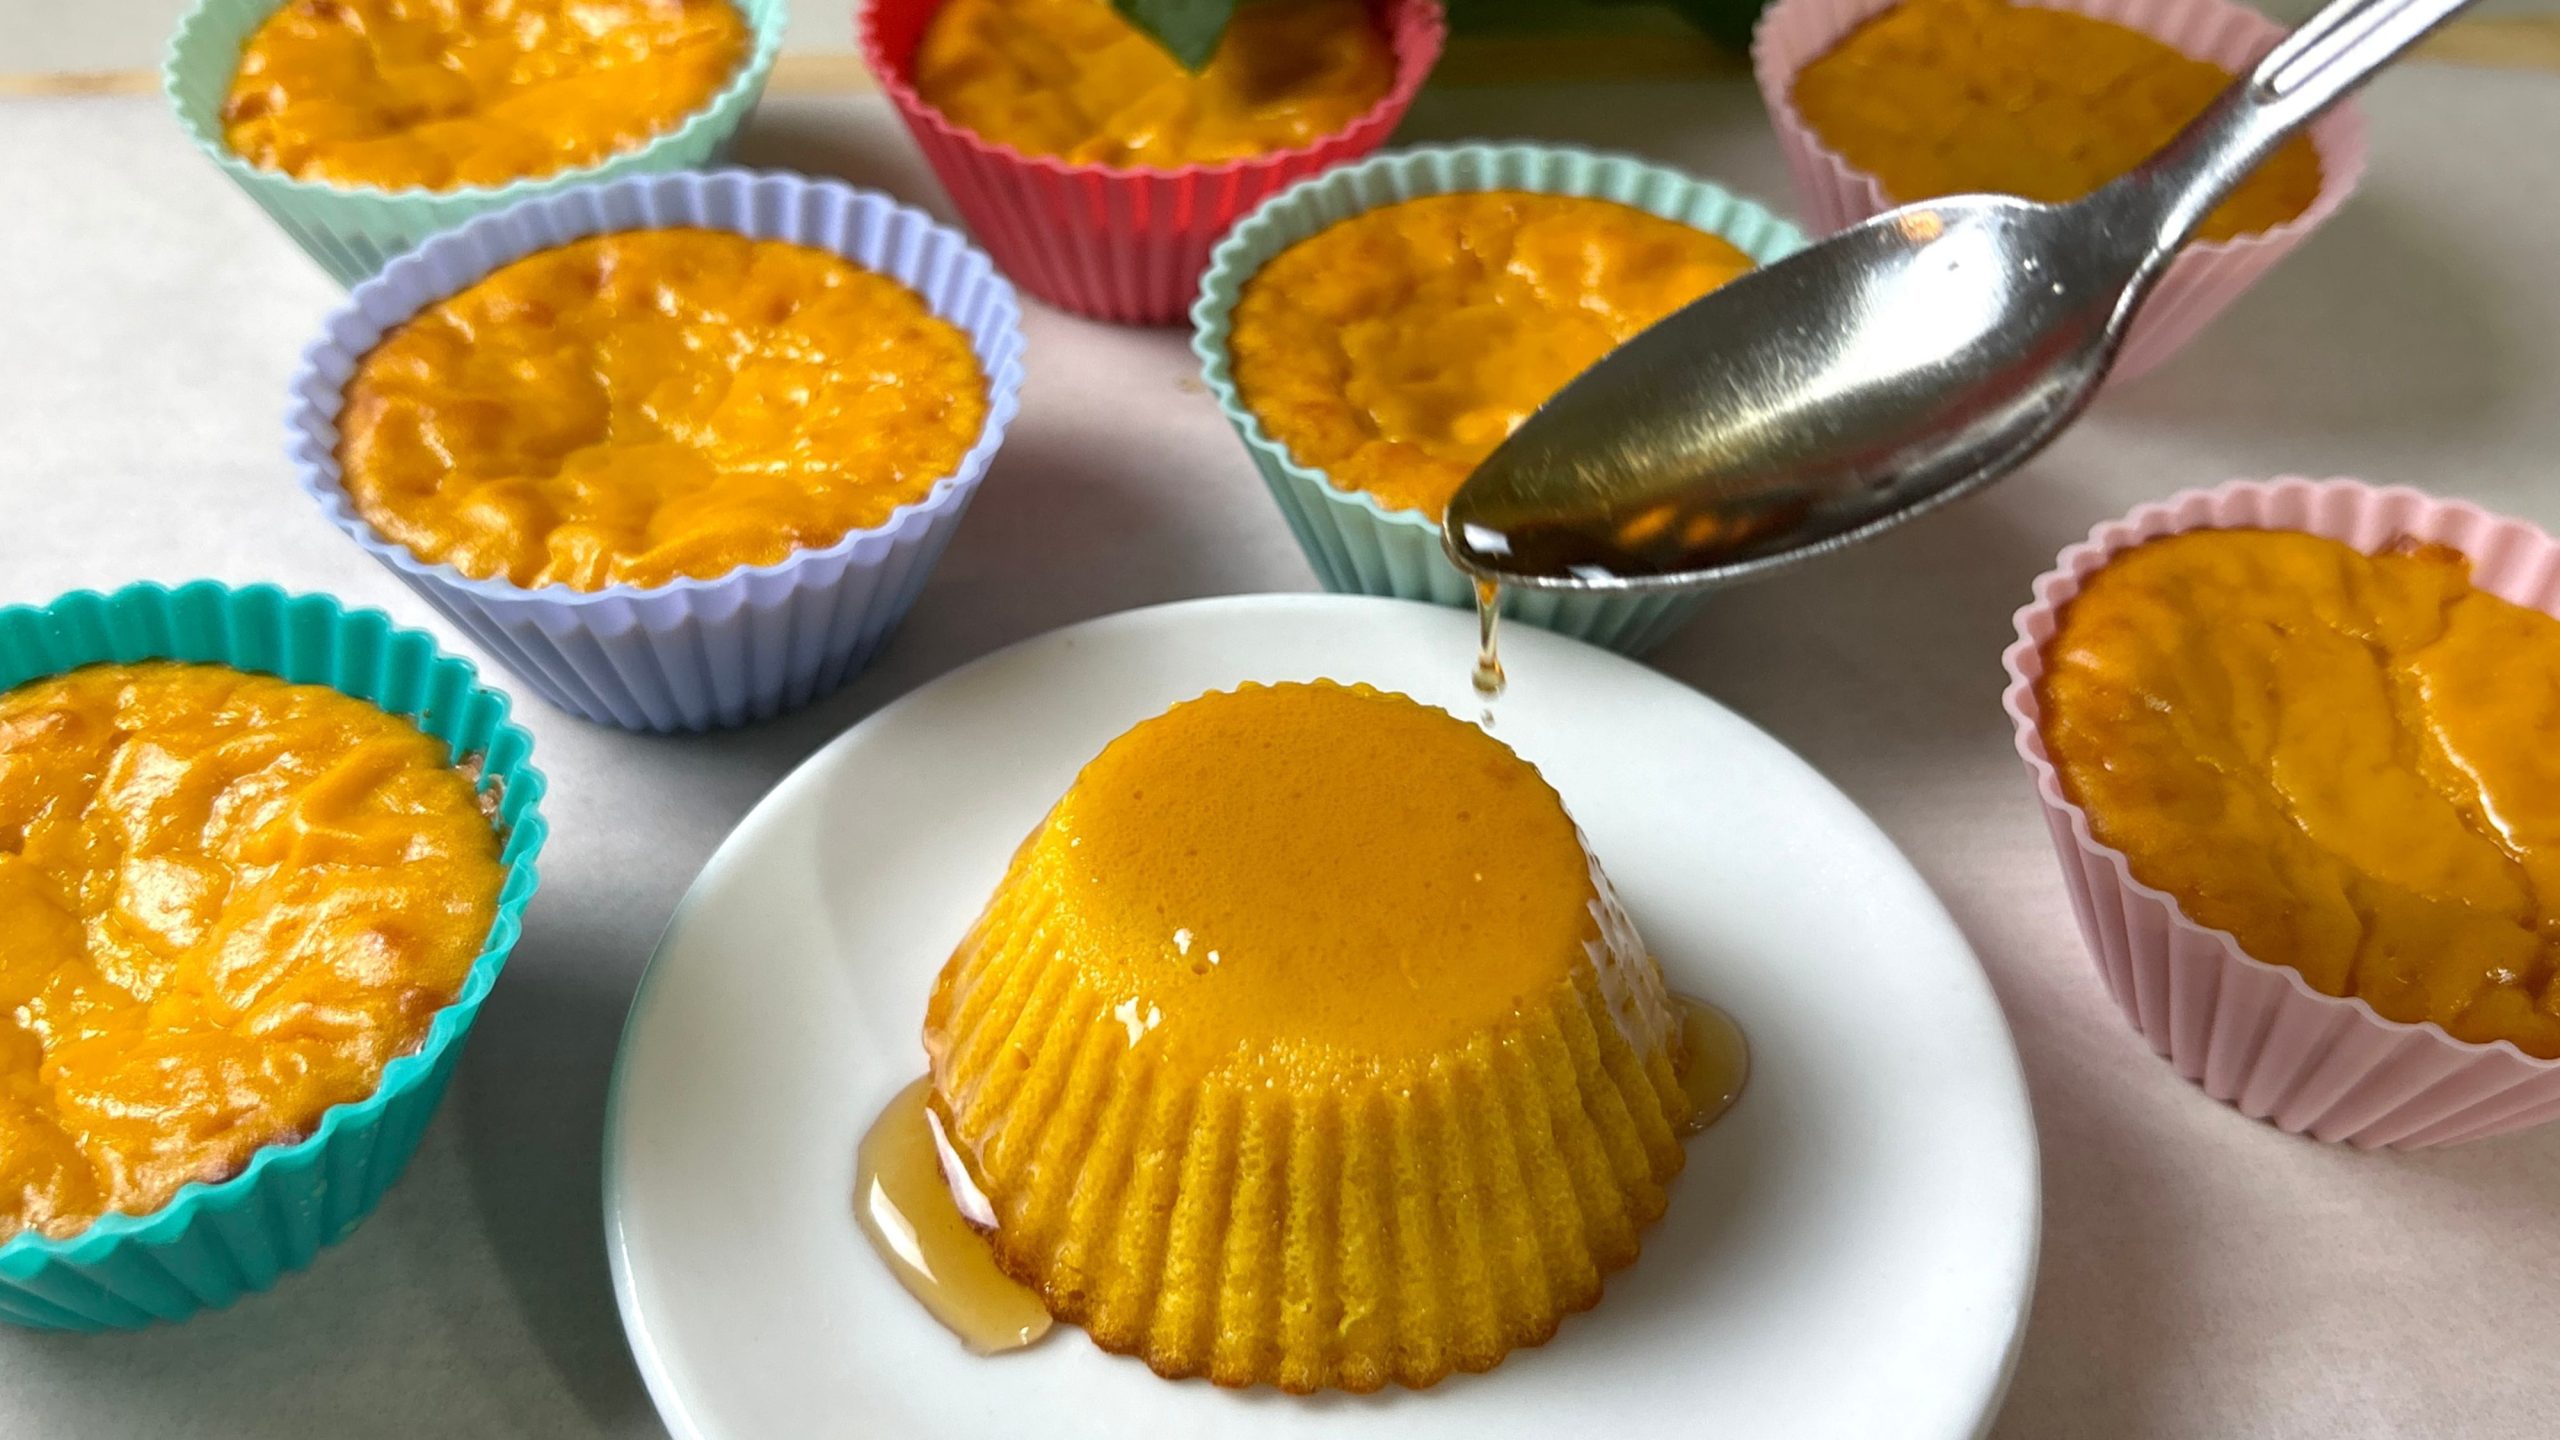
- Prepare your mini-cake cups by lining them with parchment paper.
- Spoon equal amounts of the batter into the prepared mini-cake cups. Use the back of a spoon to smooth the tops of the batter.
- If desired, sprinkle some chocolate chips on top of the batter for extra richness.
- Place the mini-cake cups in the preheated oven and bake at 350°F (175°C) for 15 to 20 minutes. Avoid over-baking to keep the brownies soft and moist.
- Once baked, remove the brownies from the oven and transfer them onto a cooling rack.
- Let the brownies cool for a few minutes before serving. Enjoy with your favorite beverage!
Prep Time: 10 minutes
Baking Time: 20 minutes
Servings: 6 servings
Nutritional Information (per serving):
- Energy: 170 calories
- Protein: 5.85 g
- Fat: 7.1 g
- Carbohydrates: 23.48 g
- Fiber: 2.9 g
Storage:
- Store the brownies in an airtight container at room temperature for up to 3 days.
- For longer storage, refrigerate for up to 7 days.
Notes:
- You can customize this recipe by adding chopped nuts or dried fruits for extra texture and flavor.