Banana & Peanut Butter Ice Cream
Banana & Peanut Butter Ice Cream

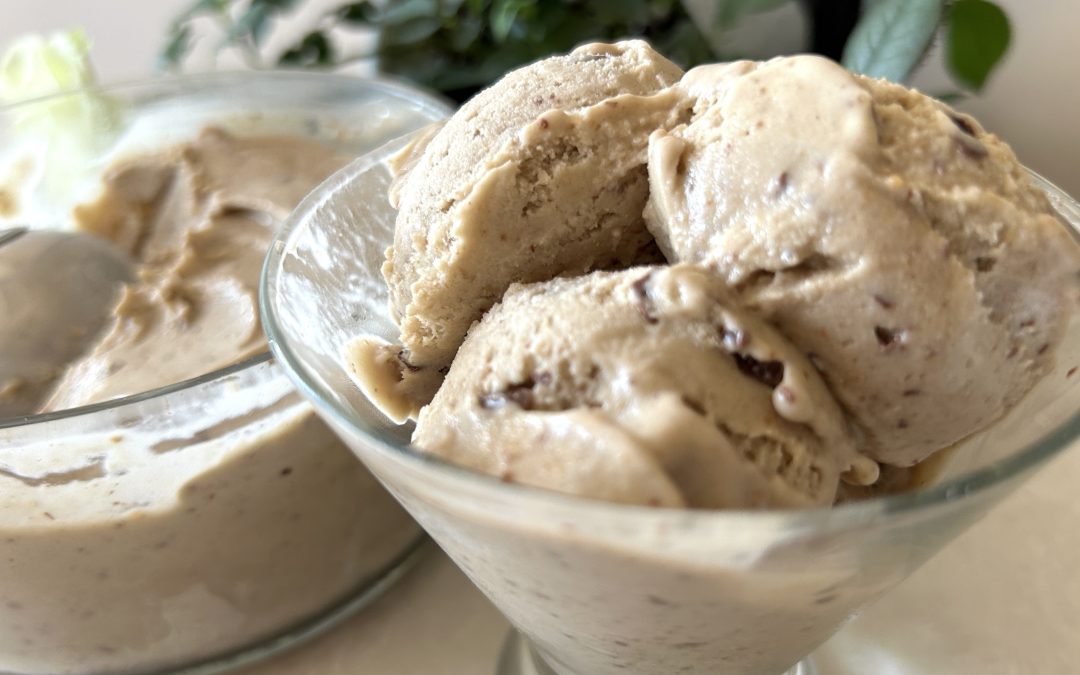
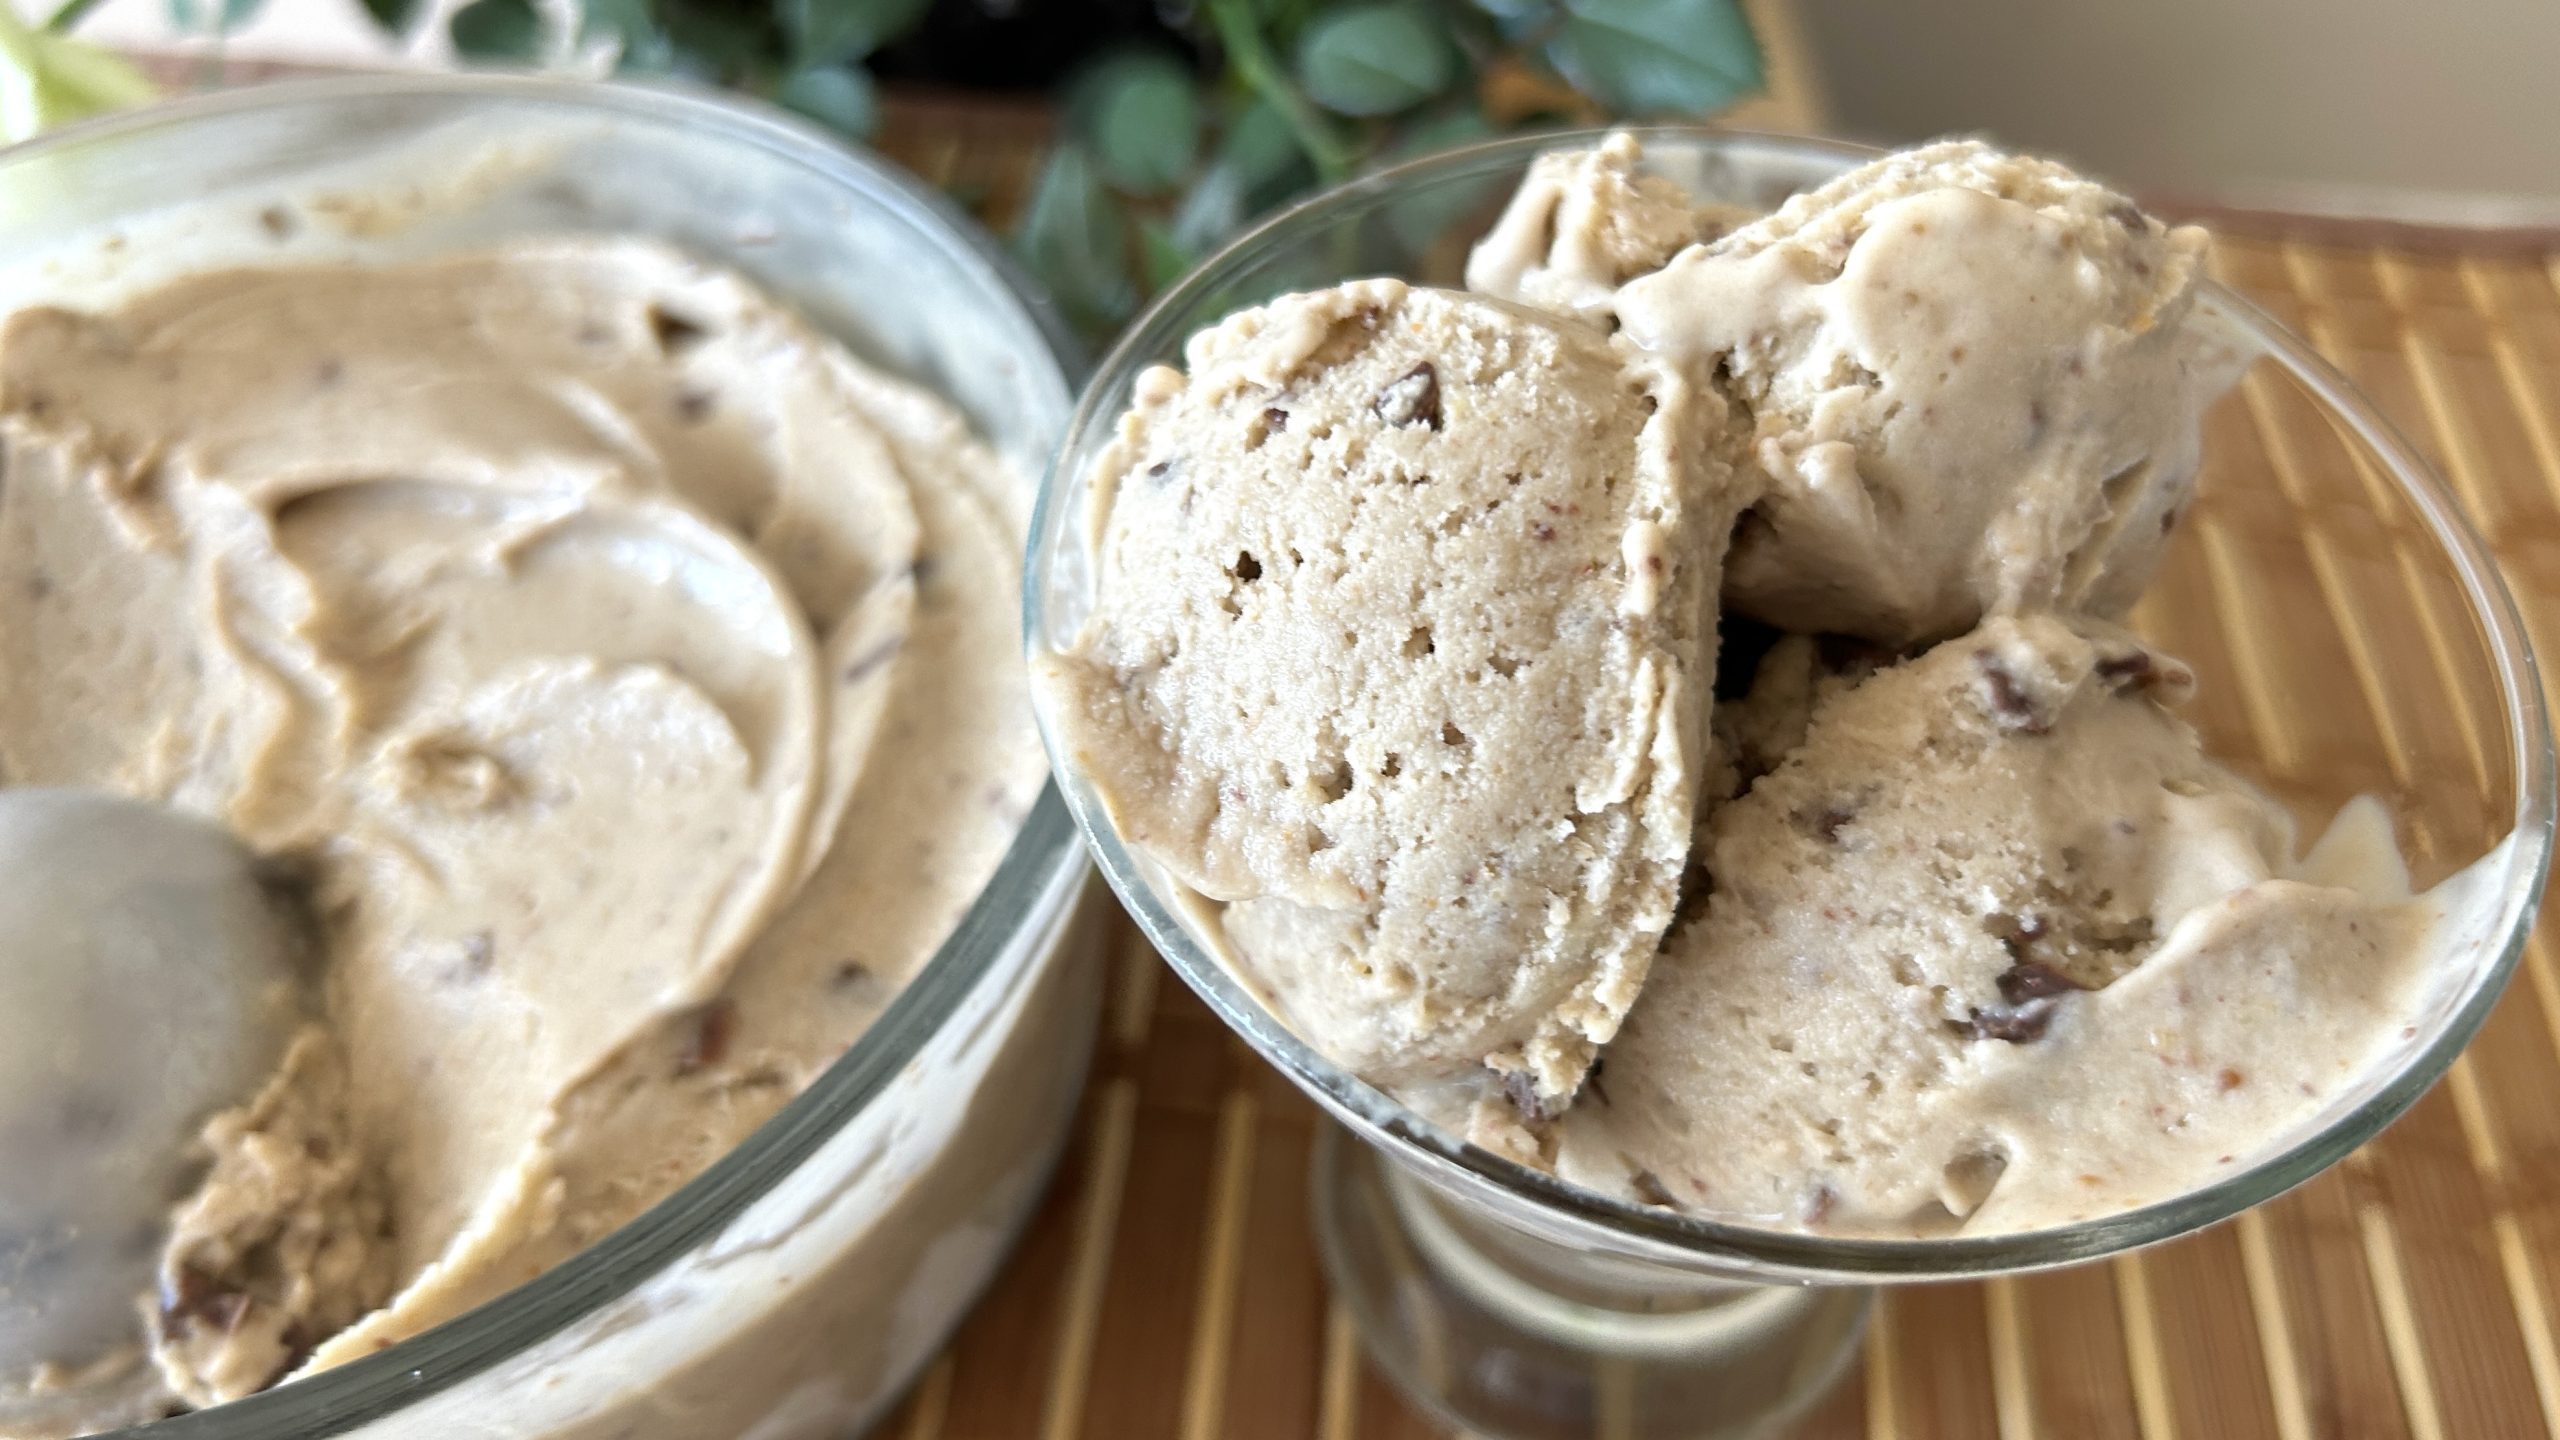
The summer sun is still blazing, and there’s nothing like a homemade treat to cool down. This Banana & Peanut Butter Ice Cream is a delightful and guilt-free indulgence that you’ll want to make over and over again. What’s amazing about this recipe is that it uses just two base ingredients: ripe bananas and smooth peanut butter. These simple, wholesome ingredients come together to create a naturally sweet and creamy dessert that’s hard to resist.
Bananas, the star of this recipe, aren’t just about their sweet flavor, they’re a powerhouse of nutrition. Rich in potassium, bananas help maintain healthy blood pressure and support heart health. They’re also a good source of dietary fiber, which is essential for digestive health. Including bananas in your diet regularly can provide sustained energy due to their natural sugars, and they are a great source of antioxidants, which can help combat oxidative stress. Combined with peanut butter, which is high in protein and healthy fats, this ice cream isn’t just delicious, it’s a smart choice for a balanced diet. Incorporating these ingredients into your meals can contribute to overall well-being, making this ice cream a perfect treat that nourishes as much as it satisfies.
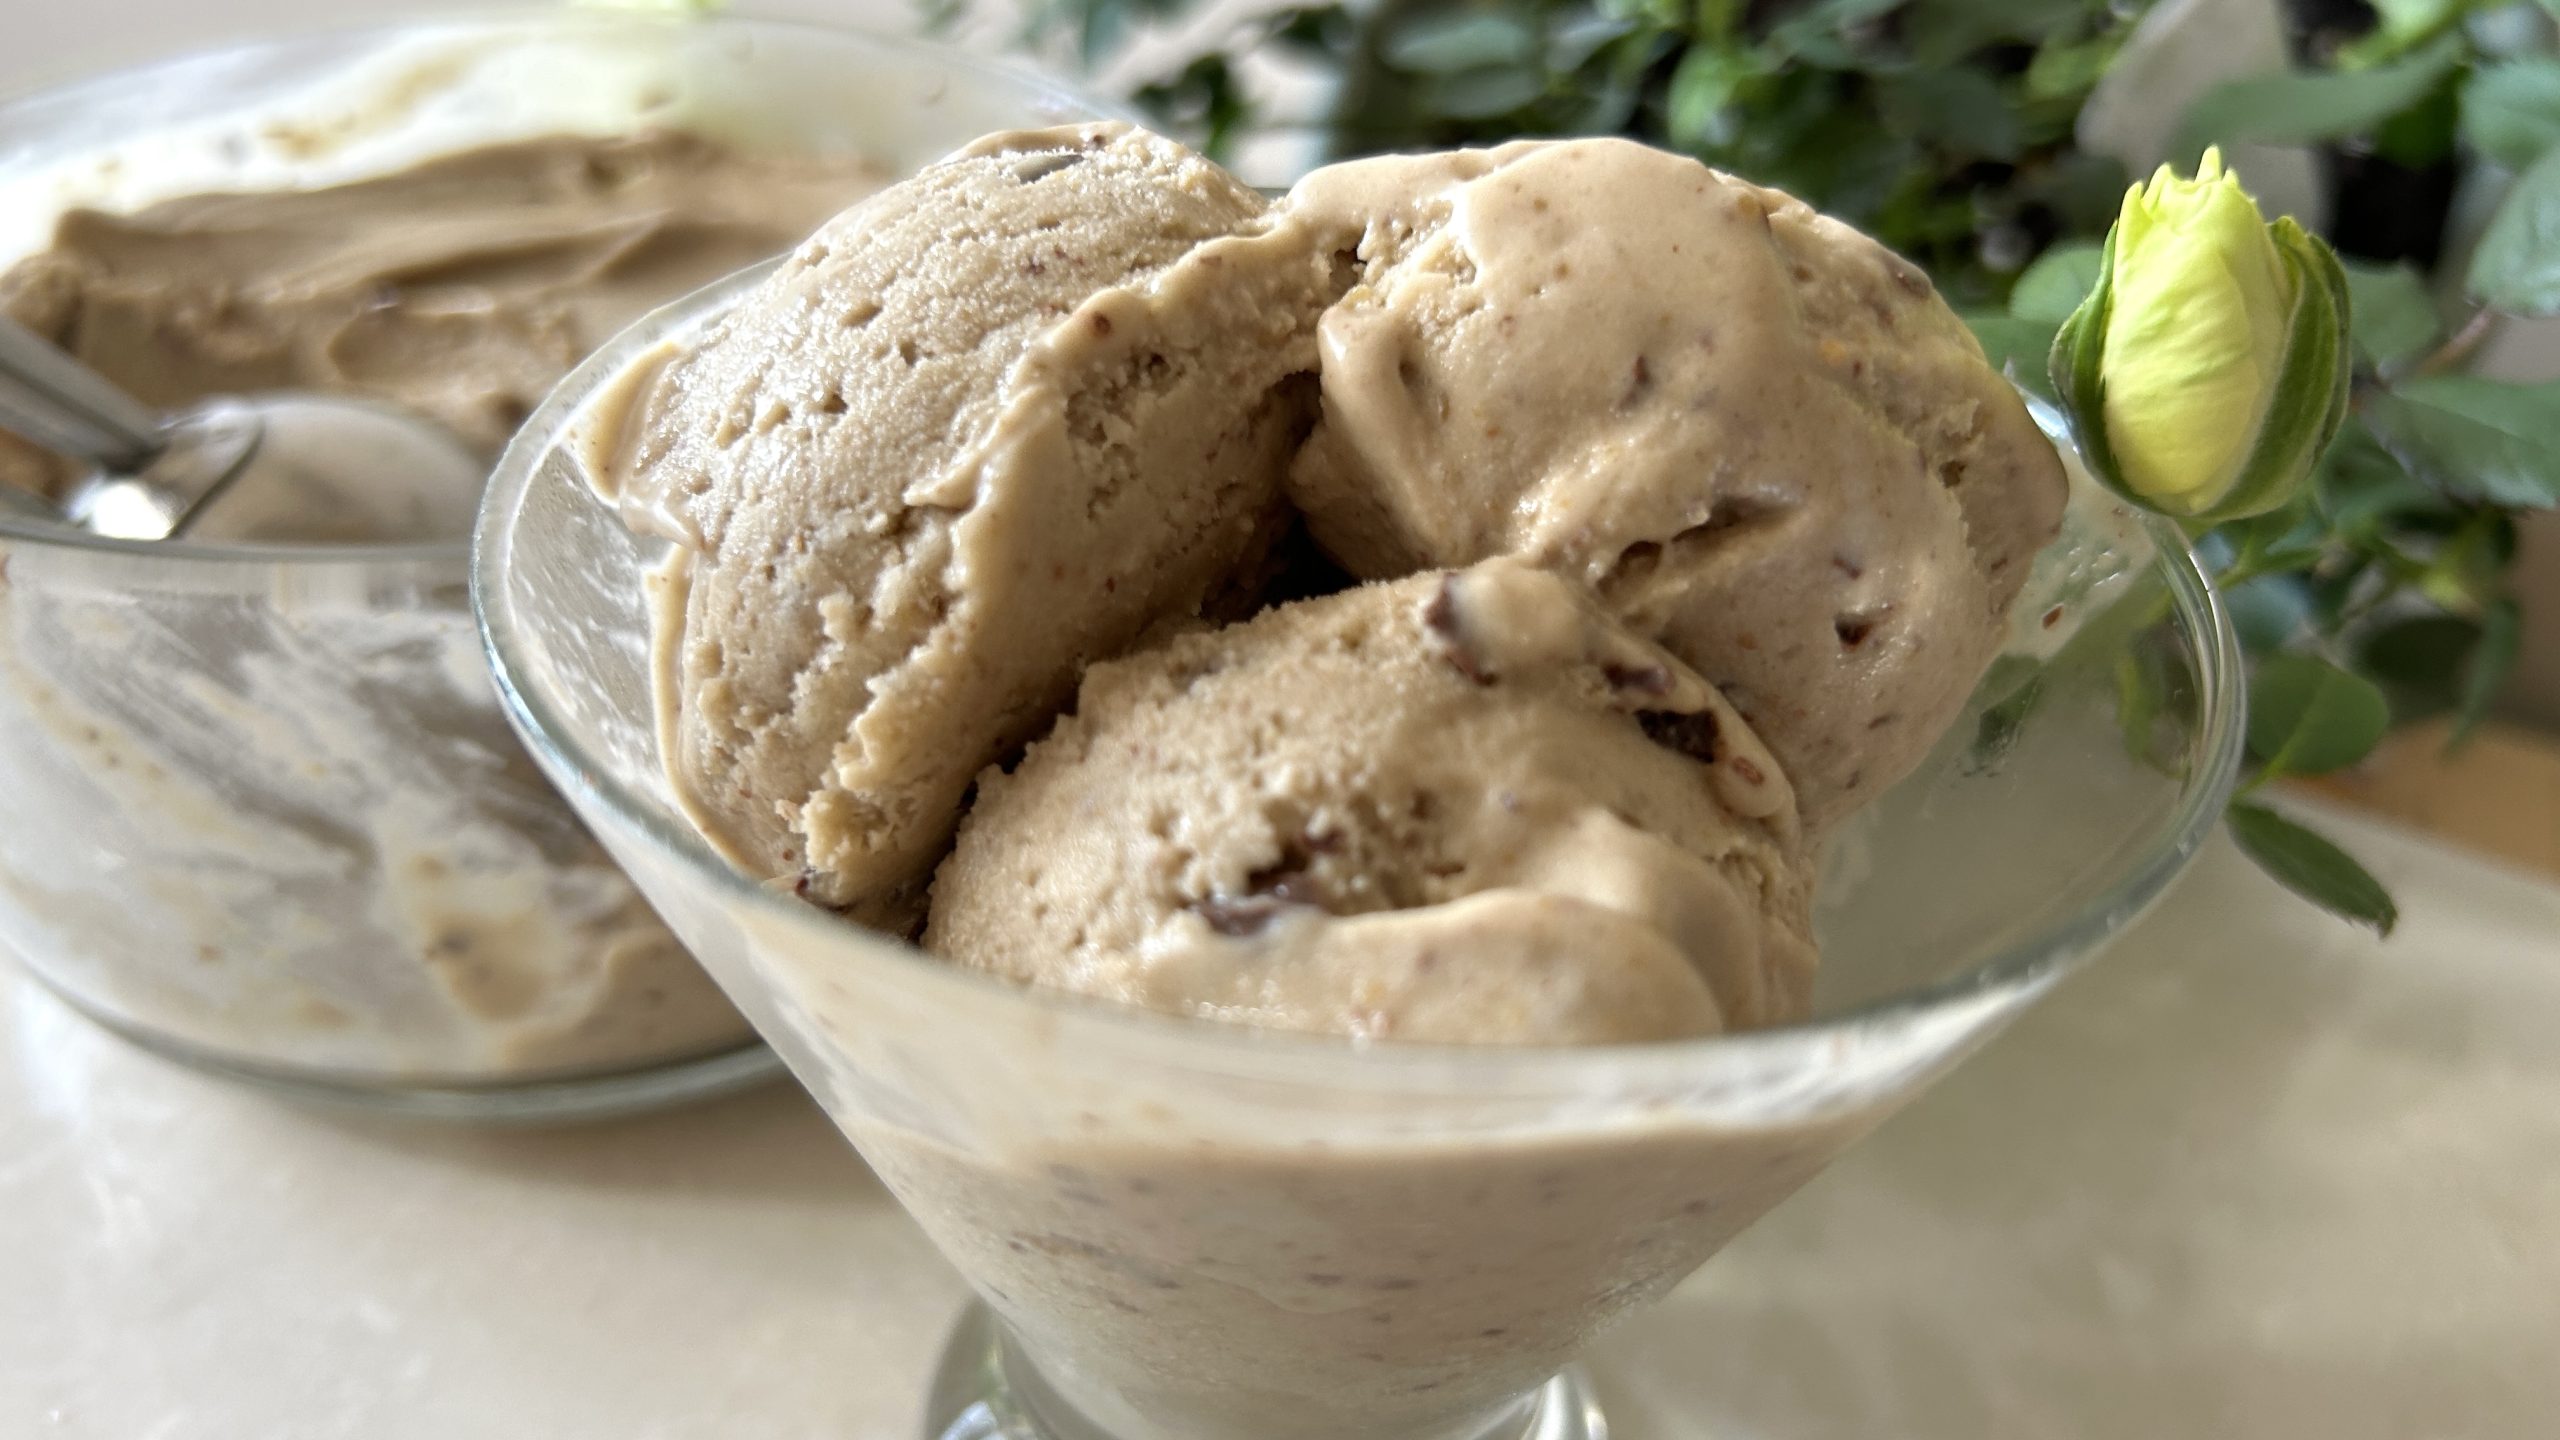
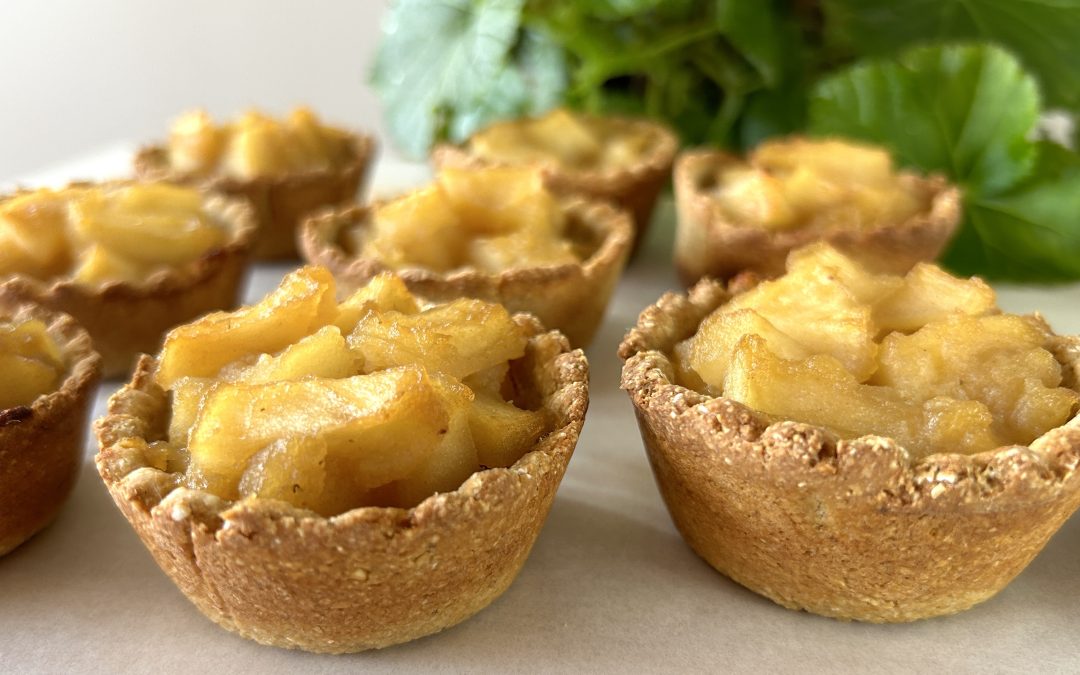
This recipe is also vegan and gluten-free, making it suitable for a variety of dietary preferences. The addition of dark chocolate chunks takes this dessert to the next level, offering a rich contrast to the smoothness of the banana-peanut butter blend.
Ingredients
- 500 g frozen ripe bananas
- 100 g smooth peanut butter (made with just one ingredient)
- 50 g dark chocolate (chopped into small pieces)
Directions
- Chop the dark chocolate into small pieces and set aside.
- Place the frozen ripe bananas and smooth peanut butter into a food processor.
- Blend until the mixture is smooth and creamy.
- Transfer the banana and peanut butter mixture into a freezer-safe container.
- Gently fold in the chopped dark chocolate using a spatula to distribute it evenly.
- Cover and freeze for at least 1 hour, or until the ice cream reaches a smooth, scoopable consistency.
- Once chilled, scoop and serve.
Prep Time
- 10 minutes prep
- 1 hour freezing
Servings
- 5 servings
Nutritional Information (Per Serving)
- Energy: 266 calories
- Protein: 6.74 g
- Fat: 14.53 g
- Carbohydrates: 31.68 g
- Fiber: 5.4 g
Storage
- Store in the freezer.
- Let it sit at room temperature for about 15 minutes before scooping if it has been frozen for a longer period to return to its original creamy texture.
Particular Recommendations
- This recipe is naturally vegan and gluten-free.
- It’s best enjoyed fresh, but it can be stored in the freezer for up to one week. Remember to allow it to soften slightly before serving to get that perfect creamy texture.
- Feel free to experiment by adding other mix-ins like nuts or dried fruits for added texture and flavor.