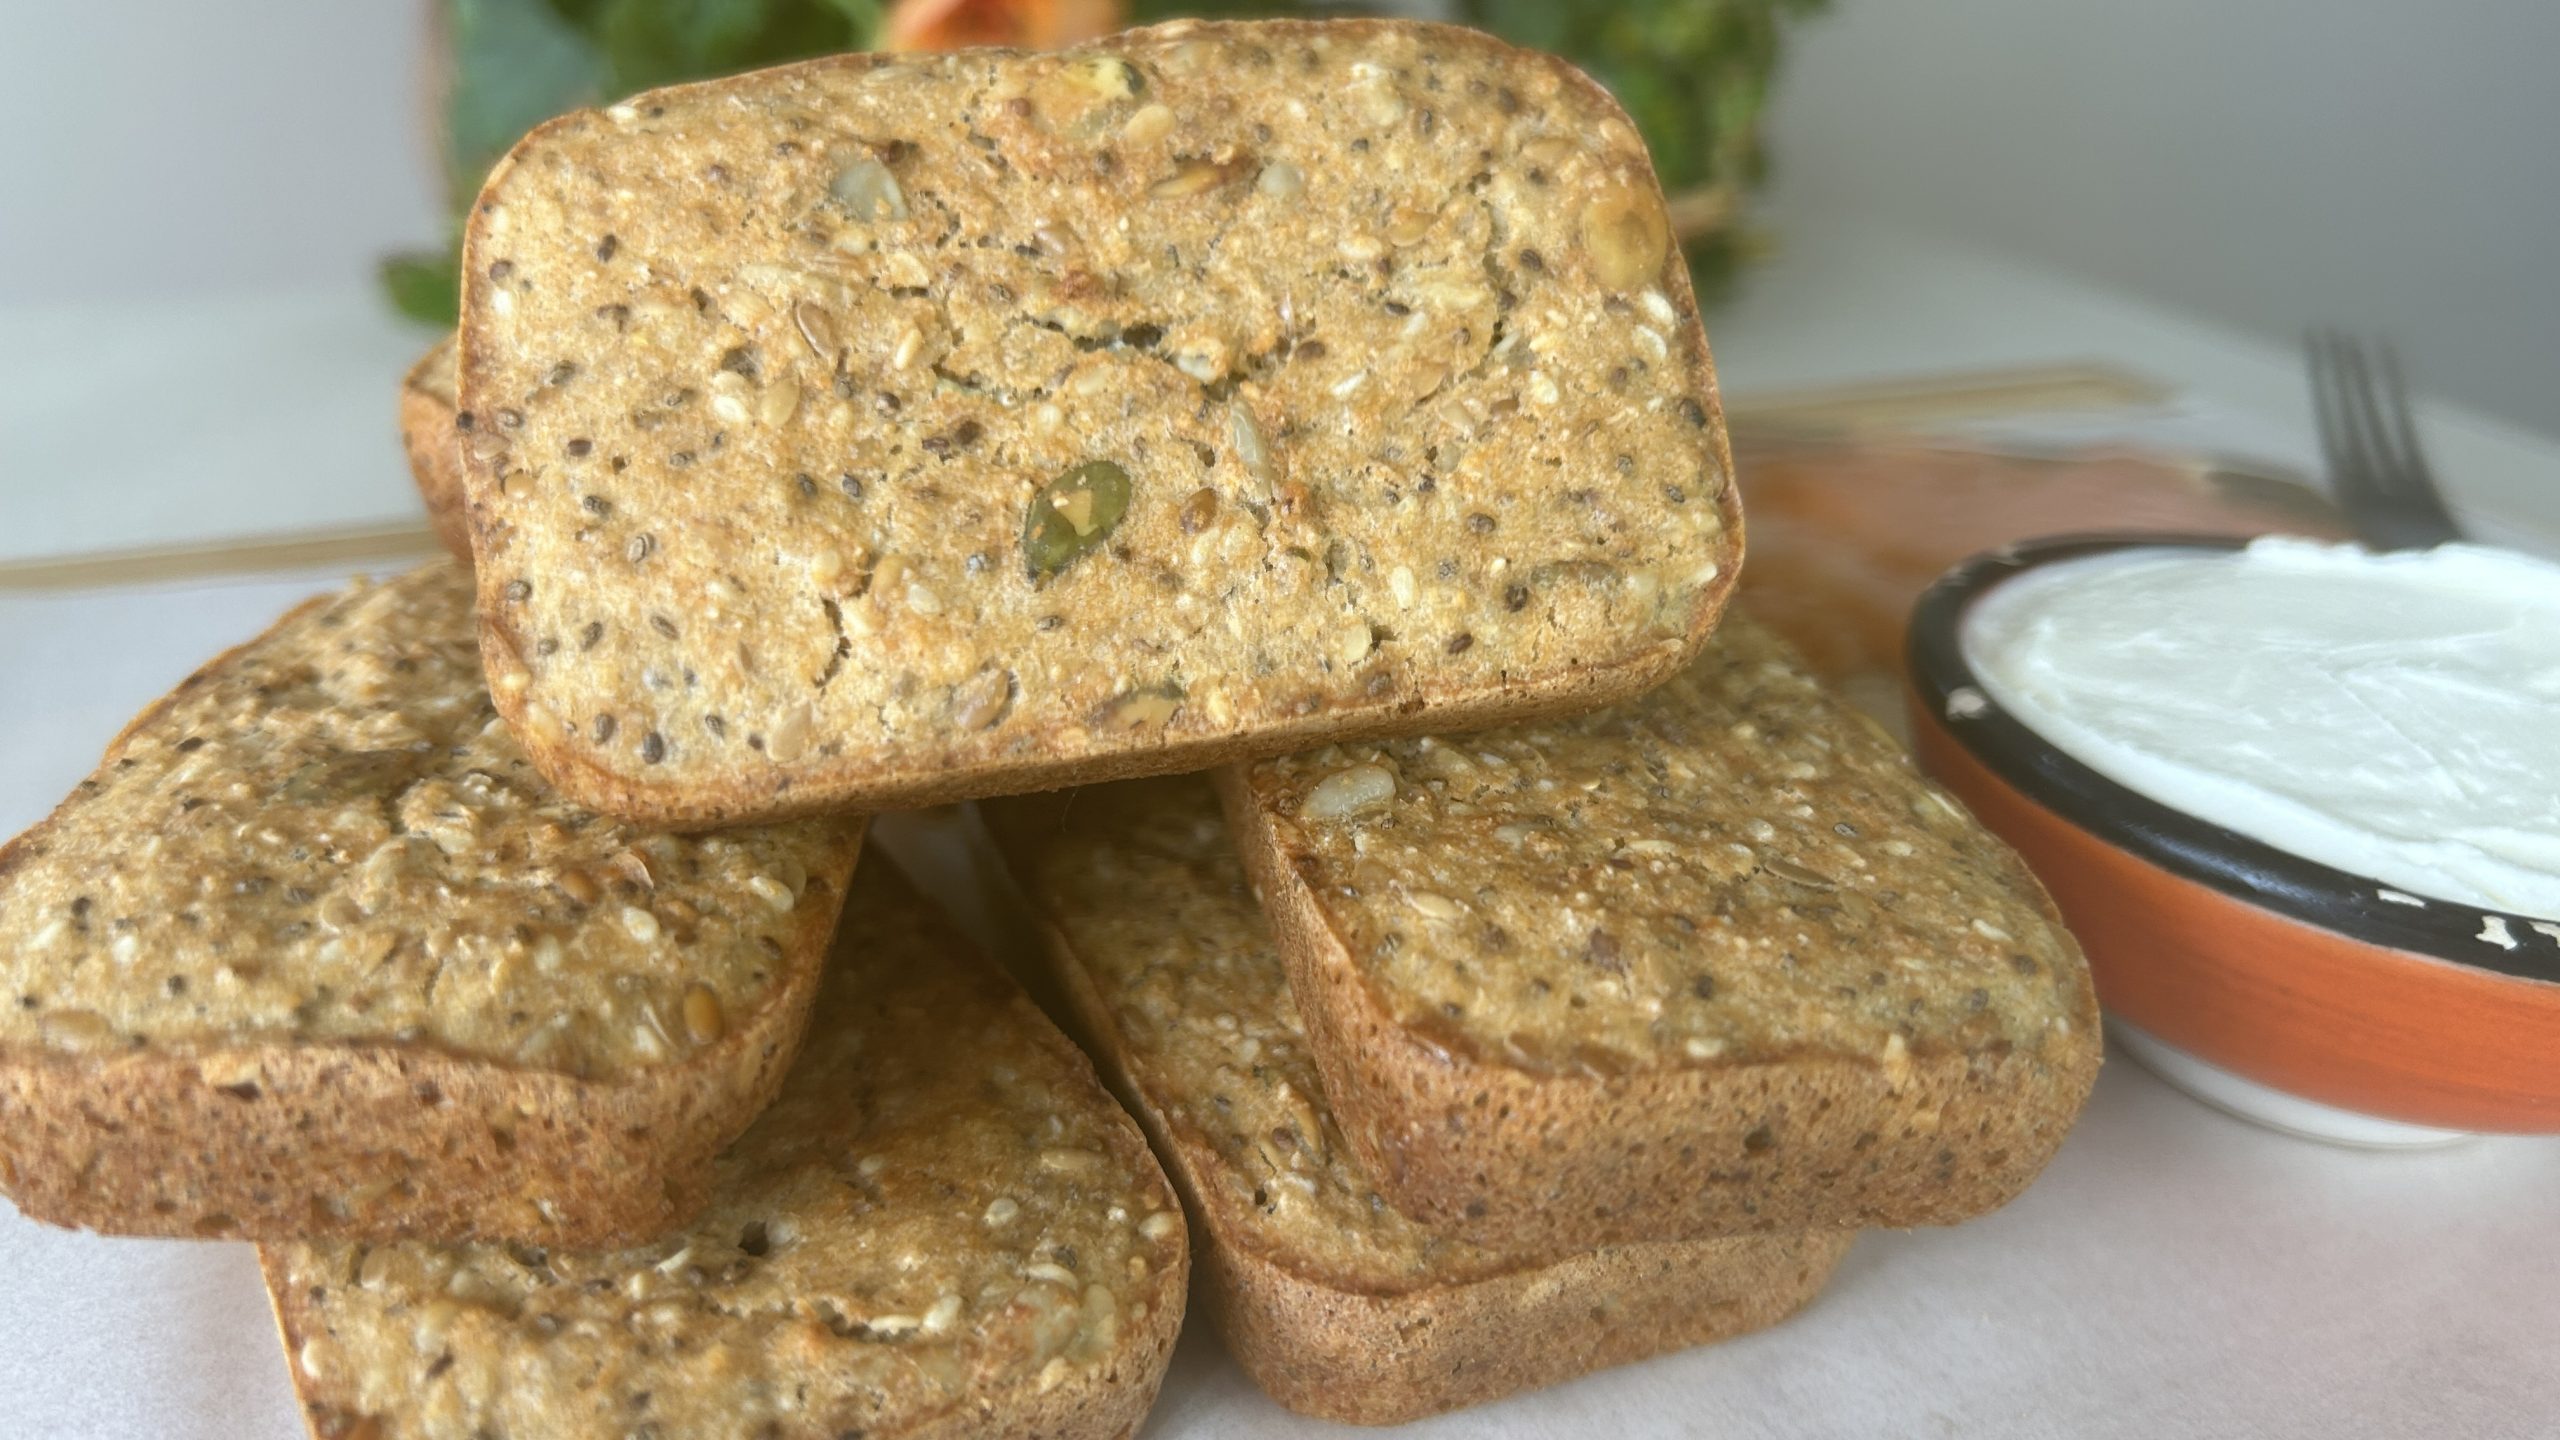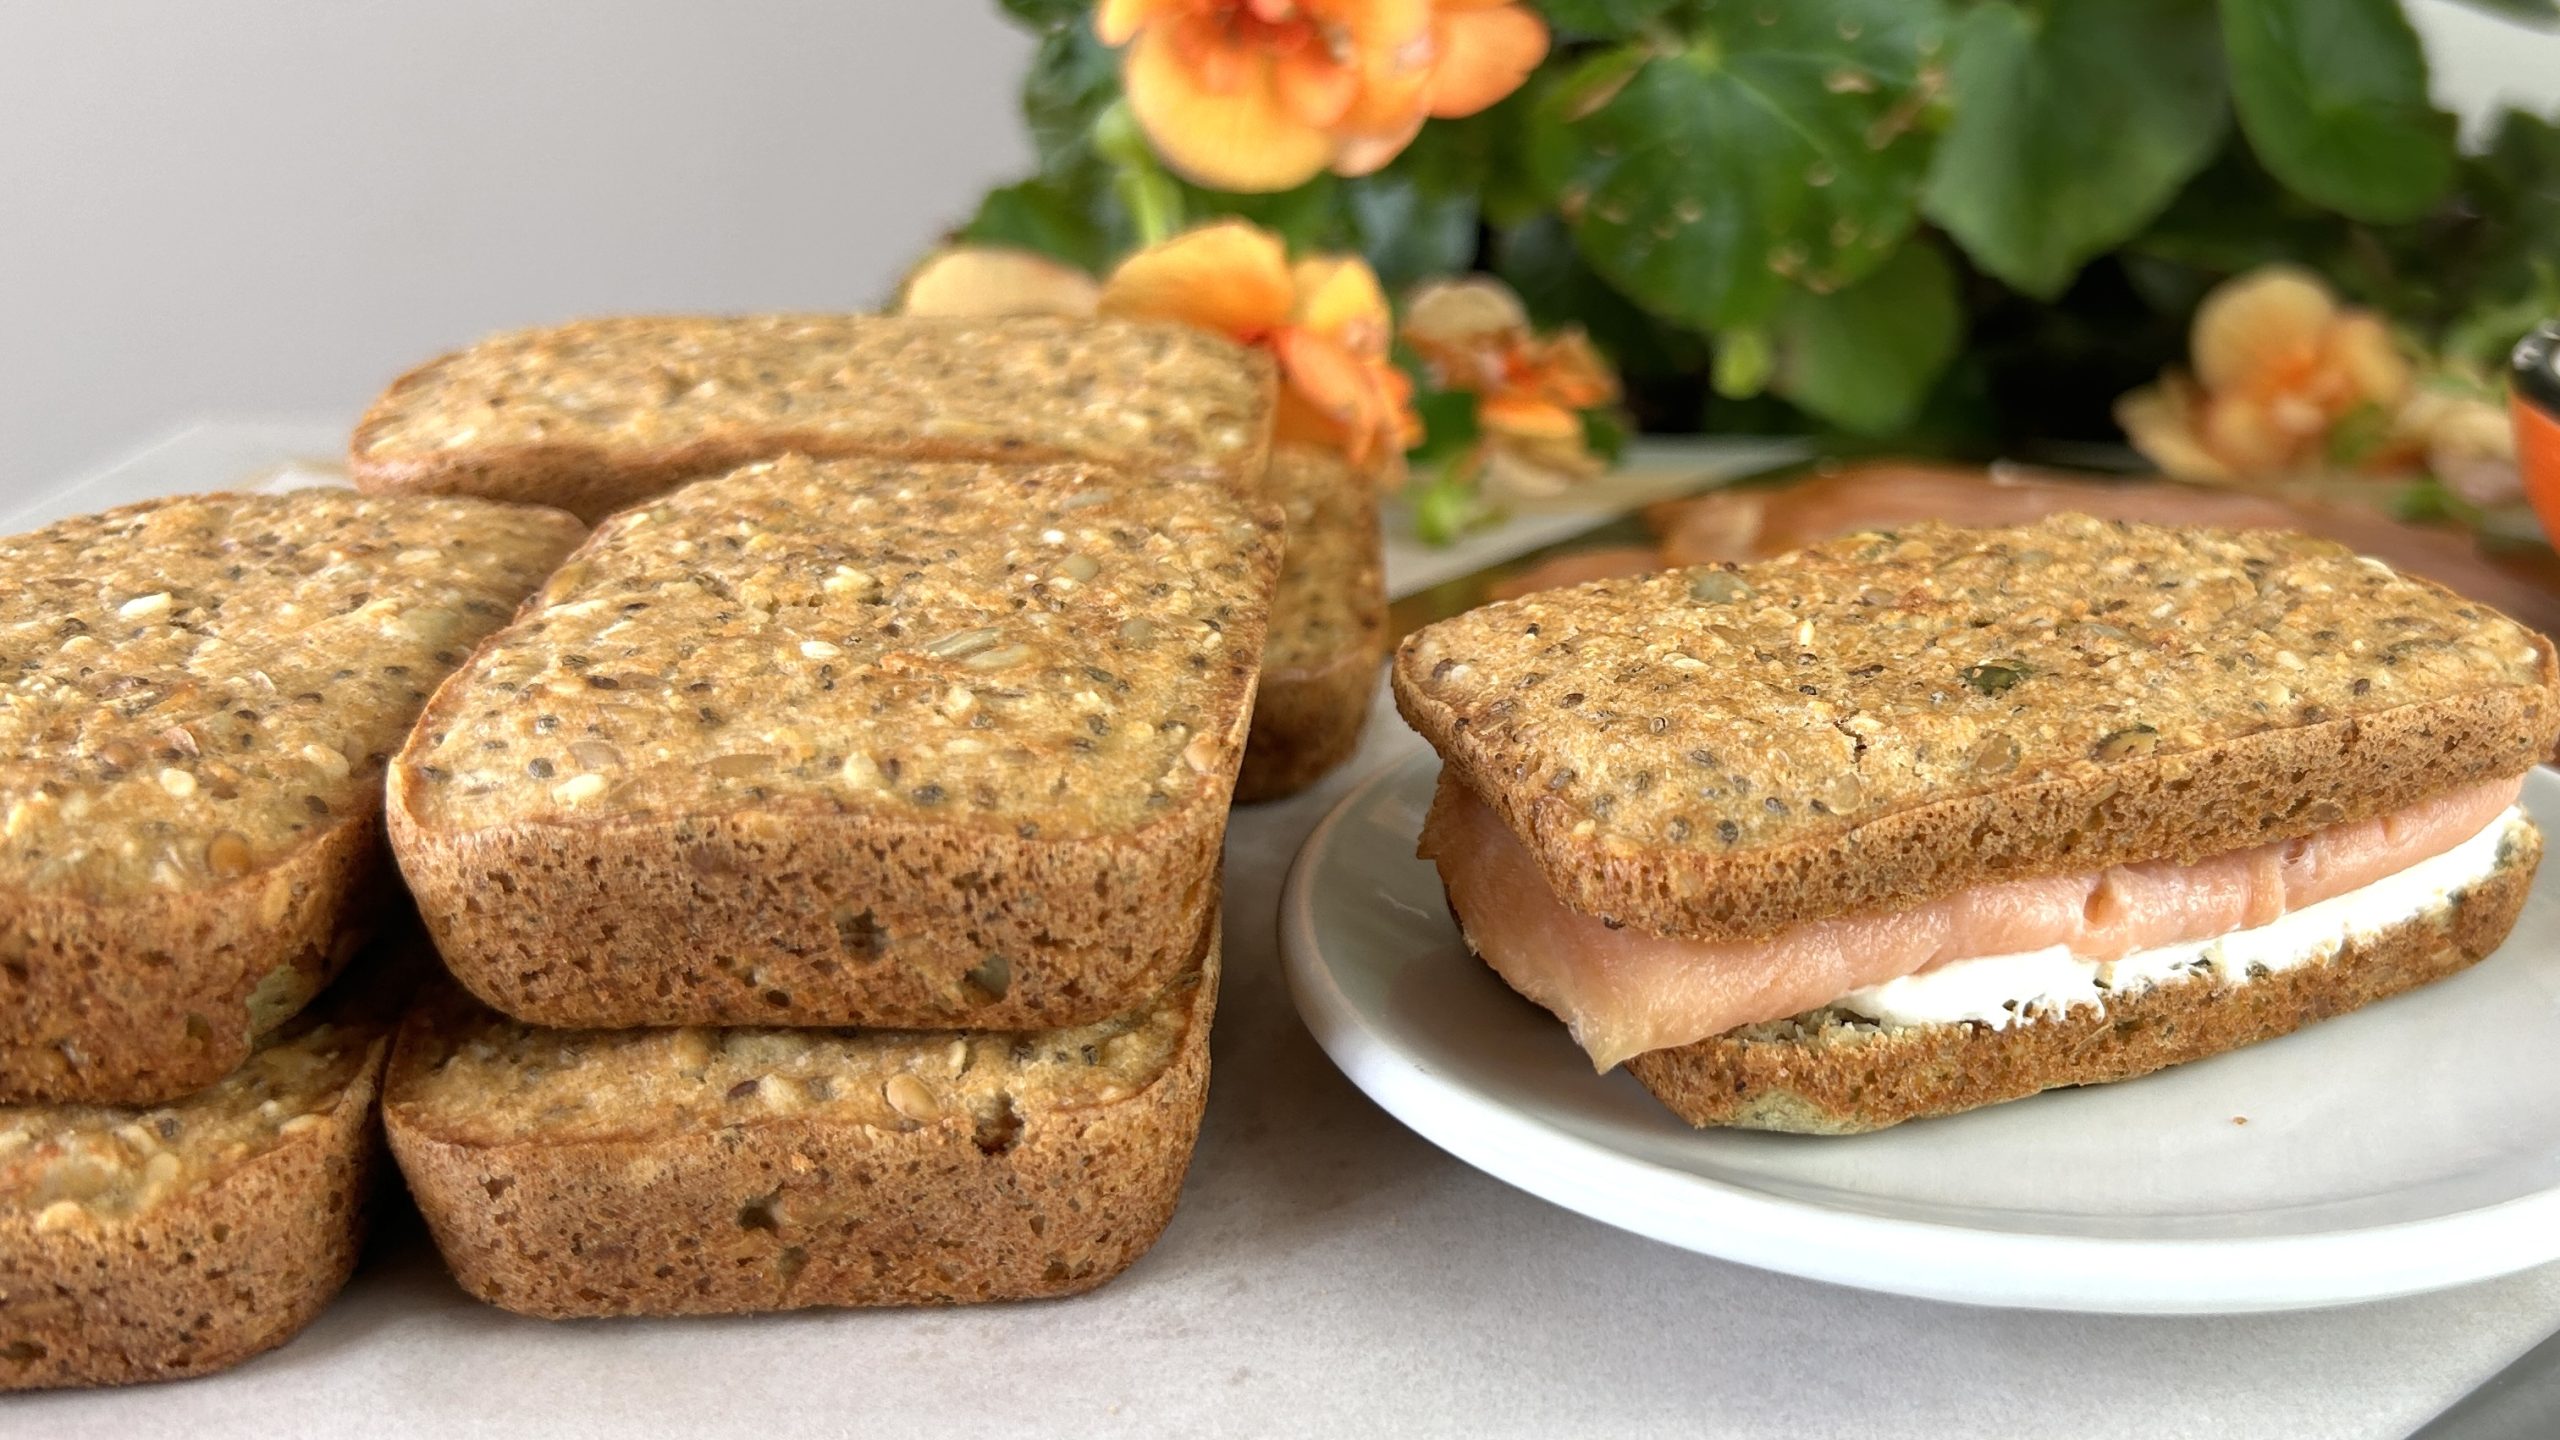
Cottage Cheese Quiche
Cottage Cheese Quiche
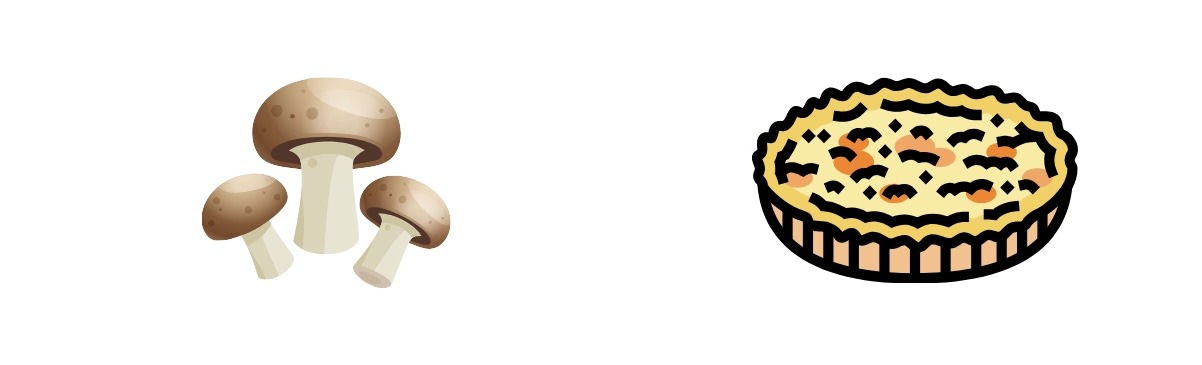
Cottage cheese is rich in protein, low in calories, affordable, and so versatile that we’ve decided to try it in some of the most popular recipes across the globe. In this recipe, we’re using cottage cheese to make a lighter and absolutely delicious mushroom quiche! This quiche is easy to put together and turns out even better than using heavier creams and cheeses found in classic quiche recipes.
Cottage cheese brings a delightful creaminess to the quiche while keeping it light and healthy. With its high protein content and lower fat levels, it offers a nutritious twist on the traditional quiche.
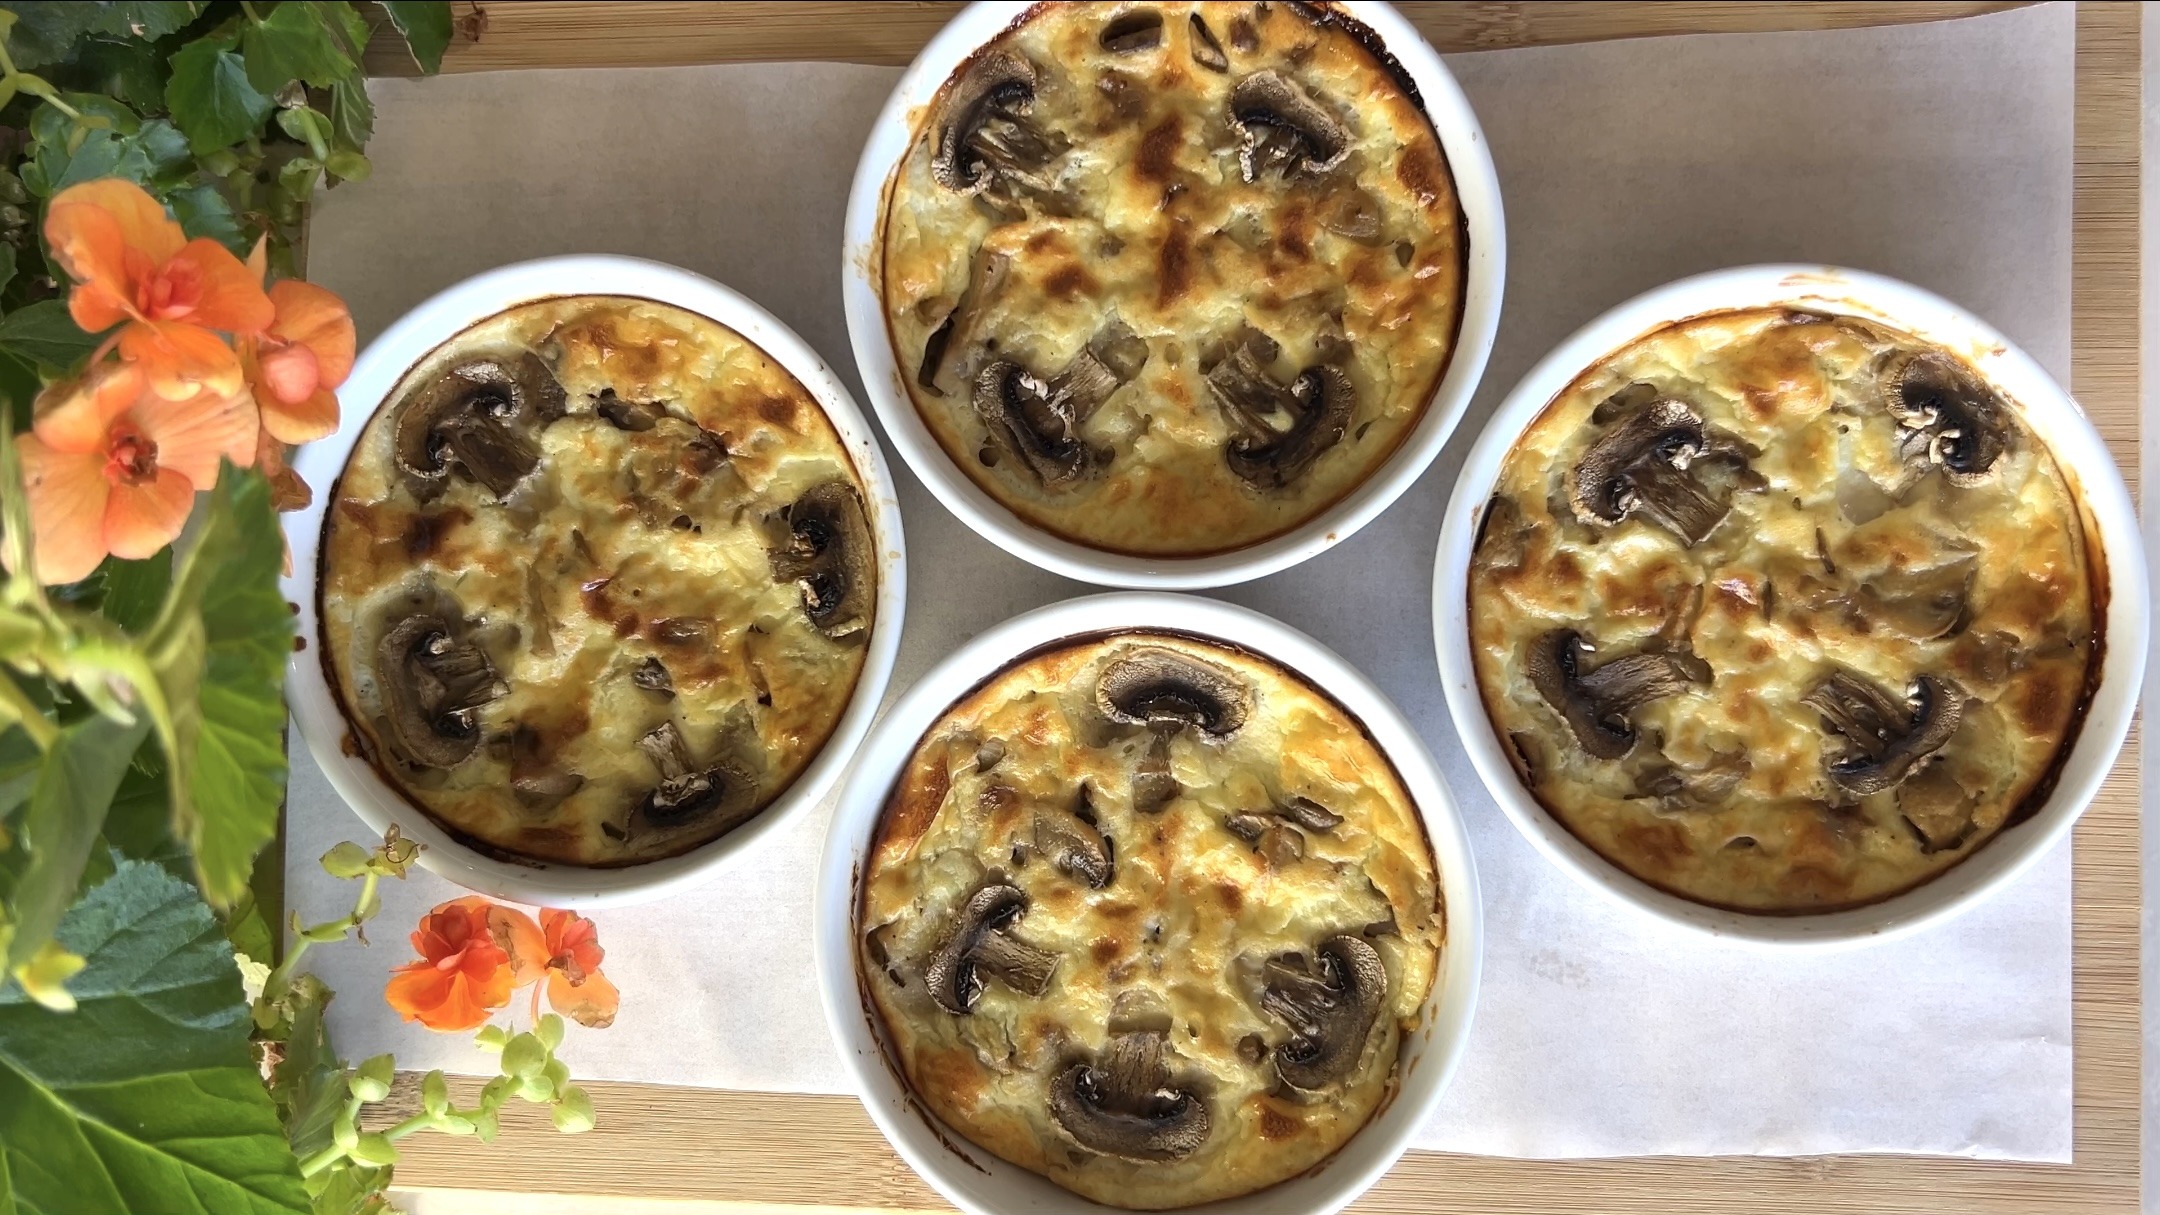
Paired with the earthy flavors of mushrooms and the subtle sweetness of sautéed onions, this quiche is perfect for breakfast, lunch, or dinner. Serve it warm, straight from the oven, and enjoy the rich, satisfying taste that will make this quiche a regular in your meal rotation.
Ingredients
- 260 g mushrooms
- 150 g onion
- 2 tbsp. olive oil
- ¼ tsp. salt (for sautéing)
- 1 large garlic clove
- Black pepper to taste
- 1 cup (200 g) cottage cheese
- 2 eggs
- ½ tbsp. olive oil (for brushing the ramekins)
Directions
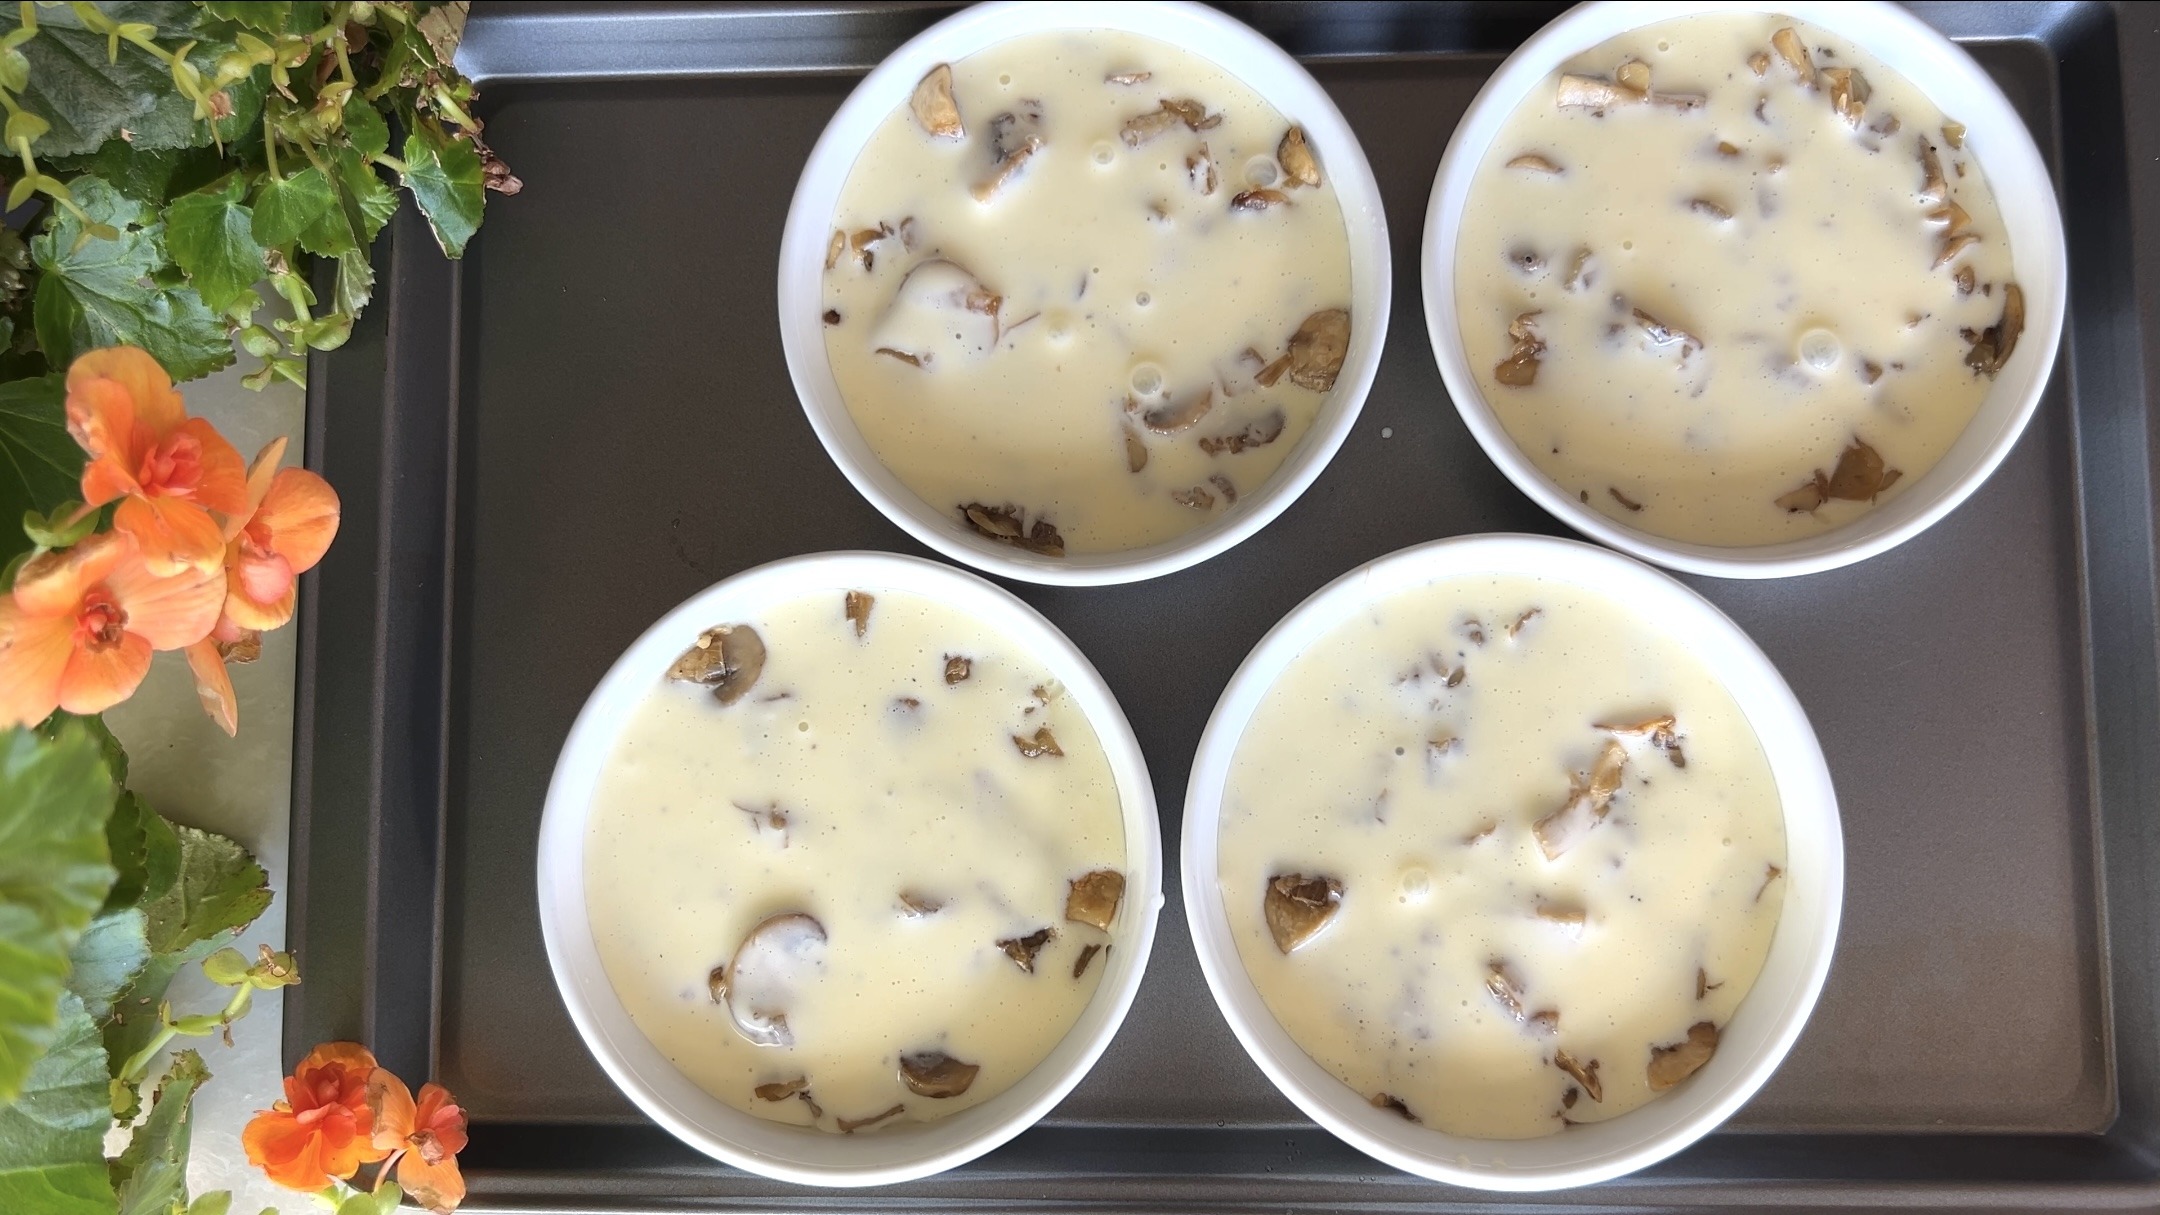
- Clean and slice the mushrooms and chop the onion.
- Sauté onion with olive oil and salt until golden.
- Add the mushrooms, garlic, and pepper; sauté until half done and let cool.
- Use a hand blender (or food processor) to blend the cottage cheese until creamy and smooth.
- Add the eggs, salt, and black pepper to the cottage cheese and blend again to mix all the ingredients.
- Brush the quiche ramekins with olive oil.
- Divide the mushroom mixture into four portions. Distribute one portion in each ramekin.
- Pour the cottage cheese mixture over the mushrooms and use a spoon to mix the mushrooms and batter evenly.
- If desired, decorate the top of each quiche with a few slices of fresh mushroom.
- Preheat the oven to 350°F (175°C). Bake the quiches for 30 minutes or until golden.
- Serve the quiches warm, with a salad or other dishes for breakfast, lunch, or dinner.
Prep Time: 30 minutes
Baking Time: 30 minutes
Servings: 4
Nutritional Information (Per Serving)
- Energy: 174 calories
- Protein: 11.17 g
- Fat: 11.54 g
- Carbohydrates: 7.65 g
- Fiber: 1 g
Storage
- These mushroom quiches are best enjoyed fresh and warm, straight from the oven.
- Leftover quiche can be stored in the fridge for up to 5 days.
Additional Recommendations
- These quiches pair wonderfully with a fresh green salad or roasted vegetables for a light and protein-rich meal.
- For an extra touch, consider adding a sprinkle of fresh herbs like chives or parsley on top before serving.


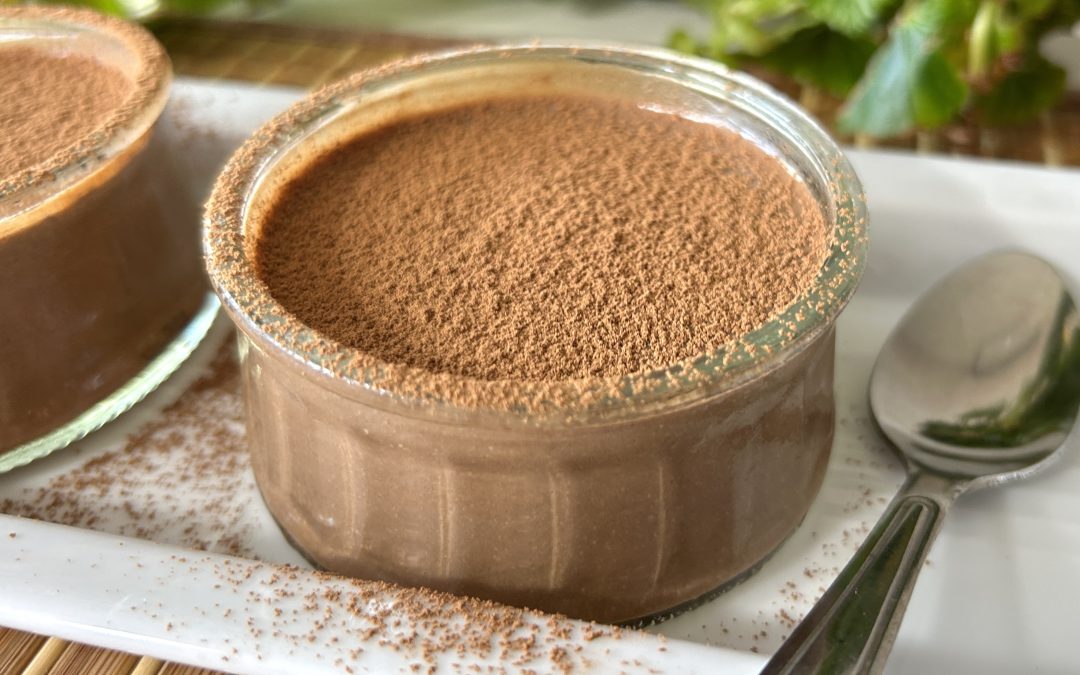
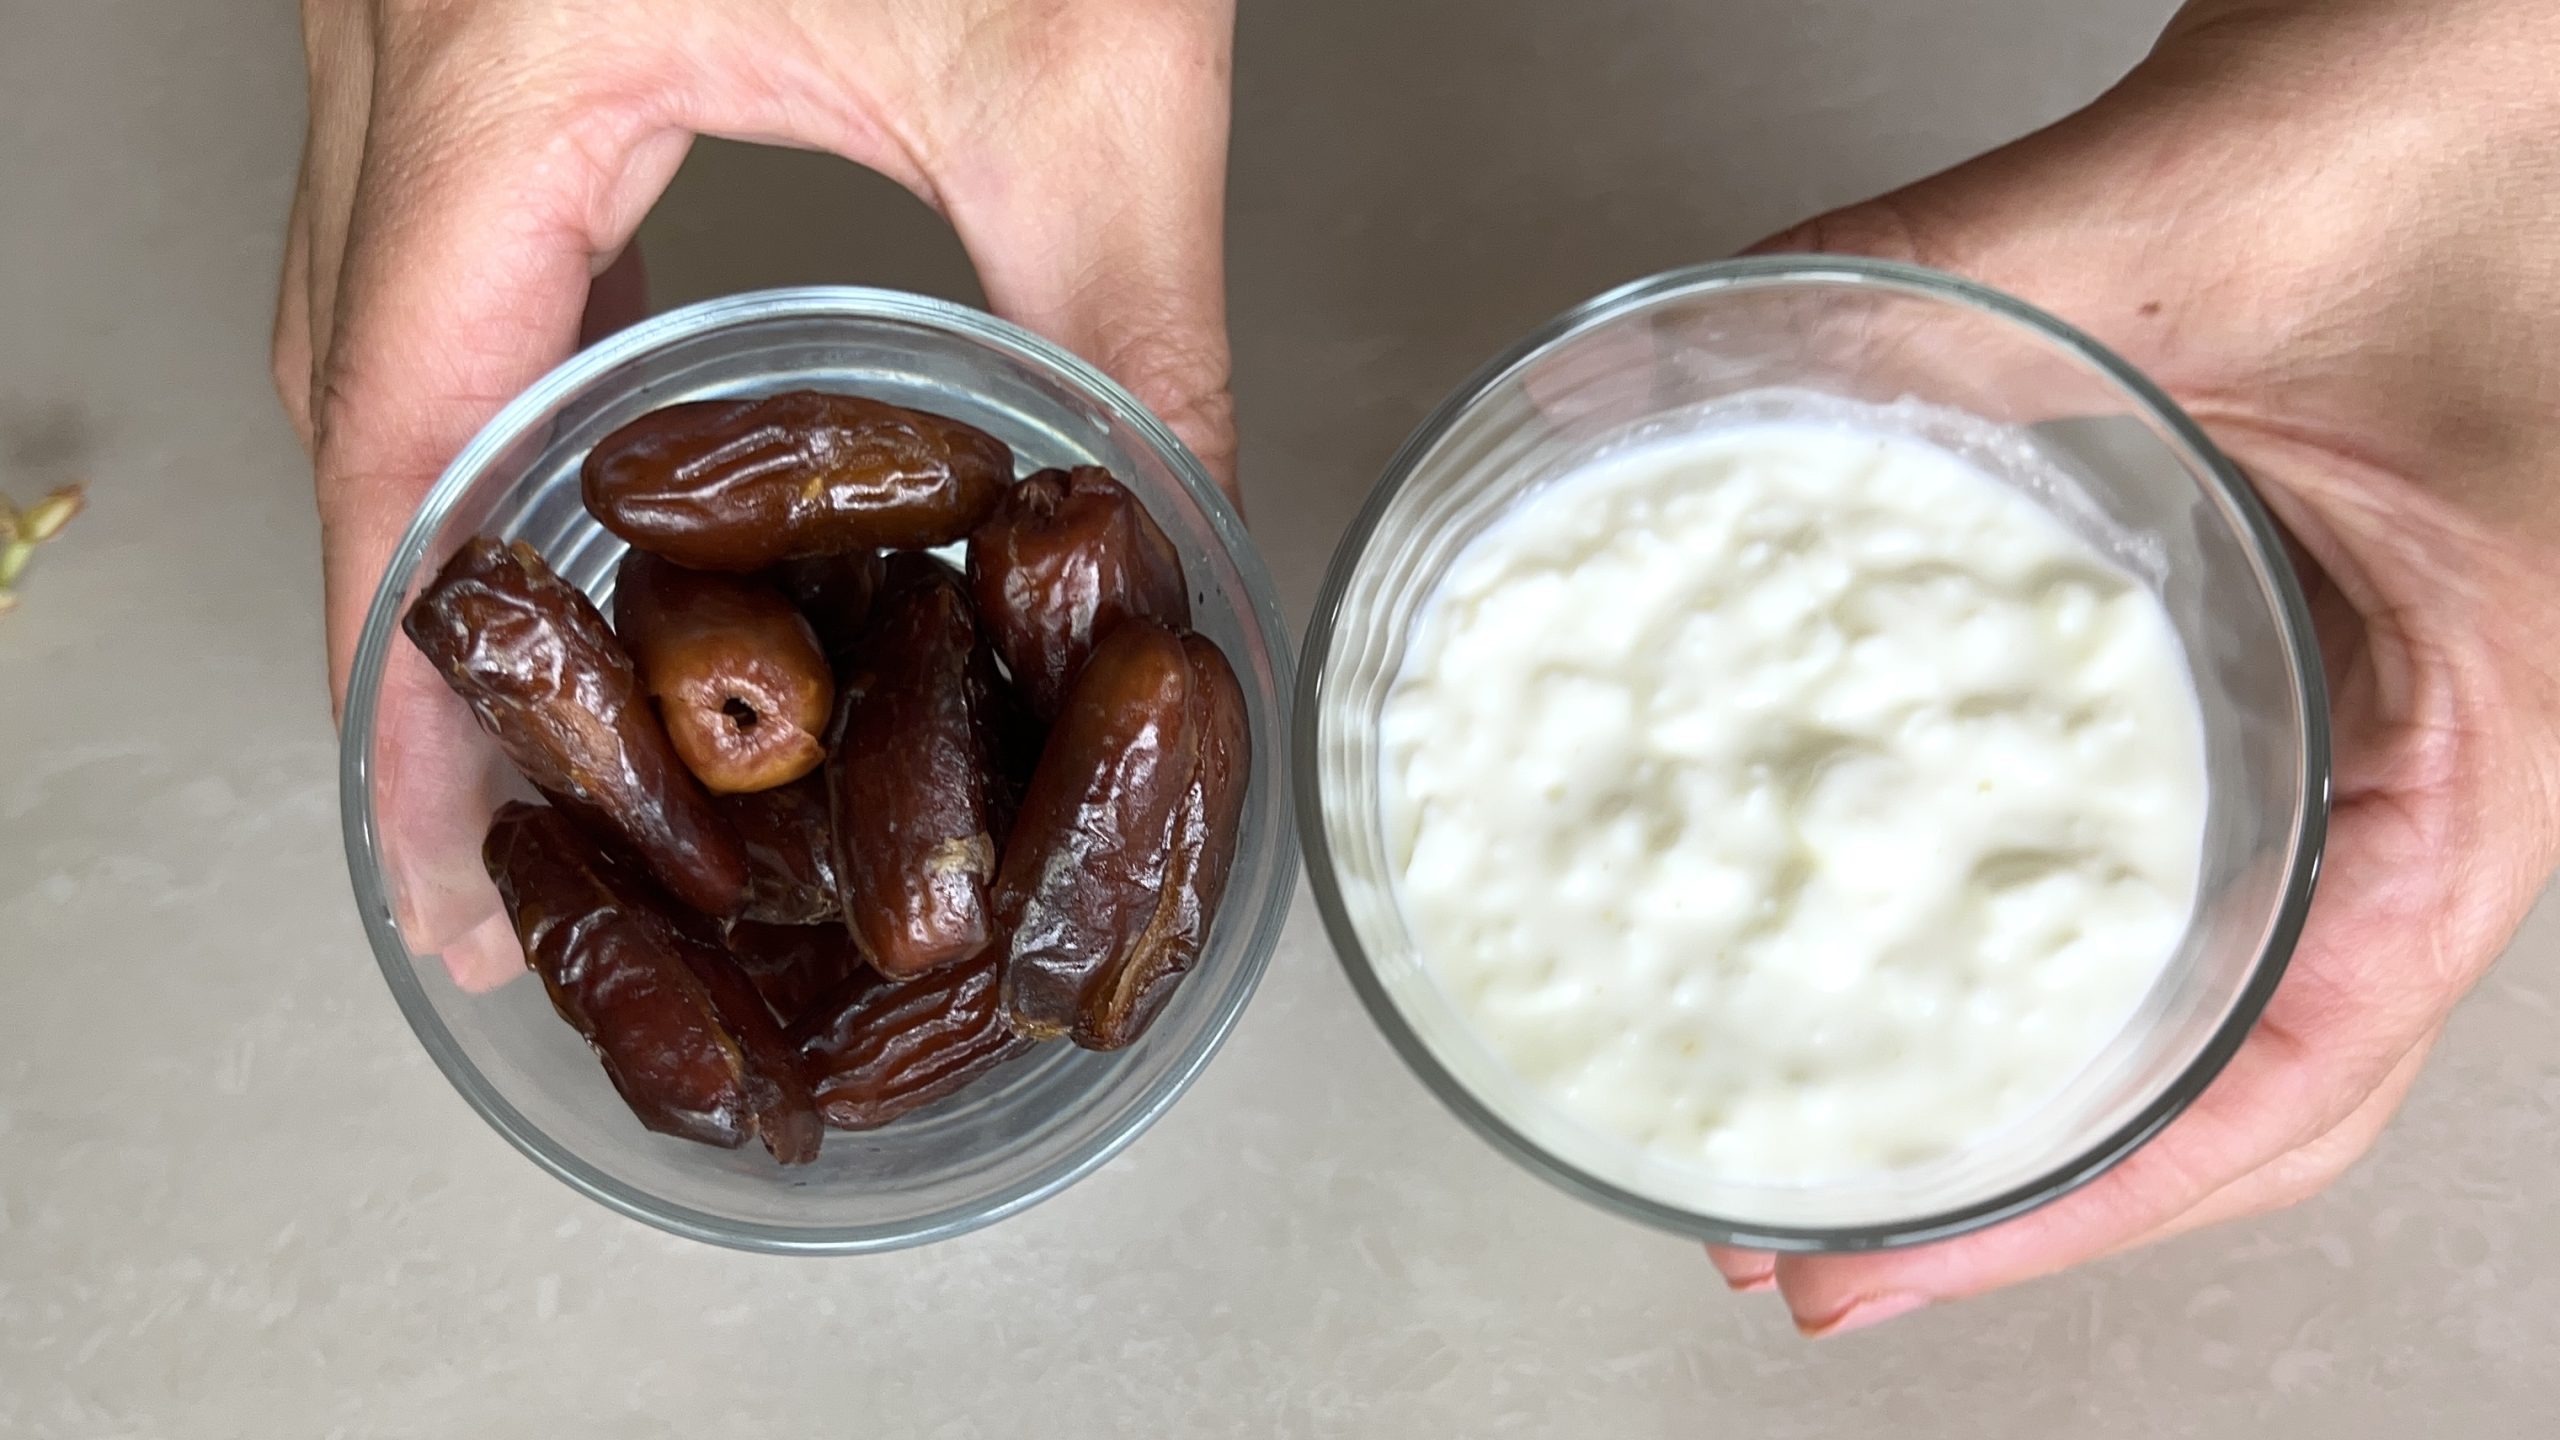
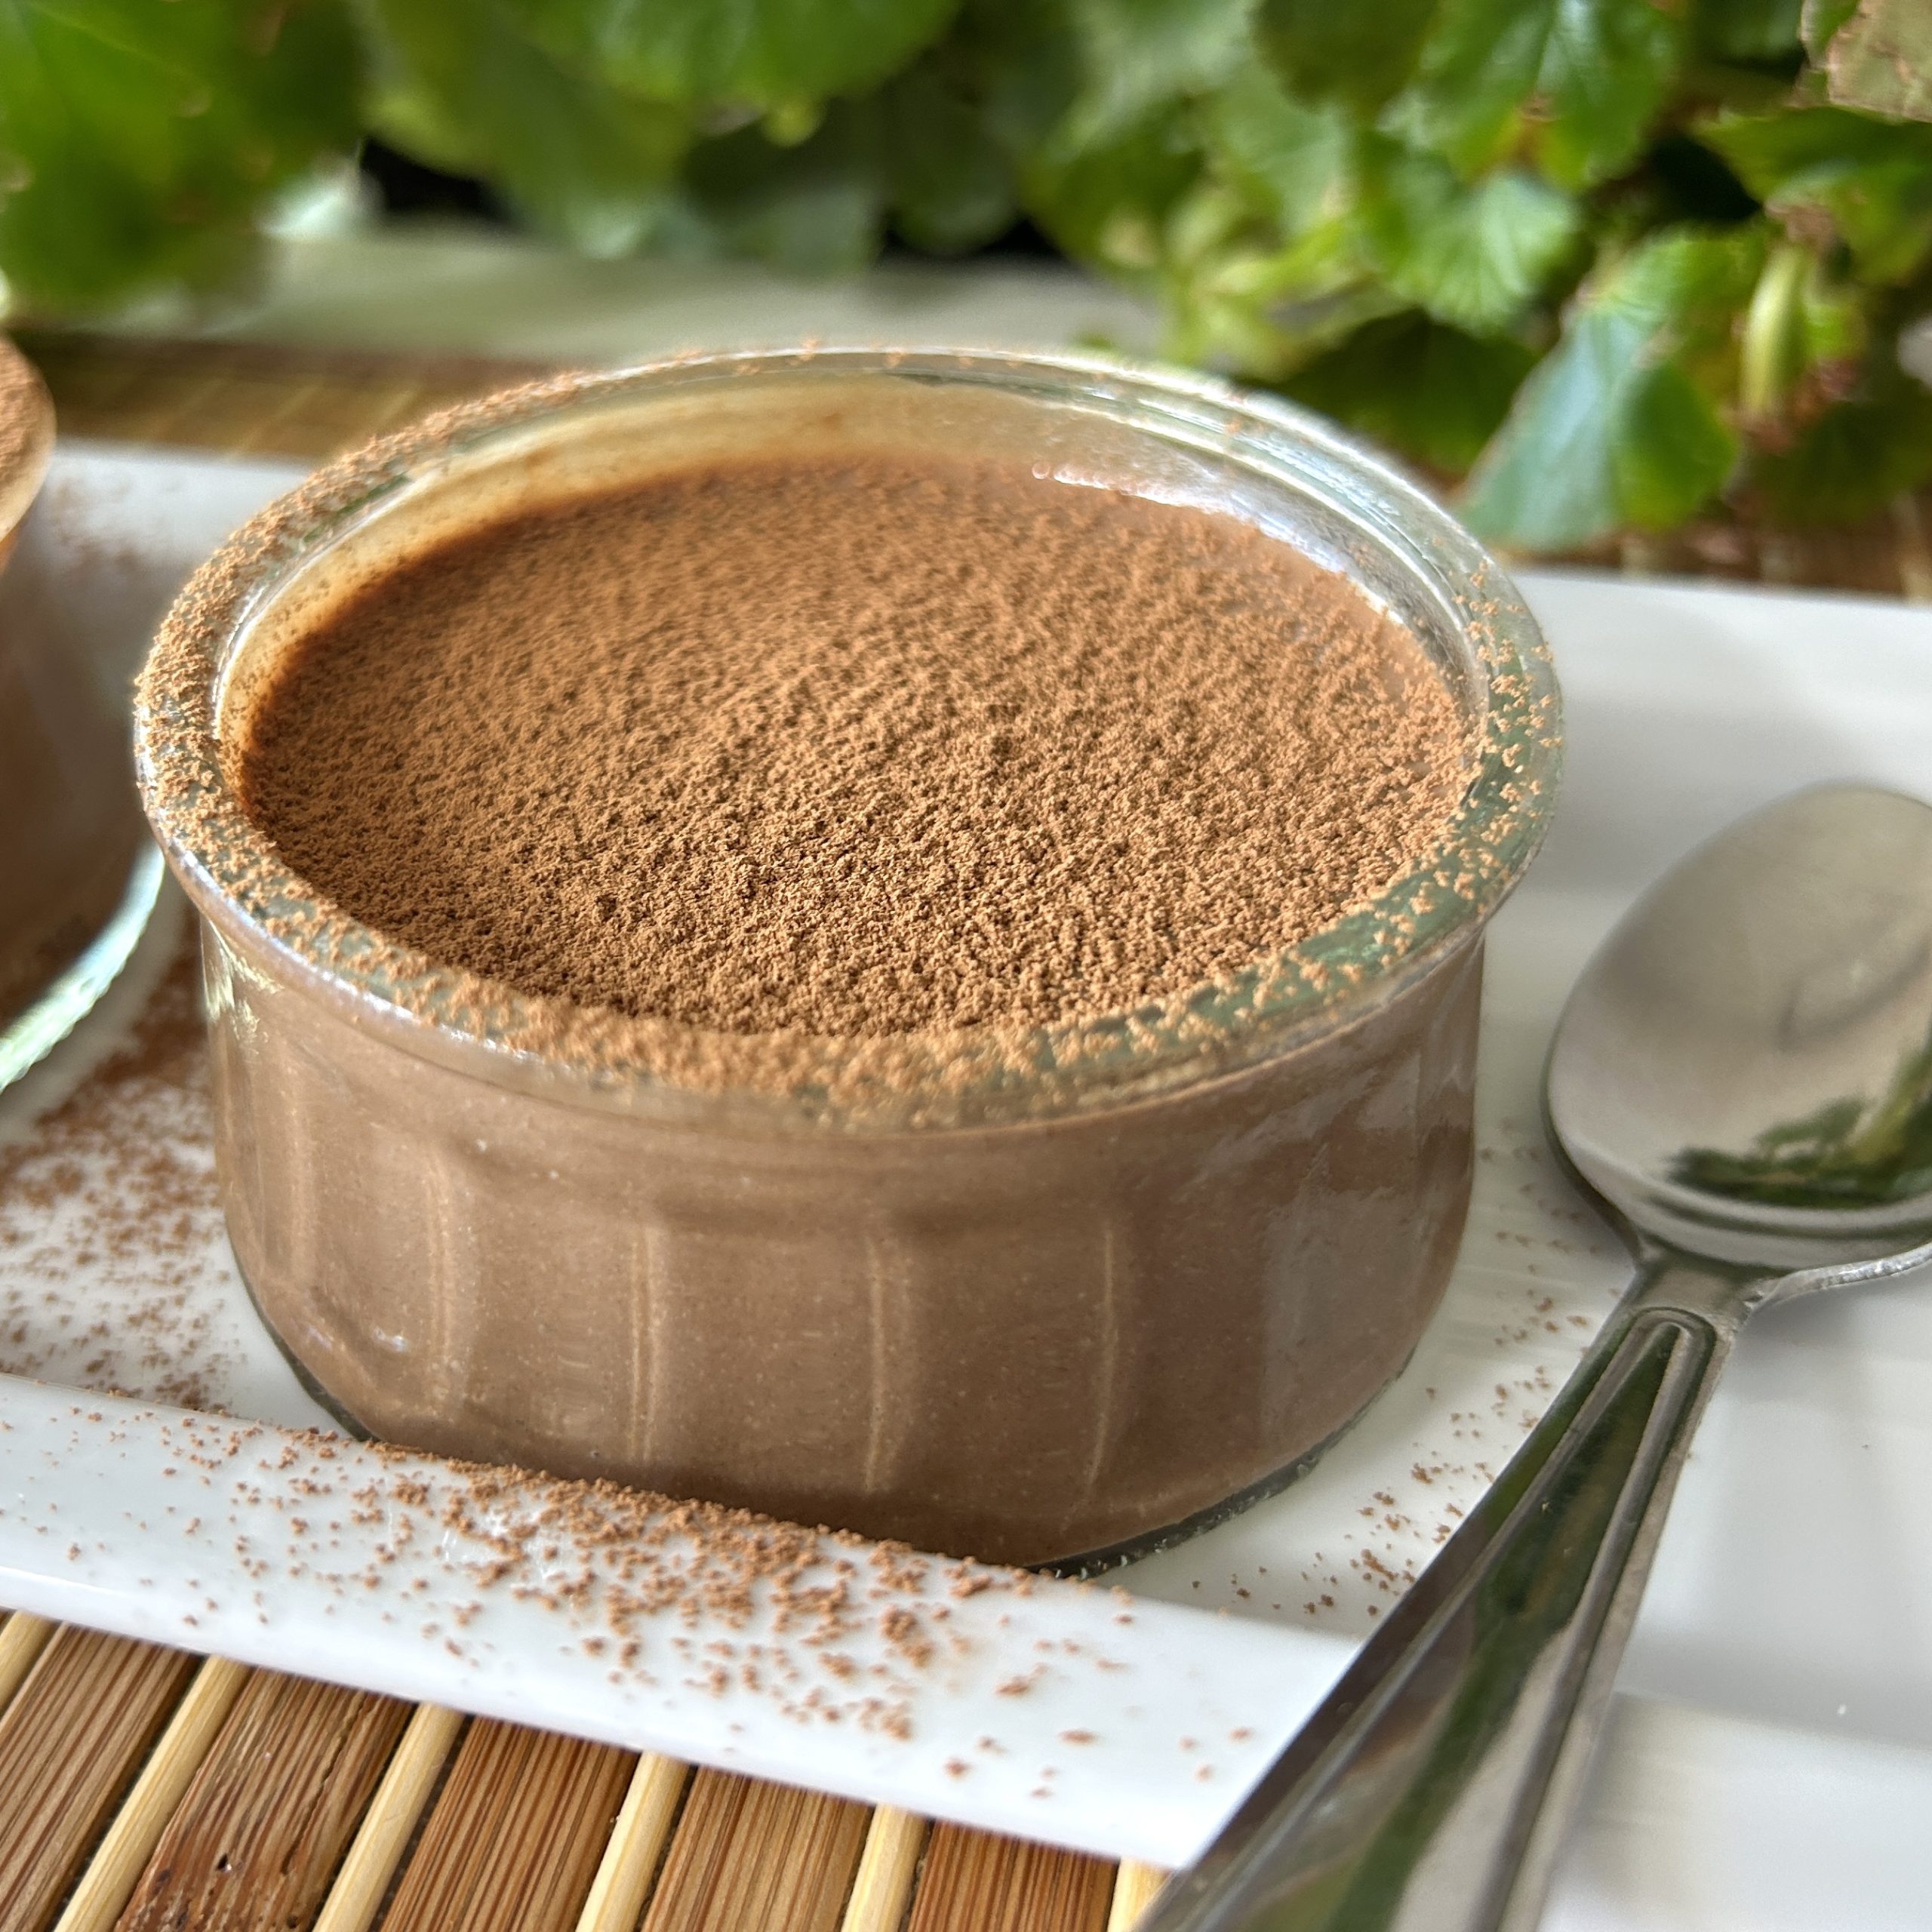
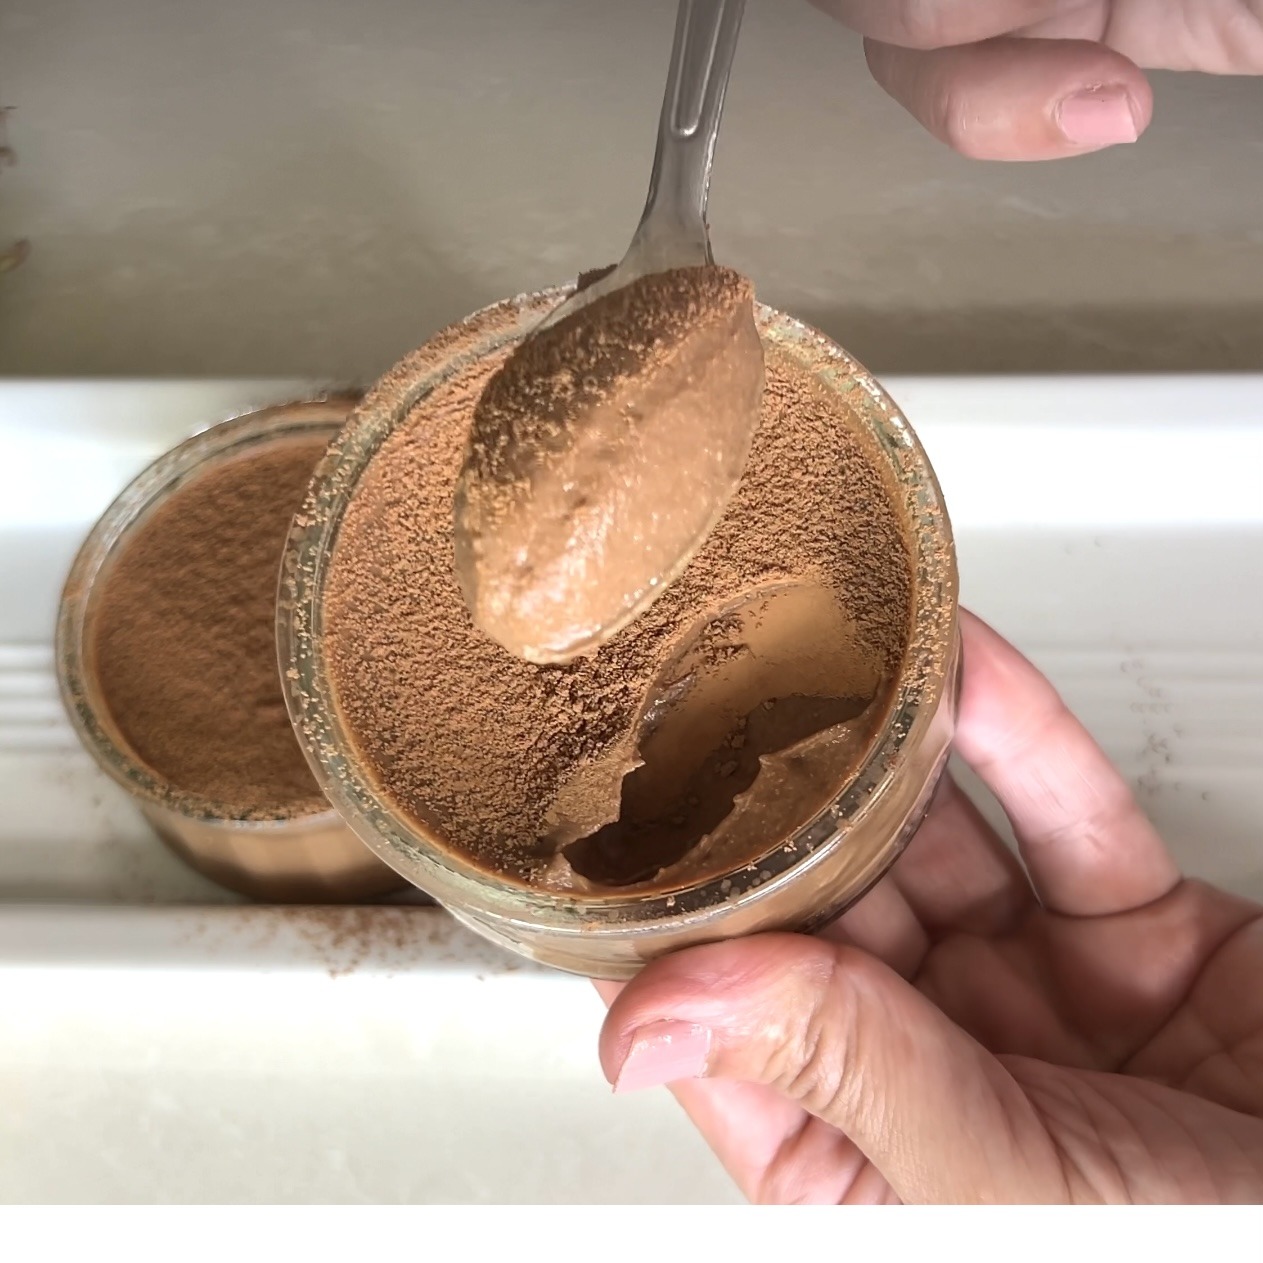 Whether you’re looking for a quick dessert or a make-ahead treat, this Cottage Cheese Chocolate Mousse is sure to impress. It’s easy to prepare, requires minimal ingredients, and offers a delightful blend of flavors that will satisfy any chocolate lover’s cravings.