Apple Oat Bars

Apple Oat Bars

Apple Oat Bars

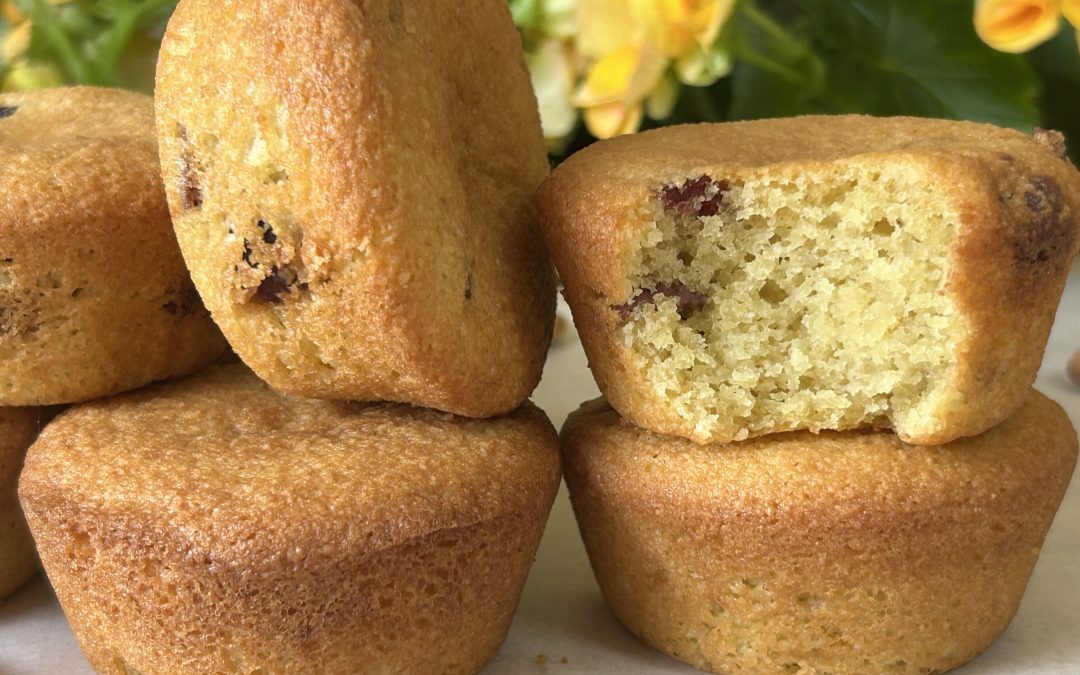
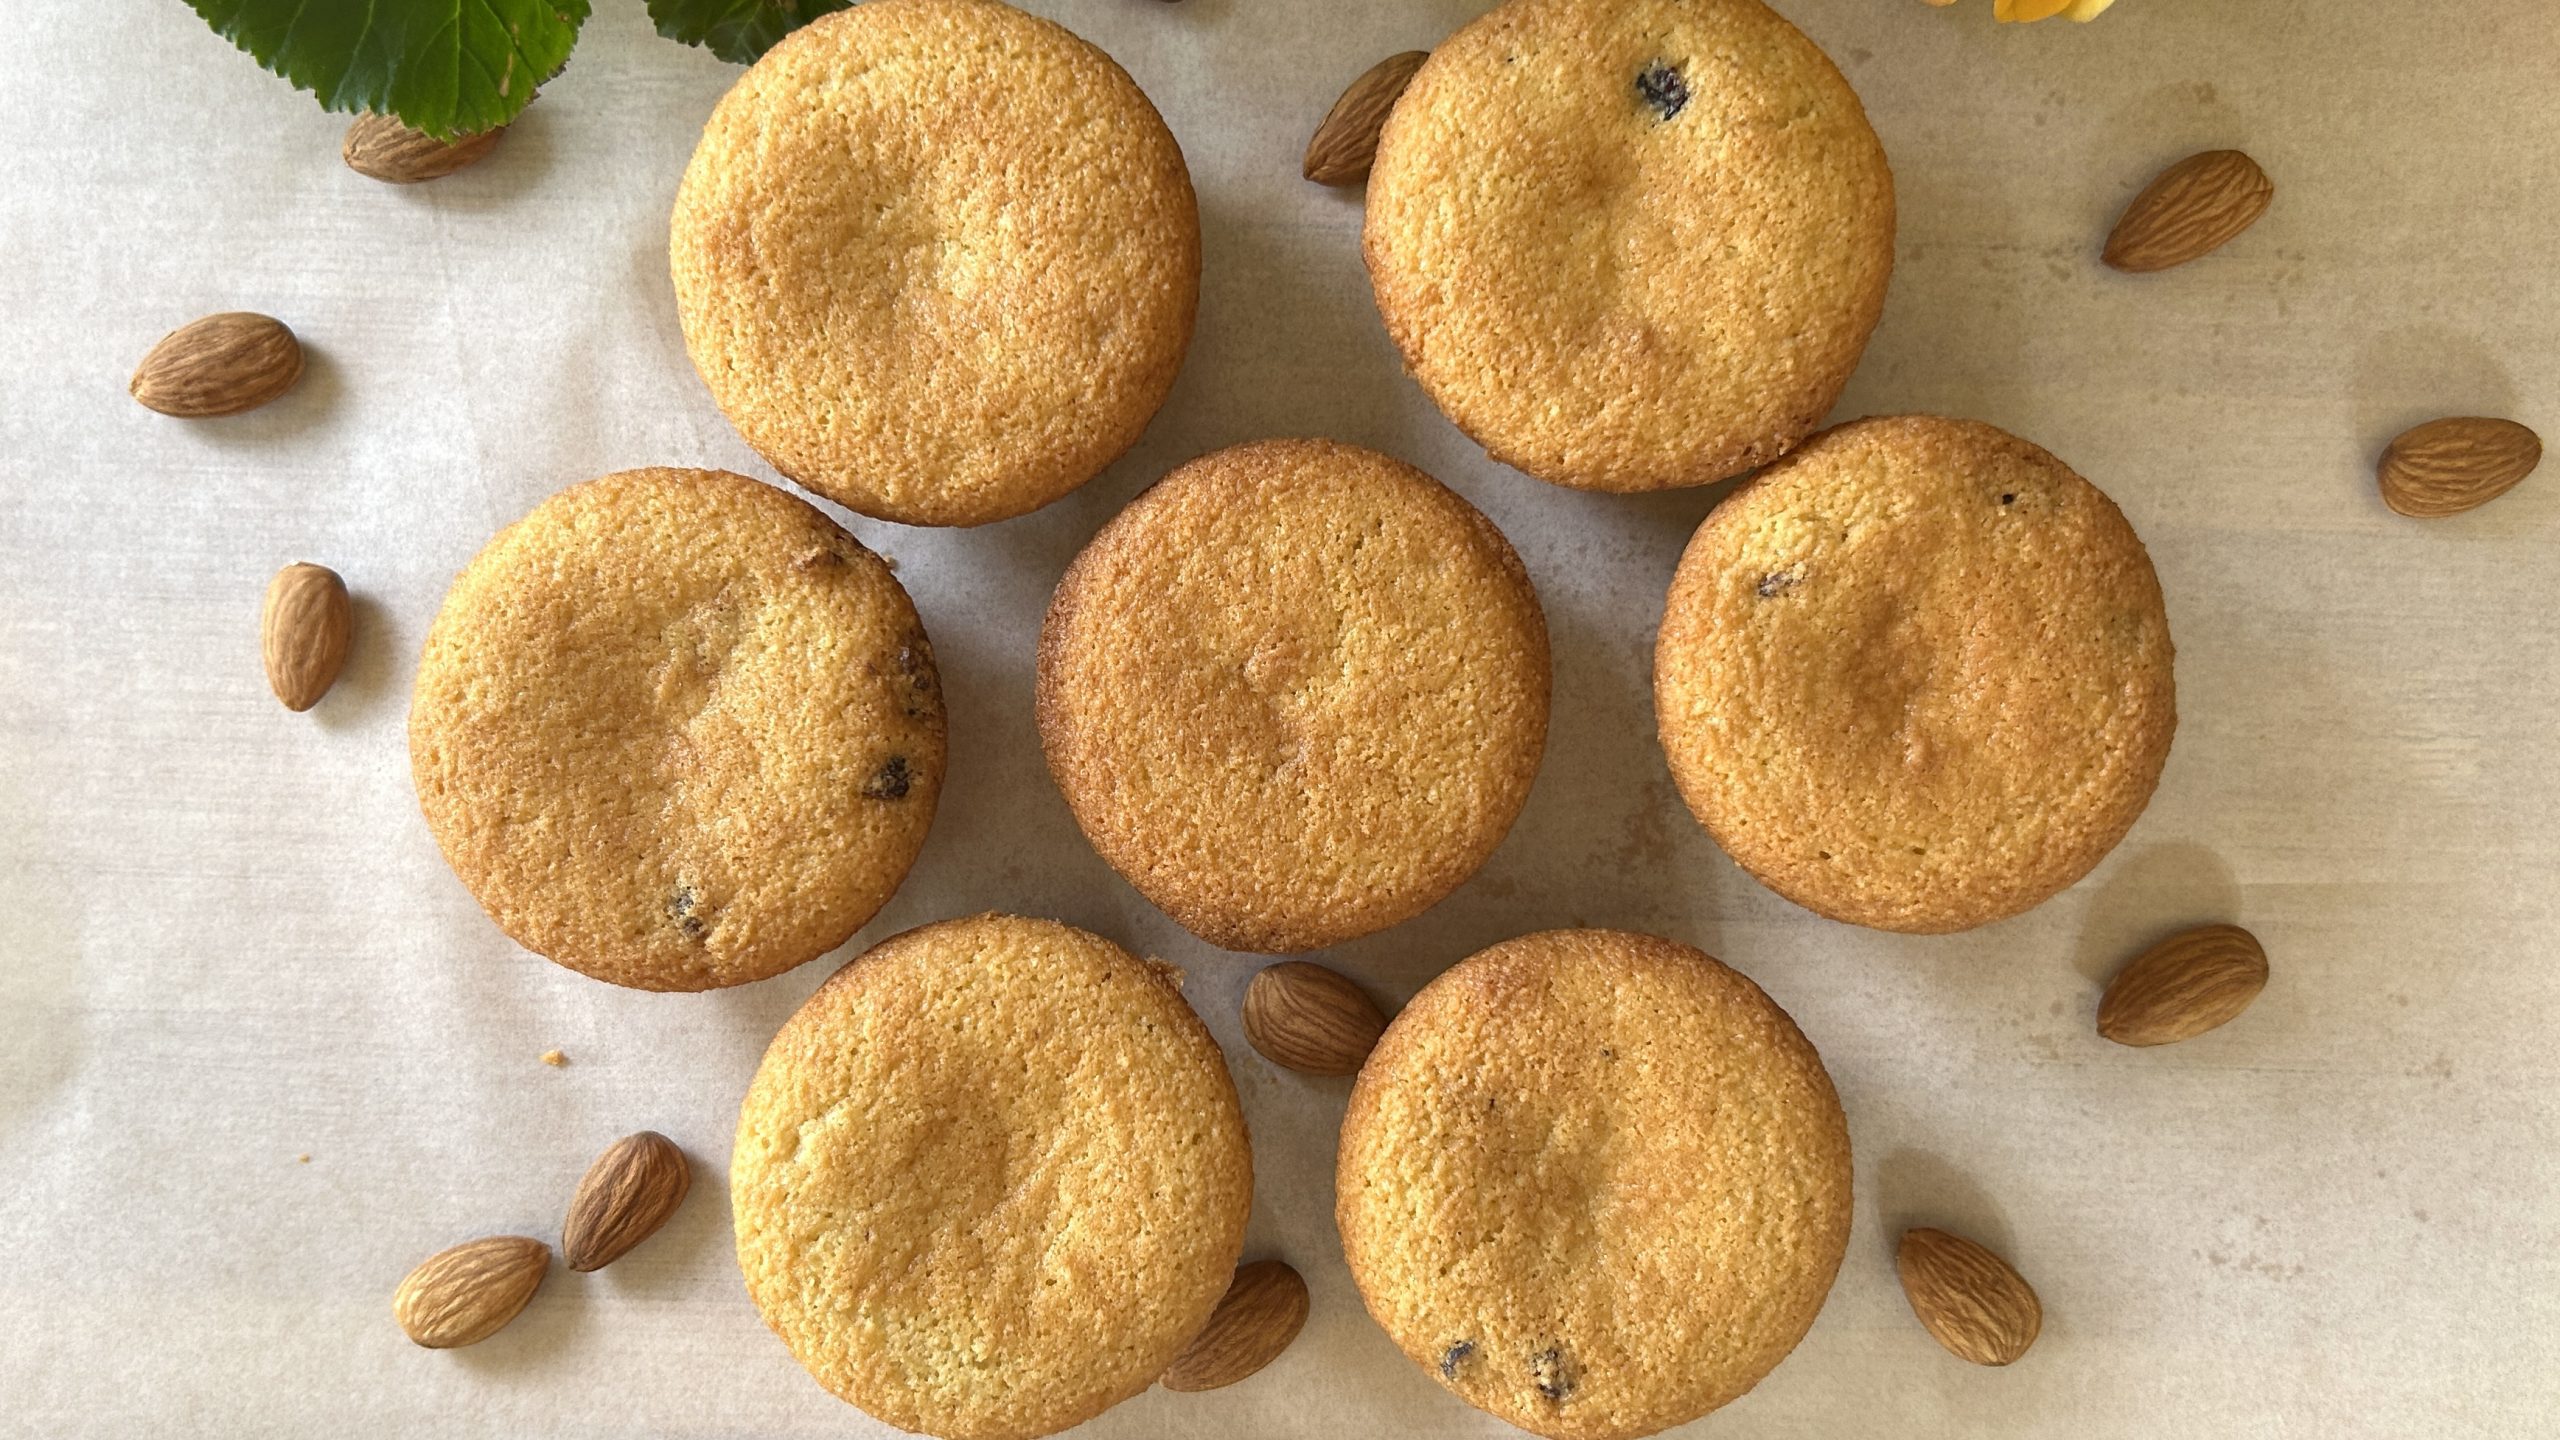
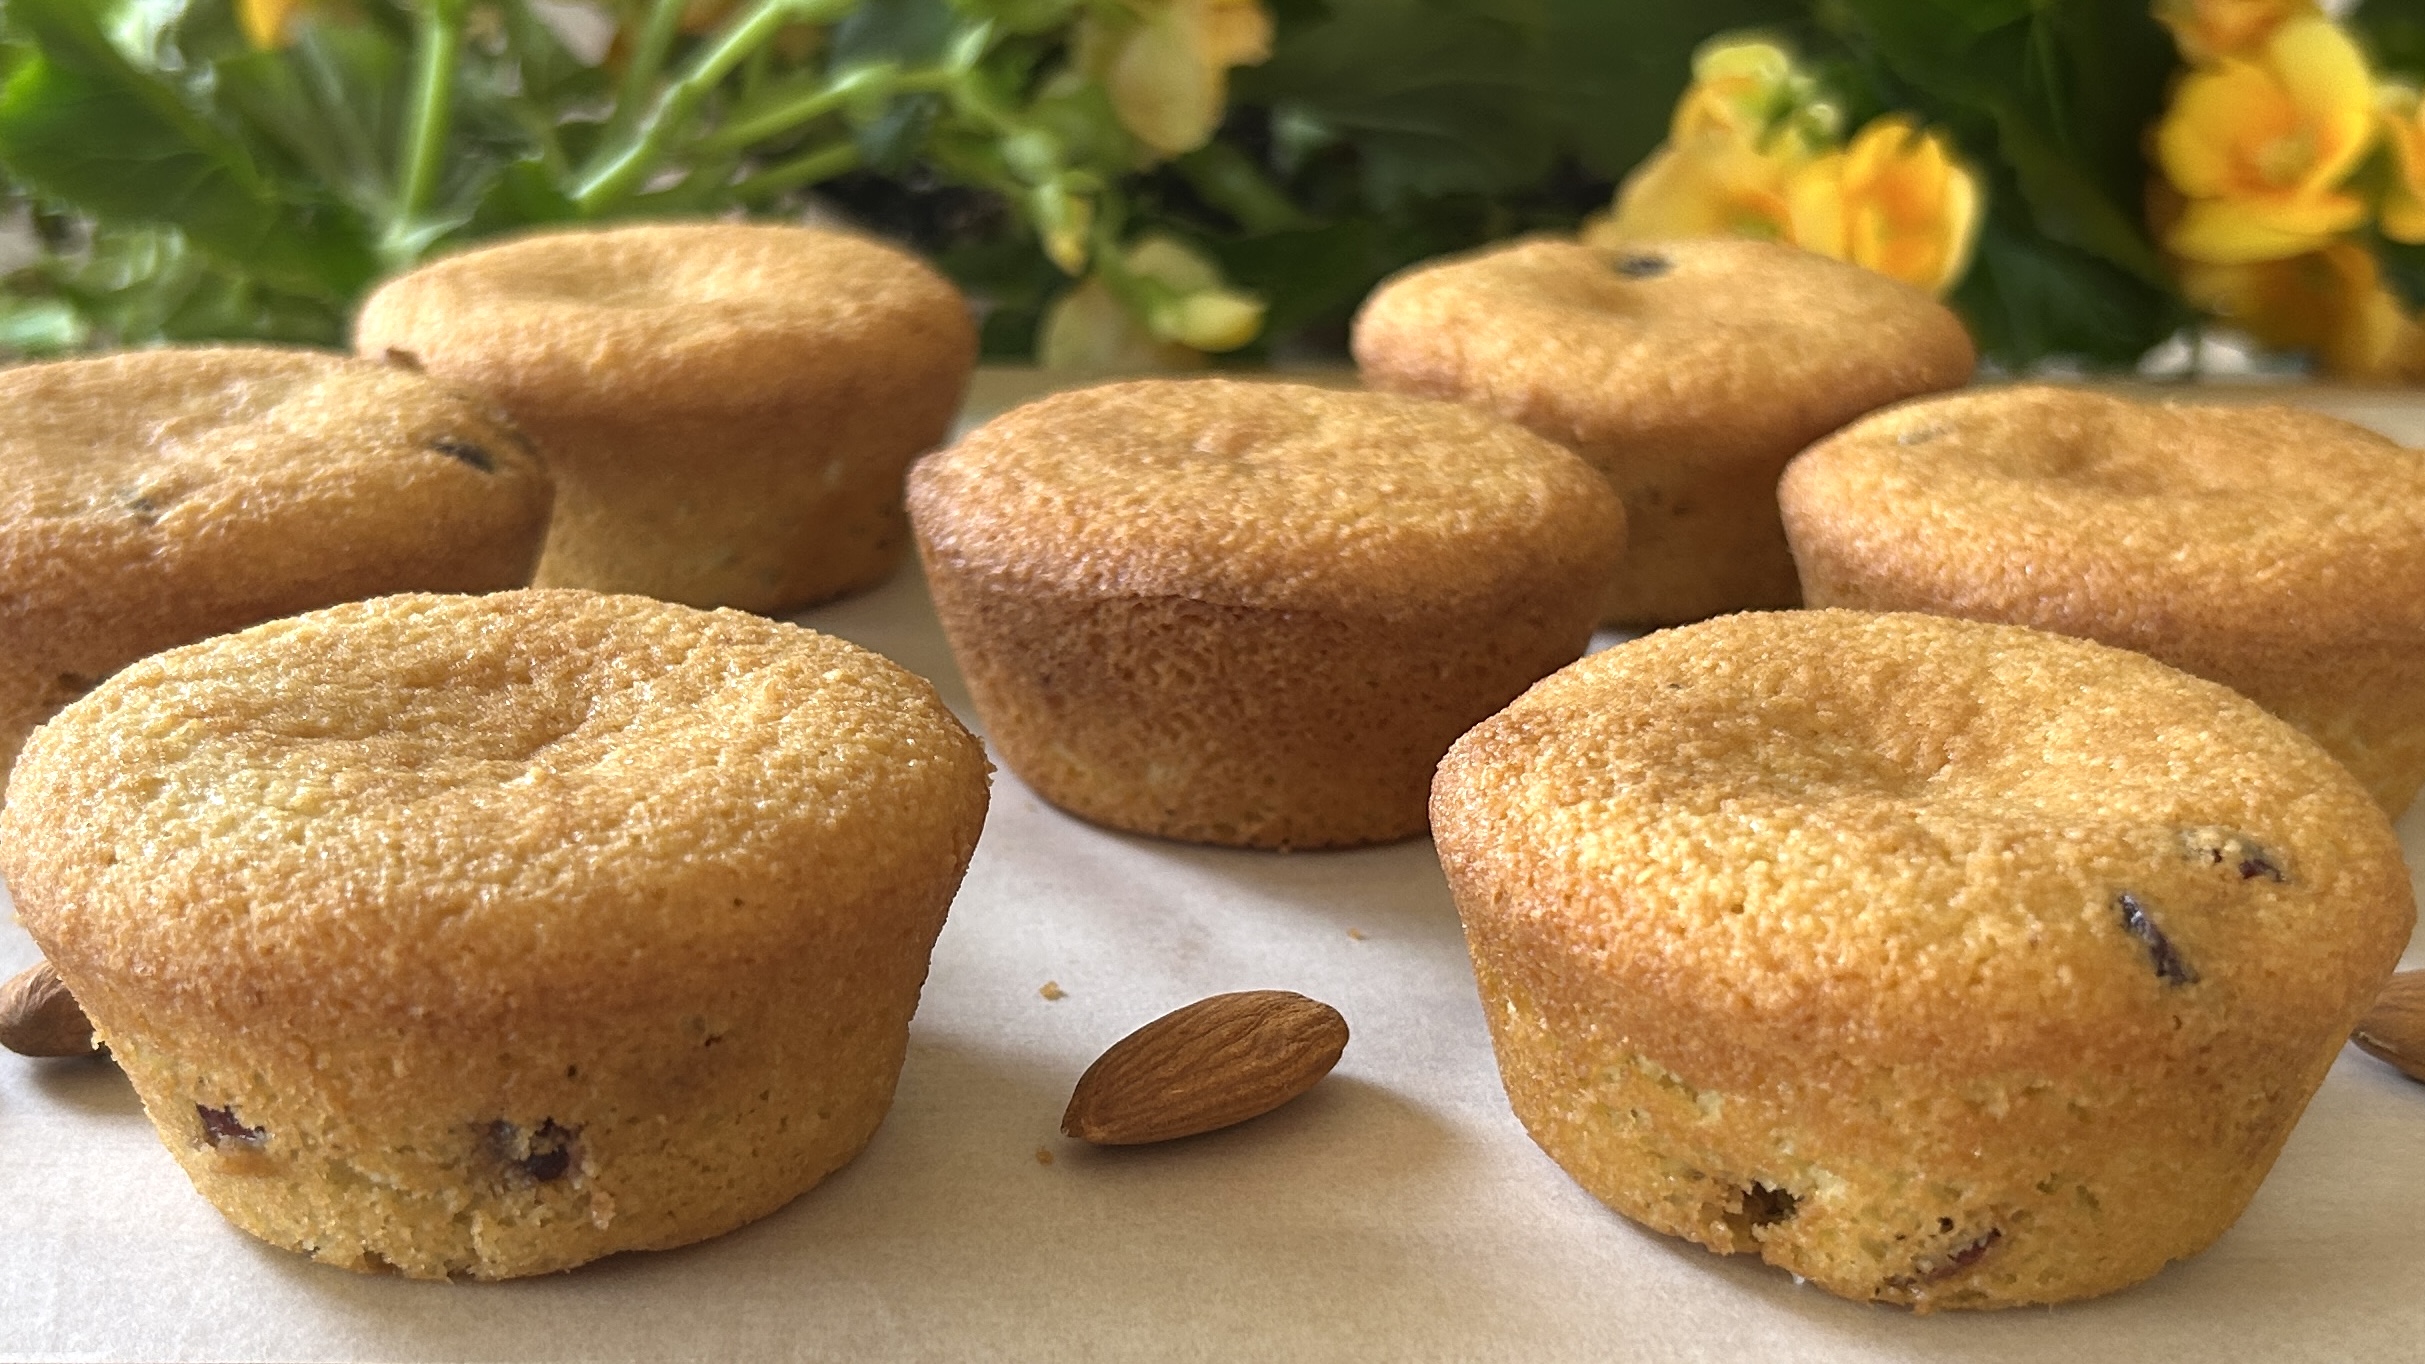
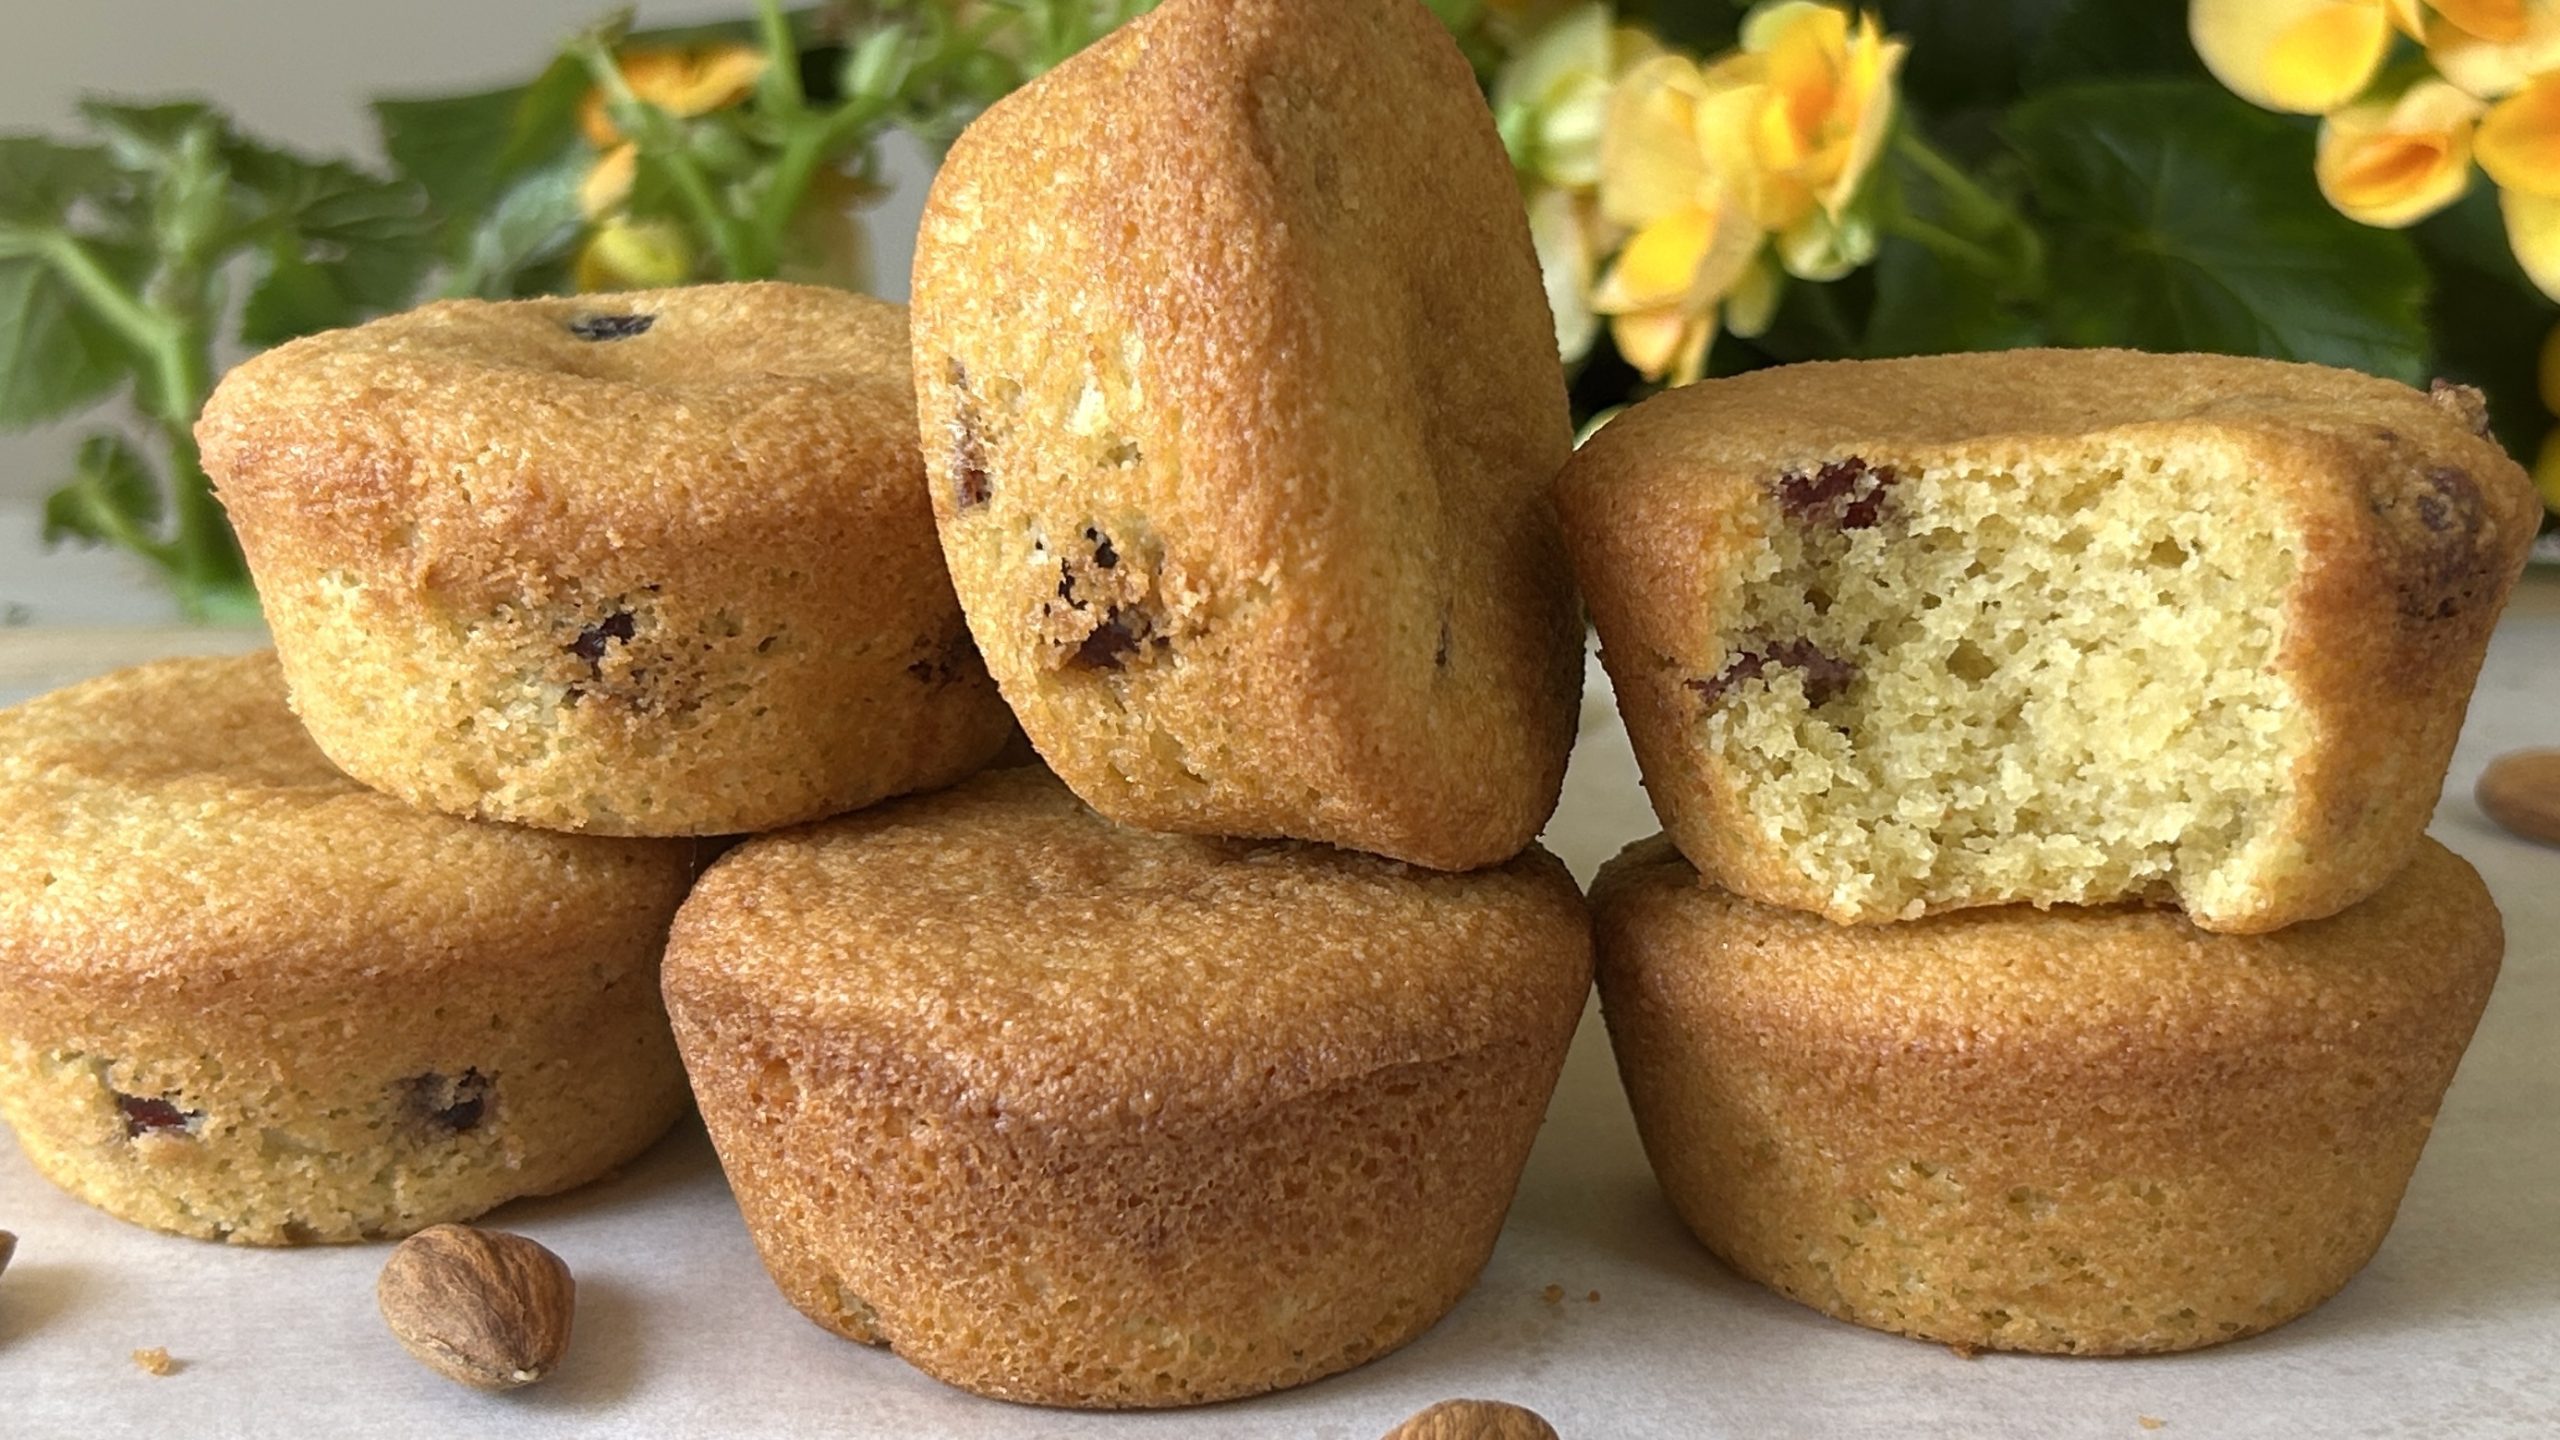
There’s something incredibly comforting about the combination of apples and oats. It’s the kind of pairing that evokes memories of cozy mornings and home-baked goodness. These apple oat bars capture that essence perfectly, offering a delightful blend of natural sweetness and hearty flavors in a form that’s easy to enjoy on the go. The soft, chewy texture of these bars, along with the subtle warmth of spices like cinnamon and ginger, makes them an instant favorite for breakfast, a snack, or even a light dessert.

What makes these bars truly special is their star ingredient: oats.

Oats are a nutritional powerhouse, renowned for their numerous health benefits. They are packed with dietary fiber, particularly beta-glucan, a type of soluble fiber that has been shown to reduce cholesterol levels, thus promoting heart health. Oats also have a low glycemic index, meaning they provide a slow and steady release of energy, keeping you fuller for longer and helping to maintain stable blood sugar levels. This makes them an excellent choice not just for those looking to manage their weight, but also for anyone seeking to sustain energy levels throughout the day.

In addition to being a great source of fiber, oats are rich in essential vitamins and minerals, including manganese, phosphorus, magnesium, and iron. These nutrients play a crucial role in maintaining bone health, supporting the immune system, and promoting overall well-being. Furthermore, oats contain unique antioxidants known as avenanthramides, which have anti-inflammatory properties and can help to lower blood pressure.

Incorporating oats into your regular diet can contribute to better digestion, enhanced heart health, and improved energy levels. With these Apple Oat Bars, you get all the nutritional benefits of oats in a delicious and convenient form. Whether you enjoy them as part of a balanced breakfast, a midday snack, or a wholesome treat, these bars are a delicious way to support your health and satisfy your cravings.

So, if you’re looking for a recipe that’s not only easy to make but also packed with nutritional benefits, these Apple Oat Bars are a fantastic option. They’re simple, nutritious, and sure to become a favorite in your household.

Ingredients

  • 1 large apple (130 g)
  • 1 cup (90 g) rolled oats
  • ½ cup (110 g) applesauce
  • 2 tbsp. coconut oil
  • 2 tbsp. maple syrup
  • 30 g dried cranberries
  • ½ tsp. baking powder
  • ¼ tsp. cinnamon
  • ¼ tsp. ginger powder
  • ¼ tsp. pumpkin pie spice

Directions

  1. Start by cleaning the large apple thoroughly and then finely grating it.
  2. In a large mixing bowl, combine the grated apple with all the remaining ingredients: rolled oats, applesauce, coconut oil, maple syrup, dried cranberries, baking powder, cinnamon, ginger powder, and pumpkin pie spice.
  3. Stir the mixture thoroughly until all the ingredients are well combined and evenly distributed.
  4. Prepare your mini cake or mini loaf pans by brushing each cup with a little bit of oil. Line them with parchment paper to make removal after baking easier.
  5. Spoon equal amounts of the mixture into each prepared cup. Use the back of a tablespoon to press the mixture gently, ensuring it spreads evenly and the surface is smooth.
  6. Preheat your oven to 350°F (175°C).
  7. Bake for 30 to 35 minutes, or until the bars are firm and lightly browned on top.
  8. Once baked, carefully transfer the bars onto a cooling rack to cool completely.

Prep Time: 15 minutes
Baking Time: 30 minutes
Servings: 6 Bars

Nutritional Information (Per Bar)

  • Energy: 142 calories
  • Protein: 2.35 g
  • Fat: 5.57 g
  • Carbohydrates: 22.45 g
  • Fiber: 2.2 g

Storage Recommendations

  • Store the bars in an airtight container at room temperature for up to 3 days.
  • For longer storage, refrigerate for up to a week or freeze for up to 3 months.
  • These bars are perfect for breakfast on the go or as a midday snack.
Banana & Peanut Butter Ice Cream

Banana & Peanut Butter Ice Cream

Banana & Peanut Butter Ice Cream

The summer sun is still blazing, and there’s nothing like a homemade treat to cool down. This Banana & Peanut Butter Ice Cream is a delightful and guilt-free indulgence that you’ll want to make over and over again. What’s amazing about this recipe is that it uses just two base ingredients: ripe bananas and smooth peanut butter. These simple, wholesome ingredients come together to create a naturally sweet and creamy dessert that’s hard to resist.

Bananas, the star of this recipe, aren’t just about their sweet flavor, they’re a powerhouse of nutrition. Rich in potassium, bananas help maintain healthy blood pressure and support heart health. They’re also a good source of dietary fiber, which is essential for digestive health. Including bananas in your diet regularly can provide sustained energy due to their natural sugars, and they are a great source of antioxidants, which can help combat oxidative stress. Combined with peanut butter, which is high in protein and healthy fats, this ice cream isn’t just delicious, it’s a smart choice for a balanced diet. Incorporating these ingredients into your meals can contribute to overall well-being, making this ice cream a perfect treat that nourishes as much as it satisfies.

This recipe is also vegan and gluten-free, making it suitable for a variety of dietary preferences. The addition of dark chocolate chunks takes this dessert to the next level, offering a rich contrast to the smoothness of the banana-peanut butter blend.

Ingredients

  • 500 g frozen ripe bananas
  • 100 g smooth peanut butter (made with just one ingredient)
  • 50 g dark chocolate (chopped into small pieces)

Directions

  1. Chop the dark chocolate into small pieces and set aside.
  2. Place the frozen ripe bananas and smooth peanut butter into a food processor.
  3. Blend until the mixture is smooth and creamy.
  4. Transfer the banana and peanut butter mixture into a freezer-safe container.
  5. Gently fold in the chopped dark chocolate using a spatula to distribute it evenly.
  6. Cover and freeze for at least 1 hour, or until the ice cream reaches a smooth, scoopable consistency.
  7. Once chilled, scoop and serve.

Prep Time

  • 10 minutes prep
  • 1 hour freezing

Servings

  • 5 servings

Nutritional Information (Per Serving)

  • Energy: 266 calories
  • Protein: 6.74 g
  • Fat: 14.53 g
  • Carbohydrates: 31.68 g
  • Fiber: 5.4 g

Storage

  • Store in the freezer.
  • Let it sit at room temperature for about 15 minutes before scooping if it has been frozen for a longer period to return to its original creamy texture.

Particular Recommendations

  • This recipe is naturally vegan and gluten-free.
  • It’s best enjoyed fresh, but it can be stored in the freezer for up to one week. Remember to allow it to soften slightly before serving to get that perfect creamy texture.
  • Feel free to experiment by adding other mix-ins like nuts or dried fruits for added texture and flavor.

Apple & Oatmeal Cups

Apple & Oatmeal Cups

Apple & Oatmeal Cups

If you’re on a diet to lose weight or simply seeking light, nutritious treats, these mini apple oat cups are for you. Crispy and light on the outside, with a fruity and naturally sweet filling, these cups are reminiscent of apple pie but much simpler and healthier. These vegan-friendly treats are perfect for a quick snack or a healthy dessert that everyone will love.

Oats, the primary ingredient in these cups, are a fantastic source of dietary fiber, particularly beta-glucan, which helps to reduce cholesterol levels and improve heart health. Oats are also rich in antioxidants and essential vitamins and minerals like manganese, phosphorus, and magnesium. Including oats in your regular diet can support digestive health, provide sustained energy, and help in weight management. These apple & oatmeal cups are a delicious way to enjoy the numerous health benefits of oats while indulging in a tasty treat.

These apple & oatmeal cups offer a delightful combination of crispy oat crust and sweet apple filling, making them the perfect healthy treat for any time of day. Enjoy the goodness of oats and apples in this easy-to-make, vegan-friendly dessert!

Ingredients

For the Apple Filling:

  • 3 large gala apples (about 400 g), cleaned and cut
  • 2 cinnamon sticks
  • 2 to 3 tbsp. water
  • 2 tbsp. maple syrup
  • 1/2 cup (120 g) applesauce
  • 1/8 tsp. cinnamon powder
  • 1/8 tsp. ginger powder

For the Oat Crust:

  • 1/2 cup (100 g) cottage cheese
  • 3 tbsp. maple syrup
  • 1 ½ cups (135 g) oat flour
  • 1/2 tsp. baking powder

Directions

  1. Peel, core, and chop the apples. Place them in a saucepan with cinnamon sticks, water, and maple syrup, cooking over medium heat.
  2. Once the apples soften slightly, add and mix the applesauce and continue to cook for about 5-8 minutes until tender but not fully cooked.
  3. Stir in cinnamon and ginger powder, then remove from heat and set aside to cool.
  4. For the crust, blend cottage cheese and maple syrup in a bowl until smooth.
  5. Gradually add oat flour and baking powder, stirring until the mixture forms a dough. Knead briefly until smooth.
  6. Let the dough rest for 15 minutes, then roll it out on parchment paper to a ⅛” thickness.
  7. Cut out circles with a biscuit cutter and press them into an oiled muffin tin, forming the base and sides.
  8. Spoon the apple filling into each cup, filling to the top.
  9. Bake at 350°F (180°C) for 30 minutes or until golden brown.

Prep Time

  • 9 Servings
  • 30 mins Prep
  • 15 mins pan Cooking
  • 30 mins Baking

Nutritional Information (Per 1 Serving)

  • Energy: 126 calories
  • Protein: 3.92 g
  • Fat: 1.59 g
  • Carbohydrates: 25.13 g
  • Fiber: 2.3 g

Storage and Recommendations

  • Store the apple oat cups in an airtight container at room temperature for up to 2 days or in the fridge for up to 5 days.
  • These cups can also be frozen for up to 2 months.
  • Serve as a light treat, or pair with a dollop of yogurt or a sprinkle of cinnamon for extra flavor.


Cottage Cheese Savory Muffins

Cottage Cheese Savory Muffins

Cottage Cheese Savory Muffins

With their tender texture and savory flavor, these cottage cheese muffins are the perfect addition to your meal planning. Whether you’re aiming to include more protein-rich foods in your diet or simply want a delicious, versatile snack, these muffins have you covered. Ideal for breakfast, lunch, or dinner, they bring a wholesome balance of flavors that are sure to please.

Cottage cheese, the key ingredient in these savory muffins, is a fantastic source of protein, calcium, and essential nutrients. It’s low in fat but high in important nutrients like vitamin B12 and phosphorus, making it an excellent choice for those looking to build muscle, support bone health, or maintain a balanced diet. Including cottage cheese in your regular diet can help you meet your daily protein needs while keeping your meals light and nutritious. These muffins offer an easy and delicious way to enjoy the health benefits of cottage cheese every day.

These savory cottage cheese muffins are not only easy to make but also packed with nutrients that are essential for a healthy diet. Whether you’re serving them as a main dish or a snack, they’re sure to become a favorite in your household!

Ingredients

  • 40 g green onion, chopped
  • 50 g smoked salmon slices, chopped
  • 4 eggs
  • 2 tbsp olive oil
  • 1 cup (200 g) cottage cheese
  • 1/4 tsp salt
  • Black pepper to taste
  • Rosemary leaves or other herbs of choice

Directions

  1. Preheat your oven to 365°F (185°C).
  2. Chop the green onion and smoked salmon slices, then set them aside.
  3. In a mixing bowl, beat the eggs until they are well mixed. Add the cottage cheese, the olive oil, the chopped green onion, and smoked salmon to the egg and cottage cheese mixture.
  4. Season with salt and black pepper to taste.
  5. Stir gently to ensure all the ingredients are evenly mixed.
  6. Pour equal quantities of the mixture into nonstick muffin cups or silicone cups.
  7. Sprinkle the top of each muffin with rosemary leaves or your preferred herbs.
  8. Bake for 20 minutes or until the muffins turn golden brown.
  9. Remove the muffins from the oven and let them cool slightly before serving.
  10. Serve the muffins while they are still warm, accompanied by a side salad and your favorite dipping sauce.

Prep Time

  • 8 Muffins
  • 20 mins Prep
  • 20 mins Baking

Nutritional Information (Per 1 Muffin)

  • Energy: 76 calories
  • Protein: 4.08 g
  • Fat: 5.6 g
  • Carbohydrates: 2.96 g
  • Fiber: 0.8 g

Storage and Recommendations

  • Store any leftover muffins in an airtight container in the fridge for up to 5 days or in the freezer for up to 1 month.
  • These muffins are versatile and can be enjoyed at any meal.
  • Pair them with a fresh salad, some avocado slices, or even as a protein-packed snack on the go.


Chickpea Breads

Chickpea Breads

Chickpea Breads

These homemade chickpea mini breads are a gluten-free, protein-packed alternative to traditional bread, offering a soft texture and delicious flavor that even kids will love. Perfect for school lunches, quick snacks, or a healthy meal option, these chickpea breads are as versatile as they are nutritious. The subtle addition of cumin seeds not only enhances the flavor but also adds a touch of warmth that pairs beautifully with the nutty taste of chickpeas.

Chickpeas, the star ingredient in this recipe, are a powerhouse of nutrition. They are rich in protein, fiber, and essential nutrients like iron, magnesium, and folate, making them an excellent choice for anyone looking to boost their intake of plant-based protein. Including chickpeas in your regular diet can help improve digestion, support heart health, and maintain steady blood sugar levels. These chickpea breads offer an easy and delicious way to enjoy the numerous health benefits of this versatile legume, making them a great addition to any meal plan.

These chickpea breads are not only a healthier alternative to regular bread but also a tasty way to incorporate more plant-based protein into your diet. Give them a try and enjoy the benefits of chickpeas in a delicious, easy-to-make form!

Ingredients

  • 1 cup (180 g) raw chickpeas
  • 1 1/4 cups water, divided
  • 3 tbsp olive oil
  • 1/4 tsp salt
  • 1/2 tbsp baking powder
  • 1 tsp cumin seeds (or seeds/spices of your choice; optional)
  • Oil for brushing

Directions

  1. Soak 1 cup of raw chickpeas overnight in room-temperature water, preferably in the fridge.
  2. Rinse and drain the chickpeas thoroughly the next day.
  3. Transfer the chickpeas to a mixing bowl, add a portion of the water, and blend until smooth.
  4. Mix in the remaining water, olive oil, salt, and baking powder until evenly combined.
  5. Oil and line several small ramekins with parchment paper.
  6. Evenly distribute the chickpea mixture among the ramekins and level the tops.
  7. Sprinkle cumin seeds or your choice of seeds/spices over each.
  8. Bake at 350°F (175°C) for 35 minutes or until golden and firm.
  9. Allow to cool before serving.

Prep Time

  • 5 Servings
  • Overnight Soaking
  • 20 mins Prep
  • 35 mins Baking

Nutritional Information (Per 1 Serving)

  • Energy: 209 calories
  • Protein: 7.37 g
  • Fat: 10.28 g
  • Carbohydrates: 23.37 g
  • Fiber: 4.4 g

Storage and Recommendations

  • Store any leftover chickpea breads in an airtight container in the fridge for up to 5 days or in the freezer for up to 1 month.
  • These chickpea breads are versatile and can be enjoyed at any meal.
  • Pair them with a fresh salad, some avocado slices, or even as a protein-packed snack on the go.