White Chocolate Tahini
White Chocolate Tahini

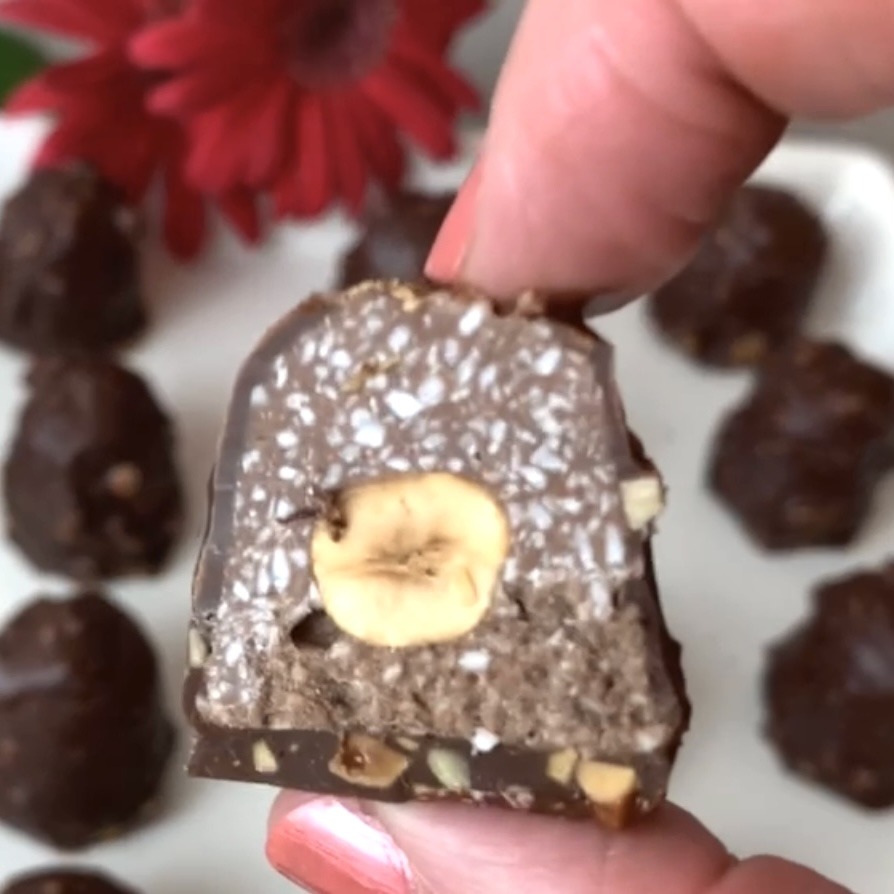
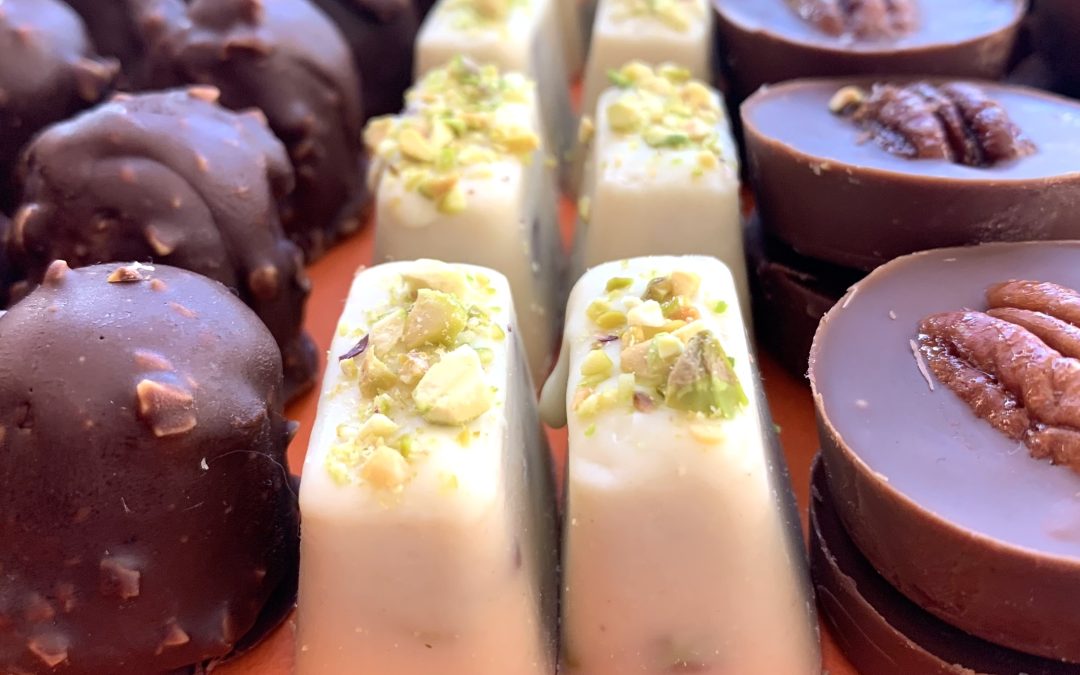
Looking for a delightful and easy activity to share with your kids or loved ones? These White Chocolate & Tahini Bites are the perfect solution. With just three simple ingredients, you can create a delicious treat that combines the sweetness of white chocolate with the rich, nutty flavor of tahini, all complemented by the crunch of roasted pistachios. This recipe is not only a fun kitchen project but also a healthier alternative to store-bought chocolates.

Tahini, the key ingredient in this recipe, is a paste made from ground sesame seeds. It’s a staple in Middle Eastern cuisine and is celebrated for its rich, creamy texture and nutty flavor. But tahini is more than just a flavorful addition to your dishes, it’s packed with nutrients. Sesame seeds are a great source of healthy fats, particularly polyunsaturated fats, which can help reduce cholesterol levels and improve heart health. They are also high in protein, making tahini an excellent plant-based protein source. Additionally, tahini is rich in essential minerals like calcium, magnesium, and zinc, which support bone health and immune function.
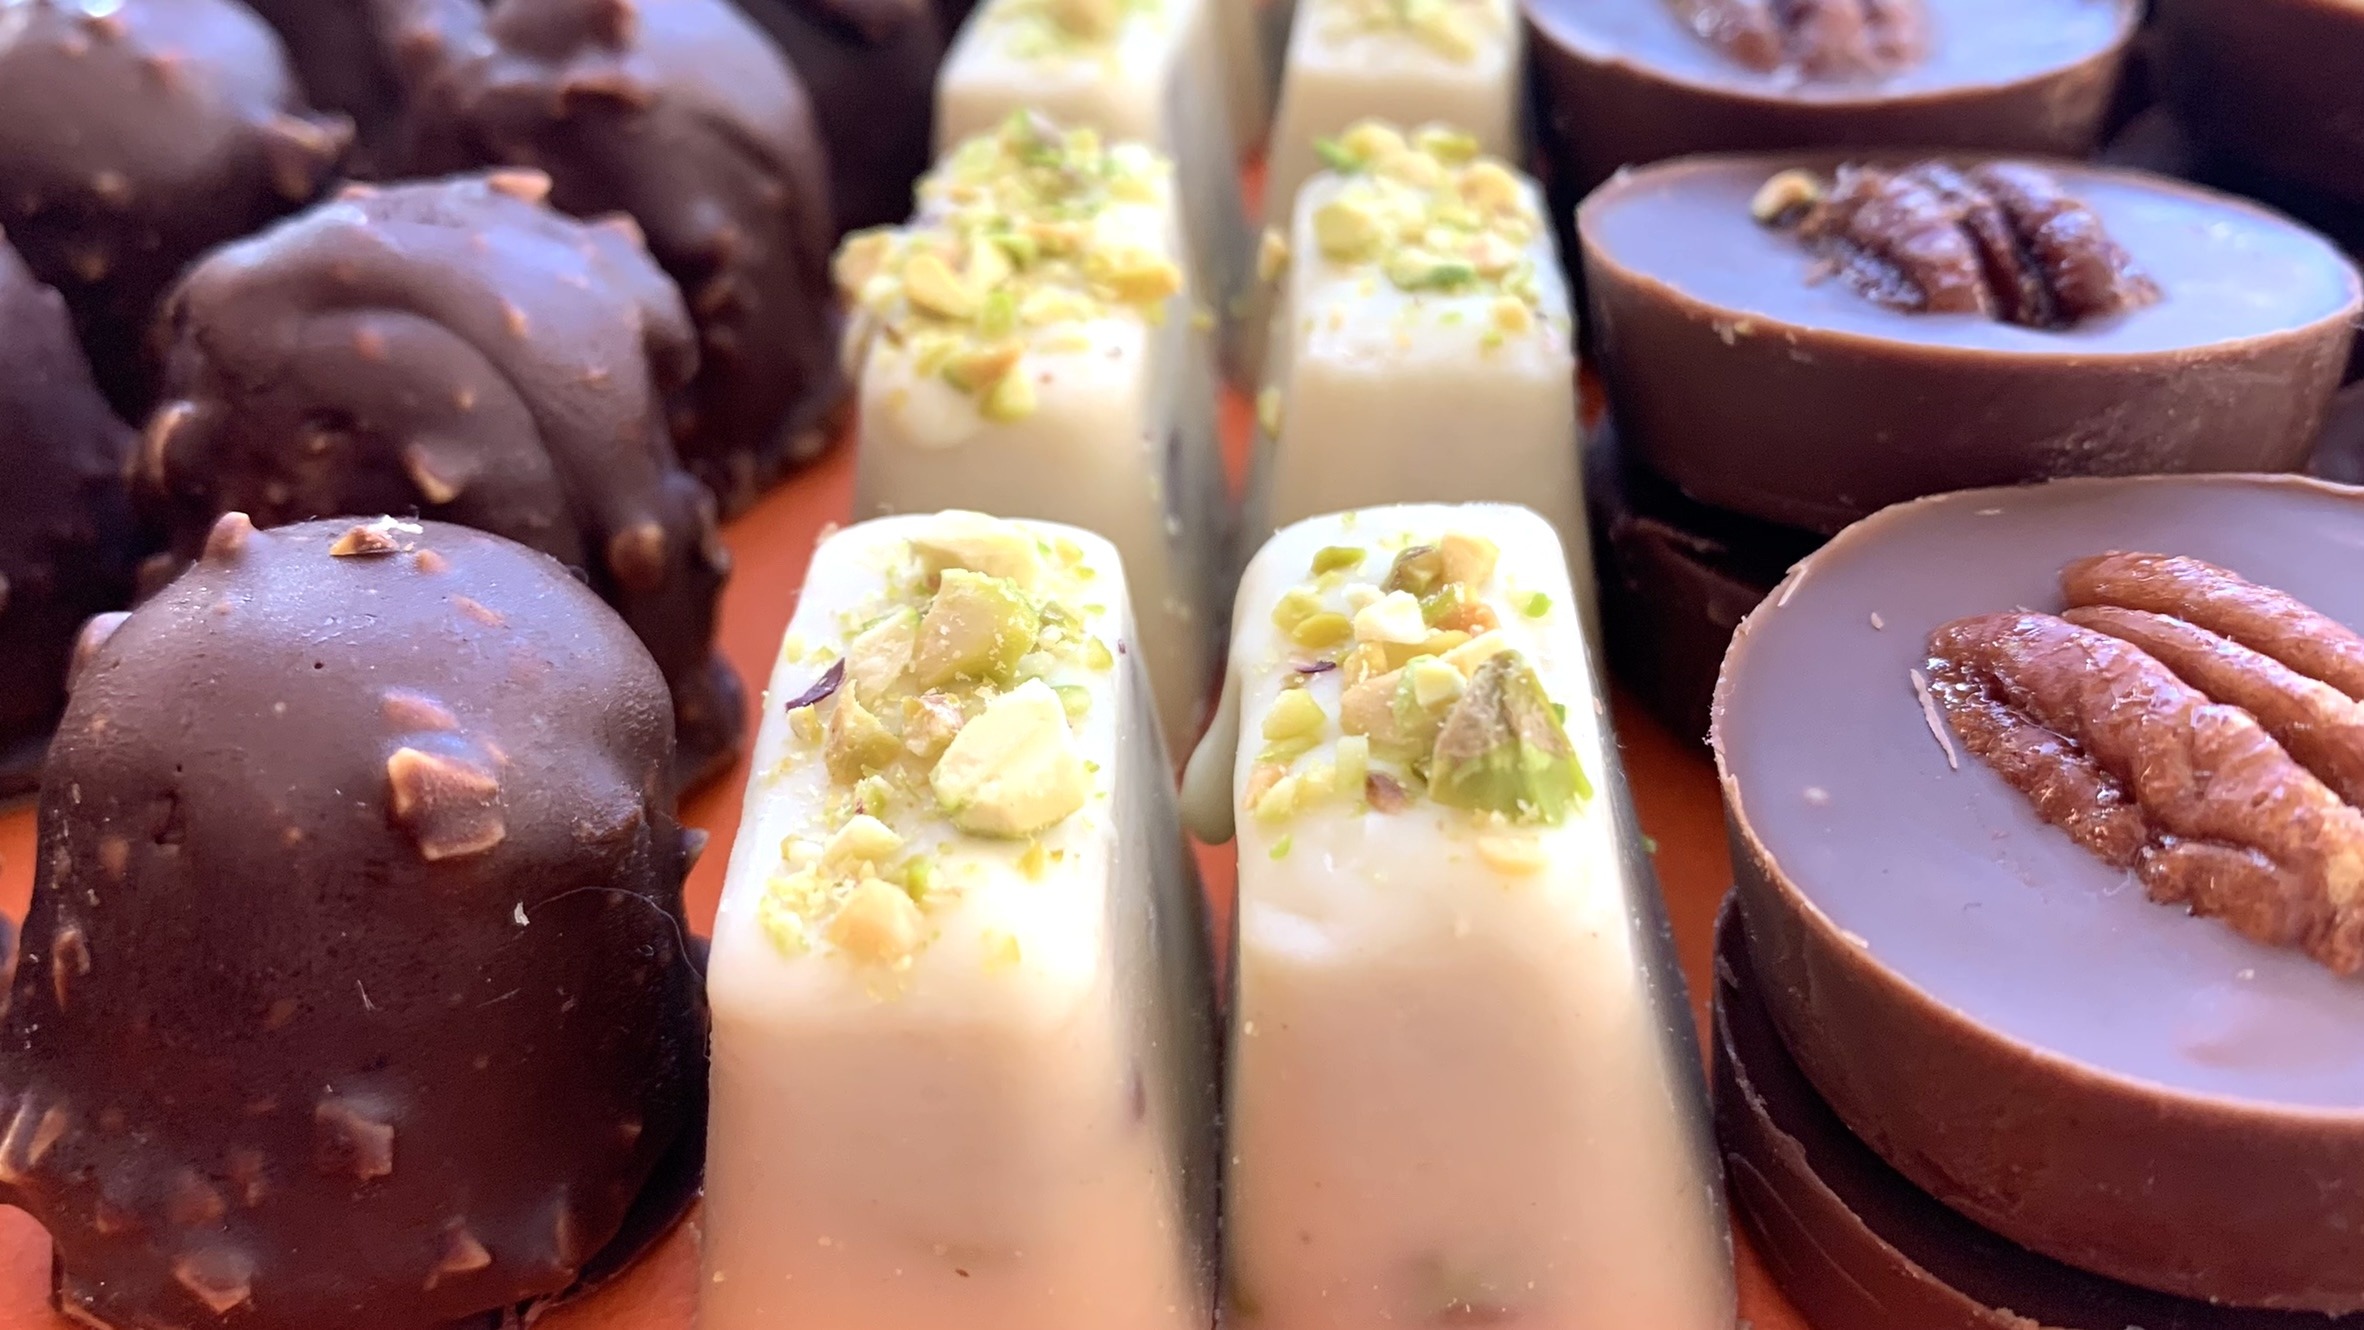
Incorporating tahini into your diet can help boost your overall health while adding a unique flavor to your meals and snacks. Paired with the sweetness of white chocolate and the crunch of pistachios, these bites offer a deliciously balanced treat that you can feel good about enjoying. Whether you’re looking to satisfy your sweet tooth or share a fun kitchen experience with others, these White Chocolate & Tahini Bites are sure to become a favorite.
Ingredients
- 120 g white chocolate (dark chocolate can be used as an alternative)
- 60 g tahini
- 60 g roasted pistachios
Directions
- In a heatproof bowl, melt the white chocolate using a microwave or a double boiler until smooth and creamy.
- Add tahini and roasted pistachios to the white chocolate and stir thoroughly until all ingredients are well combined.
- Take chocolate molds of your choice and pour approximately half a tablespoon of the chocolate mixture into each mold. Gently shake to ensure the mixture settles evenly within each mold.
- Place in the fridge and let them chill for about 1 hour, or until the chocolate sets completely.
- Once the chocolates have set, carefully remove them from the molds and enjoy.
Prep Time, Baking Information, and Servings
- Servings: 15 pieces
- Prep Time: 20 minutes
- Chilling Time: 1 hour in the fridge
Nutritional Information (Per 1 Chocolate)
- Energy: 89 calories
- Protein: 1.96 g
- Fat: 6.53 g
- Carbohydrates: 6.69 g
- Fiber: 0.8 g
Notes & Storage
- Store the white chocolate, pistachio, and tahini bites in the fridge for up to 1 week or in the freezer for up to 3 months.
- Enjoy your homemade chocolates immediately, or package them beautifully to gift to loved ones.