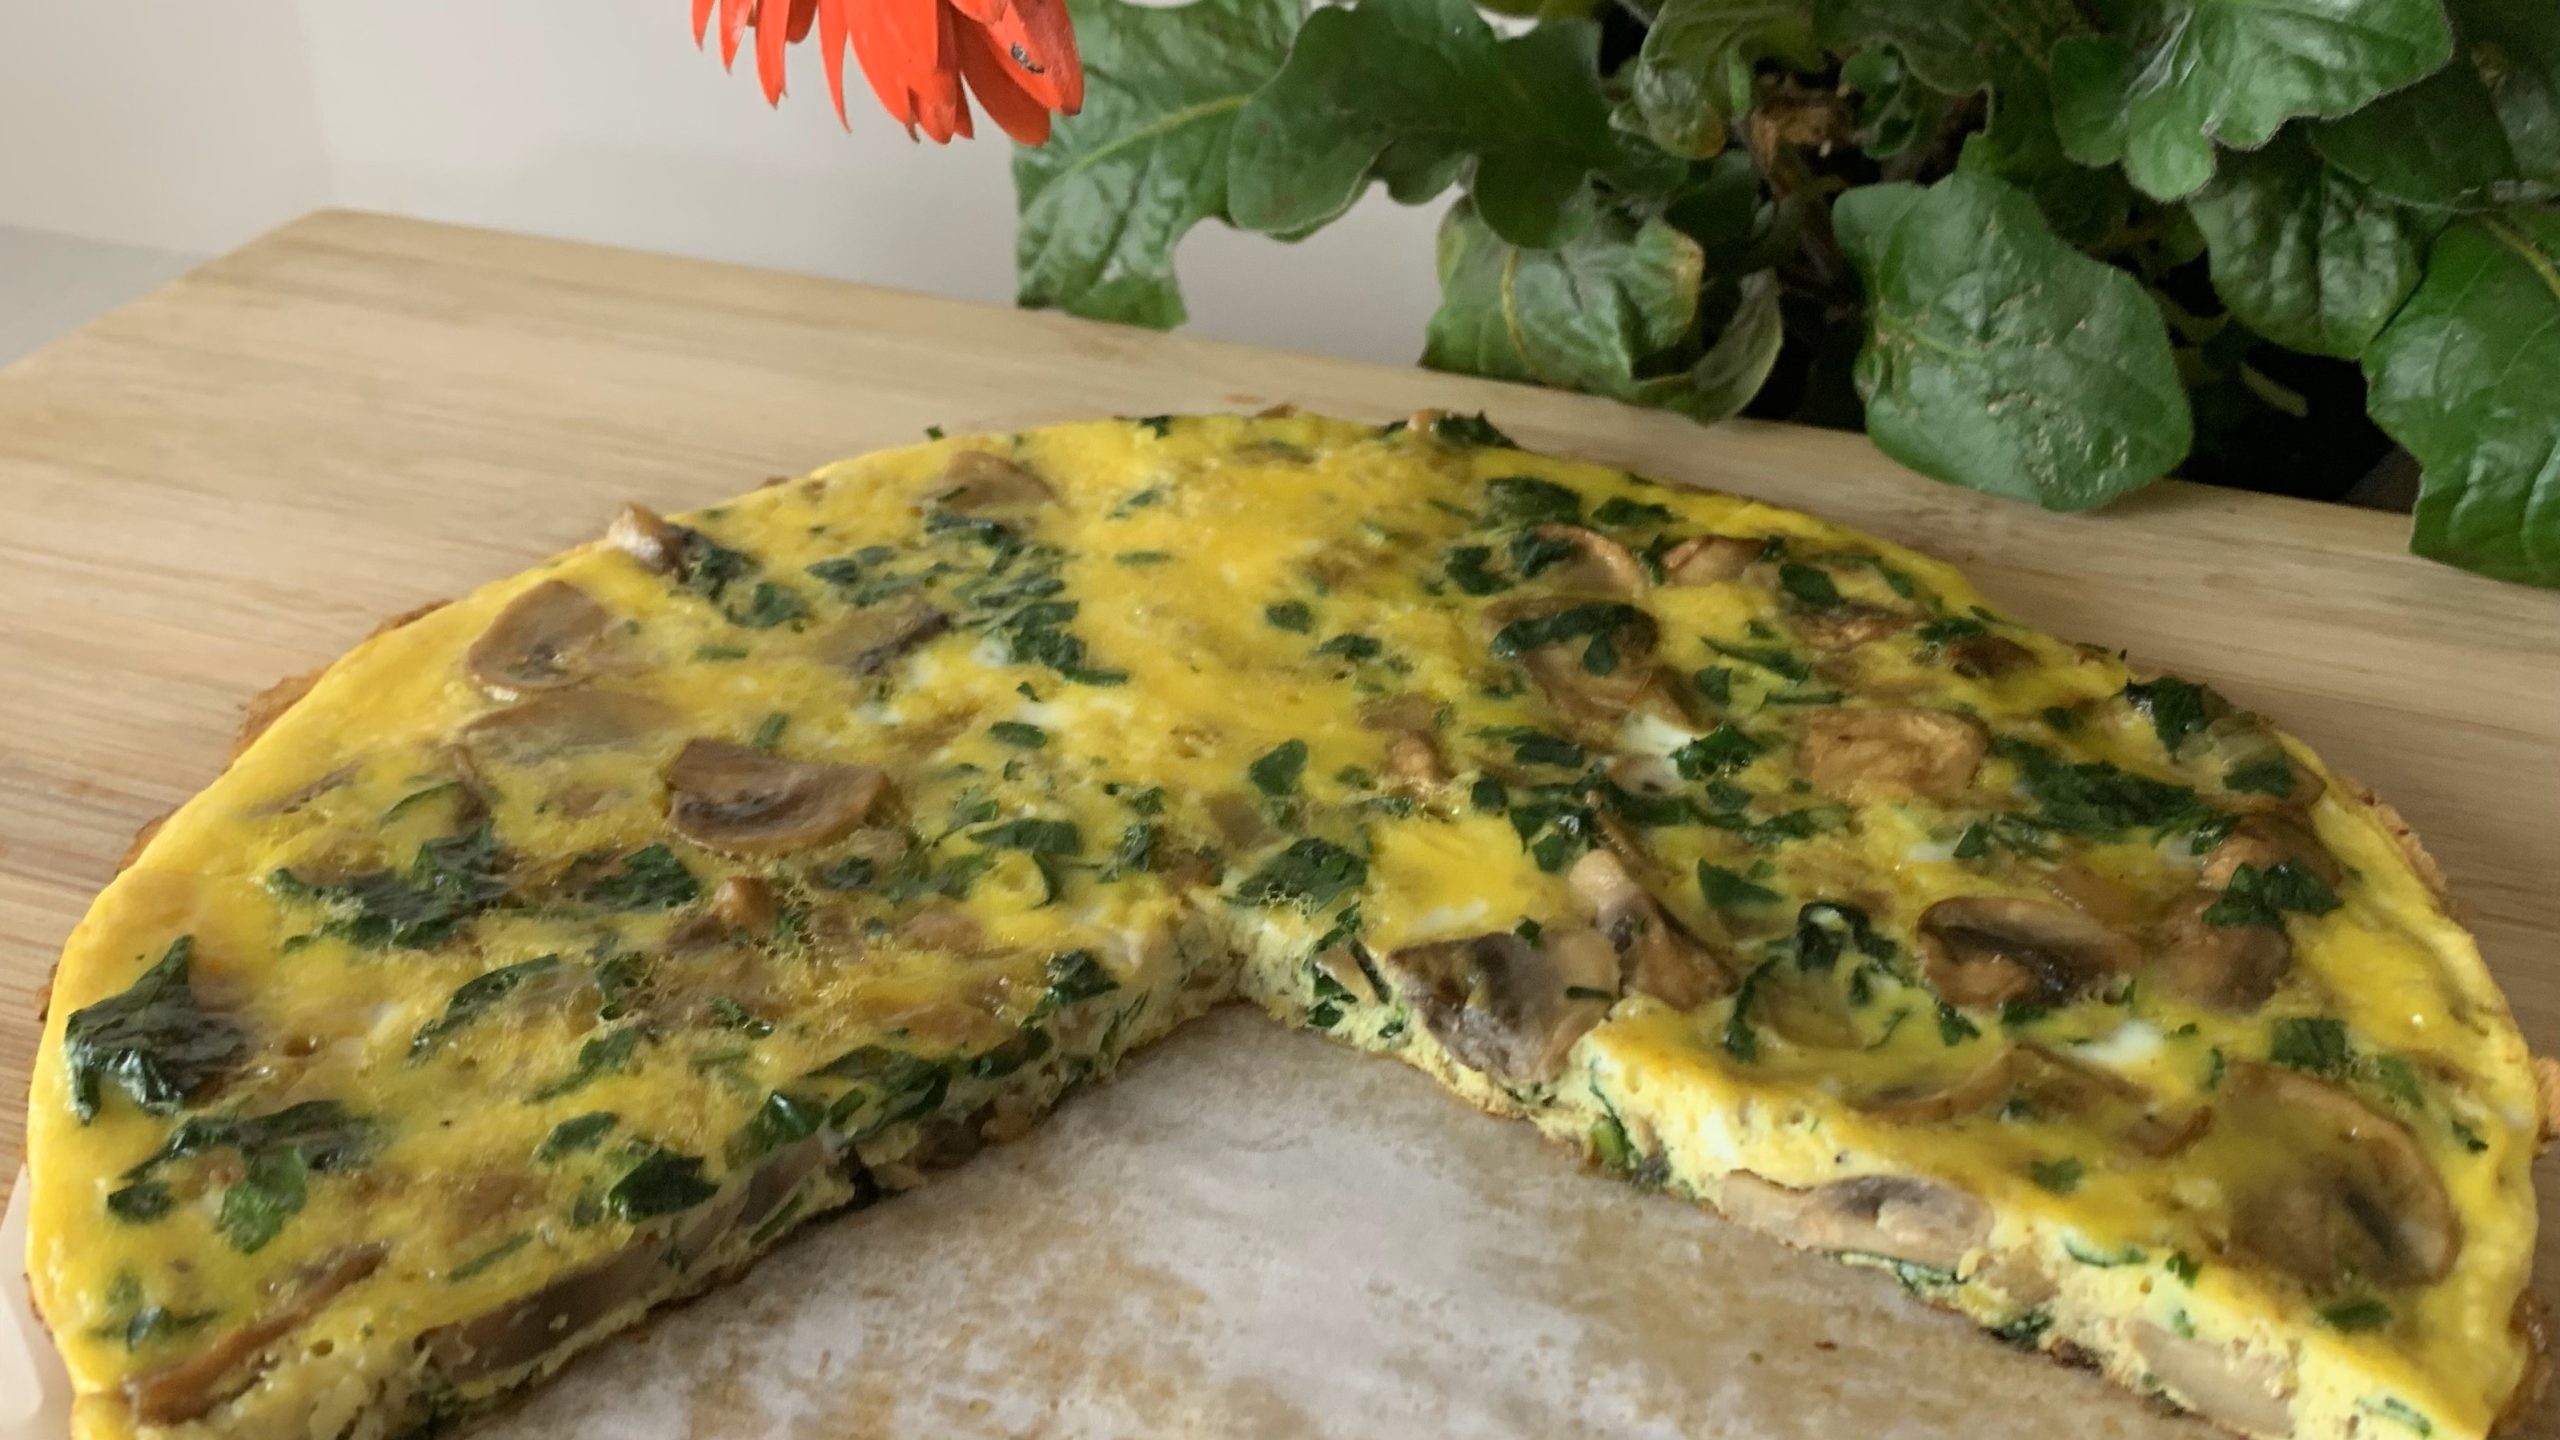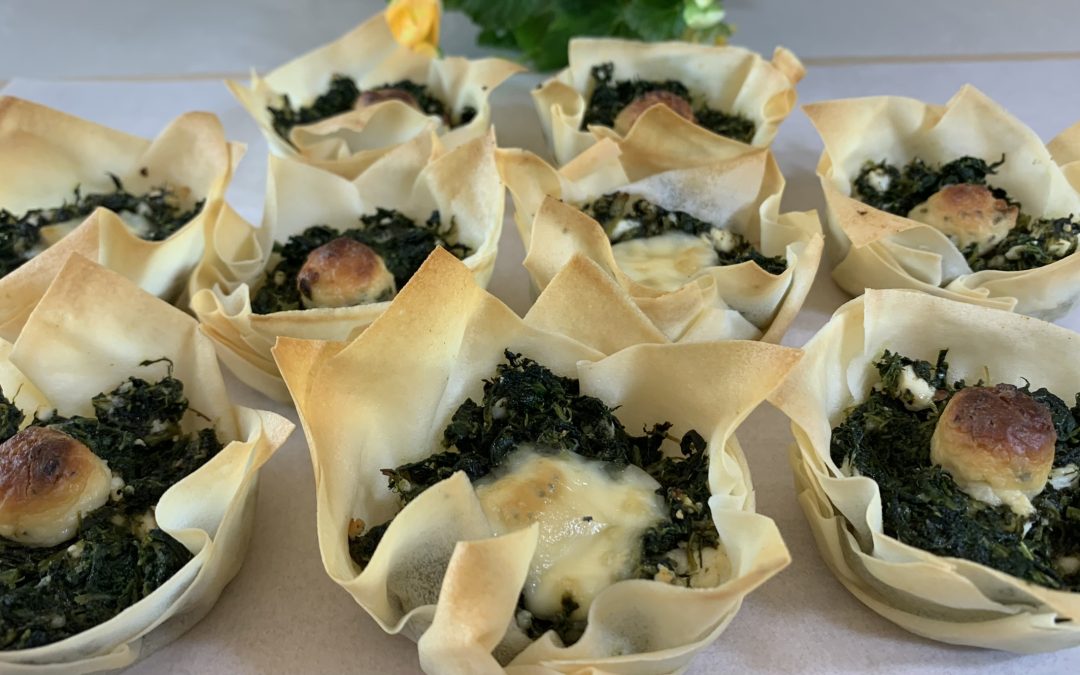
Red Lentil Spinach Pie
Red Lentil Spinach Pie
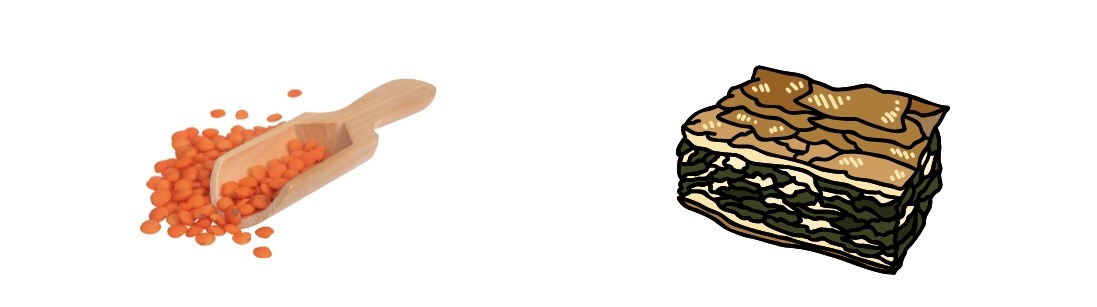
Would you try our amazing Red Lentil Spinach Pie, an innovative twist on the classic Mediterranean recipe, such as Greek Spanakopita or Turkish Börek? Our wholesome and delicious pie brings together the rich, earthy taste of red lentils and the vibrant, nutritious spinach, creating a dish that’s as healthy as it is delicious. By eliminating flour and extra butter fat, the recipe offers a gluten-free and guilt-free savory pie that is perfect for any meal. You can enjoy it as a snack, or an impressive dish for your family or your guests!
Red lentils are not only a great source of plant-based protein, but they are also rich in fiber, which supports digestive health and helps maintain steady blood sugar levels. Spinach, on the other hand, is packed with vitamins and minerals, such as iron, calcium, and vitamin A, making it a powerhouse of nutrition. The combination of these two superfoods in this pie creates a filling, flavorful, and nourishing dish that is sure to satisfy your taste buds and your nutritional needs.
Whether you’re looking for a healthy lunch option, a savory snack, or a unique dish to bring to a gathering, this Red Lentil Spinach Pie has you covered. It’s easy to prepare, full of flavor, and absolutely delicious!
Ingredients
- 1 cup (180 g) red lentils
- 300 g frozen spinach, defrosted
- 1 medium-sized onion (~60 g)
- 60 g feta cheese
- 1 cup (200 g) cottage cheese
- 2 eggs
- 2 tbsp for the spinach mixture; 3 tbsp for the red lentil batter; 5 tbsp olive oil (in total)
- 1/2 tbsp dried dill or equivalent fresh dill
- Ground black pepper, to taste
- 1/2 tsp salt
- 1/2 tbsp baking powder
- 1 tbsp sesame seeds and 1 tbsp nigella seeds (optional, for garnish)
Directions
- Soak the red lentils overnight in the fridge.
- The next day, rinse thoroughly under running water and make sure you strain really well. Set aside.
- Squeeze out excess water from the defrosted spinach, then transfer to a bowl.
- Add chopped onion, feta cheese, olive oil, dill, and ground black pepper to the spinach. Stir well to combine and set aside in the fridge.
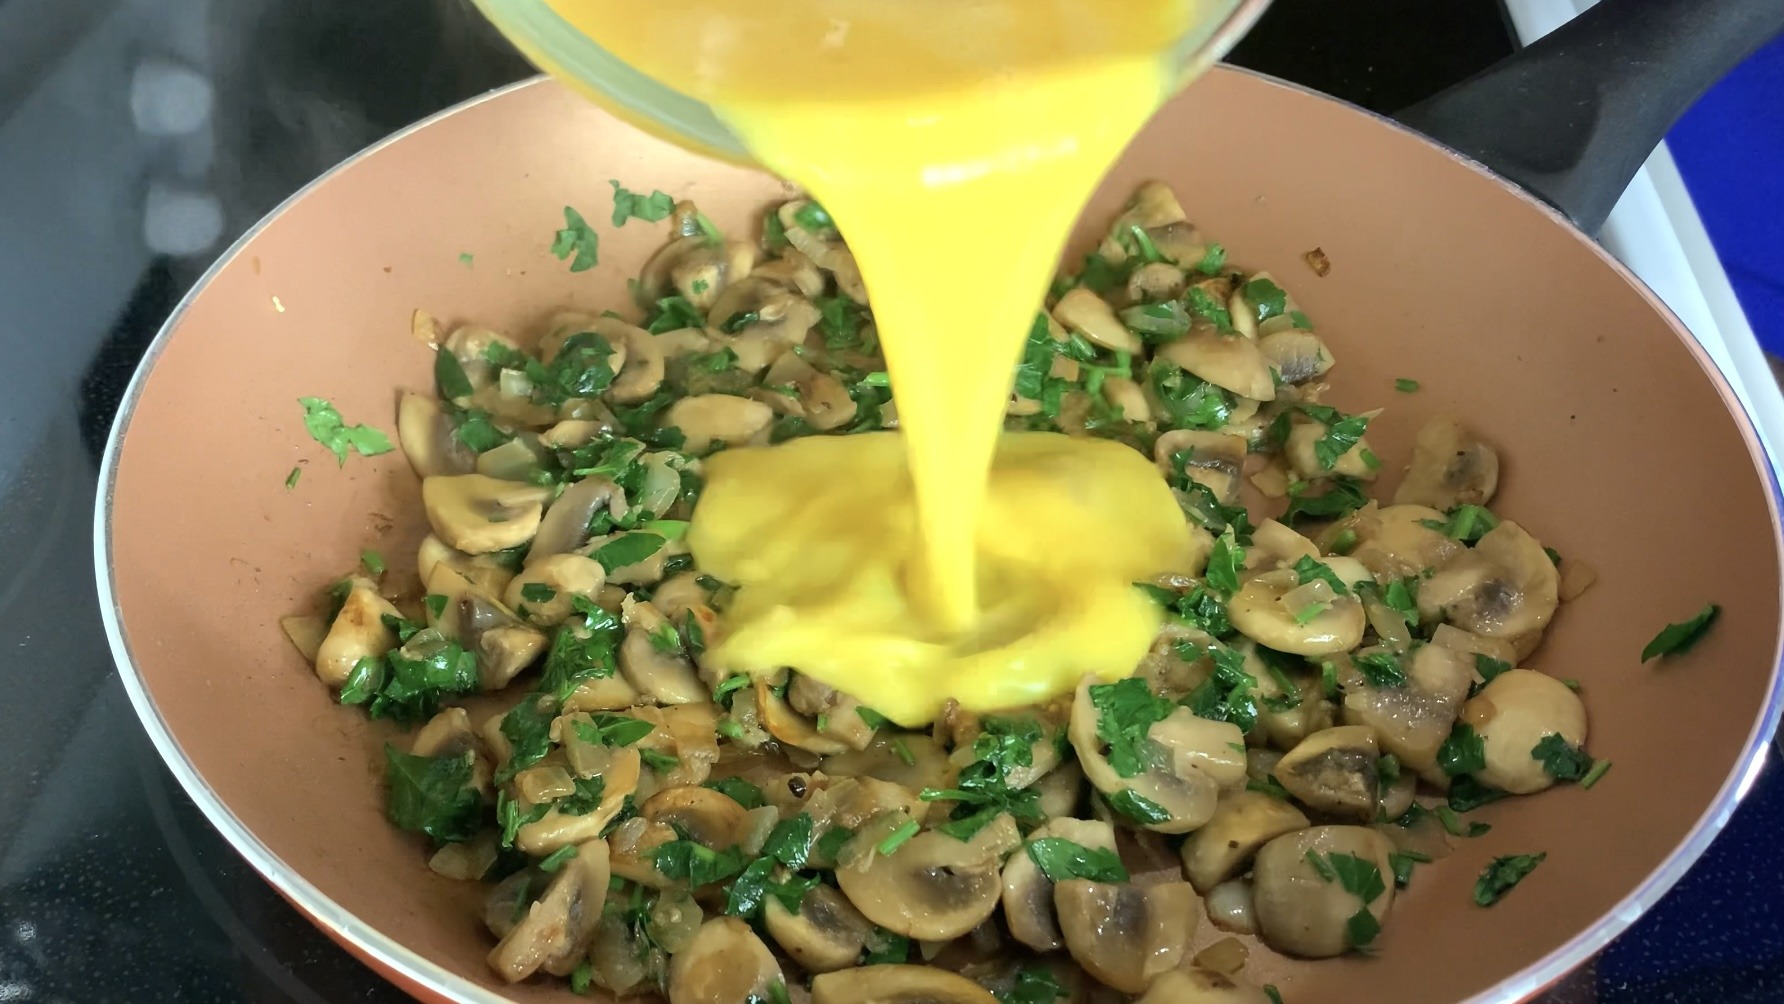
- Transfer strained lentils to a blender. Add cottage cheese, eggs, olive oil, salt, and black pepper. Blend until smooth, then add baking powder and briefly blend to incorporate into the batter.
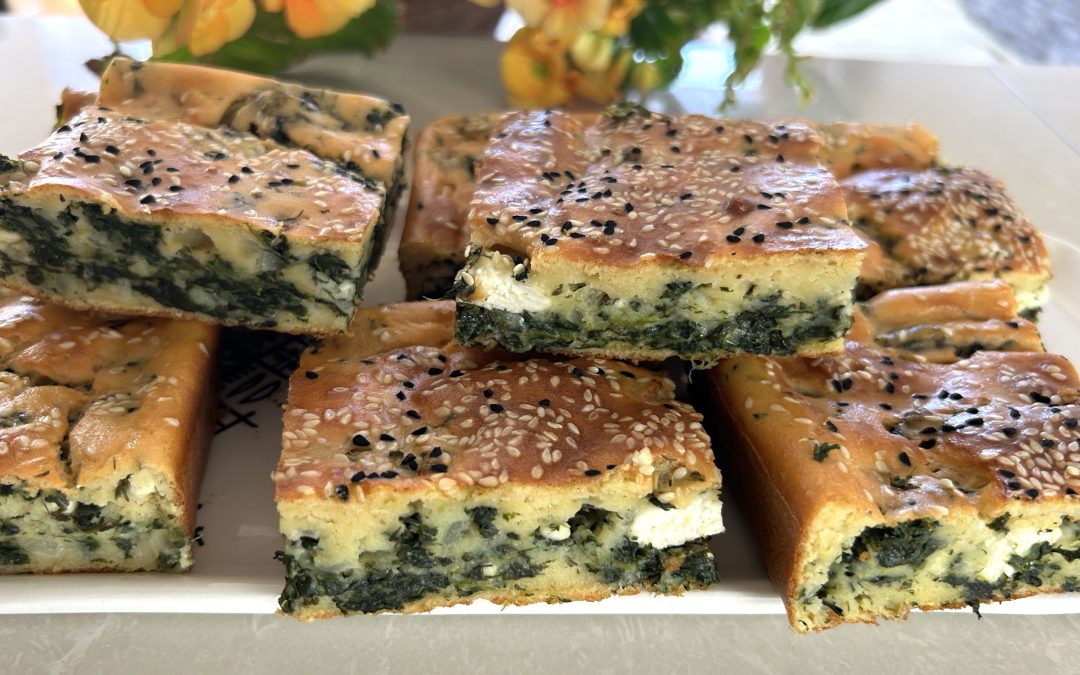
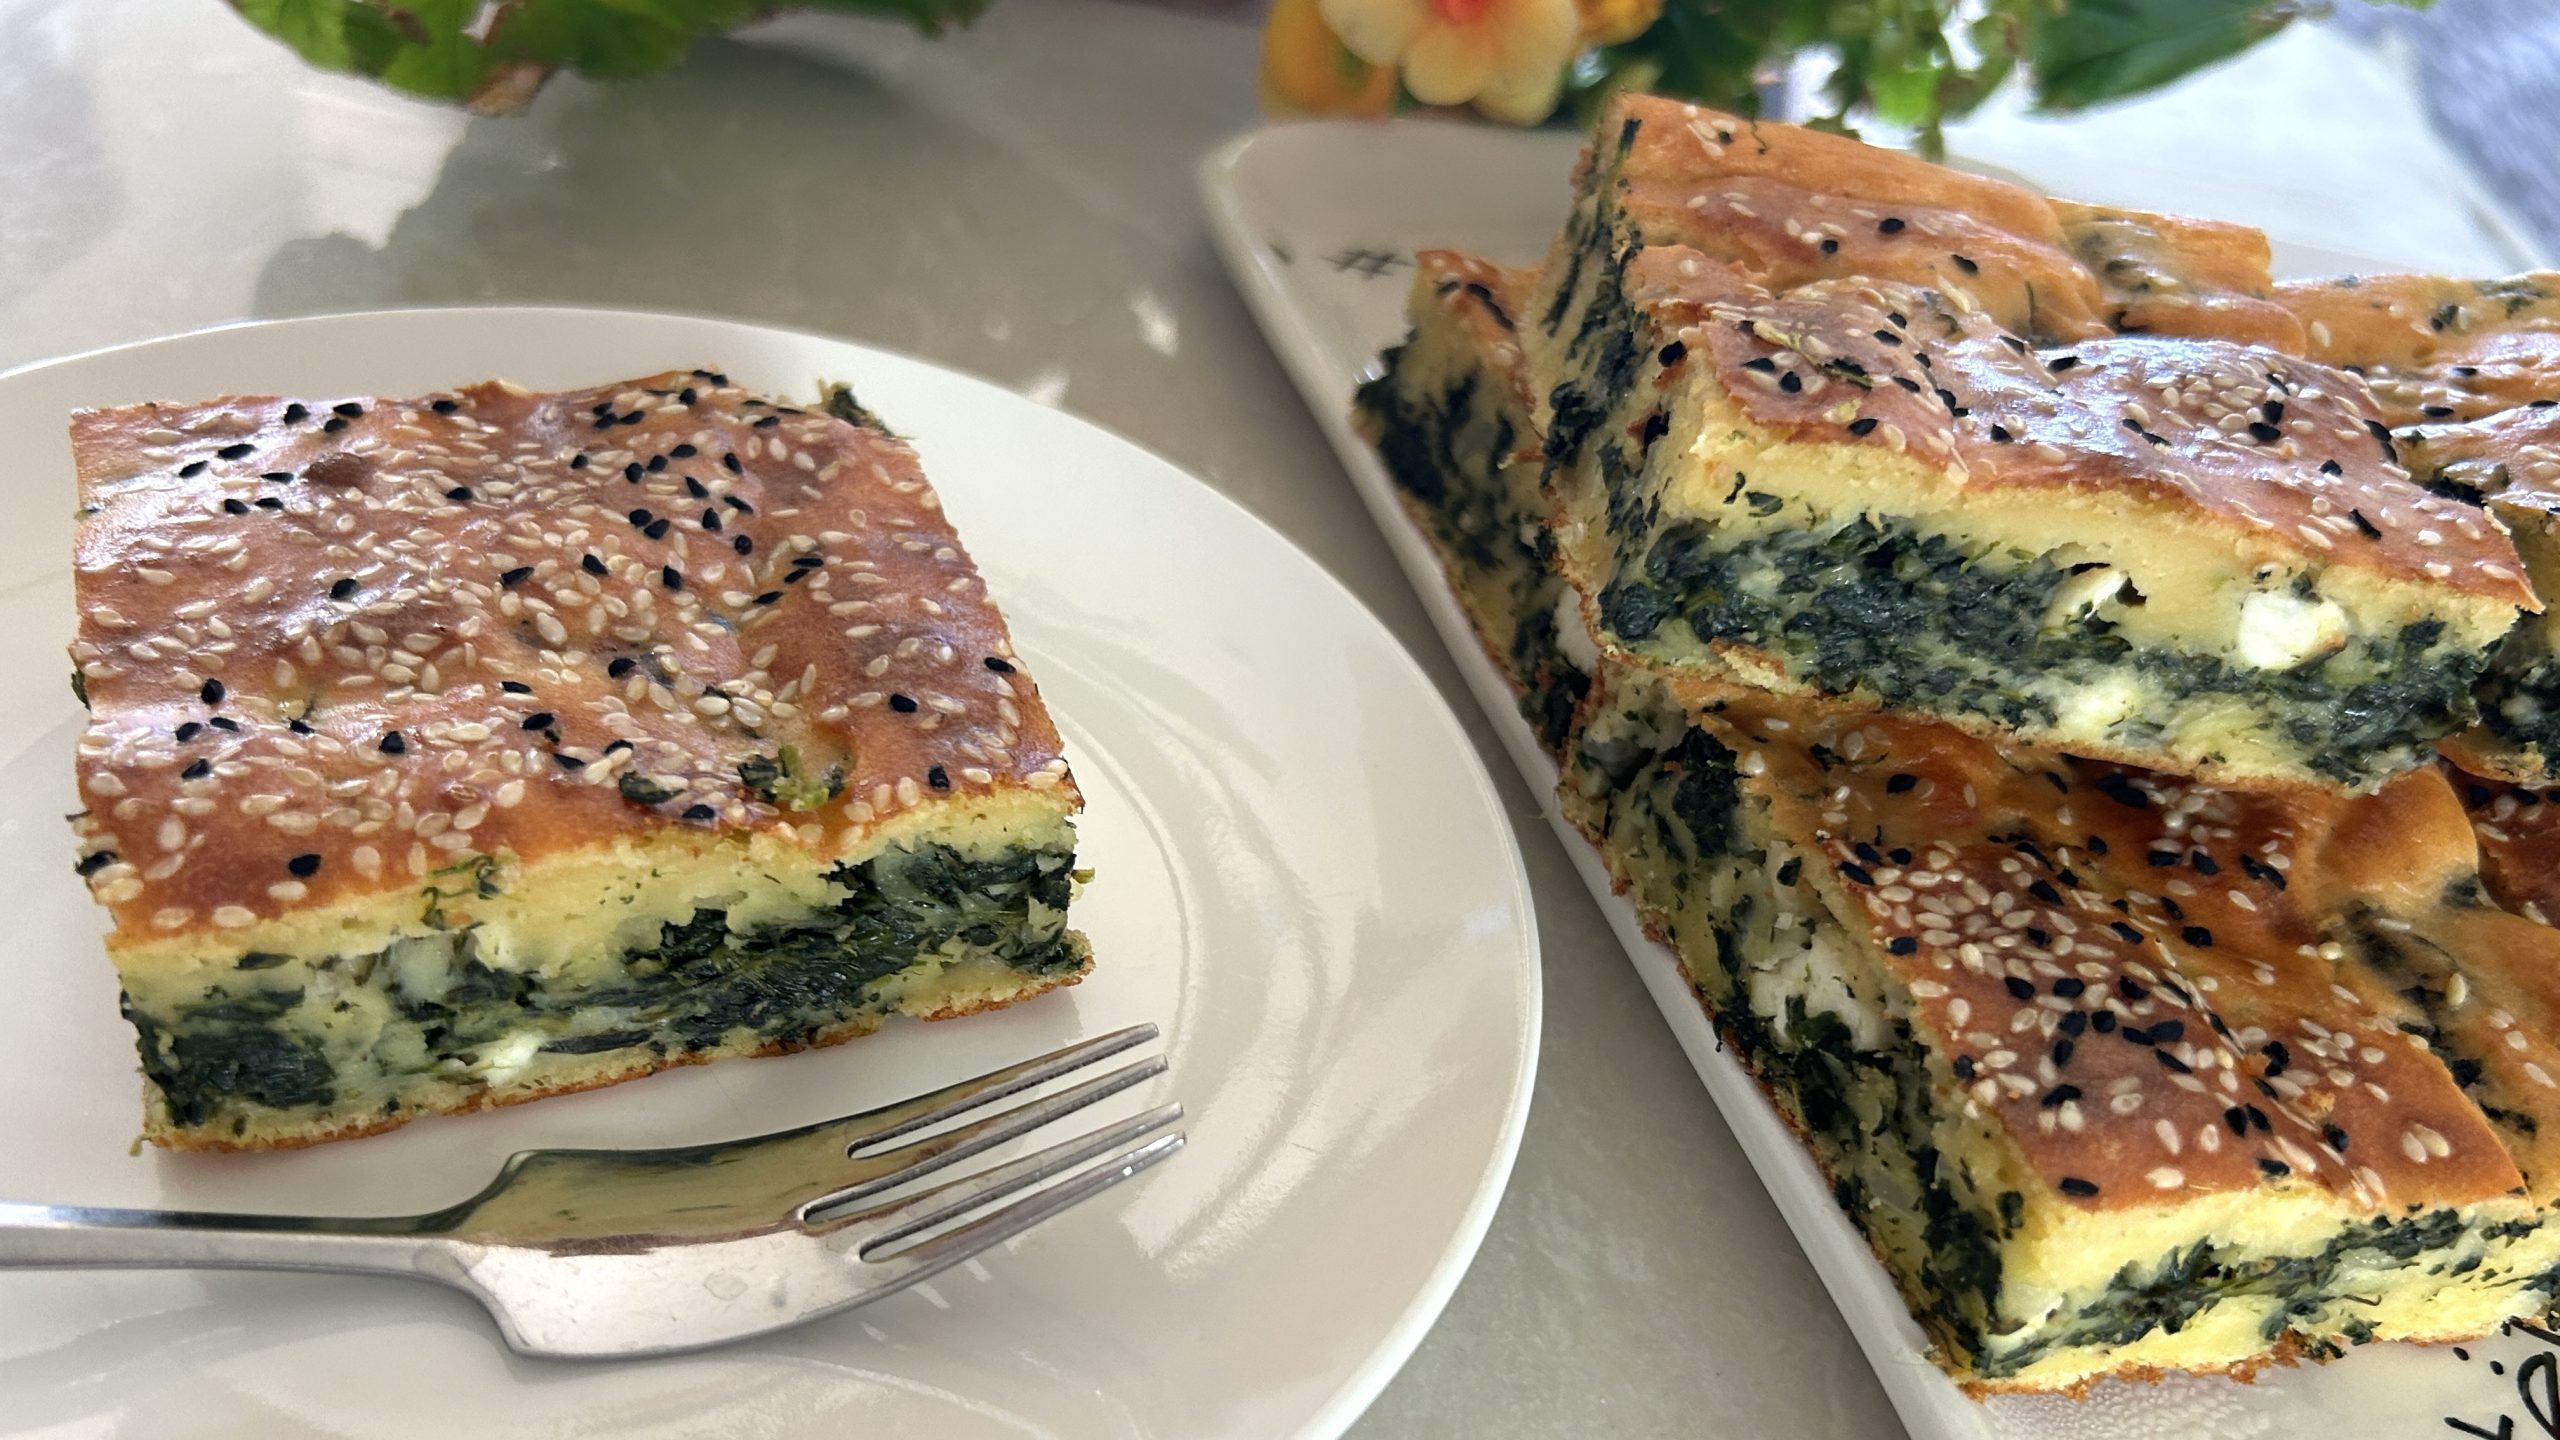
- Line a 20 cm x 20 cm square pan with parchment paper. Pour 2/3 of the lentil batter into the pan and distribute evenly.
- Spread spinach mixture over the lentil layer, creating an even layer with a fork.
- Top with the remaining 1/3 of lentil batter, ensuring it covers the spinach layer.
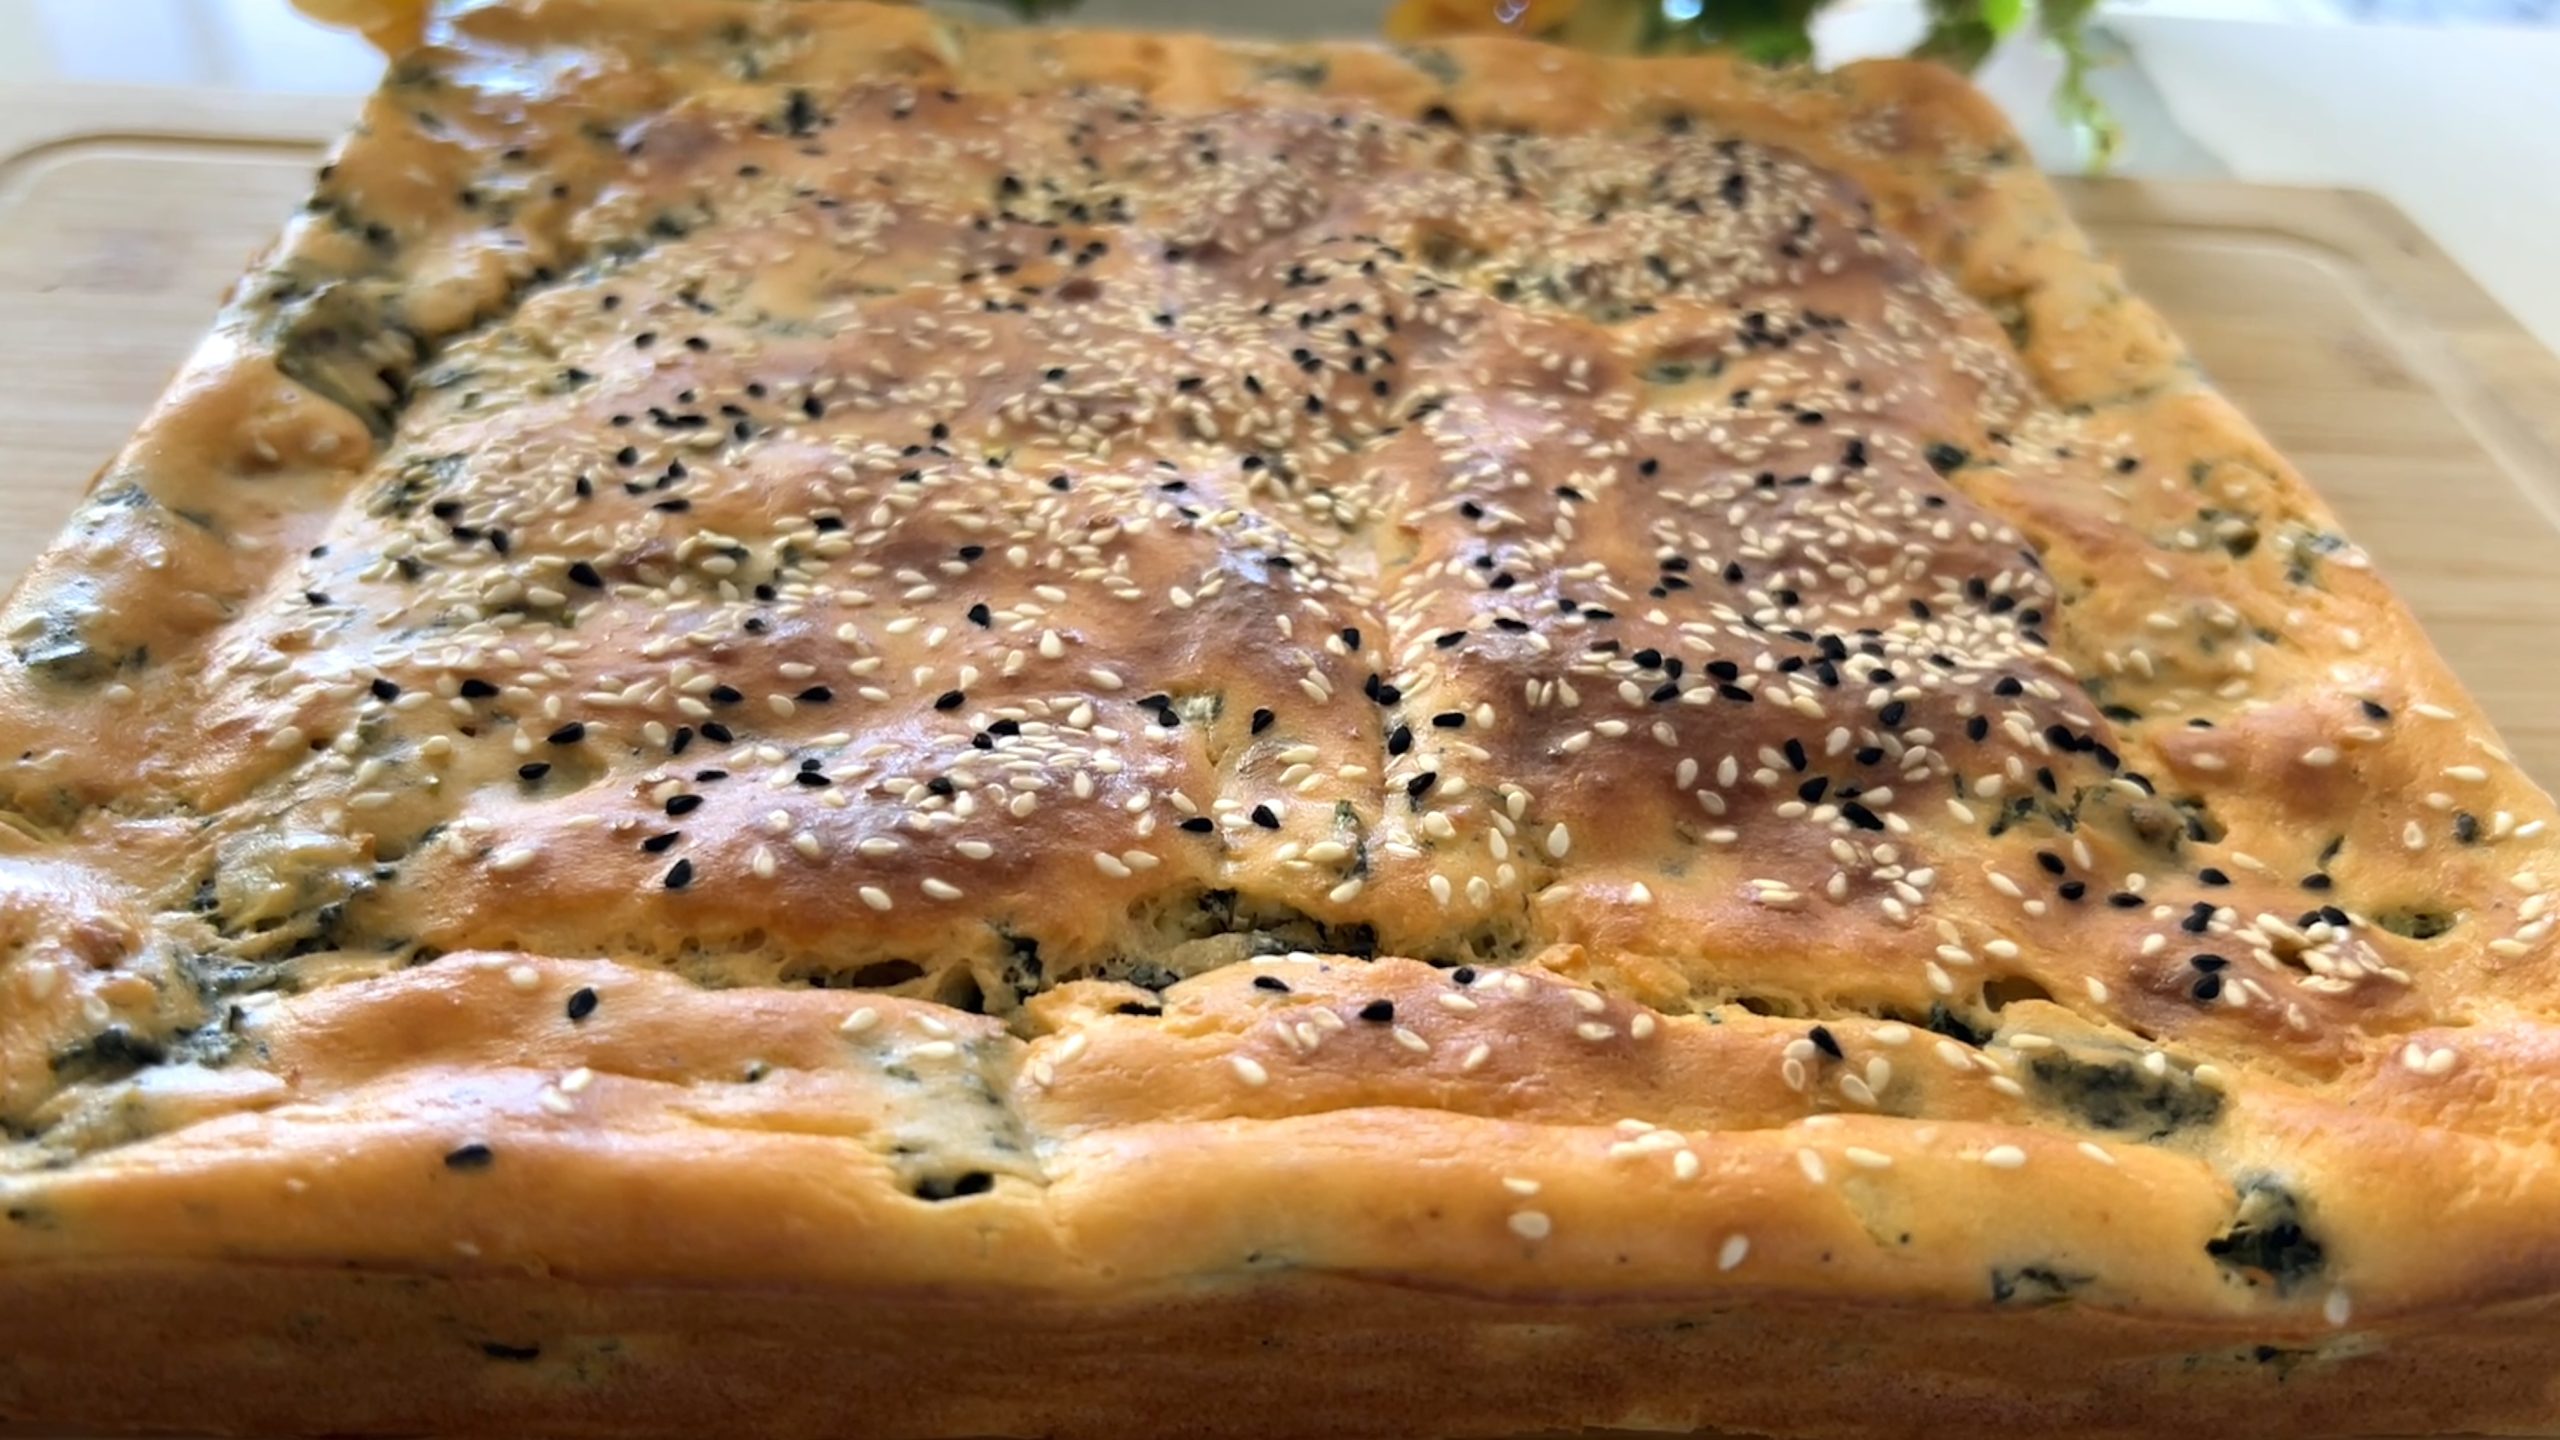
- Optionally, sprinkle the top with seeds of your choice for garnish.
- Bake in a preheated oven at 365°F (185°C) for 45 minutes, or until golden brown.
- Once baked, lift the pie out of the pan. Allow to cool slightly before cutting and serving.
Prep Time: Overnight Soaking, 30 minutes Prep
Baking Time: 45 minutes
Servings: 9
Nutritional Information
Per 1 Serving:
- Energy: 208 calories
- Protein: 10.94 g
- Fat: 11.64 g
- Carbohydrates: 16.58 g
- Fiber: 3.3 g
Storage and Recommendations
- Store leftover red lentil spinach pie in an airtight container in the fridge for up to 1 week or in the freezer for up to 3 months.
- Enjoy this savory pie as a satisfying snack, light meal, or as part of a Mediterranean-inspired menu.