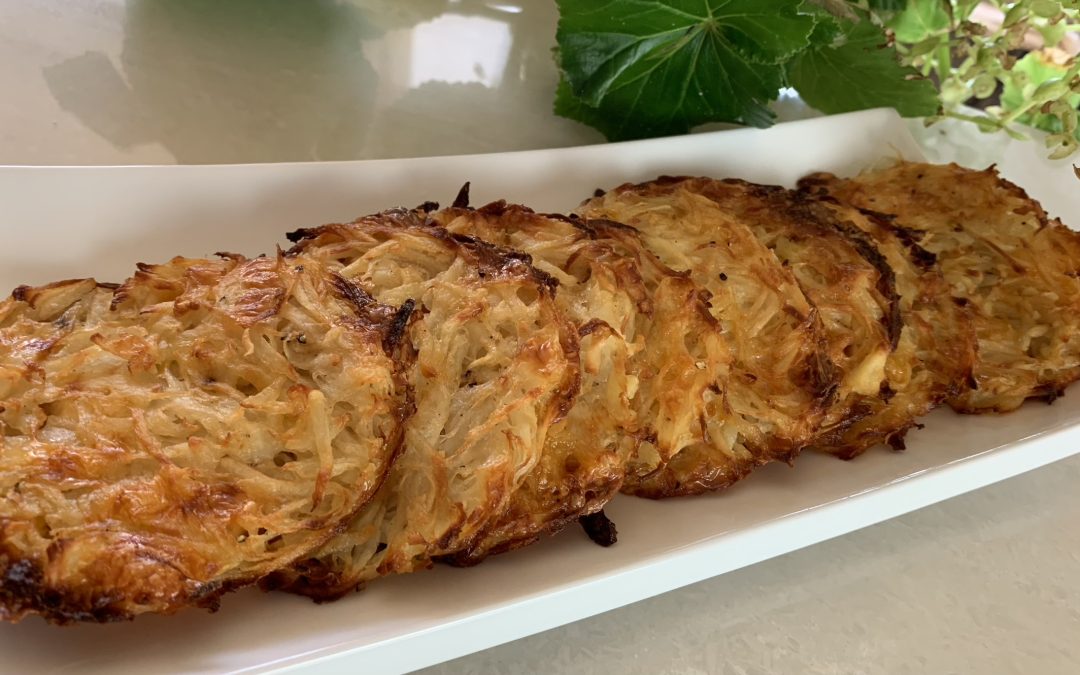
Spinach & Feta Cheese Bites
Spinach & Feta Cheese Bites

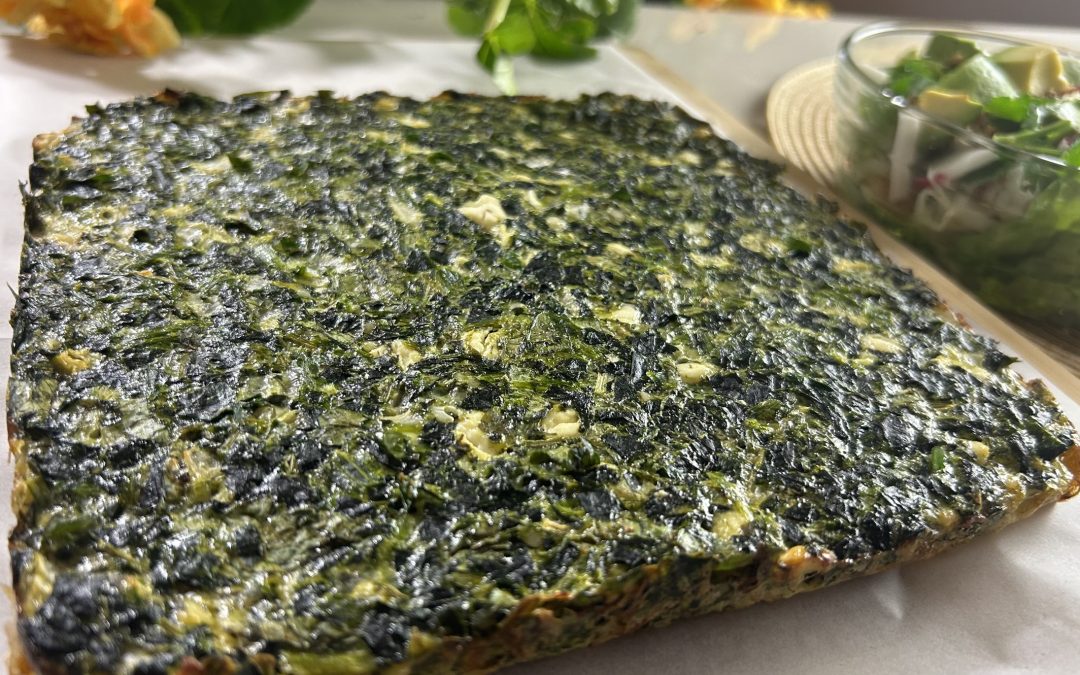
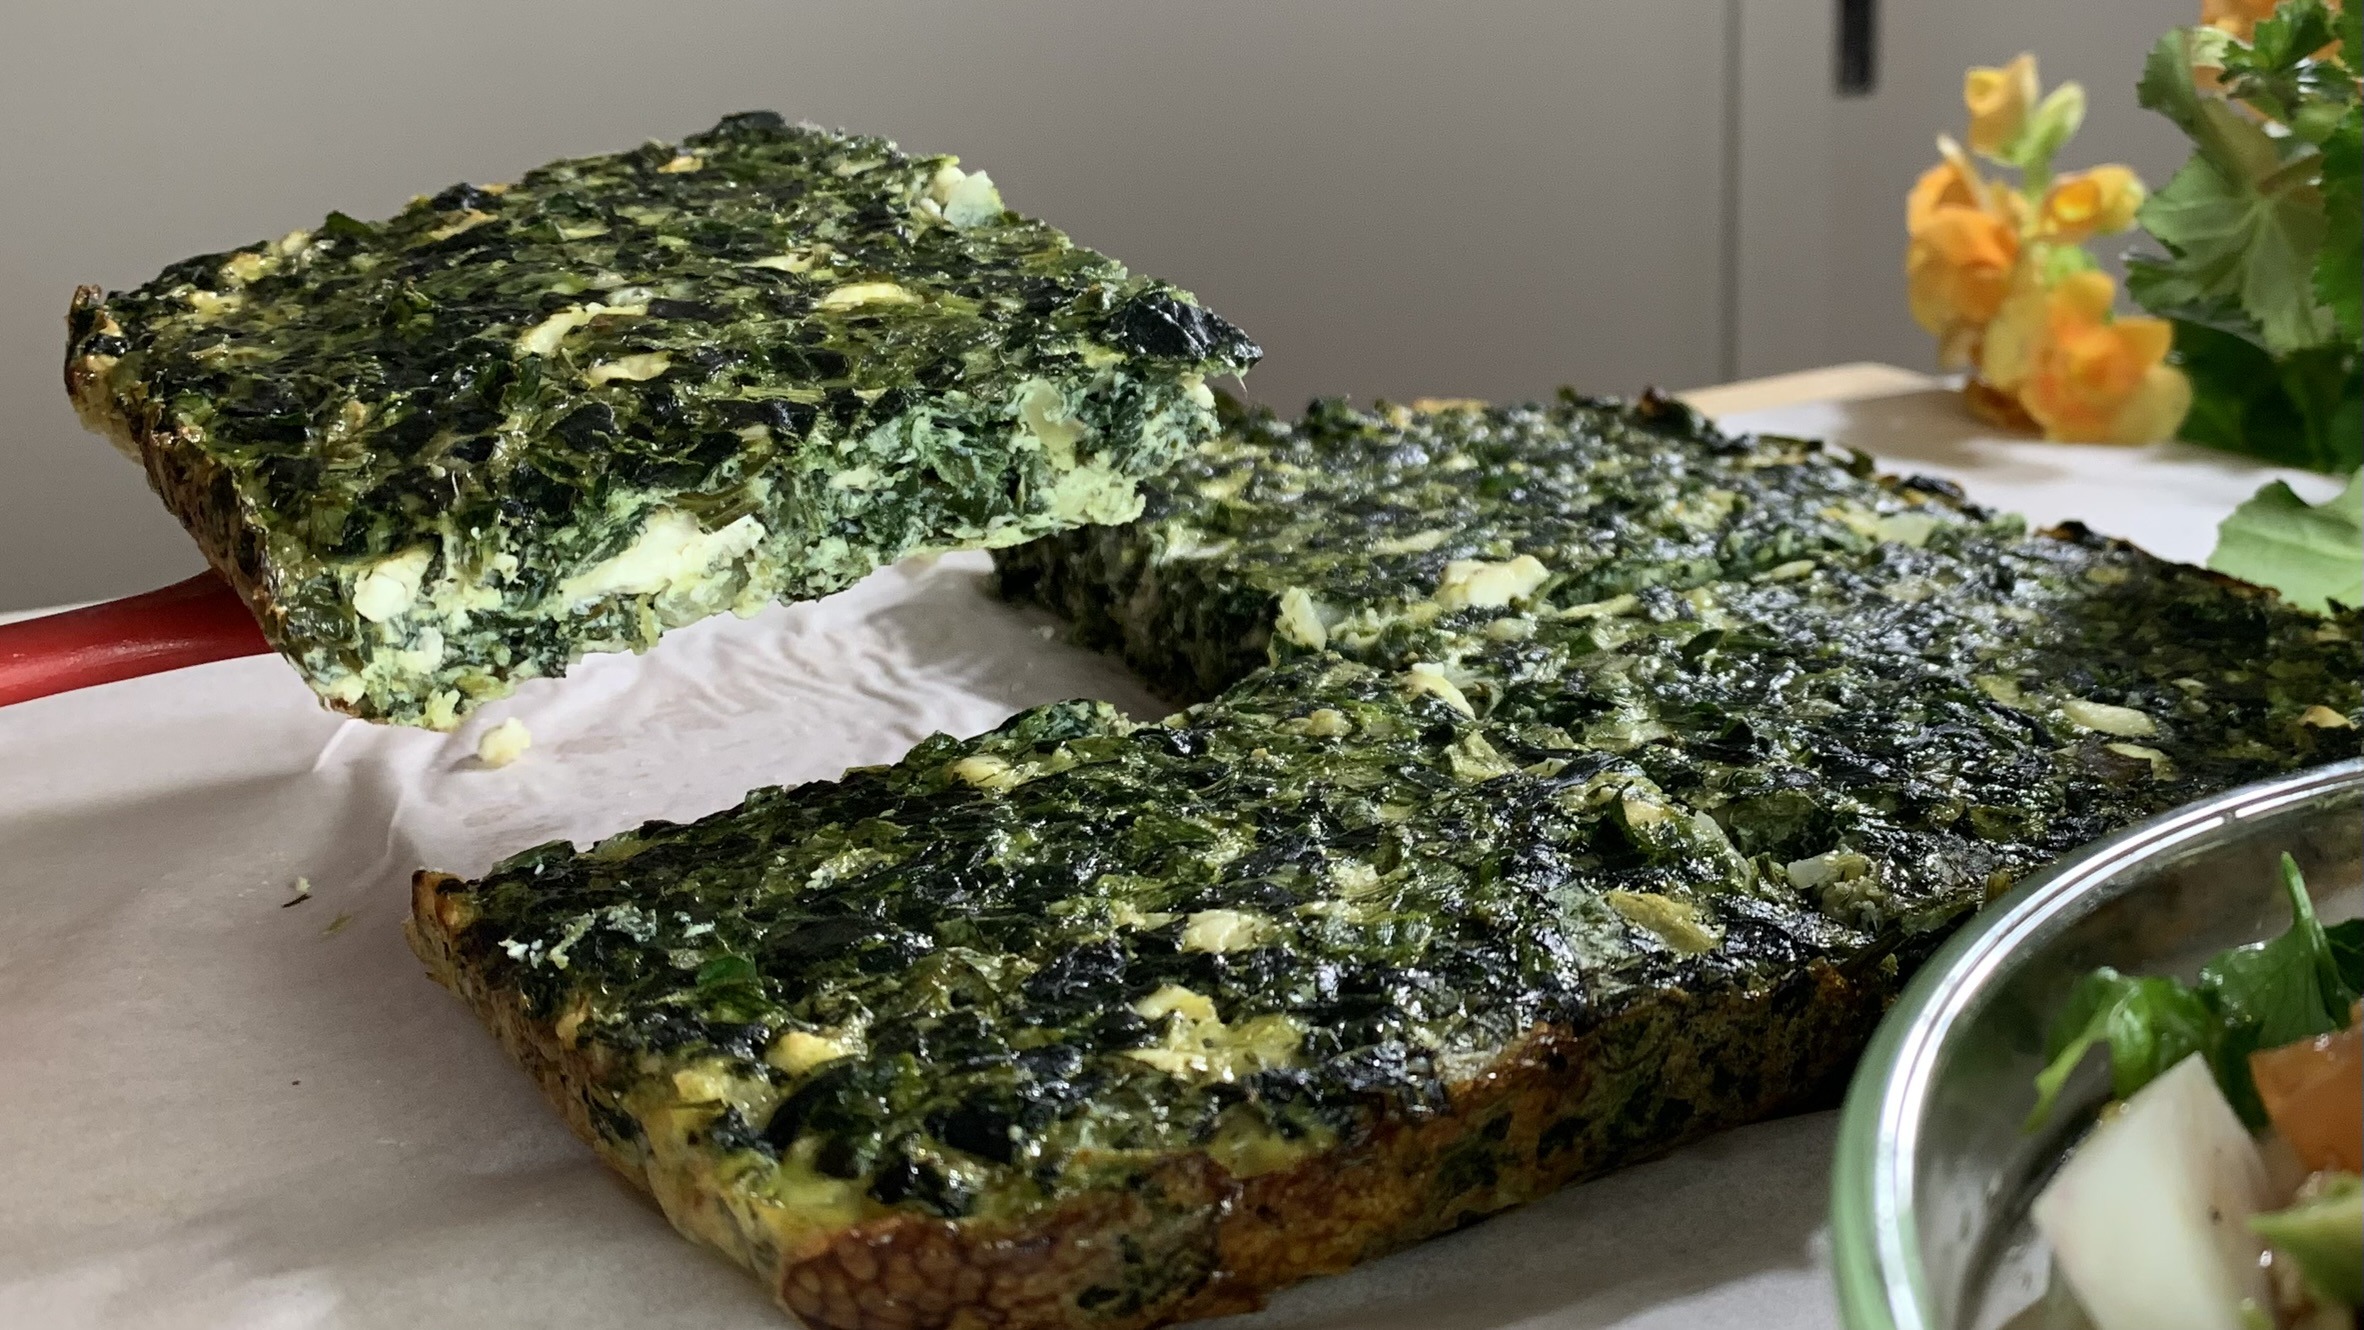
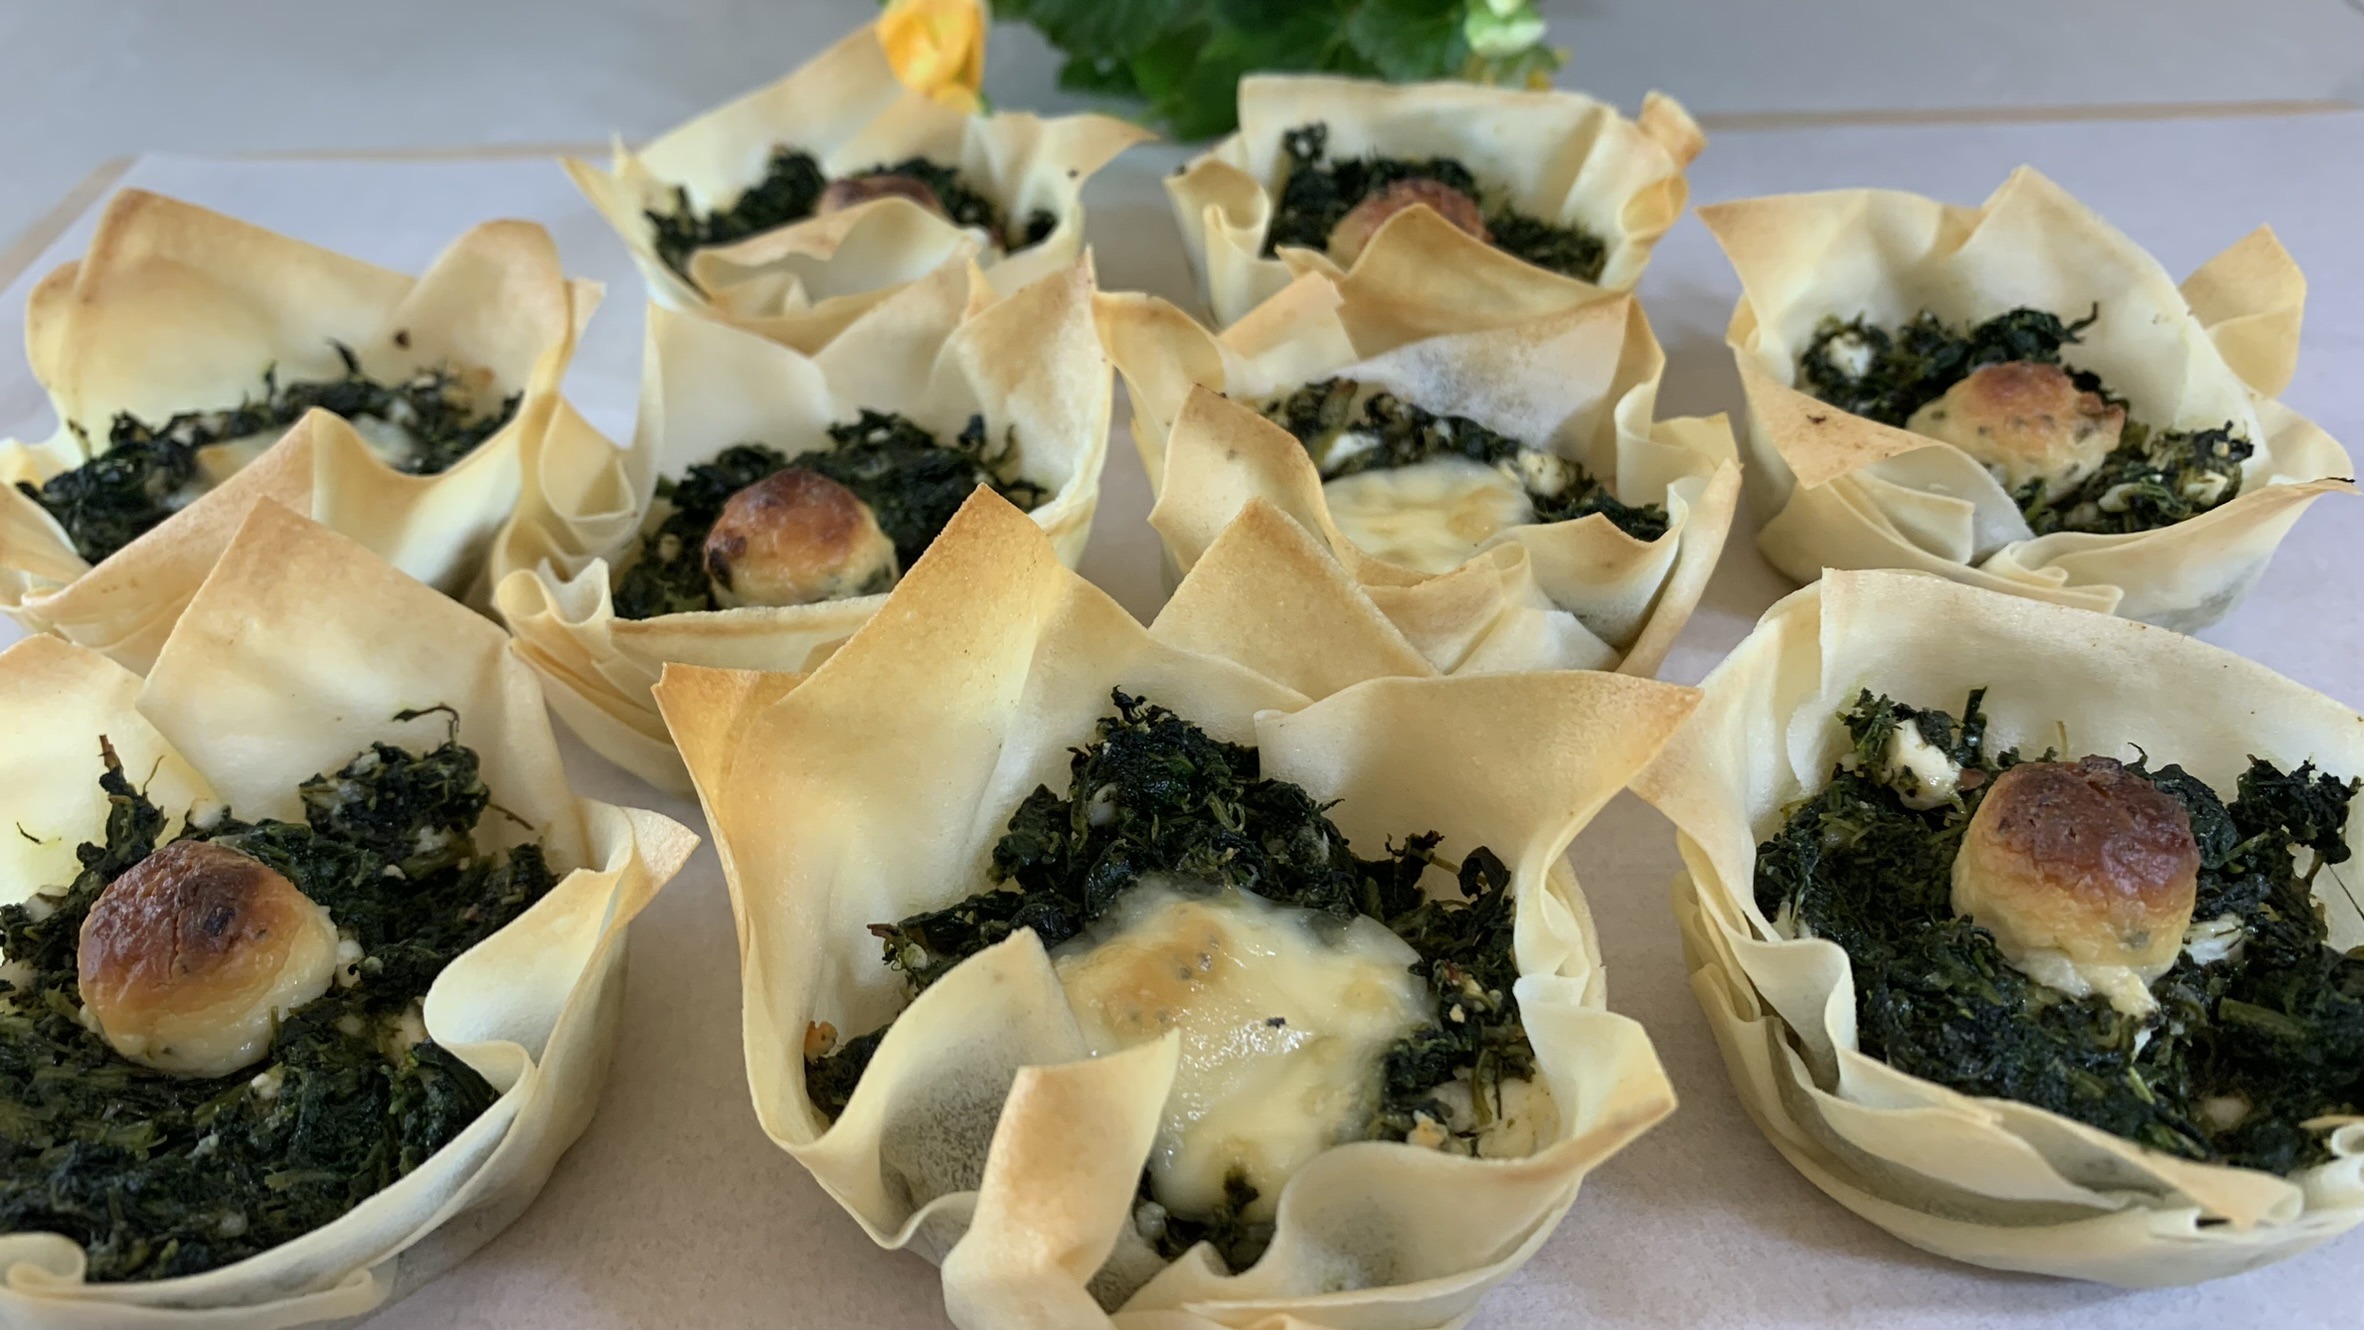
Elevate your appetizer game with these delightful Spinach and Feta Cheese Bites, a modern twist on a classic favorite. These bites are not only bursting with vibrant flavors but also offer a wonderful contrast of textures, thanks to the crispy spring roll wraps and the creamy, savory filling. Perfect for any occasion, from casual get-togethers to more formal events, these bites are sure to impress your guests and loved ones.
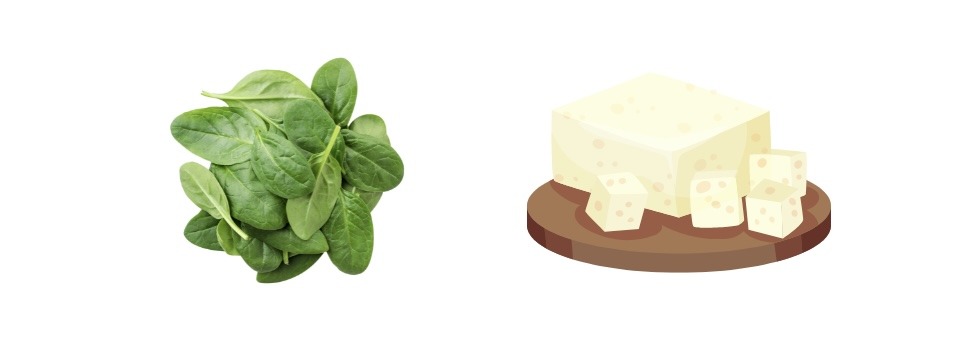
The star ingredient in this recipe, spinach, is a true nutritional powerhouse. Packed with vitamins A, C, and K, as well as iron, calcium, and antioxidants, spinach supports overall health in numerous ways. It’s known for its ability to boost immune function, promote healthy skin, and maintain strong bones. Moreover, spinach is incredibly low in calories, making it an excellent choice for those who want to enjoy delicious food without compromising on health.
Feta cheese, another key ingredient, adds a tangy, rich flavor that pairs perfectly with the earthy spinach. Feta is a good source of calcium and protein, and it contains beneficial probiotics that support gut health. The combination of spinach and feta makes these bites not only tasty but also incredibly nutritious.

Including more spinach and feta in your diet can contribute to better heart health, stronger bones, and improved digestion. Whether you’re looking to make a healthy snack for your family or an impressive appetizer for a party, these Spinach and Feta Cheese Bites are a delicious and health-conscious choice that you can feel good about serving. So, go ahead and enjoy these bites of goodness—your taste buds and your body will thank you!
Ingredients
- 300 g frozen spinach
- 100 g feta cheese, crumbled
- 6 spring roll wraps
- 1 tbsp butter (melted, for brushing)
- 2 tbsp olive oil
- 1/4 tsp salt (preferably Himalayan)
- 1 tsp dried dill or 1/2 cup fresh dill
- Black pepper to taste
- 15 g Boursin cheese (optional, for garnish)
- 15 g cheddar cheese (optional, for garnish)
Directions
- Preheat your oven to 350°F (175°C).
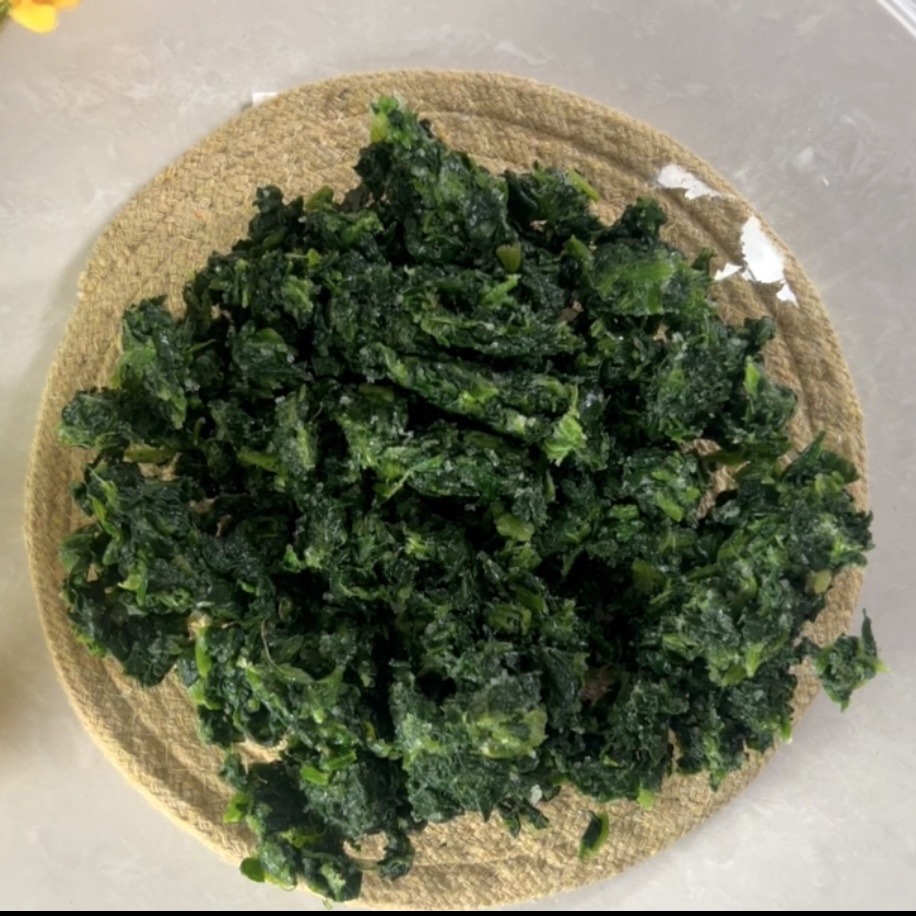
- Thaw the frozen spinach and squeeze out the excess water thoroughly.
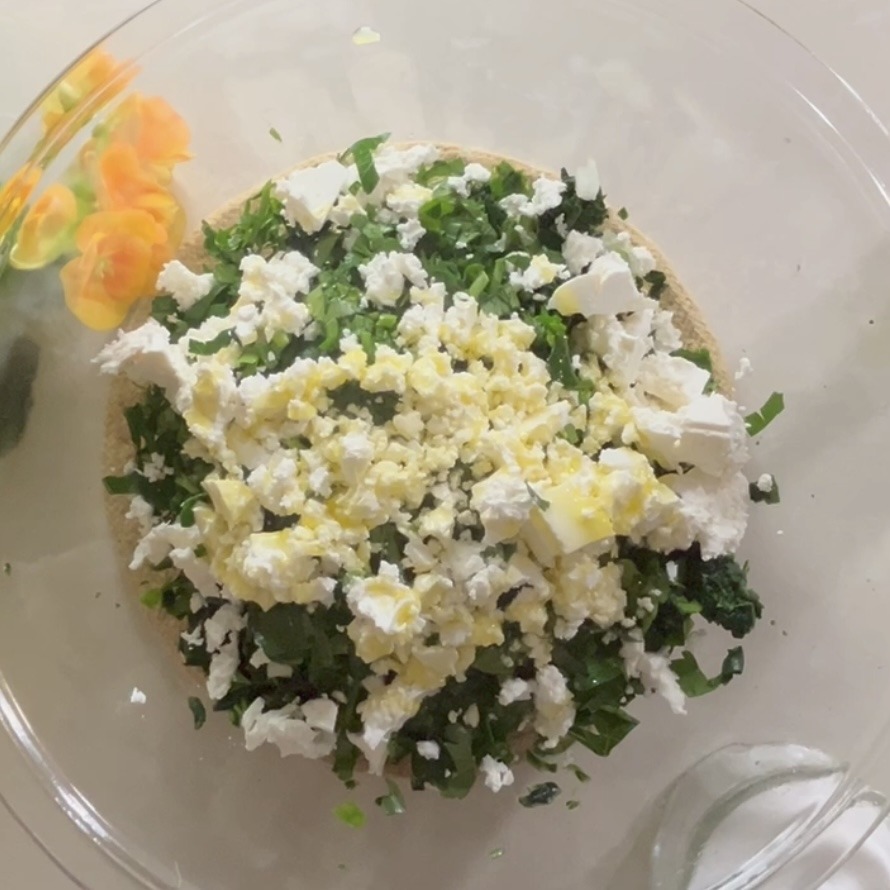
- In a mixing bowl, combine the spinach with crumbled feta, olive oil, Himalayan salt, and dried dill. Mix until well combined and set aside.
- Instead of traditional phyllo dough, opt for Chinese spring roll sheets for a lighter, crunchier texture. Cut each sheet into 4 equal squares.
- Brush both sides of the spring roll squares with melted butter.
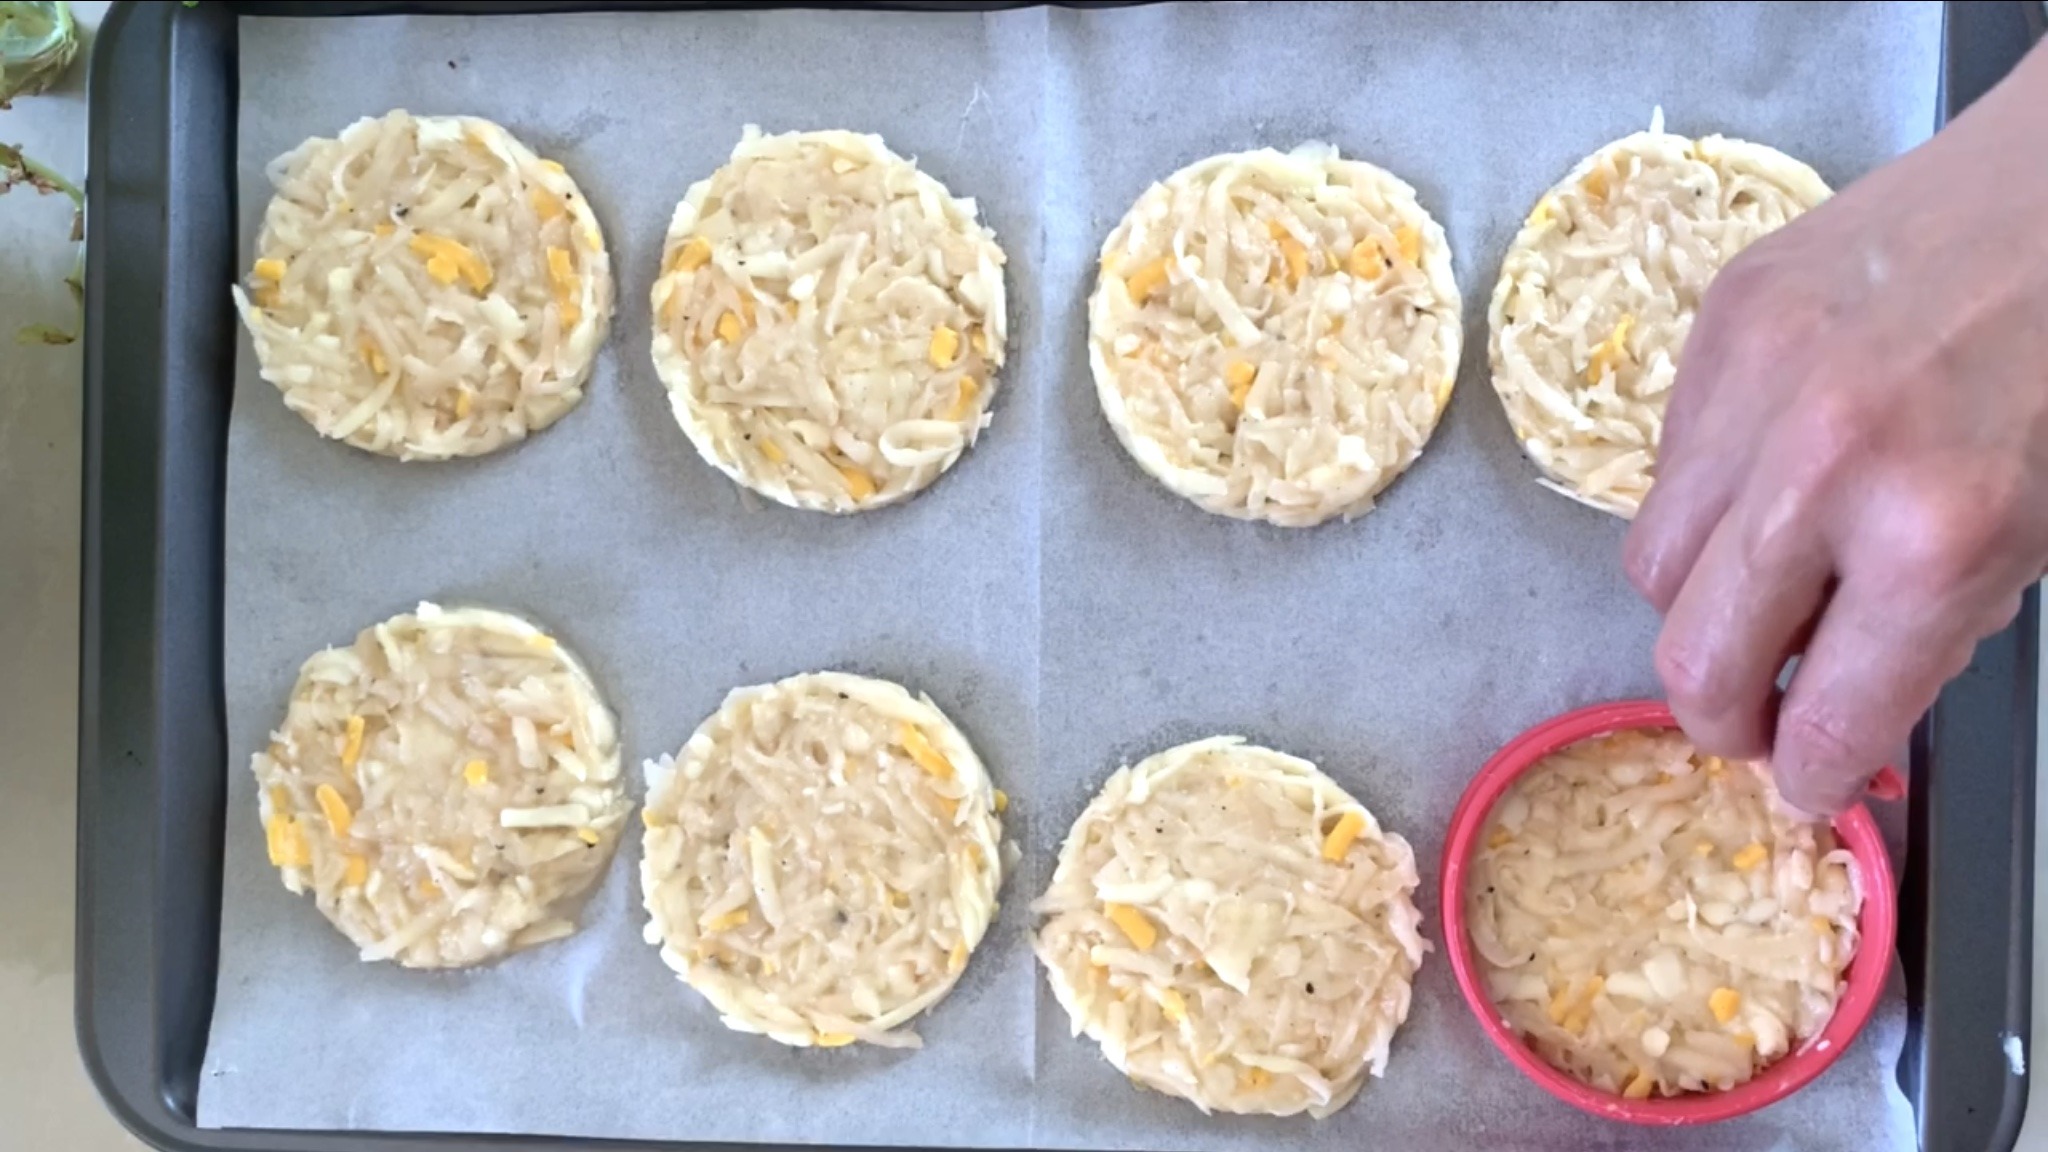
- Arrange 2 small squares in each muffin pan cup, pressing them gently to fit the shape of the cup.
- Spoon 1 large spoonful of the spinach and feta mixture into the layered dough in each cup.
- If desired, place a small piece of Boursin or cheddar cheese in the center of each cup for a nicer presentation.
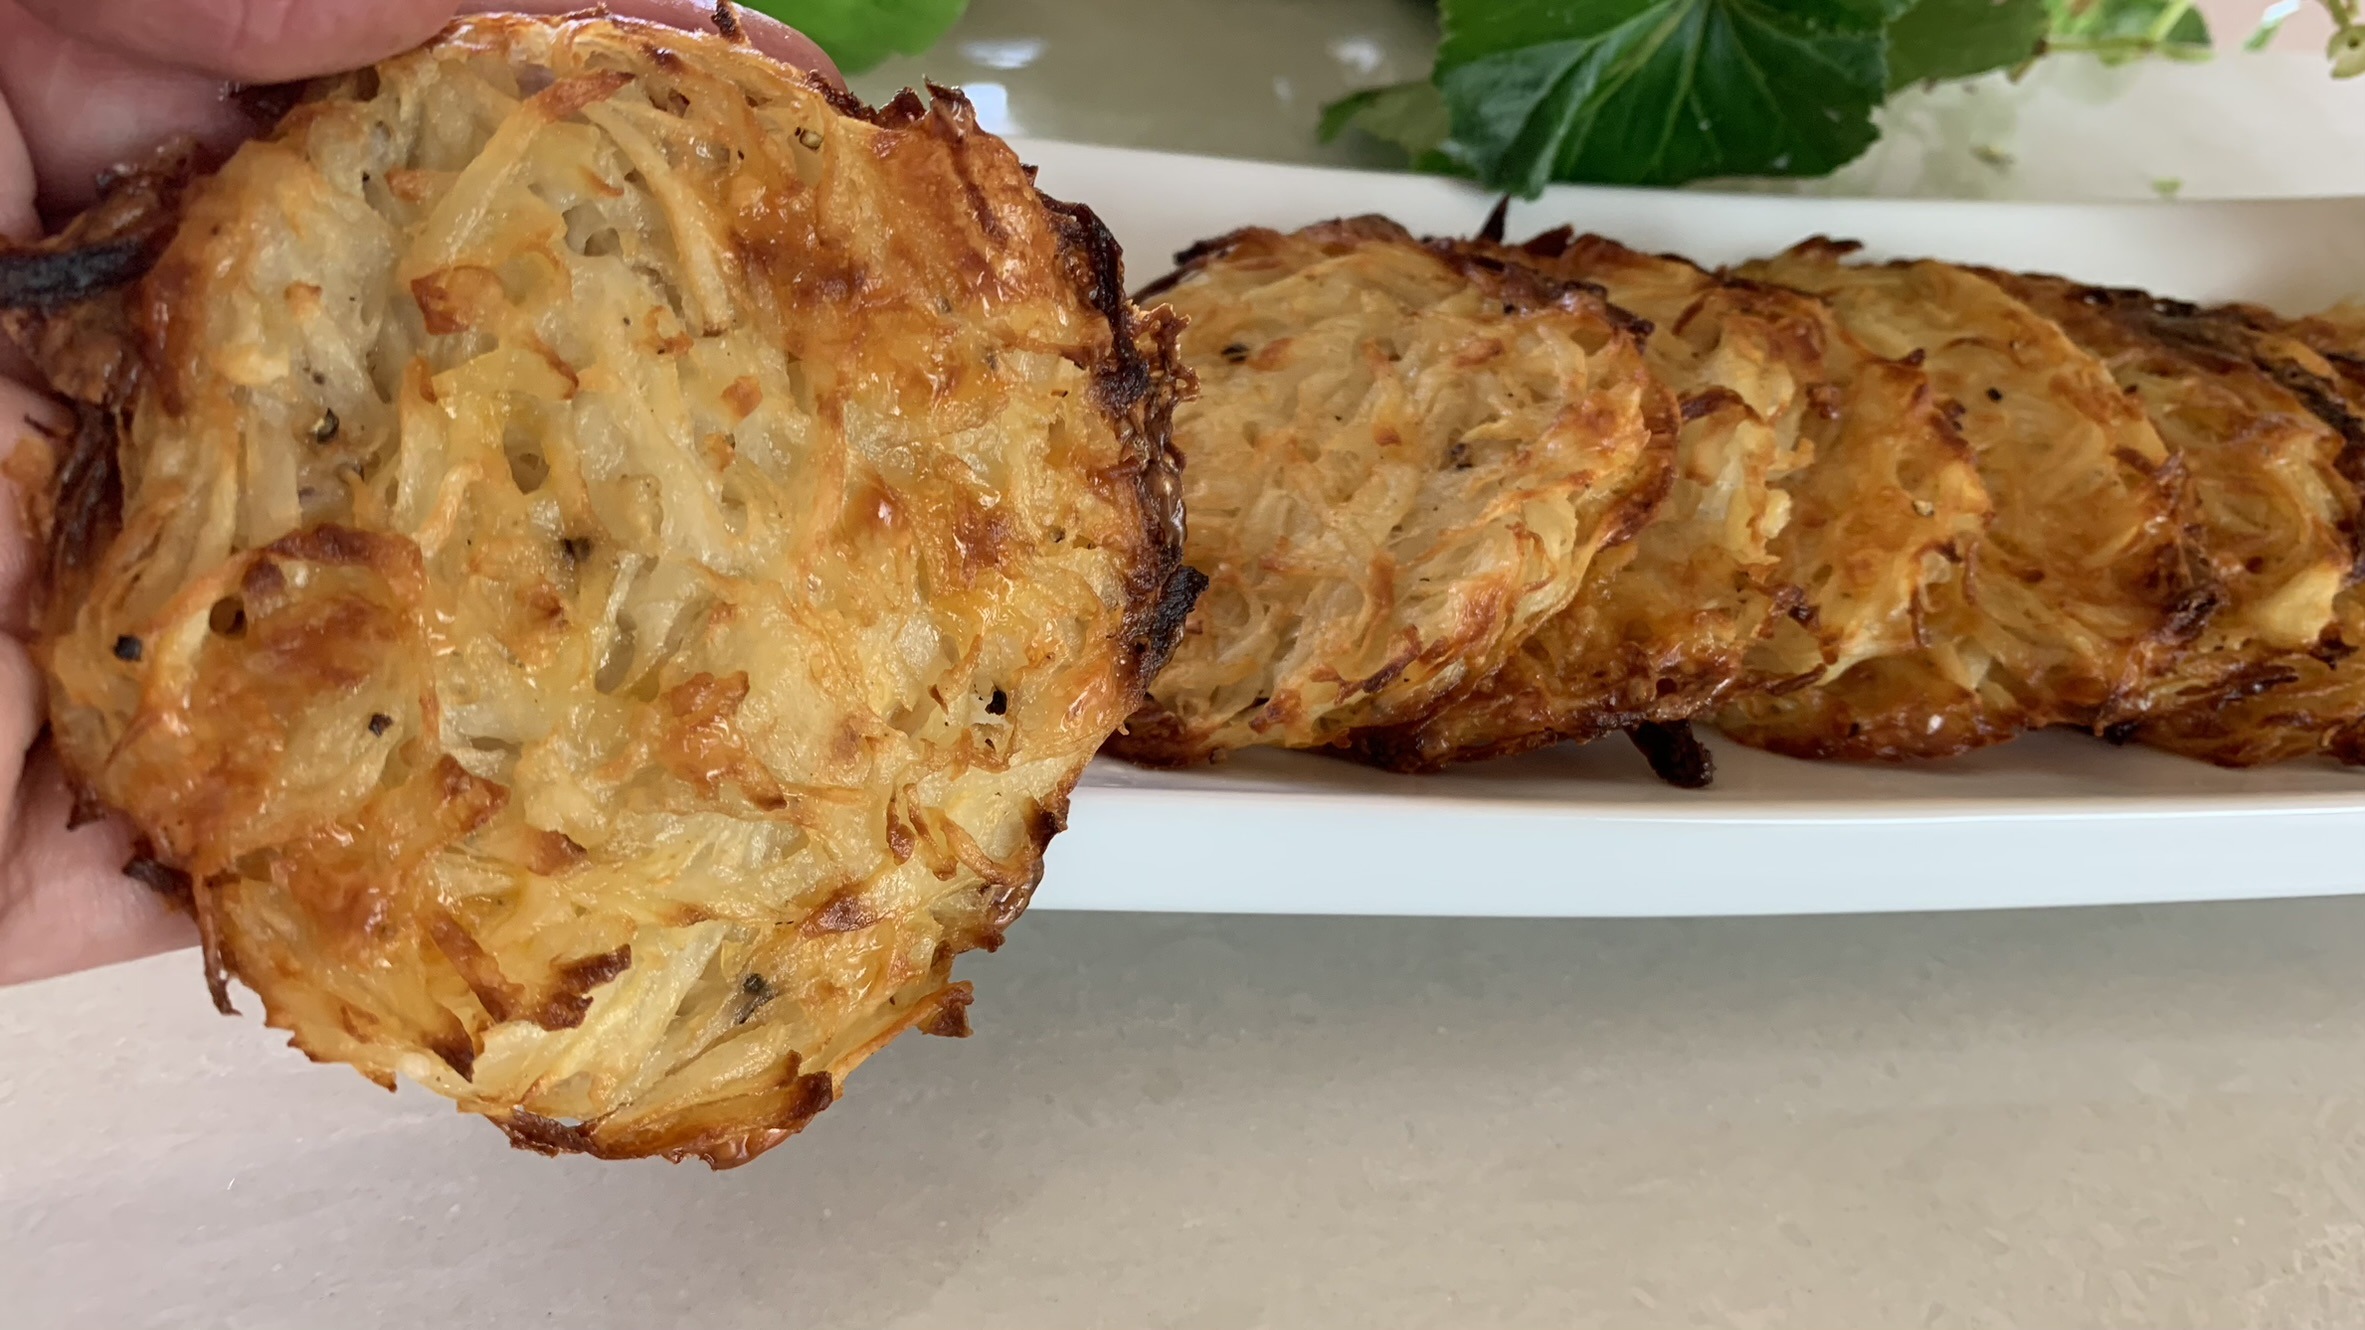
- Bake in the preheated oven for 30 minutes, or until the bites are golden brown and irresistibly crisp.
- Let them cool down for a bit before serving.
Prep Time and Baking Information
- Servings: 10 Servings
- Prep Time: 30 mins
- Baking Time: 30 mins
Nutritional Information (Per 1 Serving)
- Energy: 131 calories
- Protein: 5.01 g
- Fat: 9.08 g
- Carbohydrates: 7.99 g
- Fiber: 1.3 g
Storage and Particular Recommendations
- Store any leftover spinach and feta bites in an airtight container in the refrigerator for up to 3 days. Reheat in the oven or toaster oven for best results.
- These bites make for an excellent appetizer or snack. Serve them with a side of tzatziki or your favorite dipping sauce.