Tuna Spring Roll
Tuna Spring Roll

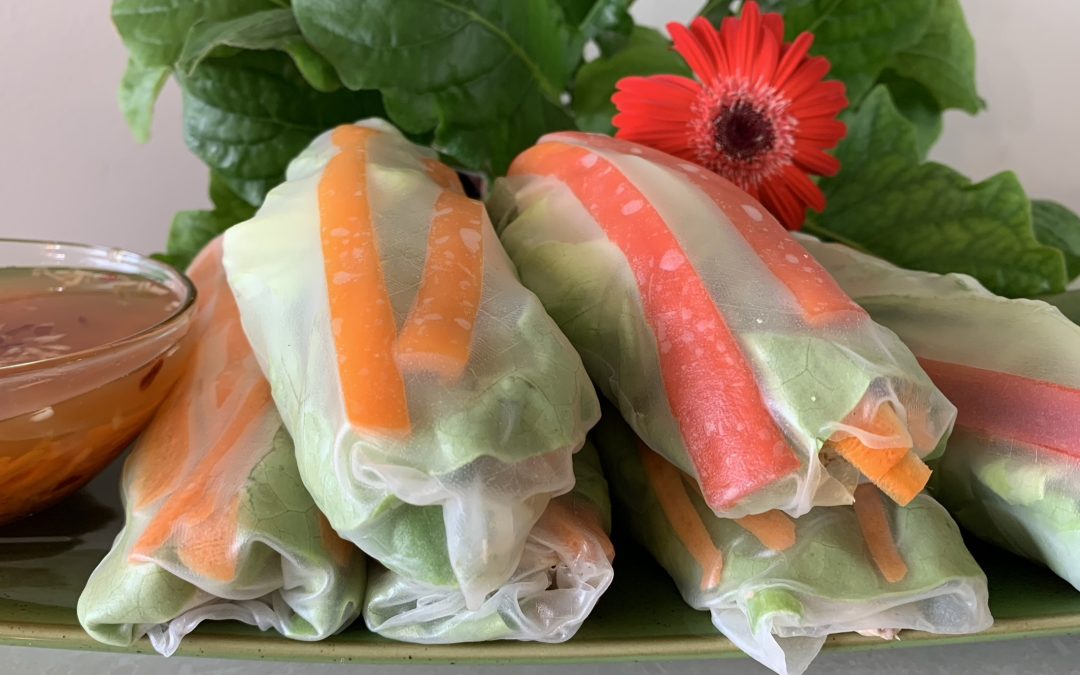
Whether you’re on a weight loss journey or seeking filling, healthy, and low-calorie recipe ideas, these seasoned canned tuna and veggie spring rolls are the perfect inspiration. These rolls are not only light and satisfying but also packed with protein and essential nutrients, making them ideal for a healthy lunch or dinner.
Tuna is the star ingredient in these spring rolls, providing a rich source of lean protein, omega-3 fatty acids, and vital vitamins and minerals such as vitamin D and selenium. Choosing water-packed canned tuna keeps the calorie count low, making it an excellent option for those looking to maintain a balanced diet while enjoying delicious meals. Paired with fresh vegetables and wrapped in rice paper, these spring rolls are a perfect combination of flavor and nutrition.
These spring rolls are versatile and can be enjoyed as a light meal or snack, especially during the warmer months of spring and summer. They’re not only delicious but also easy to customize with your favorite vegetables and seasonings.
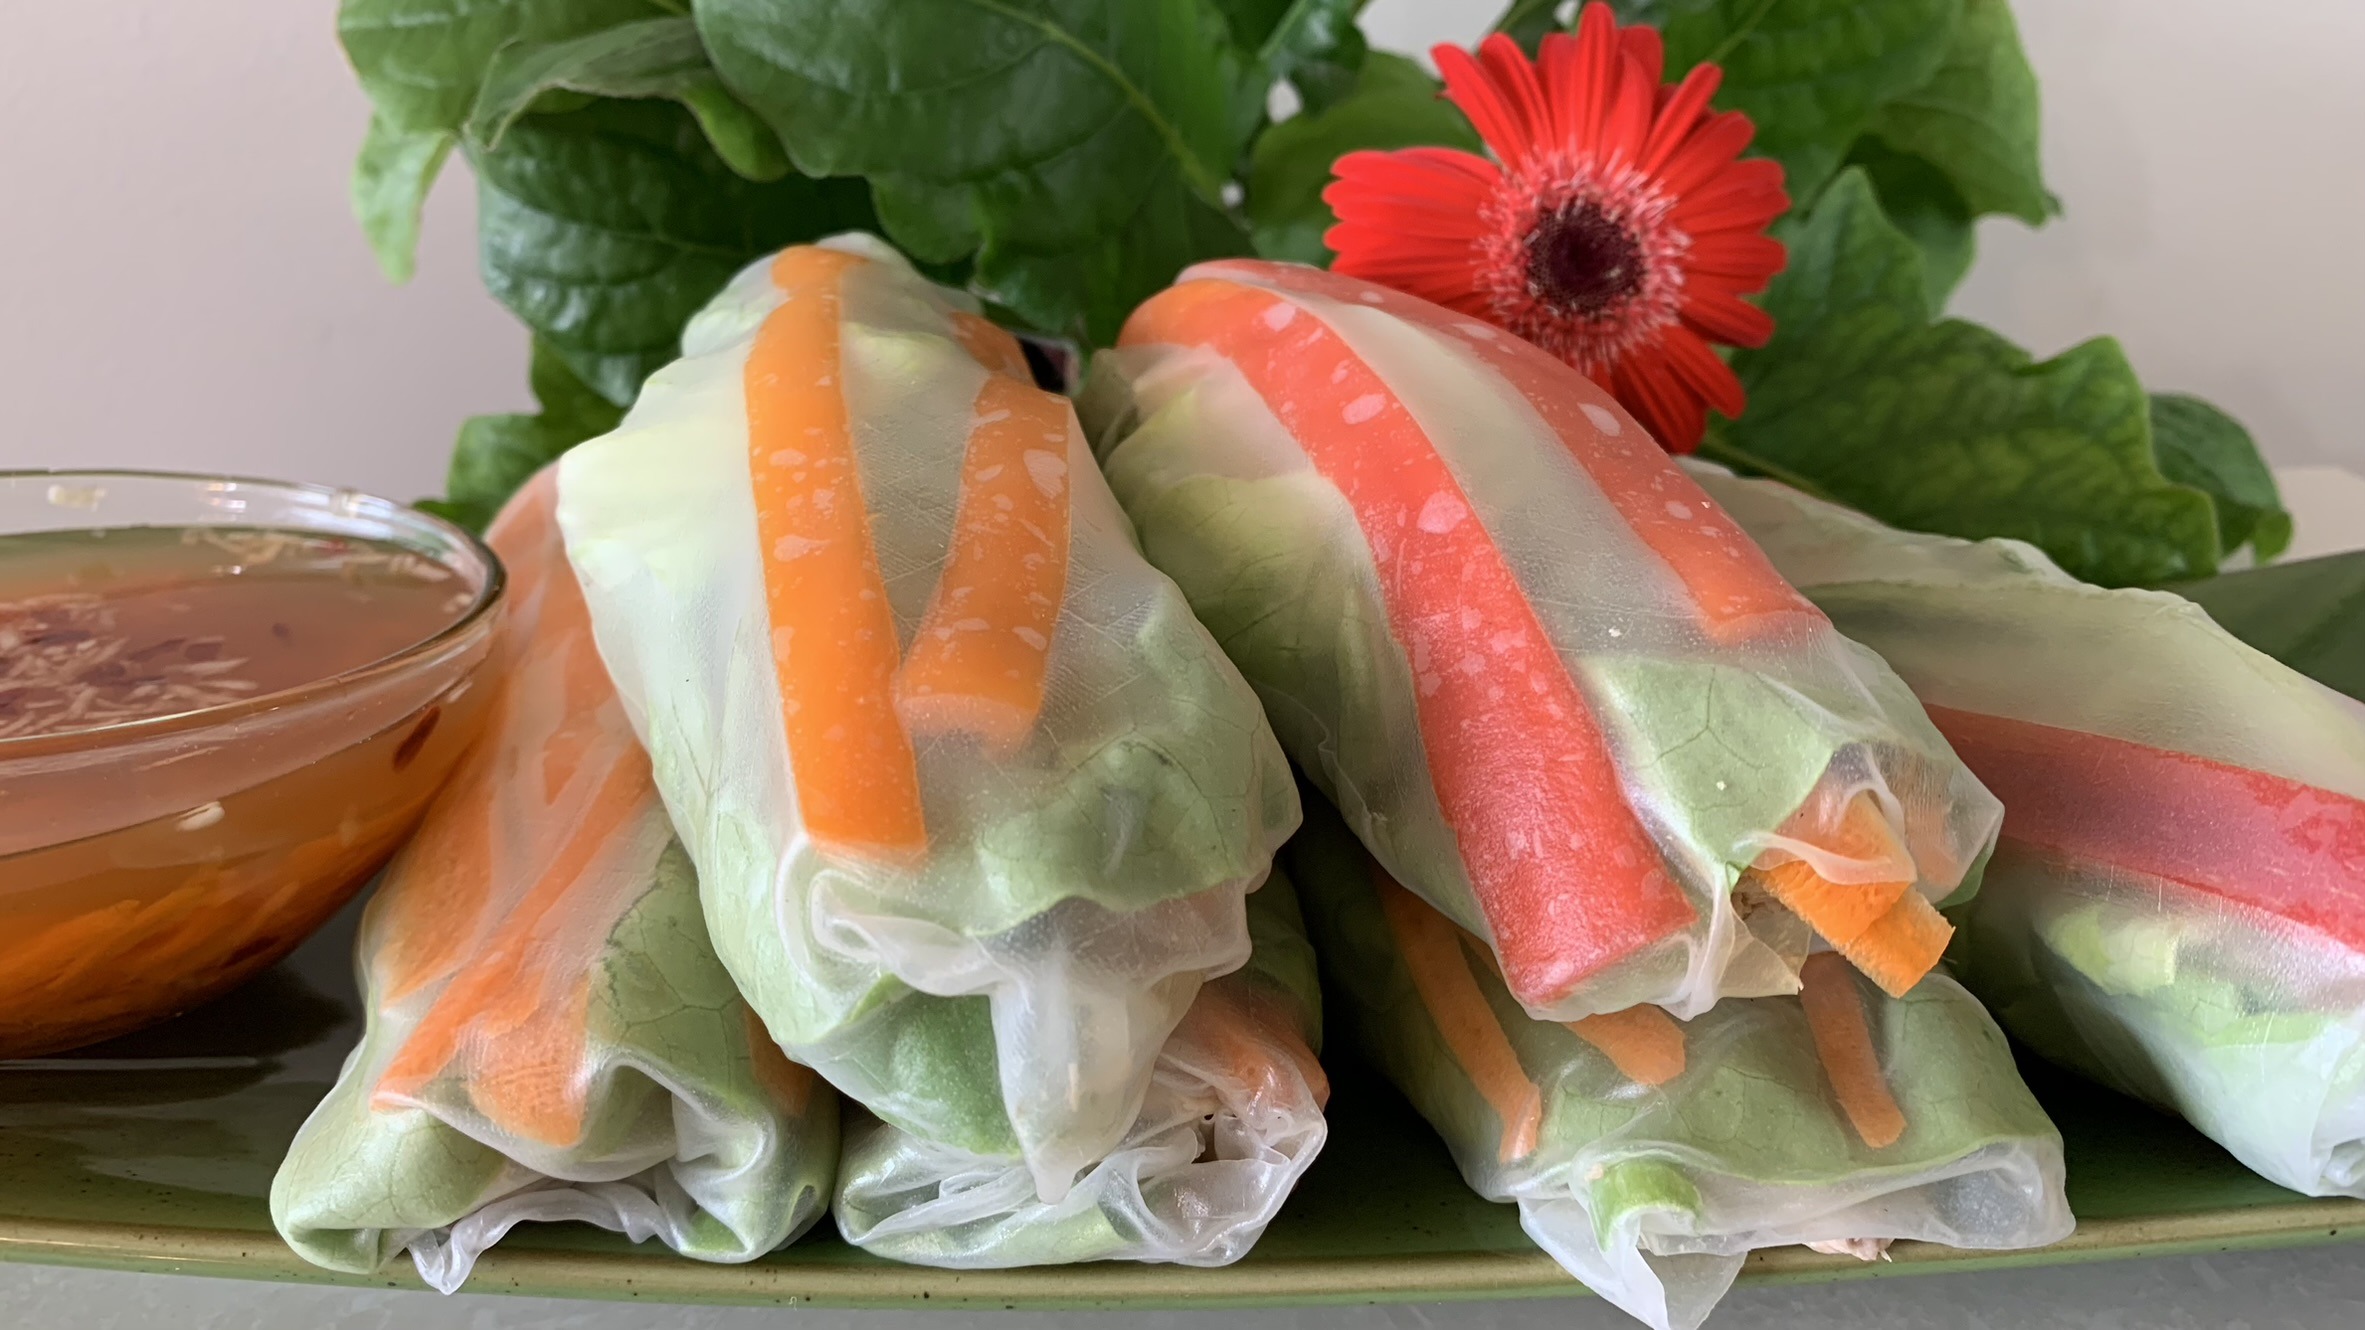
These Tuna Spring Rolls are a delicious and healthy way to enjoy a light meal packed with protein and fresh vegetables. Perfect for spring and summer, they are sure to become a favorite in your meal rotation!
Ingredients
For the Tuna Part:
- 2 canned tuna (drained, 240 g) in water
- ¼ cup 14% fat sour cream
- 1 tbsp. olive oil
- 35 g pickles
- ¼ tsp. salt
- ¼ tsp. garlic powder
- ¼ tsp. onion powder
- ½ tsp. Tabasco sauce
- Black pepper to taste
For the Rolls Part:
- 6 Vietnamese rice papers
- 100 g red and orange pepper
- 12 leaves or 105 g lettuce
- 50 g sliced carrots
- 40 g green onion
For the Dipping Sauce:
- ⅓ cup water
- 2 tbsp. fish sauce
- 2 tbsp. rice vinegar
- 1 tbsp. maple syrup
- 30 g shredded carrots
- 1 minced garlic clove
- ½ tsp. chili flakes
Directions
- In a bowl, combine drained canned tuna, sour cream, olive oil, diced pickles, garlic powder, onion powder, Tabasco sauce, salt, and black pepper. Mix well and set aside.
- Thinly slice carrots, onion, and orange pepper. Clean and drain lettuce leaves.
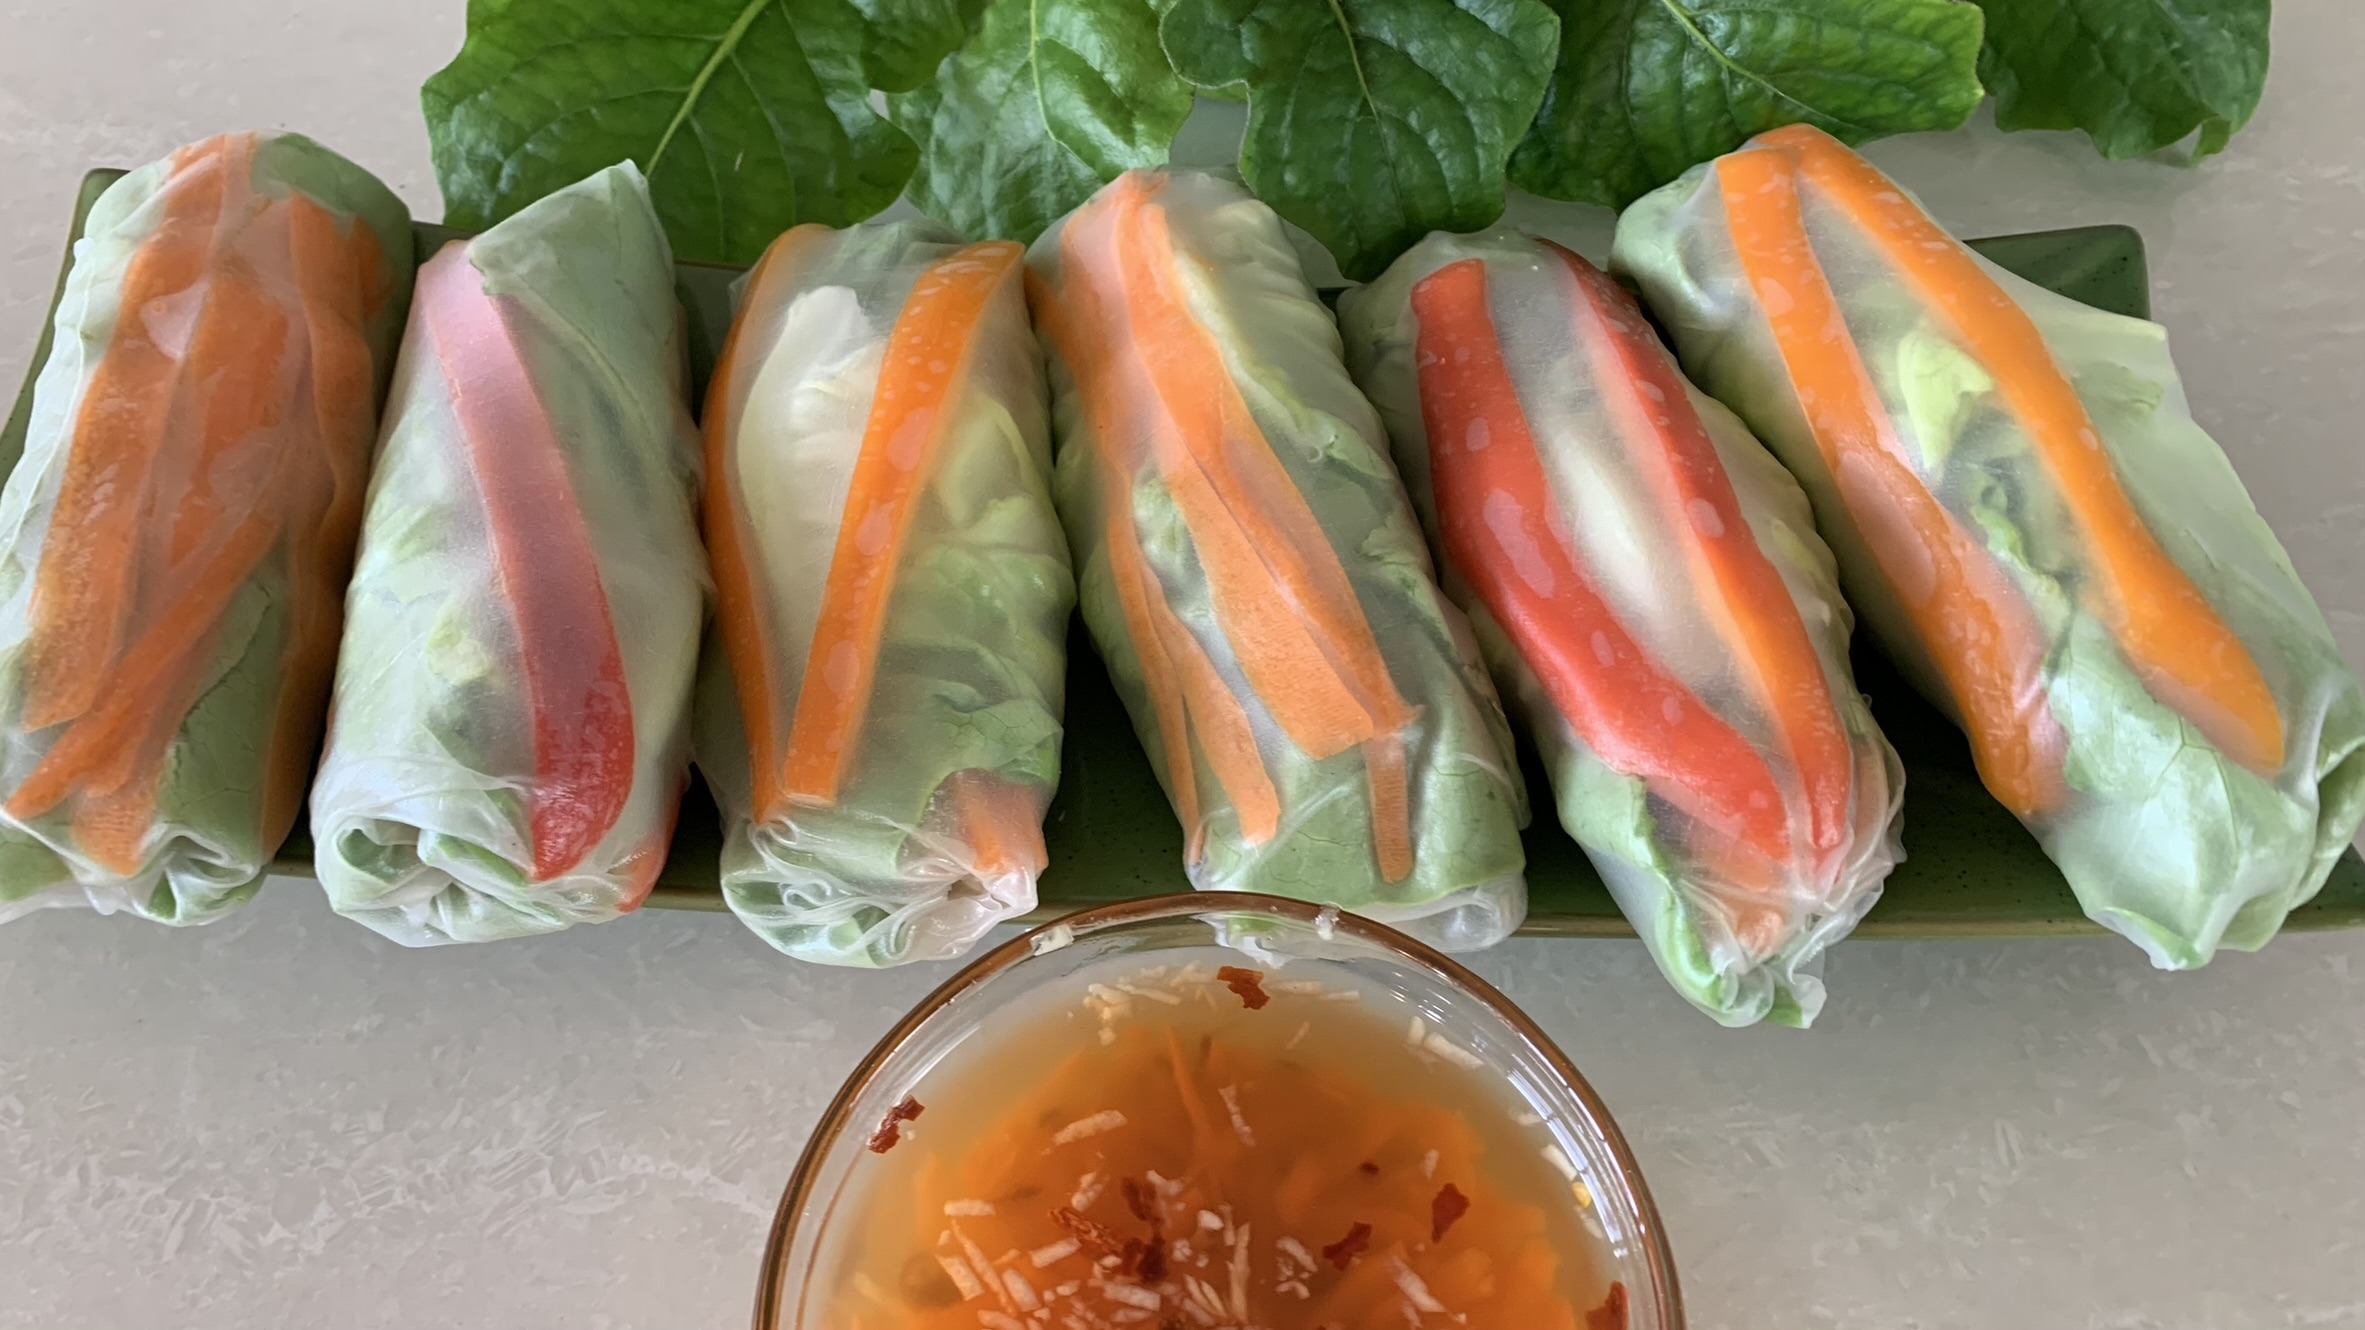
- In a small bowl, mix water, fish sauce, rice vinegar, maple syrup, shredded carrots, minced garlic clove, and chili flakes. Set the dipping sauce aside to infuse the flavors.
- Dip one spring roll rice paper into a large bowl of cold water to soften. Lay the softened wrap onto a working board. Add ingredients in layers: orange pepper or carrot slices, lettuce leaves, tuna mixture, and slices of carrot, pepper, and onion. Fold the sides of the wrap and roll it to create the typical spring roll shape. Repeat until all the mixture is used.
- Let the spring rolls rest in the fridge for about half an hour to allow the flavors to meld together.
- Serve with the homemade dipping sauce.
Prep Time and Servings
- Makes: 6 Servings
- Prep Time: 30 minutes
Nutritional Information (Per 1 Serving)
- Energy: 100 calories
- Protein: 9.16 g
- Fat: 3.99 g
- Carbohydrates: 7.57 g
- Fiber: 1 g
Storage and Recommendations
- Serve the spring rolls fresh for optimal flavor and texture or store them for up to 1 day.
- Customize the fillings according to your preferences.
- Ensure you select a canned tuna brand that guarantees a product from wild and healthy tuna species to avoid higher levels of mercury.