2 Ingredient Waffles
2 Ingredient Waffles

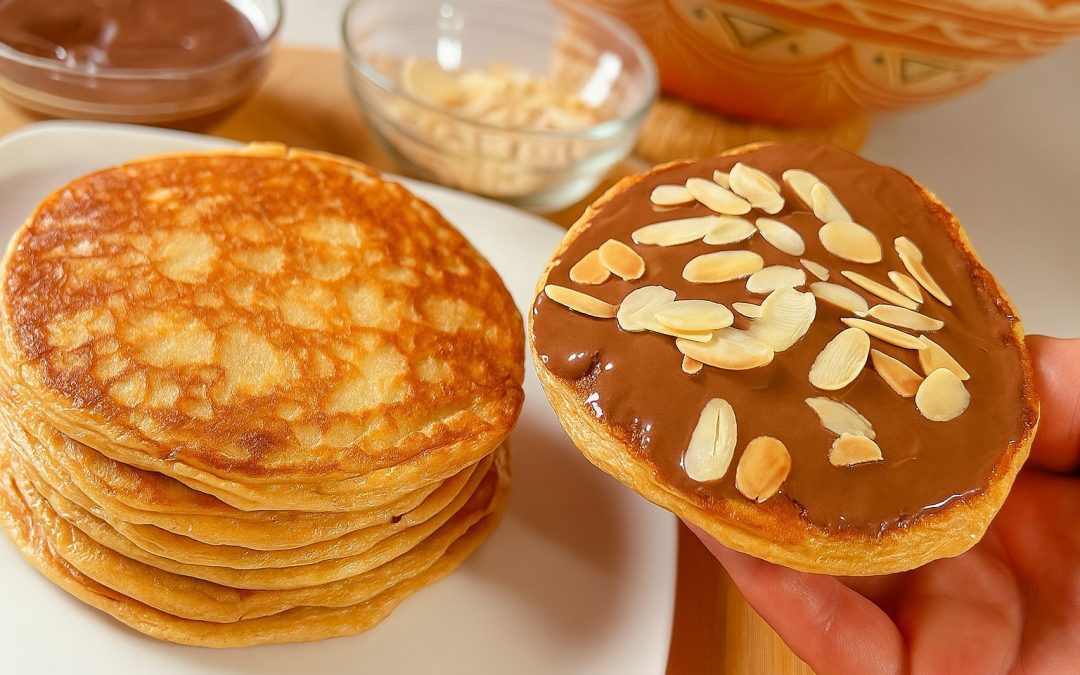
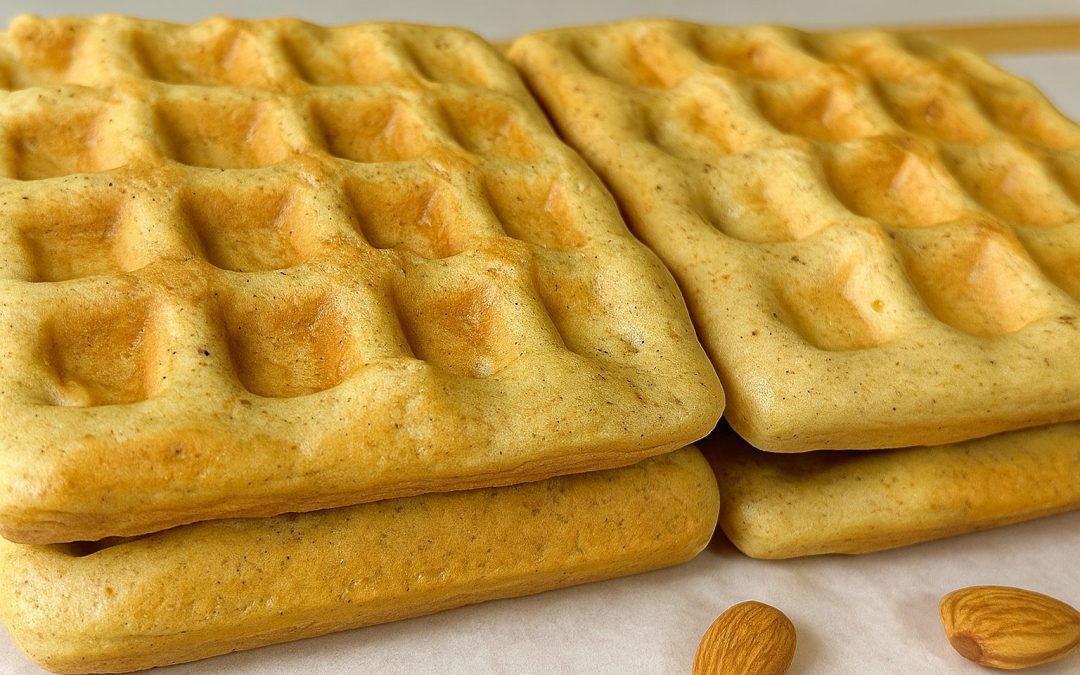
There’s a cozy magic to waking up to warm waffles: the steam, the gentle crunch, the comfort of a breakfast that feels like a hug. These 2-ingredient almond butter waffles deliver that same warm, homey feeling but in a clean, nourishing way. They’re quick to pull together, flourless, and naturally low in carbs, perfect for busy mornings, simple weekend brunches, or any time you want something satisfying without complicated prep. The texture is wonderfully tender inside with lightly crisp edges, and the nutty character from almond butter makes them taste like an indulgence even though they’re built from wholesome ingredients. They’re endlessly adaptable: go sweet with berries and sugar-free syrup, or turn them savory with cream cheese, smoked salmon, onions, and capers for a luxe breakfast board. Because they’re made from real food, these waffles keep you steady, less sugar slump, more sustained energy.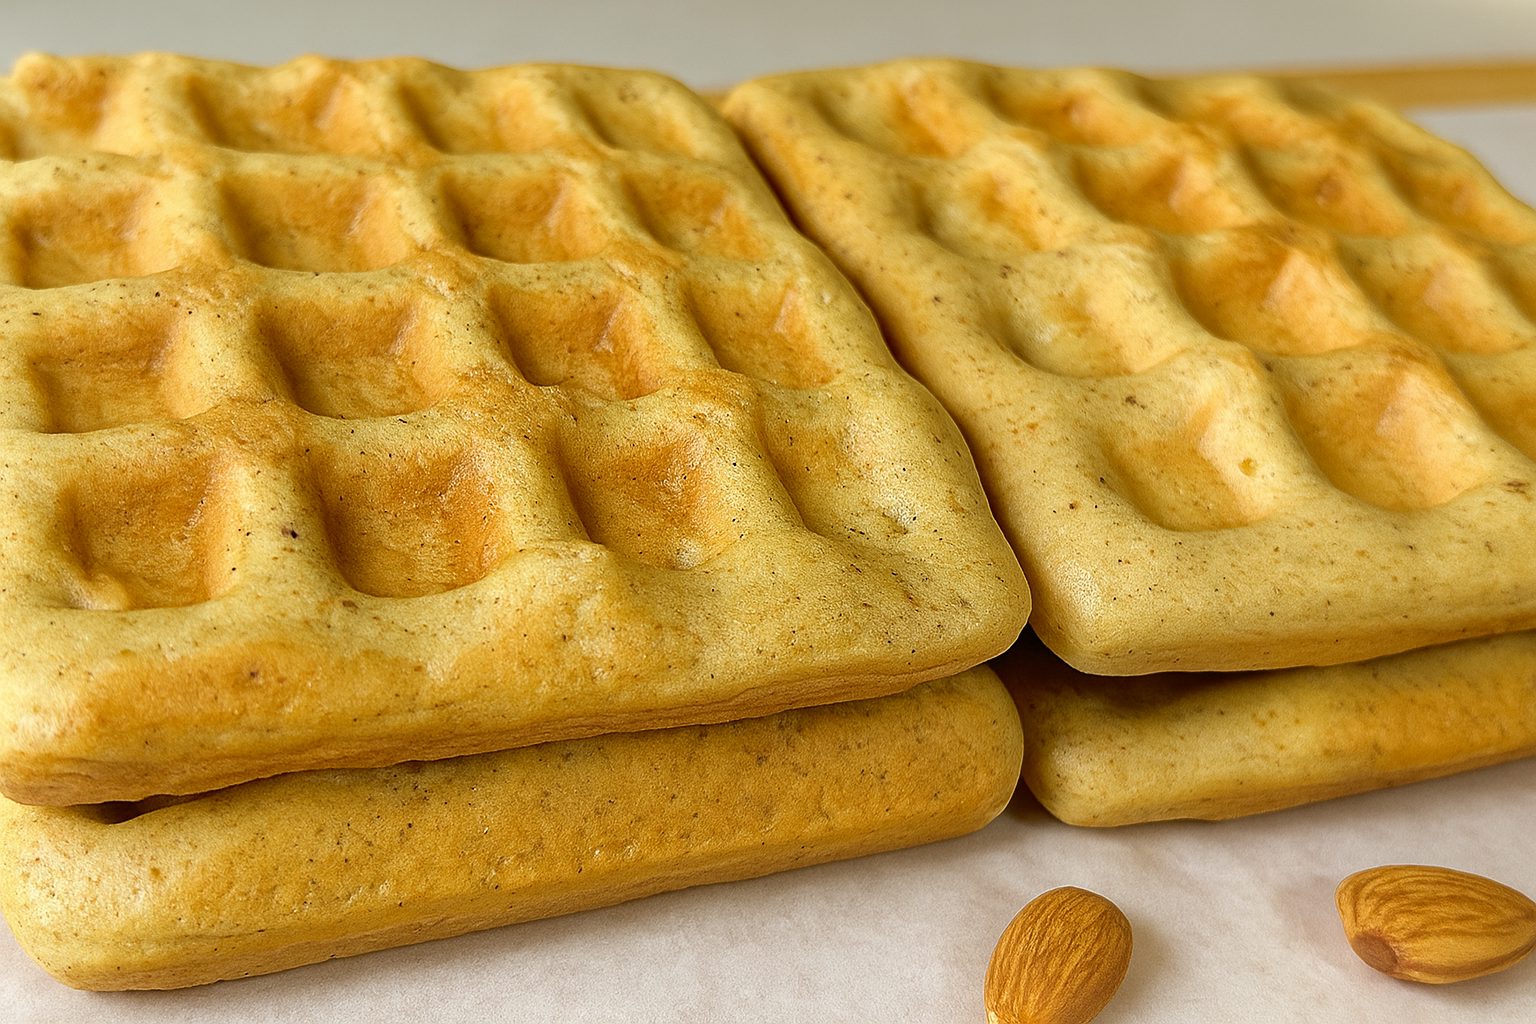
Why Soaked Almond Butter Deserves a Place on Your Table?
This recipe is made with our homemade almond butter prepared from soaked almonds, and that detail matters. Soaking almonds before turning them into butter lowers anti-nutrients like phytic acid, which otherwise bind minerals and can limit their absorption. Soaked almonds are also gentler on the digestive system because soaking activates enzymes and begins breaking down complex compounds, making the nutrients more bioavailable. The homemade version preserves all this benefit and avoids added oils, sugars, or preservatives found in many store-bought spreads.

Almond butter itself is rich in heart-healthy monounsaturated fats, plant-based protein, fiber, magnesium and vitamin E, nutrients that support heart health, steady energy, muscle function, and skin health. Including soaked-almond butter in your regular diet is a smart, simple way to increase nutrient absorption from nuts and get a concentrated source of good fats and protein that helps curb cravings and keeps you full longer.
Ingredients
• 3 eggs
• 5 tbsp (75 g) almond butter
• 1 tsp baking powder (optional, for fluffier waffles)
• Oil (such as coconut oil) for brushing the waffle plates
Directions
- In a mixing bowl, crack the eggs and add the almond butter.
- Whisk the two ingredients together until the mixture is completely smooth and lump-free.
- If desired, add the baking powder to make the waffles slightly fluffier, then mix again until evenly combined.
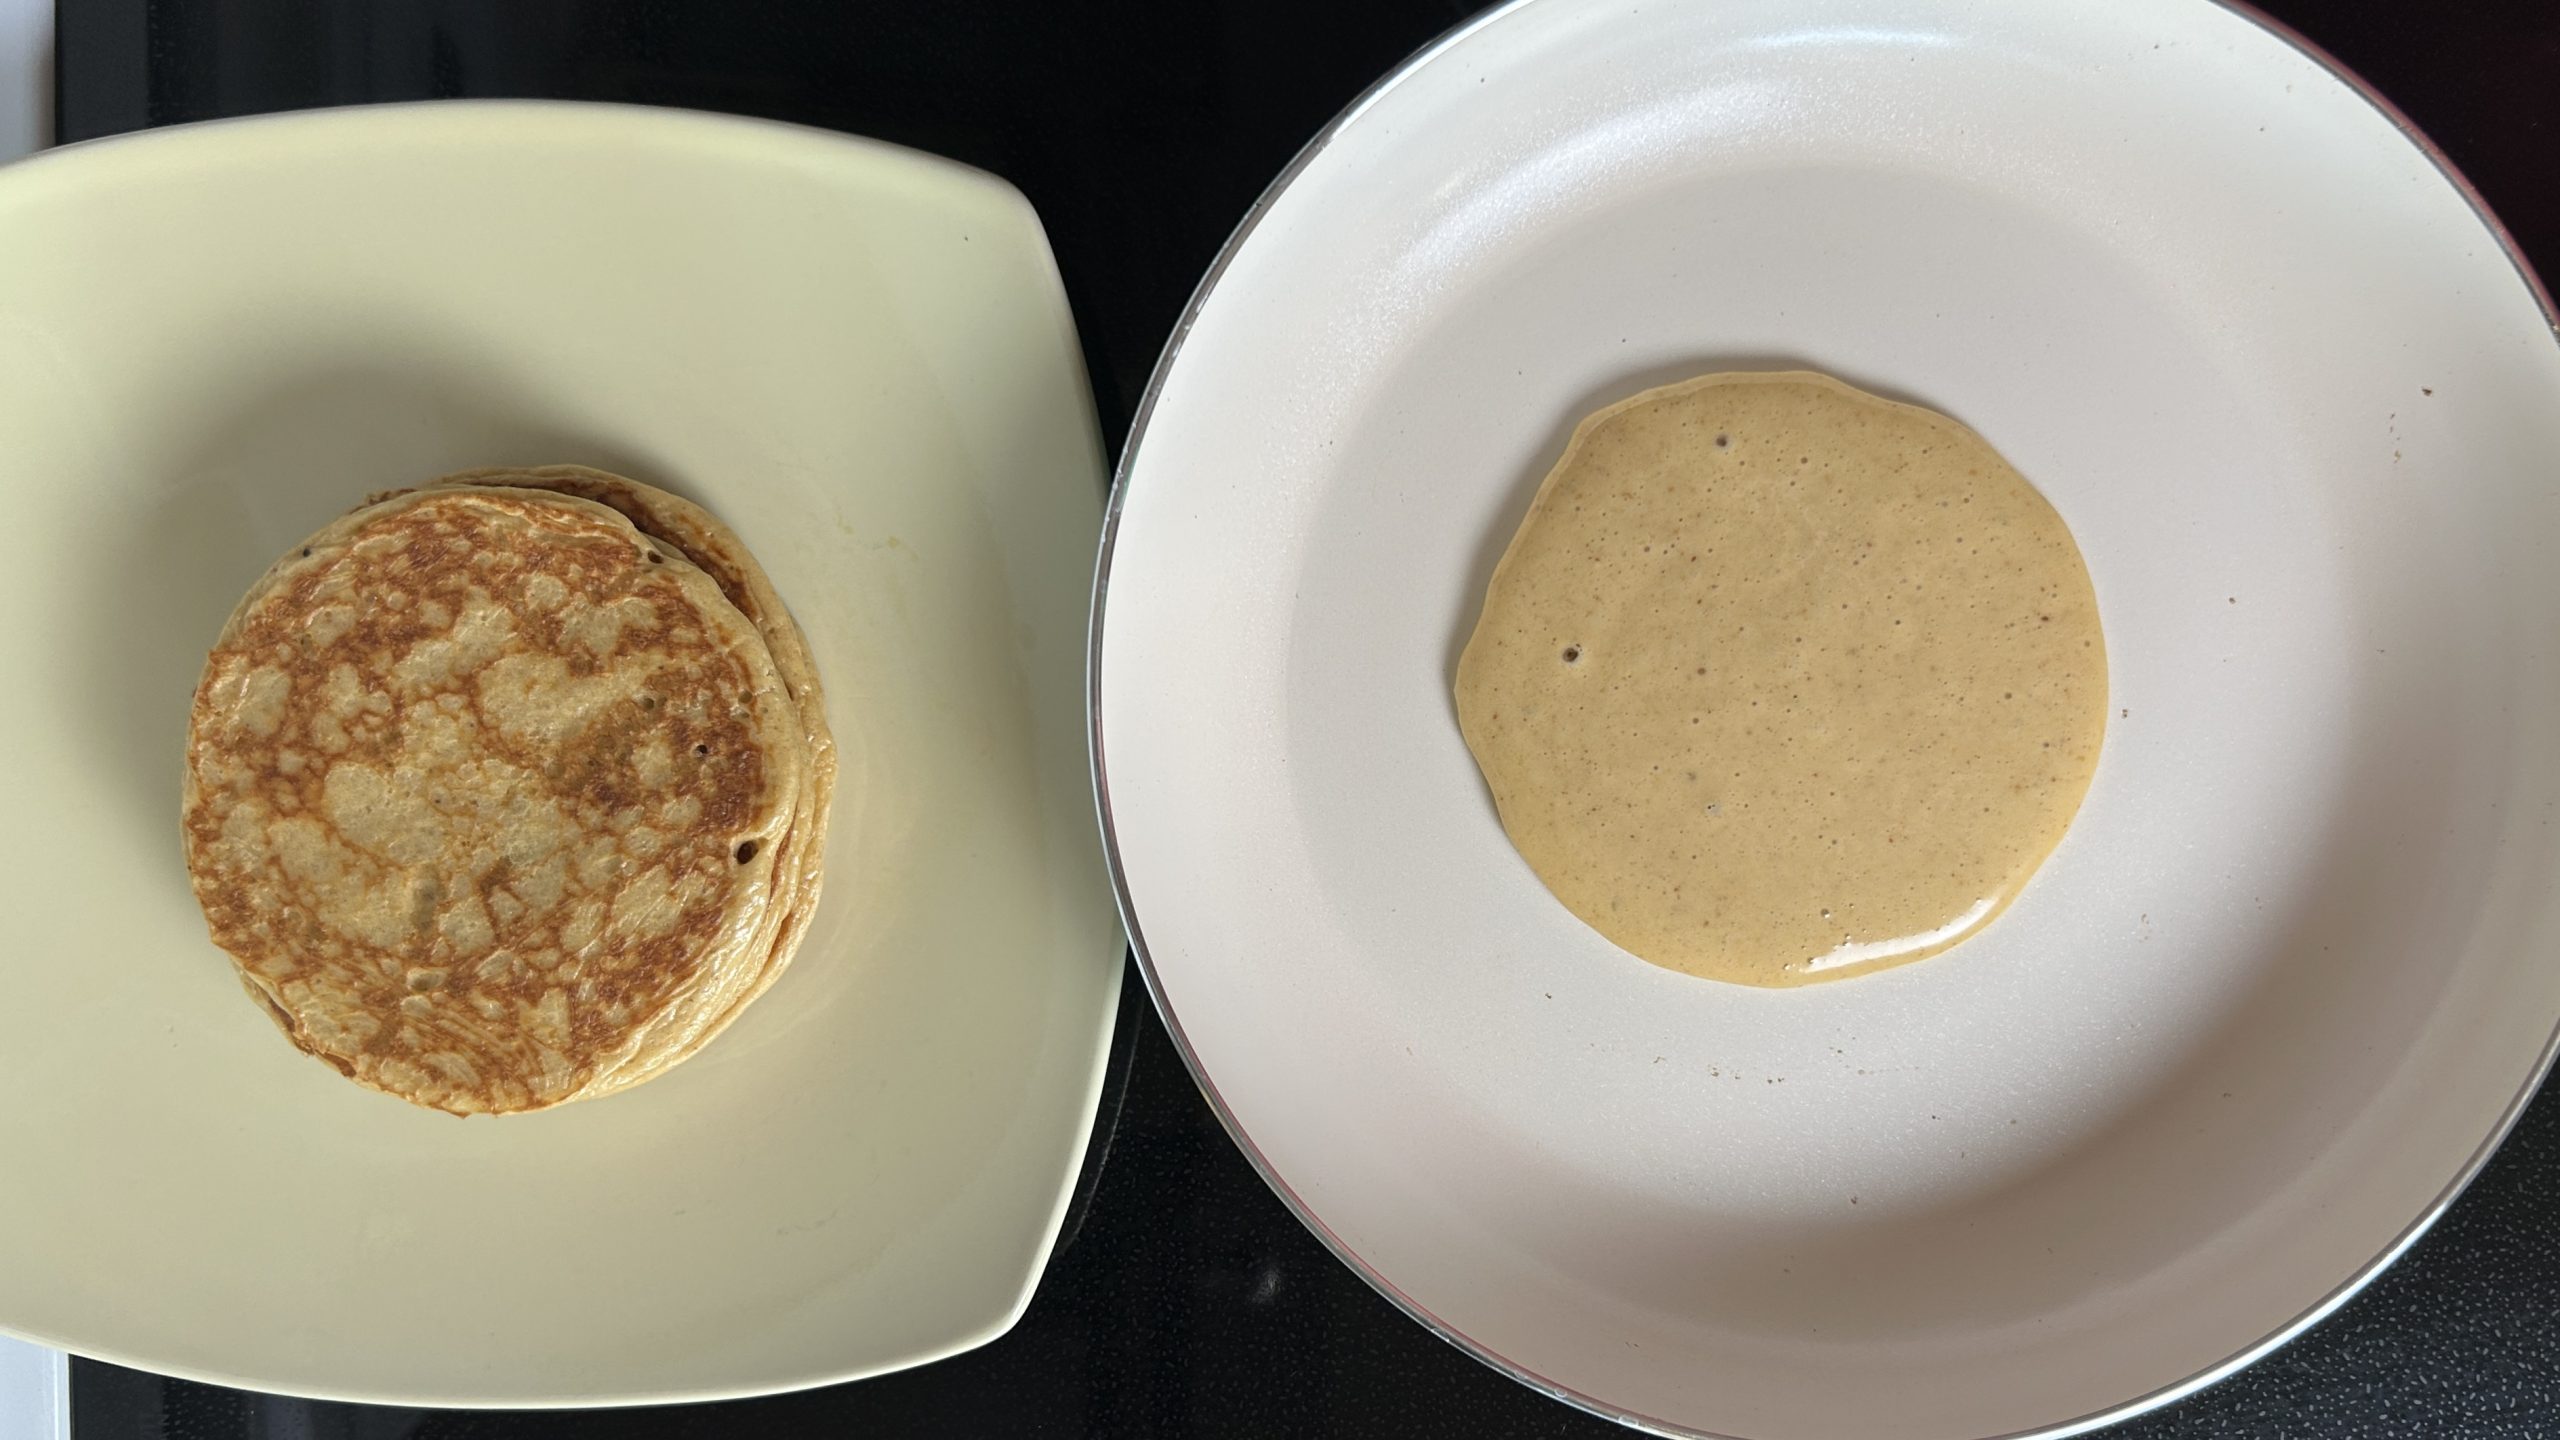
- Preheat your waffle maker until hot, then lightly brush the plates with oil to prevent sticking.
- Pour enough batter into the waffle maker to just cover the plates.
- Close the lid and cook for about 2–3 minutes, or until the waffles are golden brown and cooked through.
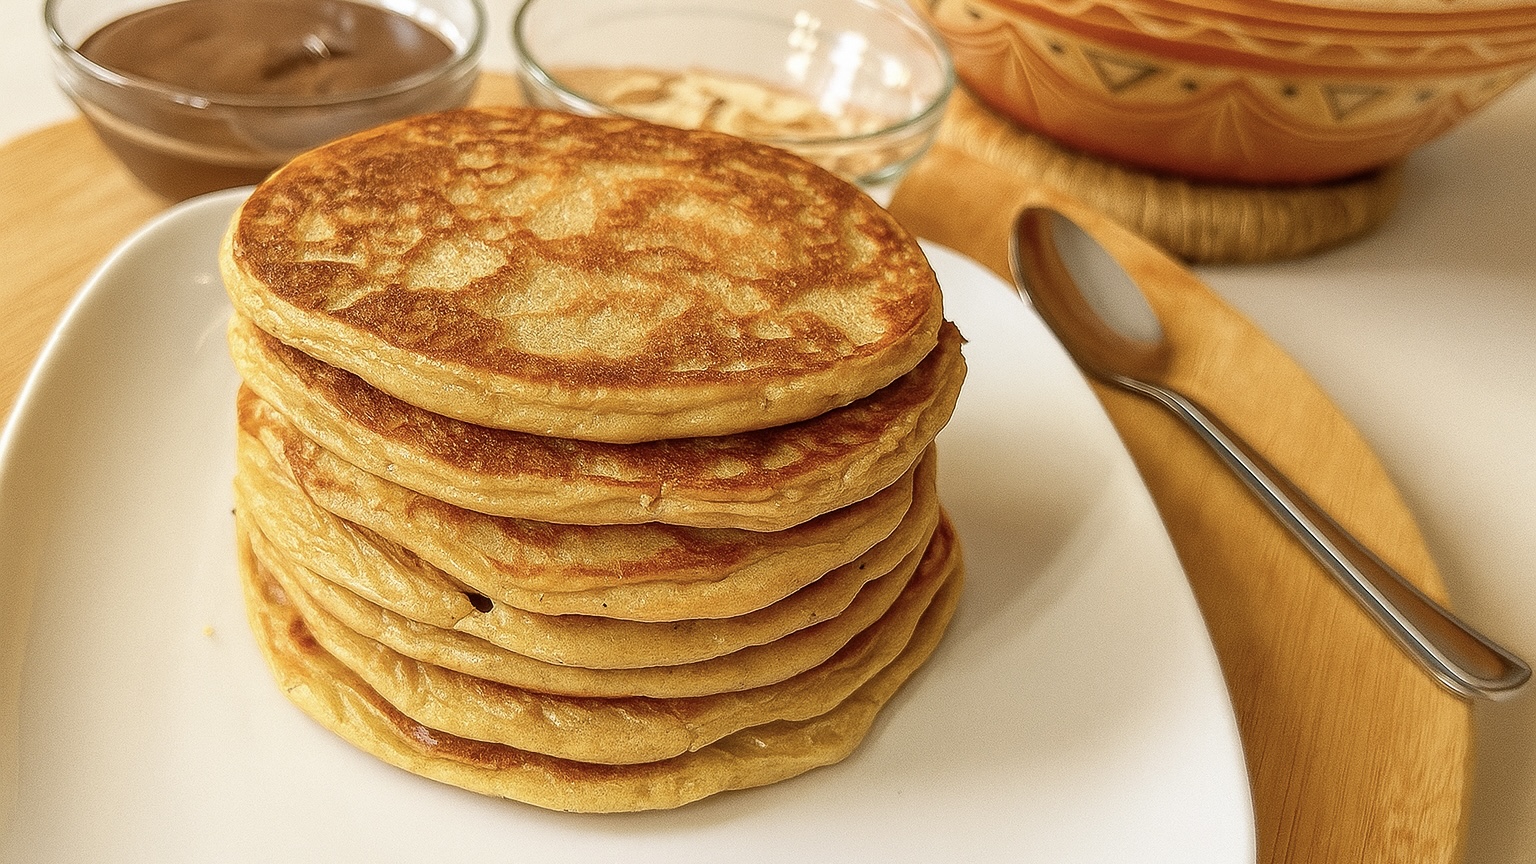
- Gently remove the waffles and place them on a plate to cool slightly.
- Repeat the process until all the batter is used.
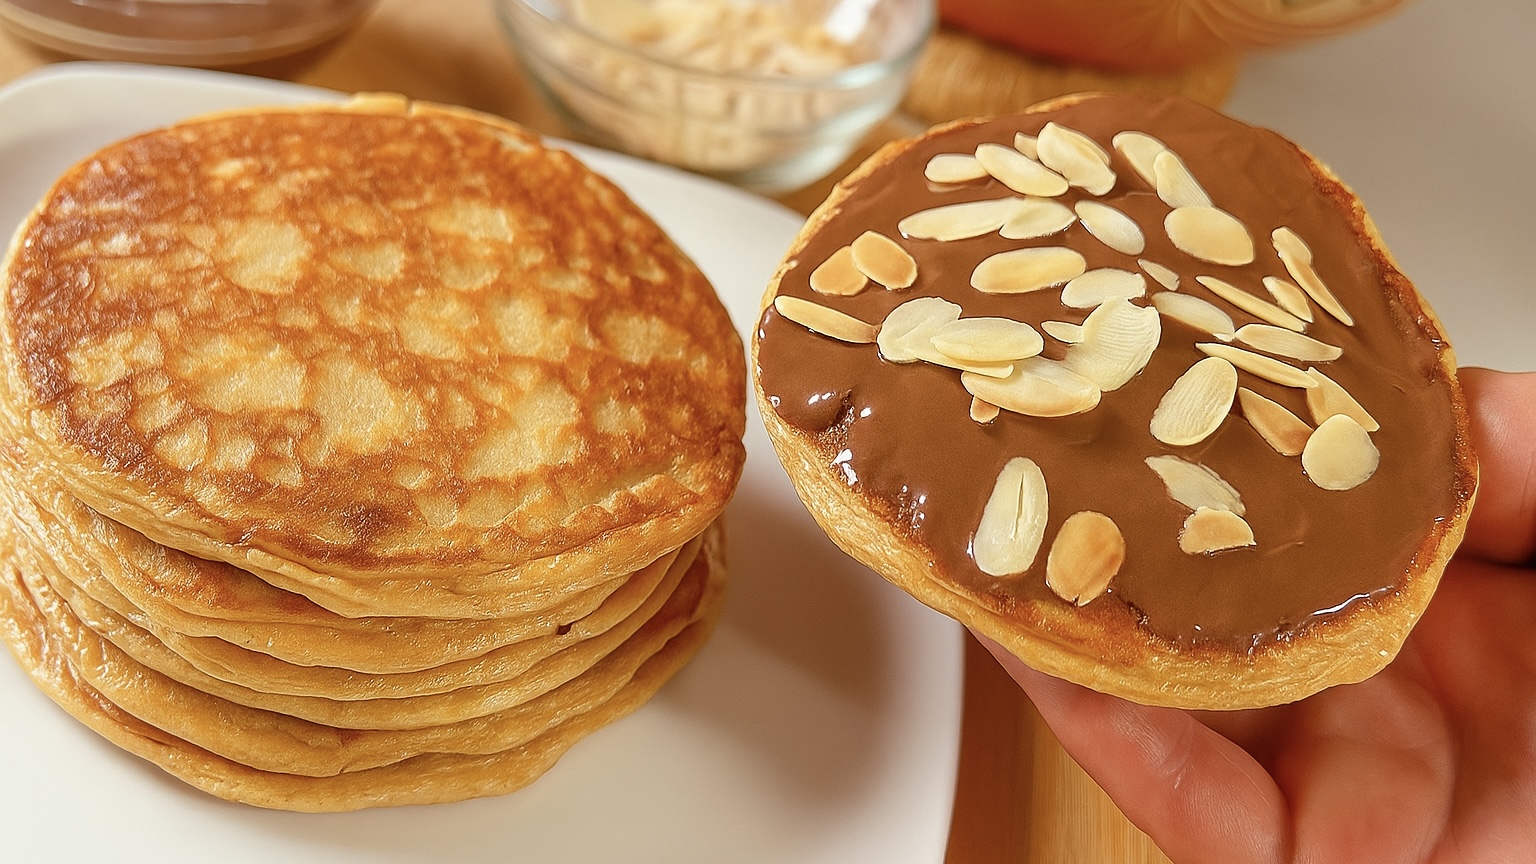
- Serve warm with your favorite toppings, sweet (berries, sugar-free syrup, or nut butter) or savory (smoked salmon, cheese, onions, and capers).
Prep Time: 5 minutes
Cooking Time: 15 minutes
Servings: 4 waffles
Nutritional Information (Per Serving)
• Energy: 162 calories
• Protein: 8.1 g
• Fat: 13.54 g
• Carbohydrates: 3.77 g
• Fiber: 1.9 g
This recipe is naturally gluten-free, flourless, and low-carb, making it ideal for anyone following a keto or high-protein diet.
Storage & Recommendations
• Keep cooked waffles in an airtight container in the fridge for up to 5 days.
• For longer storage, freeze them in a freezer-safe container for up to 3 months. Reheat in a toaster or pan before serving.
• Use natural, unsweetened almond butter for best keto results.
• For extra flavor, add a pinch of cinnamon, vanilla, or salt to the batter before cooking.