Fudgy Chocolate Cake
Fudgy Chocolate Cake
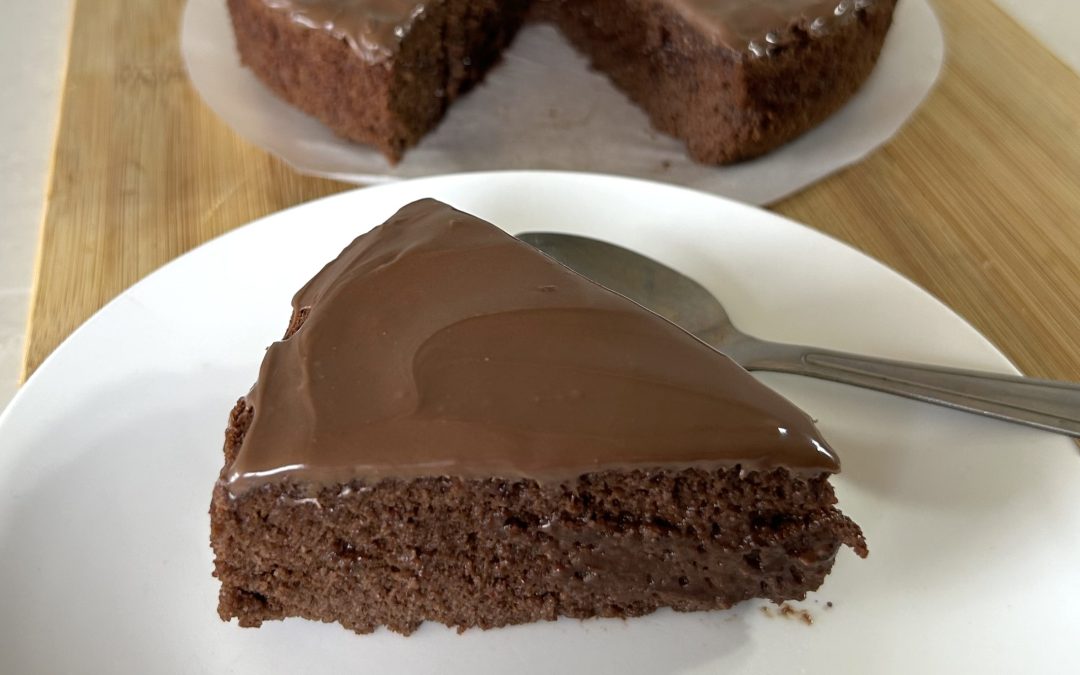
There’s something truly magical about a chocolate cake that tastes incredibly indulgent while being made with just a handful of wholesome ingredients. This easy fudgy chocolate cake is rich, moist, deeply chocolatey, and naturally sweetened with ripe bananas. It’s the kind of dessert that feels luxurious enough for celebrations, yet simple and nourishing enough to enjoy any day of the week.
Unlike traditional chocolate cakes loaded with refined flour, butter, and excessive sugar, this healthier version relies on nutrient-dense ingredients that bring both flavor and nourishment. The combination of dark chocolate, bananas, eggs, and almond flour creates a beautifully soft and fudgy texture without needing any refined flour at all. Every bite melts in your mouth with intense chocolate flavor while still feeling surprisingly light and satisfying.
One of the best things about this recipe is how incredibly simple it is to prepare. With only a few basic ingredients and minimal effort, you can create a bakery-style chocolate cake right at home. It’s naturally gluten-free, packed with wholesome ingredients, and perfect for anyone looking for a healthier dessert without sacrificing taste or texture.
Dark chocolate is the true star of this recipe and one ingredient that deserves a regular place in a balanced diet when enjoyed in moderation. High-quality dark chocolate with a high cocoa content is naturally rich in antioxidants called flavonoids, which may help support heart health, circulation, and overall wellness. It also contains important minerals like magnesium, iron, and copper that play essential roles in energy production and muscle function. In addition, dark chocolate may help boost mood and satisfaction thanks to its naturally occurring compounds that support serotonin production. Choosing dark chocolate over heavily processed sugary desserts can be a wonderful way to enjoy something sweet while still benefiting from valuable nutrients.
Bananas also contribute natural sweetness, fiber, potassium, and moisture to the cake, helping reduce the need for refined sugar and oils. Almond flour adds healthy fats, protein, magnesium, and a delicate nutty flavor while keeping the cake naturally gluten-free. Together, these simple ingredients create a dessert that feels comforting, nourishing, and incredibly satisfying.
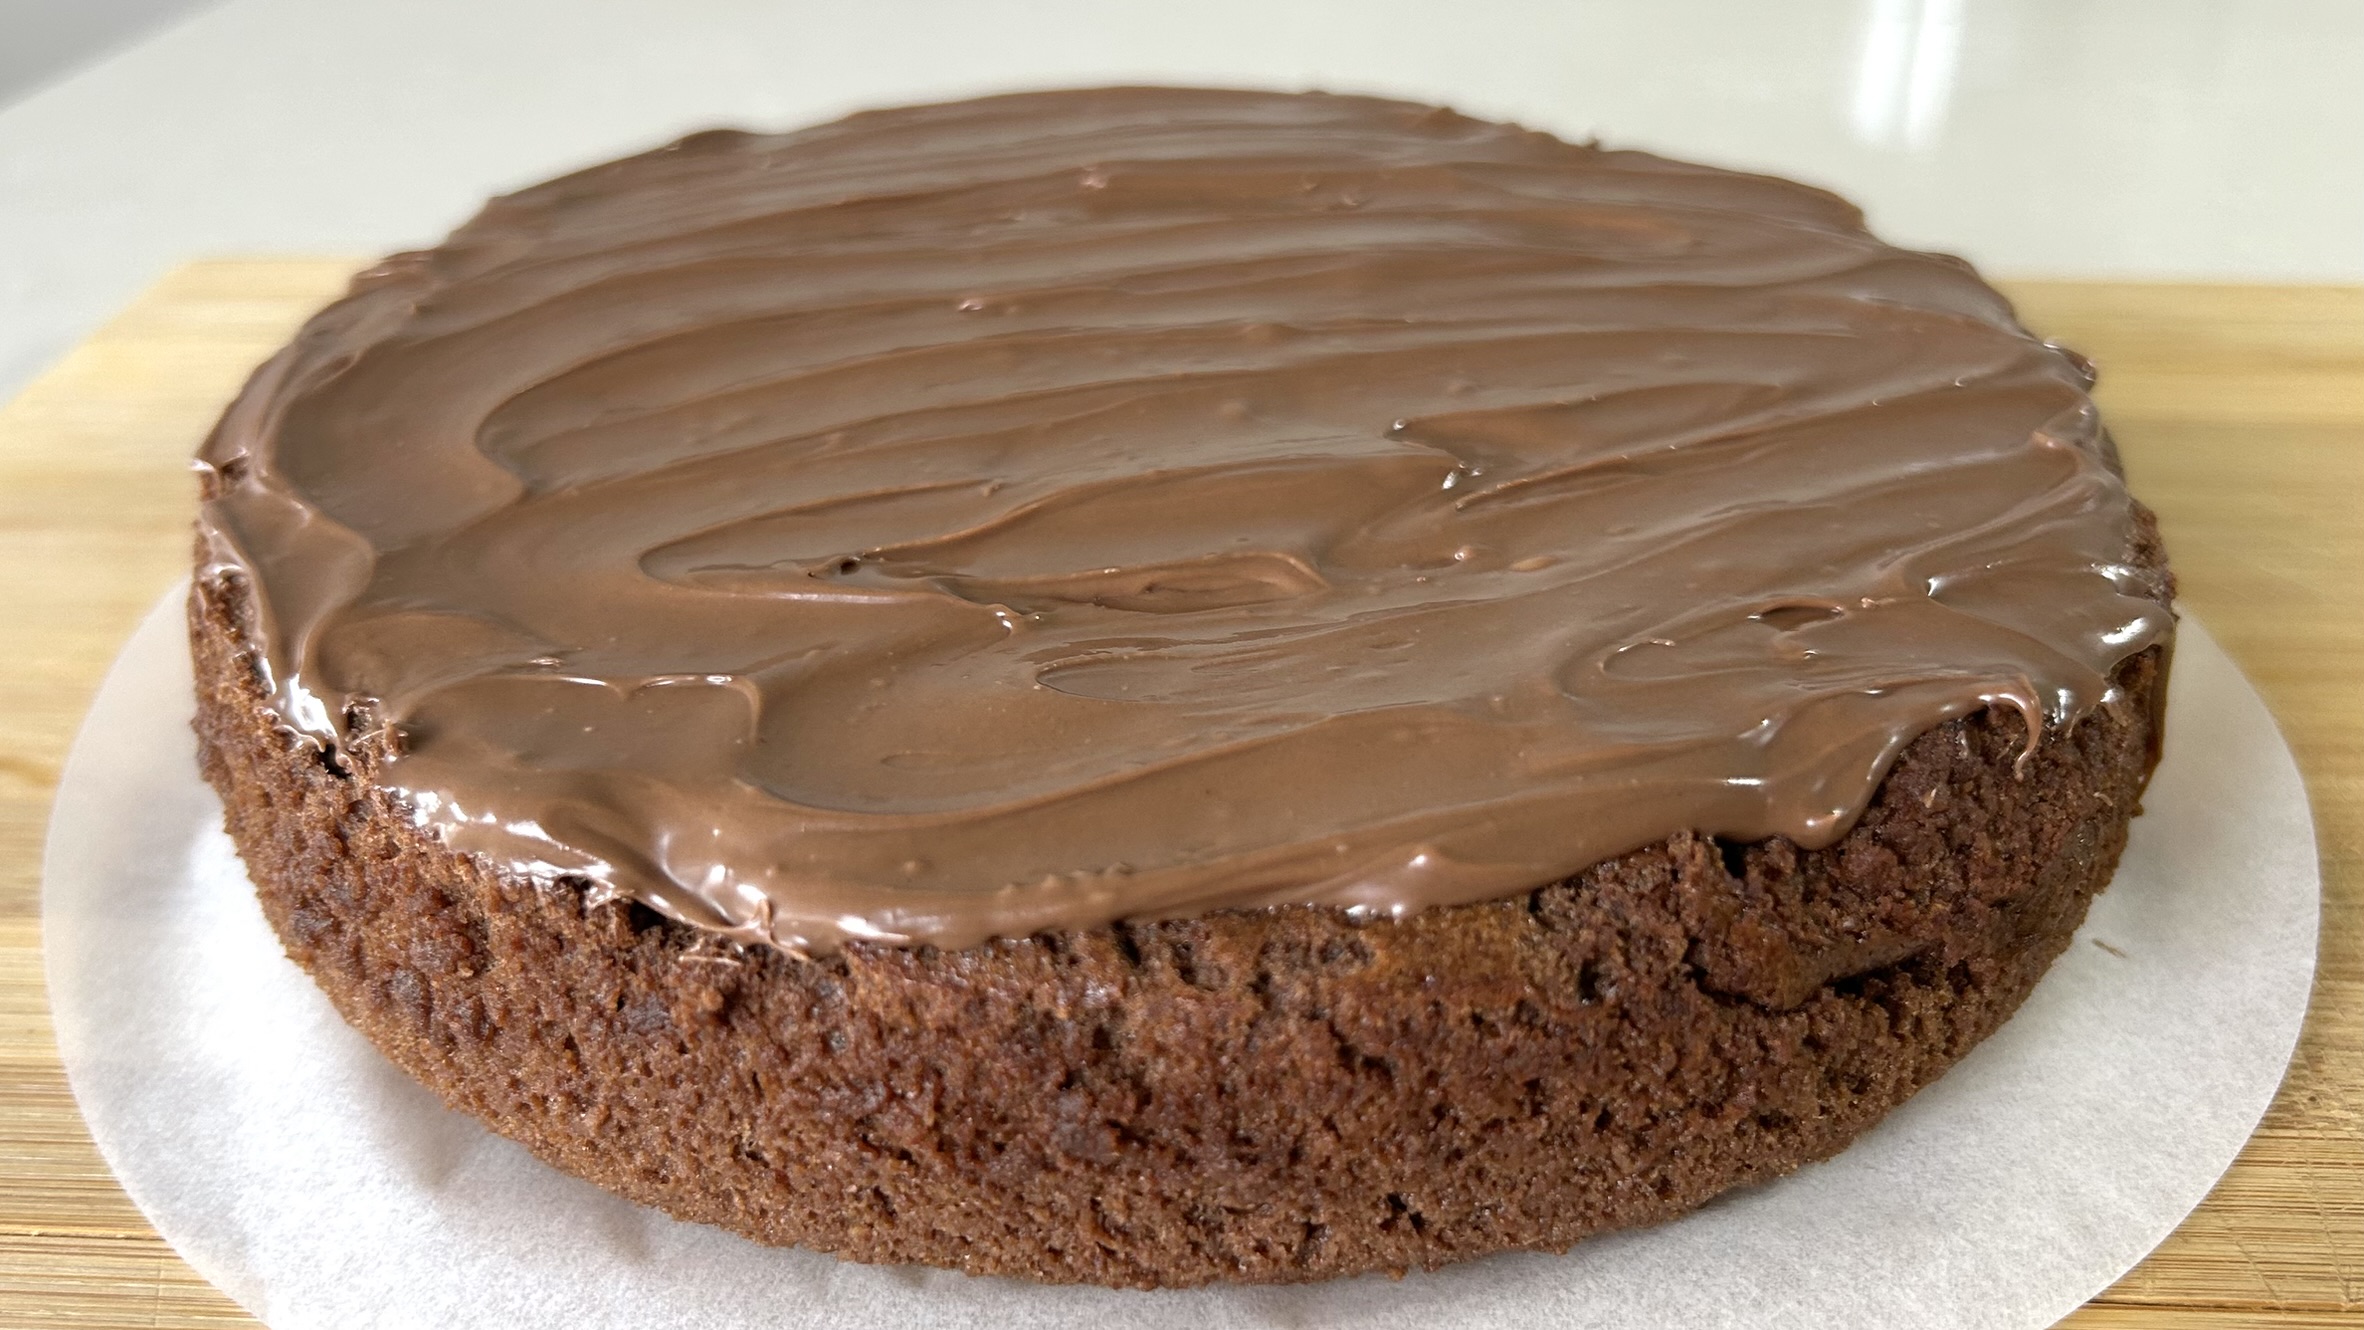
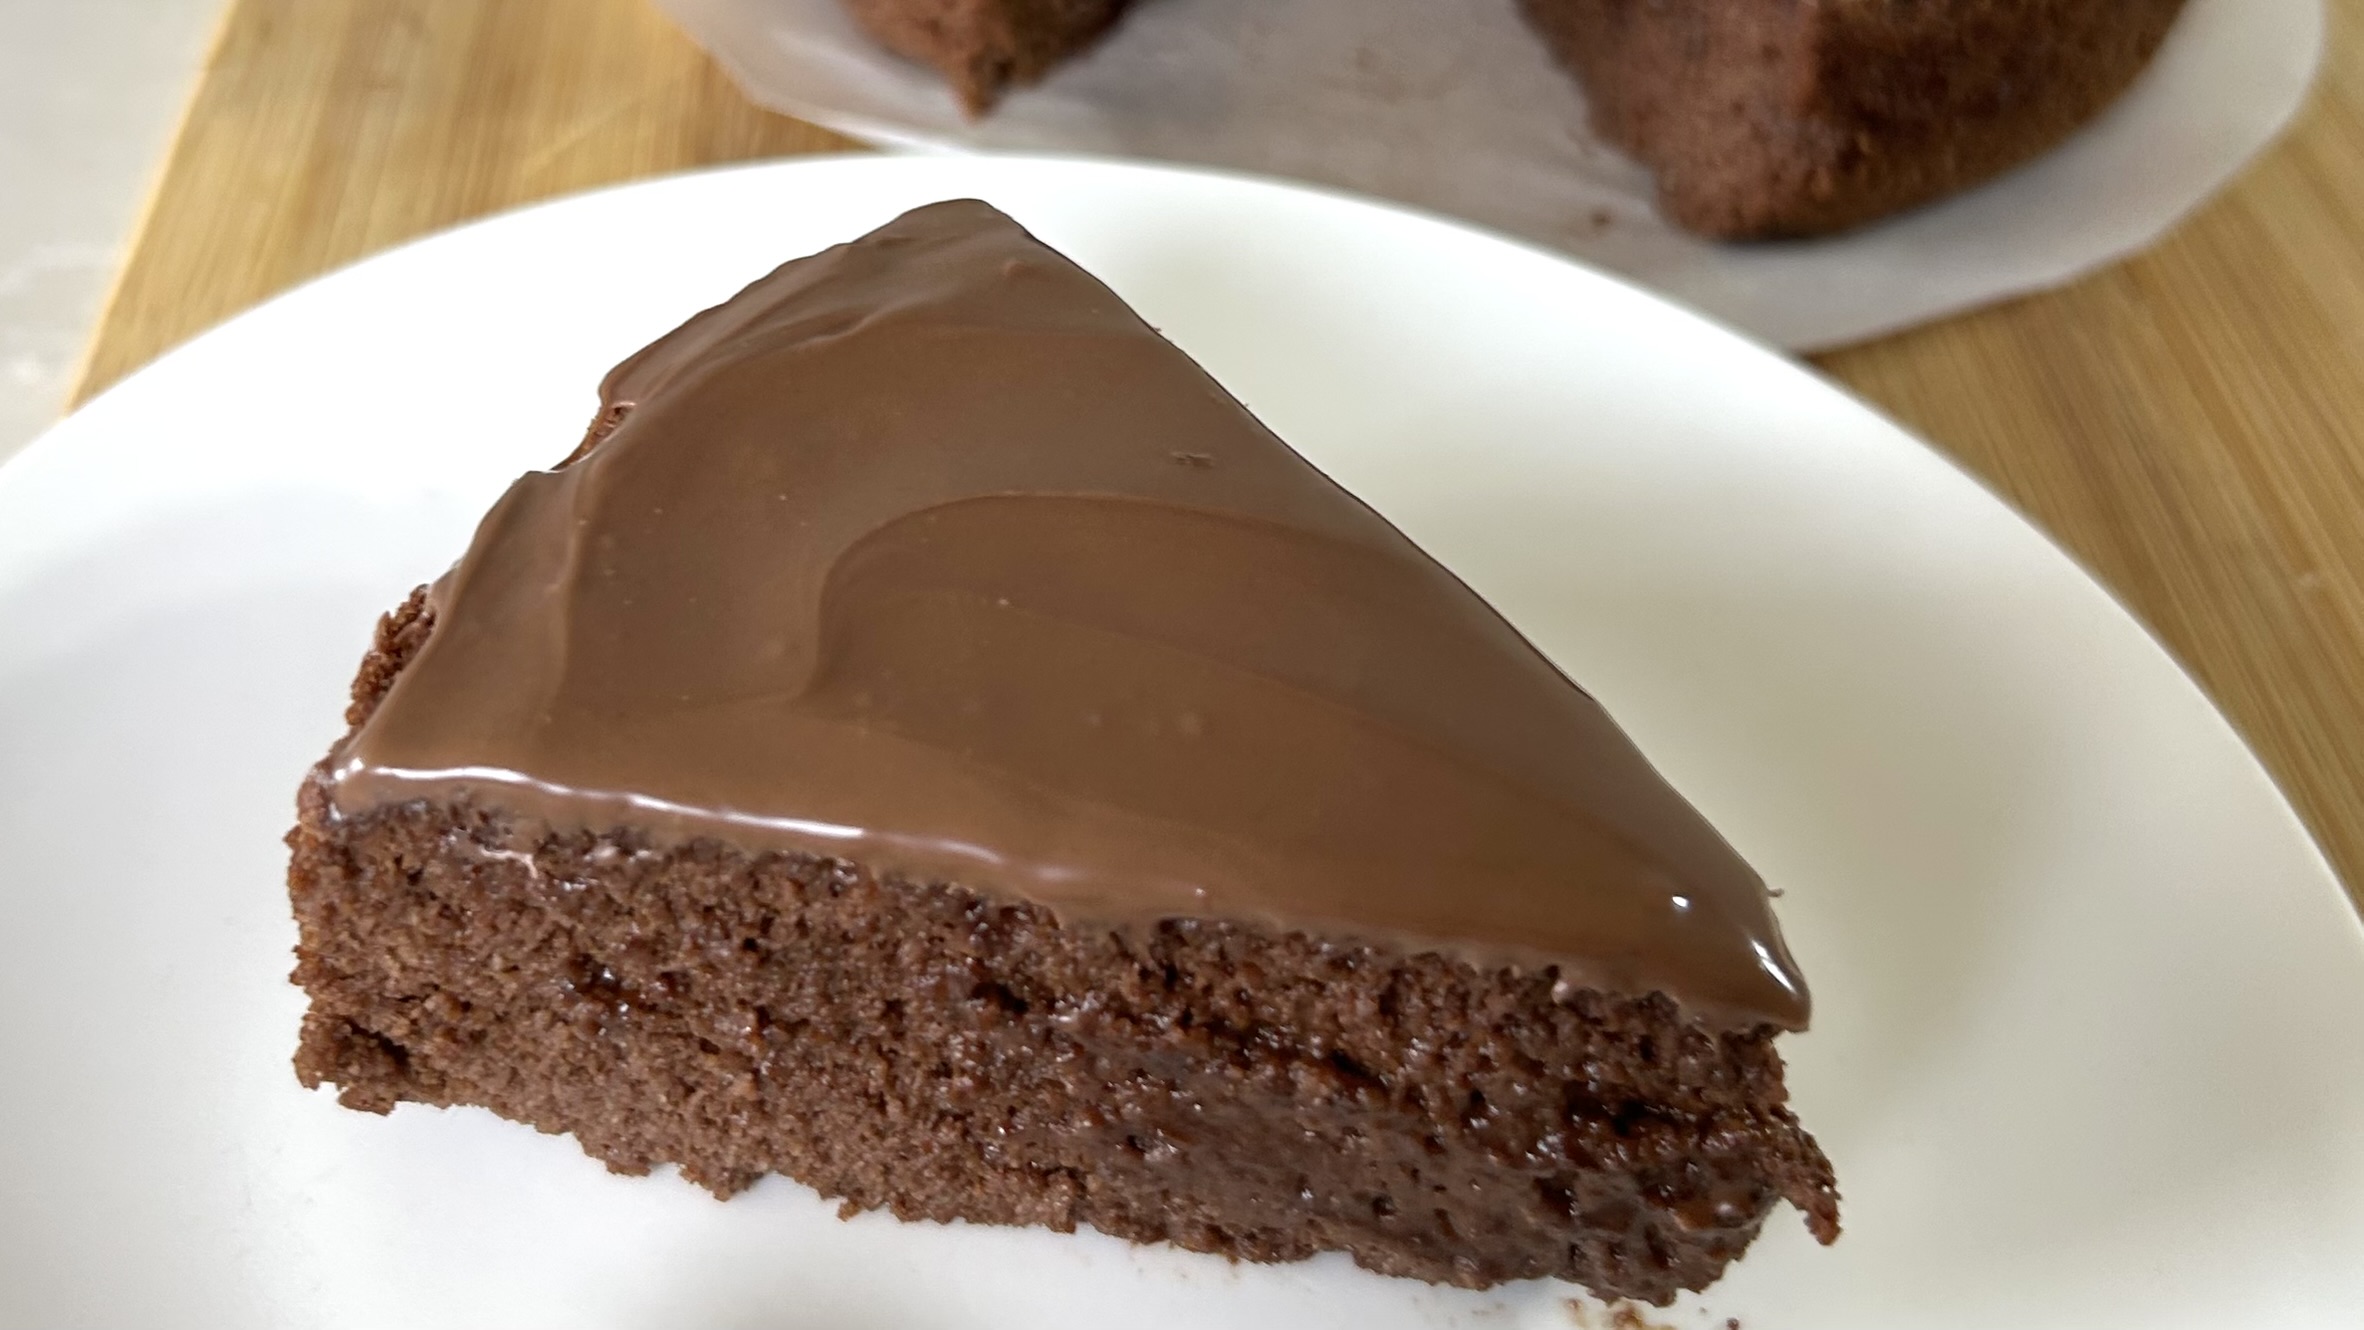
The final result is an irresistibly fudgy flourless chocolate banana cake with a deep cocoa flavor and wonderfully moist texture. Once you try it, this may quickly become your new favorite healthy chocolate dessert recipe.
Ingredients
- 150 g dark chocolate (70% cocoa or higher)
- 4 eggs, separated
- 2 ripe bananas (375 g with skin, about 250 g peeled)
- 1 cup (100 g) almond flour
- Pinch of salt
- Coconut oil or other oil, for greasing the pan
- 80 g healthy chocolate spread, optional for topping
Directions
- Preheat the oven to 350°F (180°C). Lightly grease the bottom and sides of a 7-inch (18 cm) round baking pan with oil.
- Chop the dark chocolate into small pieces and melt it using either a double boiler or the microwave in short intervals, stirring frequently until completely smooth. Allow it to cool slightly.
- Separate the egg yolks from the egg whites.
- Add the egg yolks to the melted chocolate and mix using a hand mixer until smooth and fully combined.
- Peel the bananas, cut them into chunks, and blend them into a smooth purée using a hand blender or food processor.
- Add the banana purée to the chocolate mixture and blend again until fully incorporated.
- Add the almond flour and mix until the batter becomes smooth and uniform.
- In a separate clean bowl, beat the egg whites with a pinch of salt until stiff peaks form.
- Gradually fold the whipped egg whites into the chocolate batter little by little, mixing gently to preserve as much air and volume as possible.
- Pour the batter into the prepared baking pan and smooth the surface evenly.
- Bake for approximately 35 minutes, or until a toothpick inserted into the center comes out mostly clean.
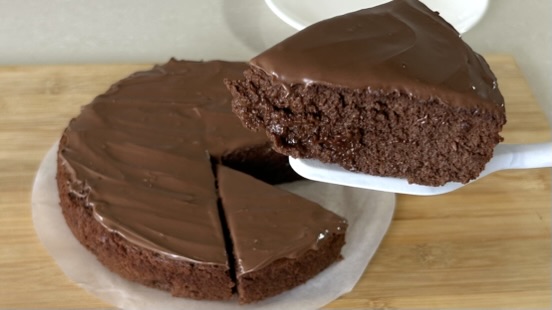
- Allow the cake to cool completely before removing it from the pan.
- If desired, spread a thin layer of healthy chocolate spread over the top before slicing and serving.
Prep Time, Baking Time & Servings
- Prep Time: 30 minutes
- Baking Time: 35 minutes
- Total Time: Approximately 1 hour 5 minutes
- Servings: 8 slices
Nutritional Information
Per 1 Serving
- Energy: 302 calories
- Protein: 8.13 g
- Fat: 19.69 g
- Carbohydrates: 24.83 g
- Fiber: 5 g
Storage & Recommendations
- Store the cake in an airtight container in the refrigerator for up to 1 week.
- This cake freezes very well. Slice it before freezing for easier portions. Freeze for up to 3 months.
- For the richest flavor, use high-quality dark chocolate with at least 70% cocoa content.
- Very ripe bananas work best because they provide more natural sweetness and moisture.
- Allow the cake to cool fully before slicing to achieve the best fudgy texture.
- You can enjoy this cake plain or topped with fresh berries, chopped nuts, or a light layer of chocolate spread.
- For an even deeper chocolate flavor, add a small pinch of espresso powder to the batter.