Red Lentil Flatbreads

Red Lentil Flatbreads

Red Lentil Flatbreads

If you’re looking for a delicious and healthy twist on your usual pancakes, these Red Lentil Flatbreads are just what you need. They’re not only super tasty but also packed with nutrients that will keep you feeling great all day long. Red lentils are the star of this recipe, and they bring a lot to the table—literally! They’re an excellent source of plant-based protein, which is perfect if you’re trying to add more protein to your diet without relying on meat. Plus, they’re loaded with fiber, which helps keep your digestion running smoothly and keeps you full longer. And let’s not forget about the vitamins and minerals like iron, folate, and magnesium that are essential for your overall health.

These flatbreads are super versatile too. You can customize them with whatever veggies you have on hand, making them a great way to use up leftovers and sneak in some extra nutrition. They’re perfect for a quick lunch, a light dinner, or even a snack.

So, let’s get started on these easy and nourishing Red Lentil Flatbreads—you’re going to love them!

Ingredients:

  • 1 cup (190 g) red lentils (soak for at least 4 hours or overnight)
  • 1 cup water
  • 2 tbsp. olive oil
  • 50 g shredded carrot (or any veggies of your choice)
  • 40 g shredded red pepper (or green or orange peppers)
  • 40 g shredded cabbage (or other veggies of your choice)
  • 15 g (or 1 unit) chopped green onion
  • ½ tbsp. baking powder
  • 1 tsp. salt
  • Black pepper (optional)

Directions:

  1. Soak red lentils in water for at least 4 hours or overnight (recommended).
  2. Rinse them well under running water and drain extremely well.
  3. In a blender, combine the soaked lentils and water. Blend until you reach a smooth batter-like consistency.
  4. Transfer the lentil batter to a mixing bowl.
  5. Add shredded carrot, red pepper, cabbage, chopped green onion, olive oil, baking powder, salt, and black pepper. Mix well to combine all the ingredients.
  6. Heat a non-stick pan over medium heat and brush with some oil of choice.
  7. Spoon a half cup of the lentil batter onto the pan and spread it gently to form a round pancake shape.
  8. Cook the pancake for about 2 minutes on one side with a cover, or until it turns firm and you can flip it.
  9. Flip it over using a spatula and cook for an additional 2 minutes with the cover again.
  10. Turn a second time and cook each side for an extra 1 or 2 minutes without the cover this time, to allow the pancakes to cook thoroughly.
  11. Repeat the process with the remaining batter. Serve hot or cold.

Prep Time, Baking Information, and Servings:

  • Prep Time: 30 minutes
  • Pan Cooking Time: 40 minutes
  • Servings: 5

Nutritional Information (Per Serving):

  • Energy: 195 calories
  • Protein: 9.45 g
  • Fat: 6.3 g
  • Carbohydrates: 27.02 g
  • Fiber: 4.8 g

Storage and Particular Recommendations:

  • Store your pancakes in an airtight container in the fridge for up to 1 week.
  • Reheat before serving.
  • Customize the vegetables and herbs in the pancakes according to your taste preferences and what you have on hand.
  • These flatbreads are incredibly versatile, so feel free to get creative and make them your own!
Pumpkin Seed Crackers

Pumpkin Seed Crackers

Pumpkin Seed Crackers

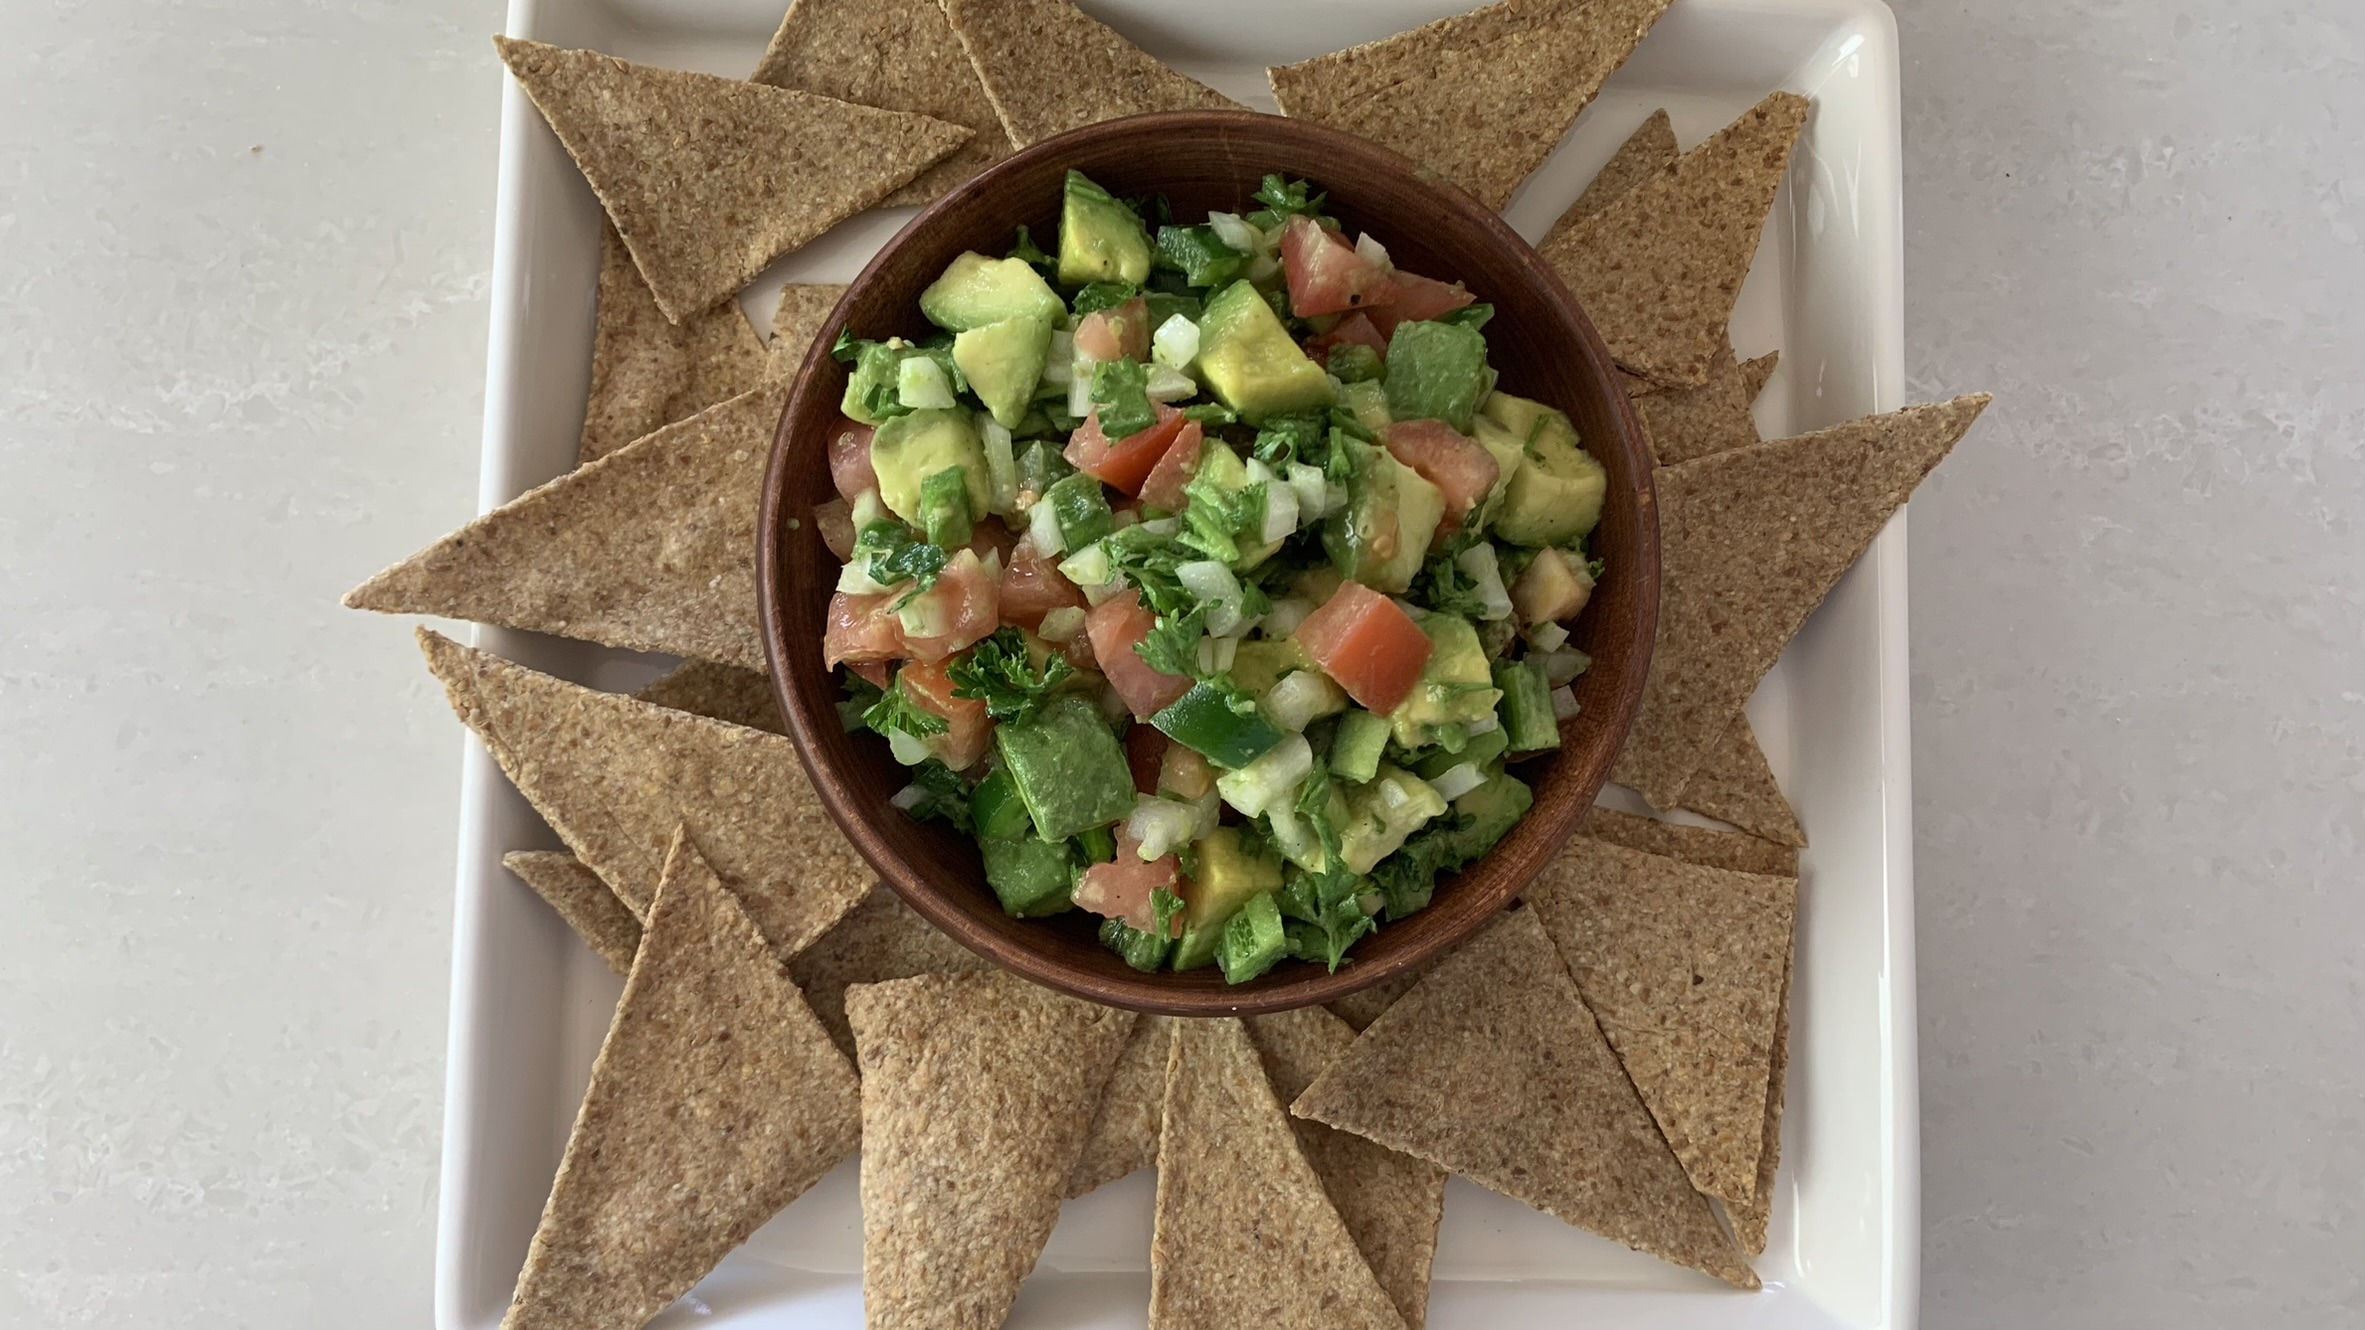
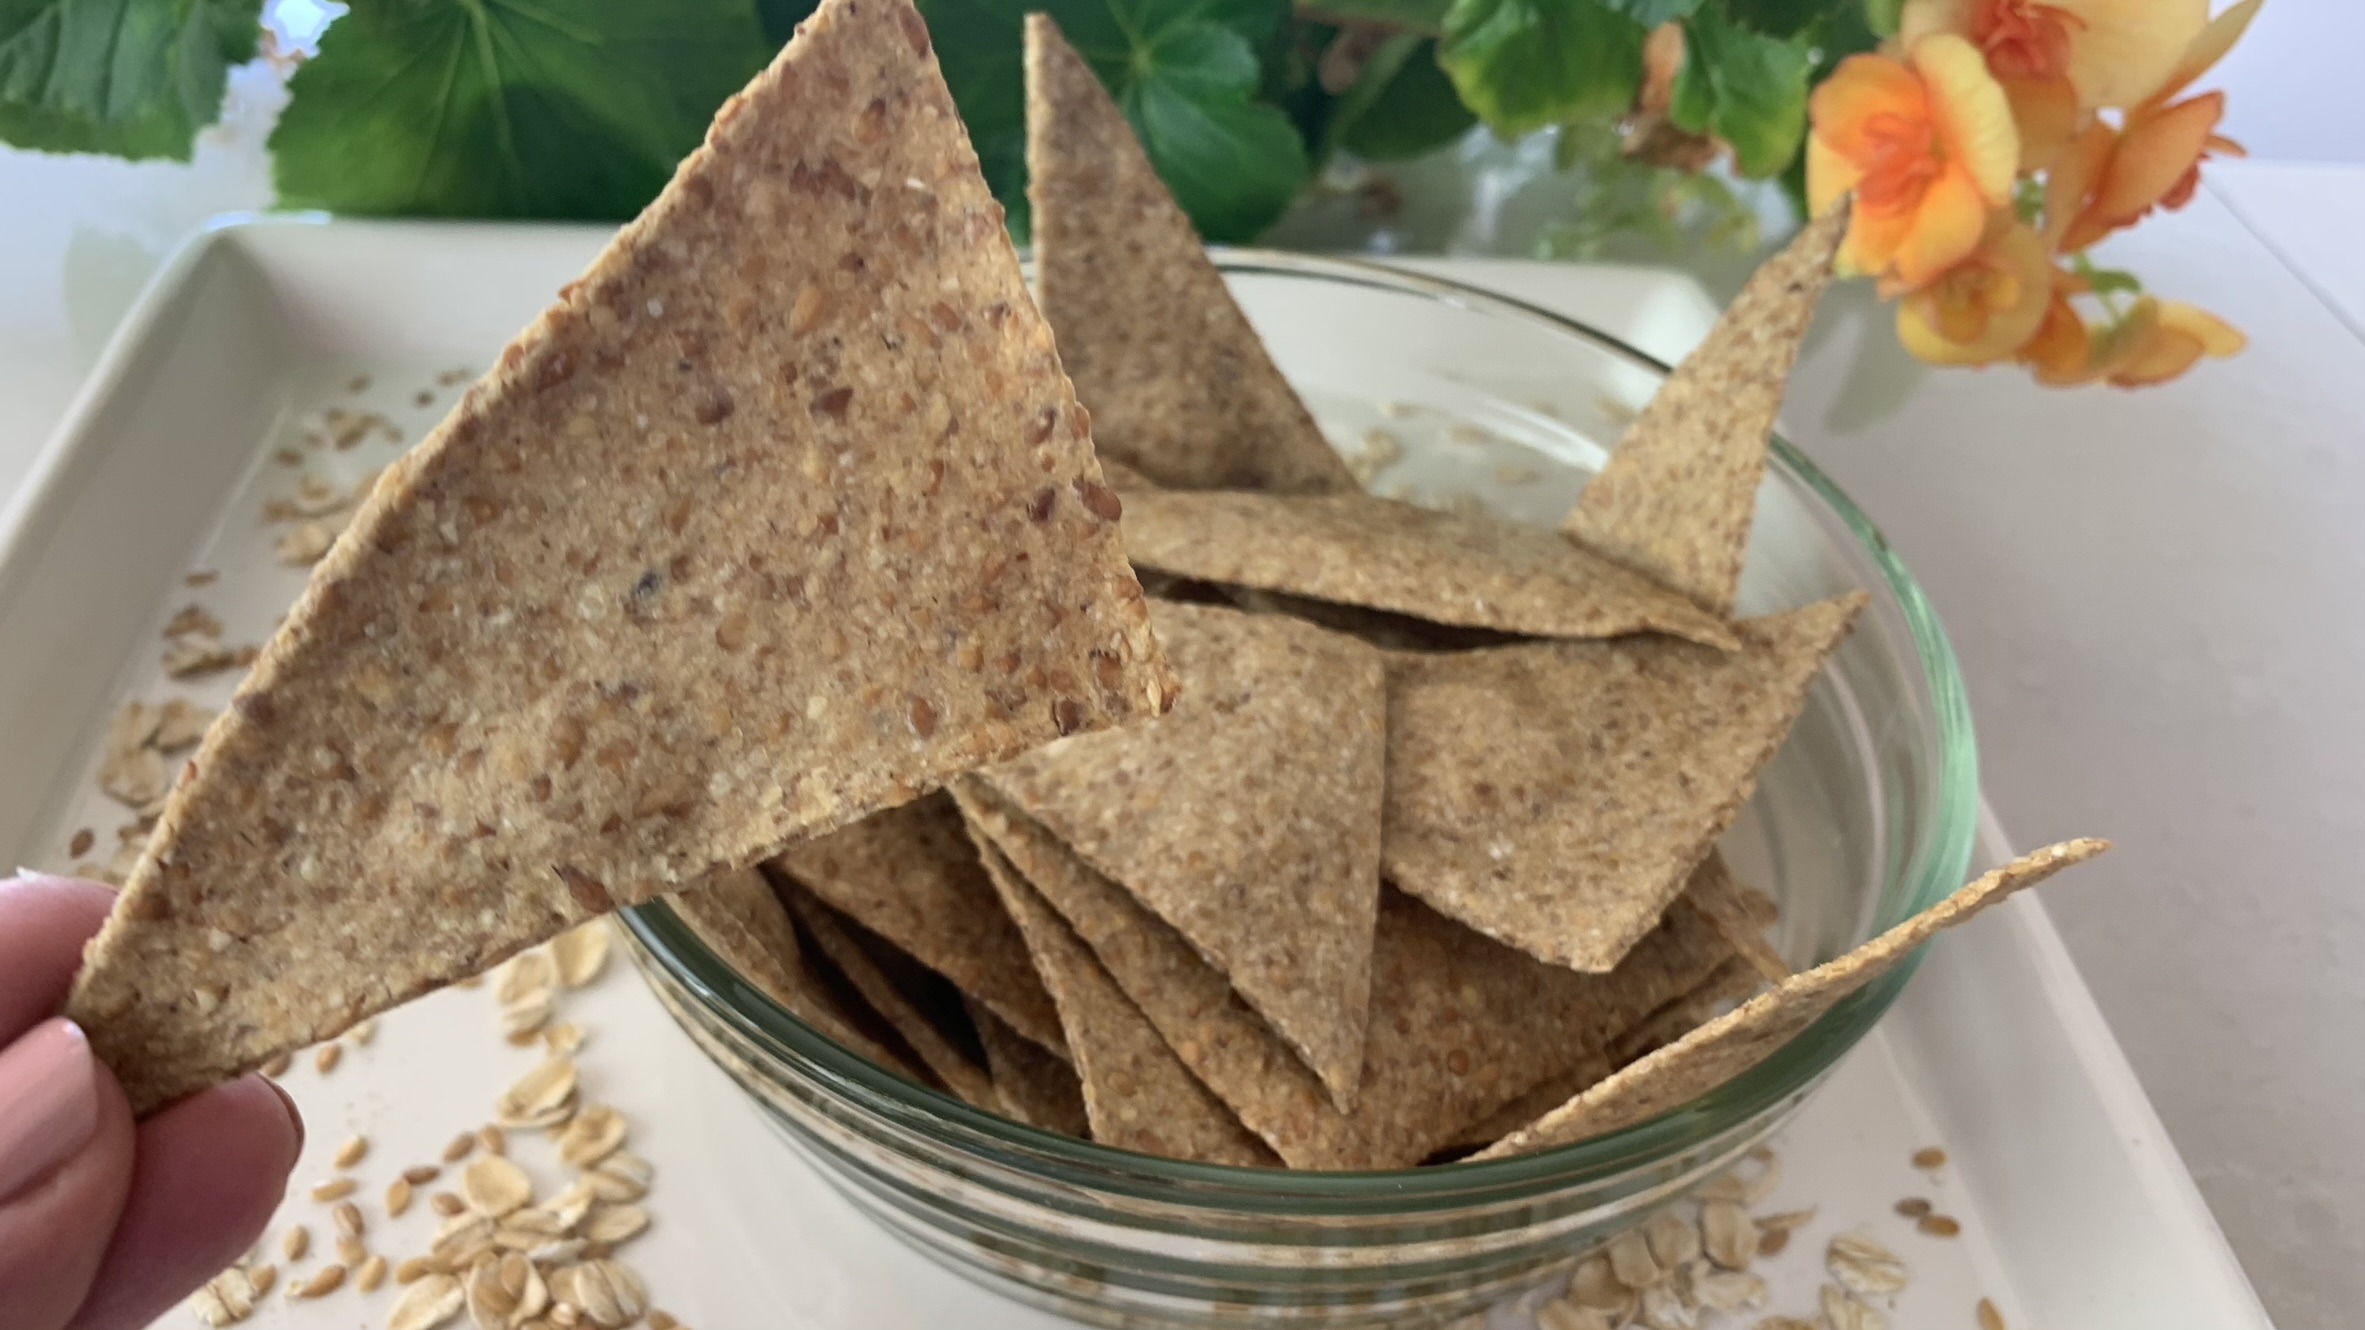
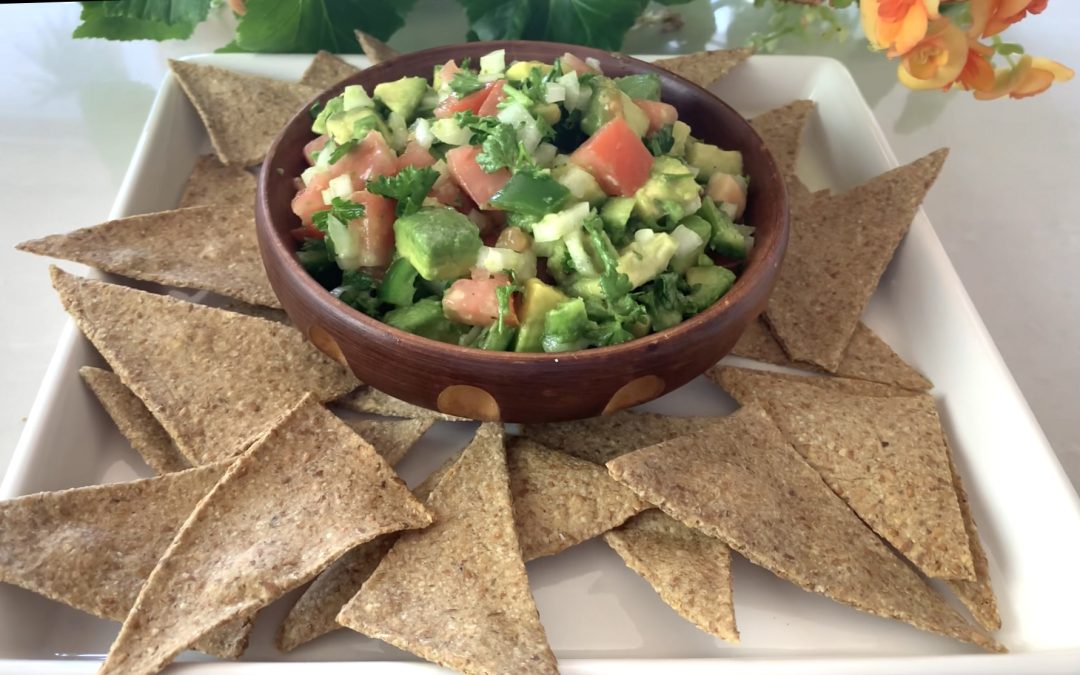
If you’re like me, you probably love a good snack that’s not only tasty but also good for you. Well, these Pumpkin Seed Crackers are just the ticket! Forget those store-bought crackers that are packed with who-knows-what. These homemade goodies are made with simple, wholesome ingredients like rolled oats and pumpkin seeds. And let me tell you, they’re not just delicious, they’re loaded with nutrients too!

Pumpkin seeds are little powerhouses of goodness, full of minerals like magnesium, zinc, and iron, which are great for keeping your heart healthy, boosting your immune system, and giving you the energy you need to tackle your day. Plus, they’ve got healthy fats and antioxidants to keep your body feeling its best. And let’s not forget the oats! They’re packed with fiber, which is fantastic for keeping your digestion on track and your blood sugar stable.

These crackers are super easy to make and totally customizable, so you can tweak them to fit your taste buds. Whether you like a bit of spice or prefer them plain, these crunchy, nutritious treats are perfect for snacking anytime.

So, let’s get baking and whip up a batch of these tasty crackers—you’re going to love them!

Ingredients:

  • ½ cup old-fashioned rolled oats (45 g)
  • ½ cup pumpkin seeds (75 g)
  • ¼ teaspoon salt
  • ½ teaspoon baking powder
  • ¼ cup cold water (adjust as needed to form a dough)

Directions:

  1. Using a food processor or blender, grind the rolled oats and pumpkin seeds until they turn into a fine flour. Add salt and baking powder, and mix again for a few seconds.
  2. Add water to the mixture all at once or gradually, 1 tablespoon at a time, while grinding until the mixture starts to come together and form a dough. Adjust the amount of water as needed to achieve a firm but pliable dough.
  3. Transfer the dough onto a surface covered with parchment paper. Use a rolling pin to roll out the dough into a thin rectangular shape, aiming for a thickness of about 1/8 inch (3-4 mm).
  4. Preheat your oven to 350°F (175°C) while you’re working with the dough.
  5. Use a sharp knife or a pizza cutter to cut the rolled-out dough into rectangular or square cracker shapes.
  6. Place the baking sheet with the crackers into the preheated oven. Bake for approximately 15-20 minutes at 350°F or until the crackers turn crisp.
  7. Once the crackers are done, remove them from the oven and allow them to cool down completely. They will continue to harden as they cool.

Prep Time, Baking Information, and Servings:

  • Prep Time: 30 minutes
  • Baking Time: 15-20 minutes
  • Servings: 10

Nutritional Information (Per Serving):

  • Energy: 60 calories
  • Protein: 3.03 g
  • Fat: 3.99 g
  • Carbohydrates: 3.9 g
  • Fiber: 0.9 g

Storage and Particular Recommendations:

  • Store your crackers in an airtight container at room temperature for up to 2 weeks.
  •  These homemade crackers are perfect for snacking, dipping into hummus or cheese, or serving alongside soups and salads.
  •  Feel free to customize the flavor by adding your favorite spices like chili flakes, garlic powder, or dried herbs!
Sugar Free Granola

Sugar Free Granola

Sugar Free Granola

This wholesome and nutritious granola recipe is a perfect choice for those looking for a healthier alternative to store-bought options. Instead of using butter, oil, or traditional sweeteners like maple syrup or honey, this recipe utilizes homemade applesauce as a natural binder. The result is a light and crunchy granola that’s both calorie-wise and packed with a variety of wholesome ingredients.

Oats are the main ingredient in this recipe, providing a rich source of fiber, protein, and essential nutrients like manganese and phosphorus. Oats support heart health and help maintain stable blood sugar levels. Combined with the natural sweetness of dried fruits and the crunch of nuts and seeds, this granola is not only delicious but also nourishing.

Enjoy this granola as a healthy breakfast or a snack option throughout the day. It’s easy to make and can be stored for up to a month, ensuring you have a tasty and nutritious option on hand whenever you need it.

This Sugar-Free Granola is a delightful way to start your day or keep your energy up between meals. With its natural sweetness and satisfying crunch, it’s bound to become your new favorite granola recipe!

Ingredients

  • 1 ½ cups rolled oats (120 g)
  • ¼ cup chopped almonds (35 g)
  • ¼ cup chopped walnuts (35 g)
  • ¼ cup pumpkin seeds (35 g)
  • ¼ cup pitted dates (50 g)
  • ¼ cup raisins (35 g)
  • ¼ cup dried cranberries (35 g)
  • 2 tbsp. applesauce (add by small quantities while stirring until the oats get sticky but not wet or saggy)

Directions

  1. Preheat your oven to 350°F (176°C) and line a baking sheet with parchment paper.
  2. In a large mixing bowl, combine the rolled oats, chopped walnuts, chopped almonds, and pumpkin seeds.
  3. Gradually add homemade applesauce, one tablespoon at a time, and use a fork (or your hands) to thoroughly incorporate it into the mixture. Add only small quantities while stirring until the oats get sticky but not wet or saggy.
  4. Transfer the granola mixture onto the prepared baking sheet. Spread it out evenly, ensuring a thin and even layer to allow for even cooking.
  5. Bake for approximately 30 minutes in total. After 15 minutes of baking, stir the granola thoroughly to prevent uneven browning. Return to the oven and bake for another 15 minutes.
  6. Remove the granola from the oven and immediately pour it over chopped dates, dried cranberries, and raisins. Mix well while the granola is still hot to get it sticky and naturally sweet.
  7. Once cooled, transfer the granola into a clean glass container.

Prep Time and Servings

  • Makes: 10 Servings
  • Prep Time: 30 minutes
  • Baking Time: 30 minutes

Nutritional Information (Per 1 Serving)

  • Energy: 147 calories
  • Protein: 4.58 g
  • Fat: 6.66 g
  • Carbohydrates: 19.45 g
  • Fiber: 2.9 g

Storage and Recommendations

  • Store your granola in an airtight container in the fridge for up to 1 month for optimal freshness.
  • Enjoy this crunchy and healthy treat as a nutritious breakfast or snack option.


1 Ingredient Applesauce

1 Ingredient Applesauce

1 Ingredient Applesauce

This super-simple applesauce, made with just one ingredient—apples—boasts a pure and wholesome flavor that highlights the natural sweetness of the fruit. It’s a versatile and healthy treat that you can easily customize by using different apple varieties or adding spices like cinnamon, star anise, or nutmeg for extra flavor. Whether enjoyed on its own, as a topping for pancakes or yogurt, or incorporated into your favorite recipes, this applesauce is sure to become a kitchen staple.

Apples are the star ingredient, offering a wealth of health benefits. They are rich in dietary fiber, which supports digestion, and they provide a good source of vitamin C, which boosts the immune system. Apples are also low in calories and contain natural sugars that provide a gentle energy boost without the crash associated with refined sugars. Making your own applesauce allows you to enjoy these benefits without any added preservatives or sweeteners.

This 1 Ingredient Applesauce is a simple and delicious way to enjoy the natural sweetness of apples. Whether you prefer it plain or spiced up, it’s a healthy treat that everyone will love!

Ingredients

  • 1 kg honeycrisp apples (or other apple type of your choice)

Directions

  1. Clean the apples thoroughly and remove all the skin and seeds. Section the apples into large chunks.
  2. Instant Pot: Add the apple chunks to the basket part and close the lid. Steam for 10 minutes in the Instant Pot.
  3. Classic Steamer: Steam the apple chunks until tender, typically up to 20 minutes.
  4. Let the steamed apples cool down for a bit. Transfer them into a glass jar and use a hand blender to transform them into a smooth puree.
  5. Allow the jar of applesauce to cool down completely before refrigerating.
  6. Let the applesauce thicken in the fridge for at least 4 hours or overnight.
  7. Enjoy this homemade applesauce as a topping for your crepes and pancakes, or incorporate it into your favorite recipes as a substitute for refined sugar.

Prep Time and Servings

  • Makes: 10 Servings
  • Prep Time: 20 minutes
  • Fridge Time: 4 hours

Nutritional Information (Per 1 Serving)

  • Energy: 20 calories
  • Protein: 0.07 g
  • Fat: 0.04 g
  • Carbohydrates: 4.51 g
  • Fiber: 0.4 g

Storage and Recommendations

  • Store your freshly made homemade applesauce in the refrigerator for up to a week.
  • Experiment with different apple varieties and spices to customize the flavor to your liking.


Almond Cupcakes

Almond Cupcakes

Almond Cupcakes

Indulge guilt-free in these delectable chocolate banana cupcakes, crafted with wholesome ingredients like almond flour and ripe bananas. These cupcakes are not only moist, fluffy, and bursting with rich chocolate flavor, but they are also gluten-free, making them a delightful and wholesome treat to enjoy on any occasion.

Almond flour is the key ingredient in these cupcakes, offering a gluten-free alternative that’s rich in healthy fats, protein, and fiber. Almond flour is made from finely ground almonds, which are packed with nutrients like vitamin E, magnesium, and antioxidants. These nutrients contribute to heart health, help manage blood sugar levels, and support overall well-being. Combined with the natural sweetness of ripe bananas, these cupcakes offer a healthier twist on traditional baked goods without compromising on taste.

Perfect as a snack or dessert, these Almond Flour Cupcakes are sure to satisfy your cravings while keeping you on track with your health goals.

These Almond Flour Cupcakes are not just a treat for your taste buds but also a healthy choice that you can feel good about enjoying. Perfect for any occasion, these cupcakes are sure to become a favorite!

Ingredients

  • 3 ripe bananas or 200 g
  • 2 eggs
  • 1 cup (100 g) almond flour
  • 4 tbsp. cocoa powder
  • ½ tbsp. baking powder
  • 30 g chocolate chips for topping (optional)

Directions

  1. Preheat your oven to 350°F (180°C). Prepare cupcake paper liners and place them on a baking tray.
  2. In a large bowl, mash the ripe bananas until smooth.
  3. Add the eggs to the mashed bananas and mix thoroughly until well combined.
  4. Add cocoa powder and baking powder to the banana mixture. Gradually add almond flour and stir gently until all ingredients are well combined and the batter achieves a smooth consistency, resembling cake batter.
  5. Using an ice cream scooper, portion the batter evenly into the cupcake paper liners, filling each about 2/3 full.
  6. Place the baking tray in the preheated oven and bake for approximately 30 minutes, or until a toothpick inserted into the center of a cupcake comes out clean.
  7. Once baked, remove the cupcakes from the oven and transfer them to a wire rack to cool completely.

Prep Time and Servings

  • Makes: 6 Servings
  • Prep Time: 20 minutes
  • Baking Time: 30 minutes

Nutritional Information (Per 1 Serving)

  • Energy: 189 calories
  • Protein: 7.02 g
  • Fat: 12.62 g
  • Carbohydrates: 16.31 g
  • Fiber: 4.6 g

Storage and Recommendations

  • Store your cupcakes in an airtight container at room temperature for up to 3 days, or in the refrigerator for longer freshness.
  • Enjoy these guilt-free cupcakes as a delightful snack or dessert, perfect for any occasion.